
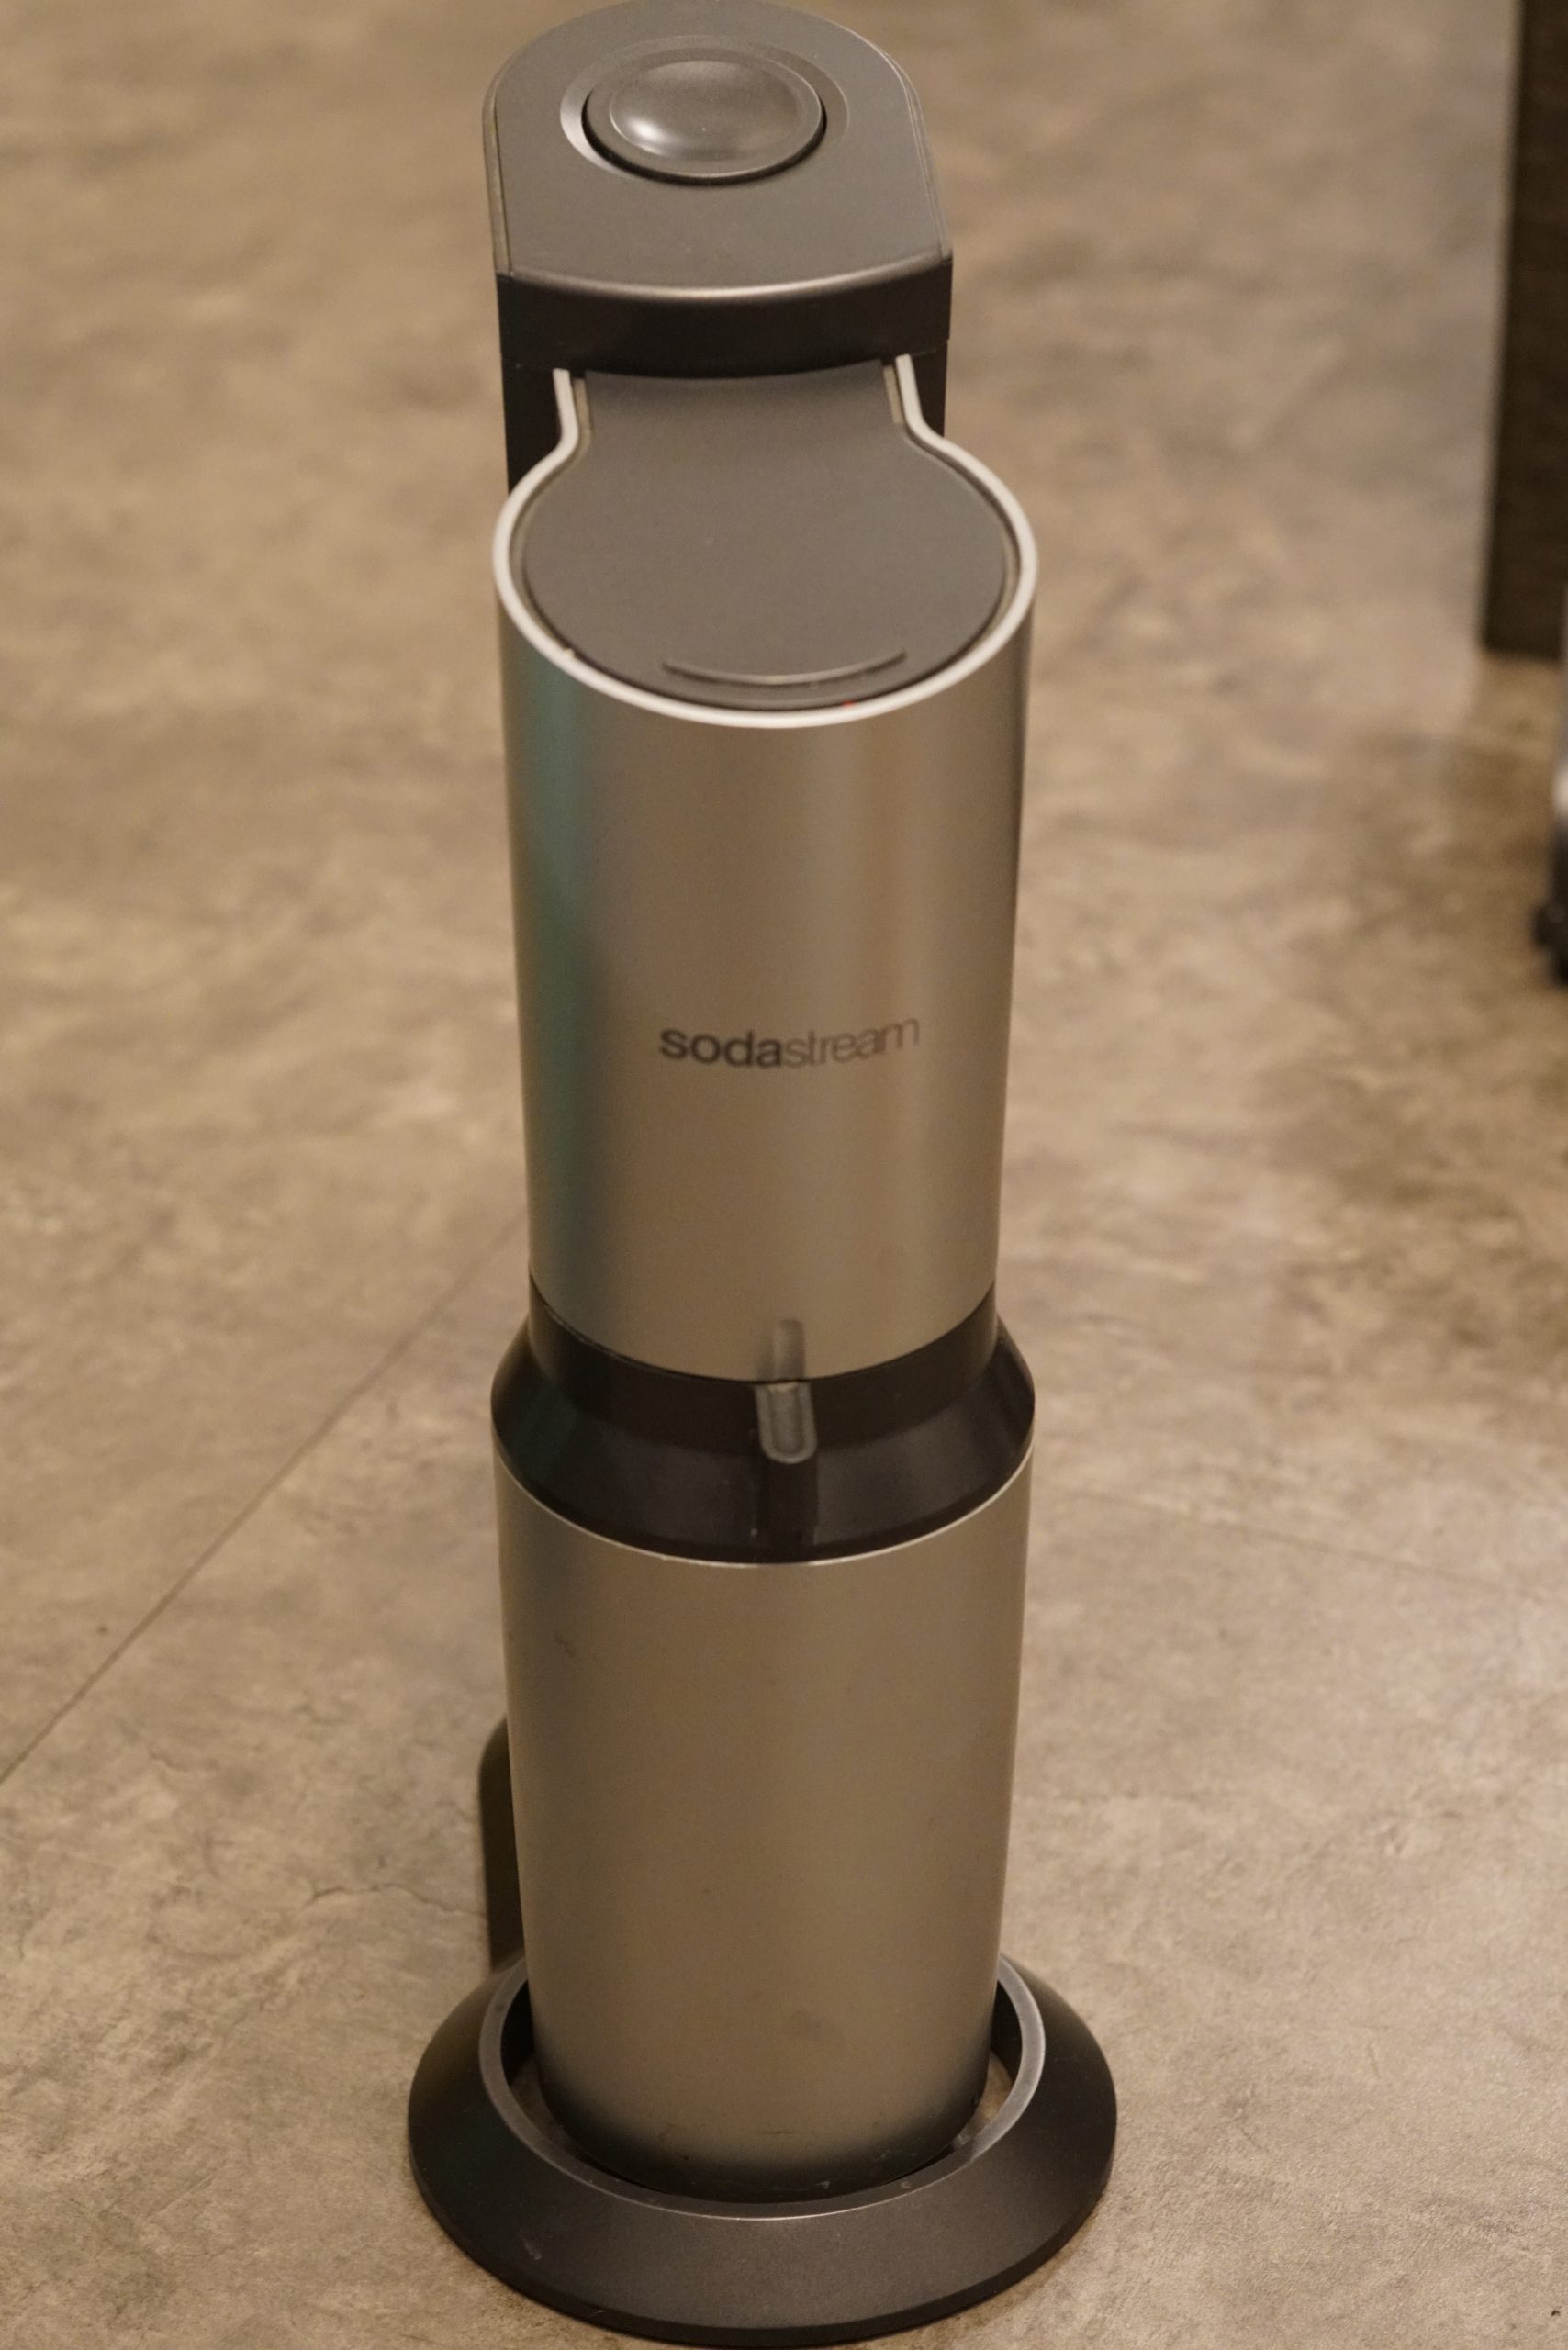
A friend of mine asked if I could fix her SodaStream machine. Here, I’ll document the process and how I used a 3D printer to solve the problem in the end.
She had been using the machine for a long time, but recently, she noticed it no longer worked. The worst part? The warranty had just expired last month. So, she handed the machine over to me to see if I could fix it.
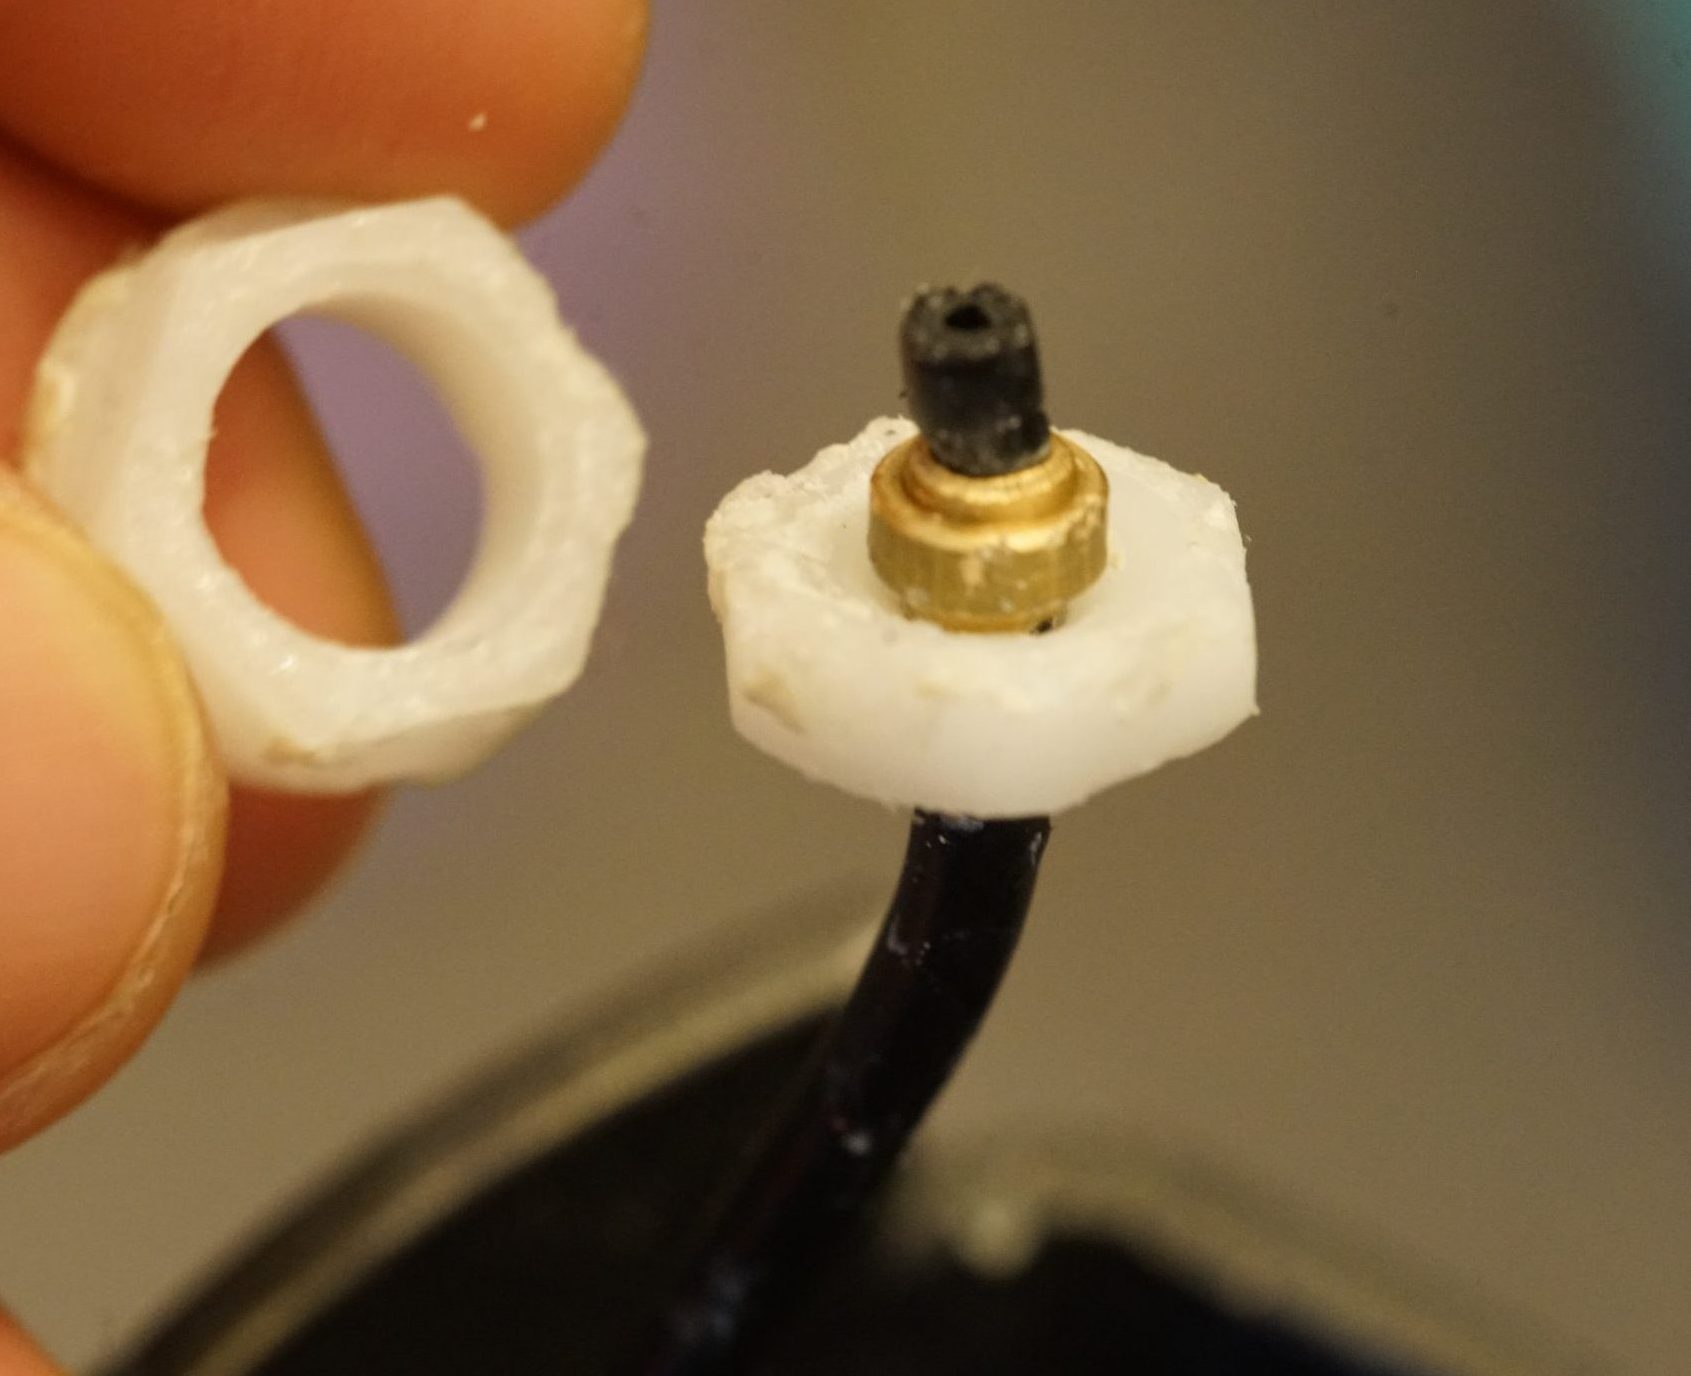
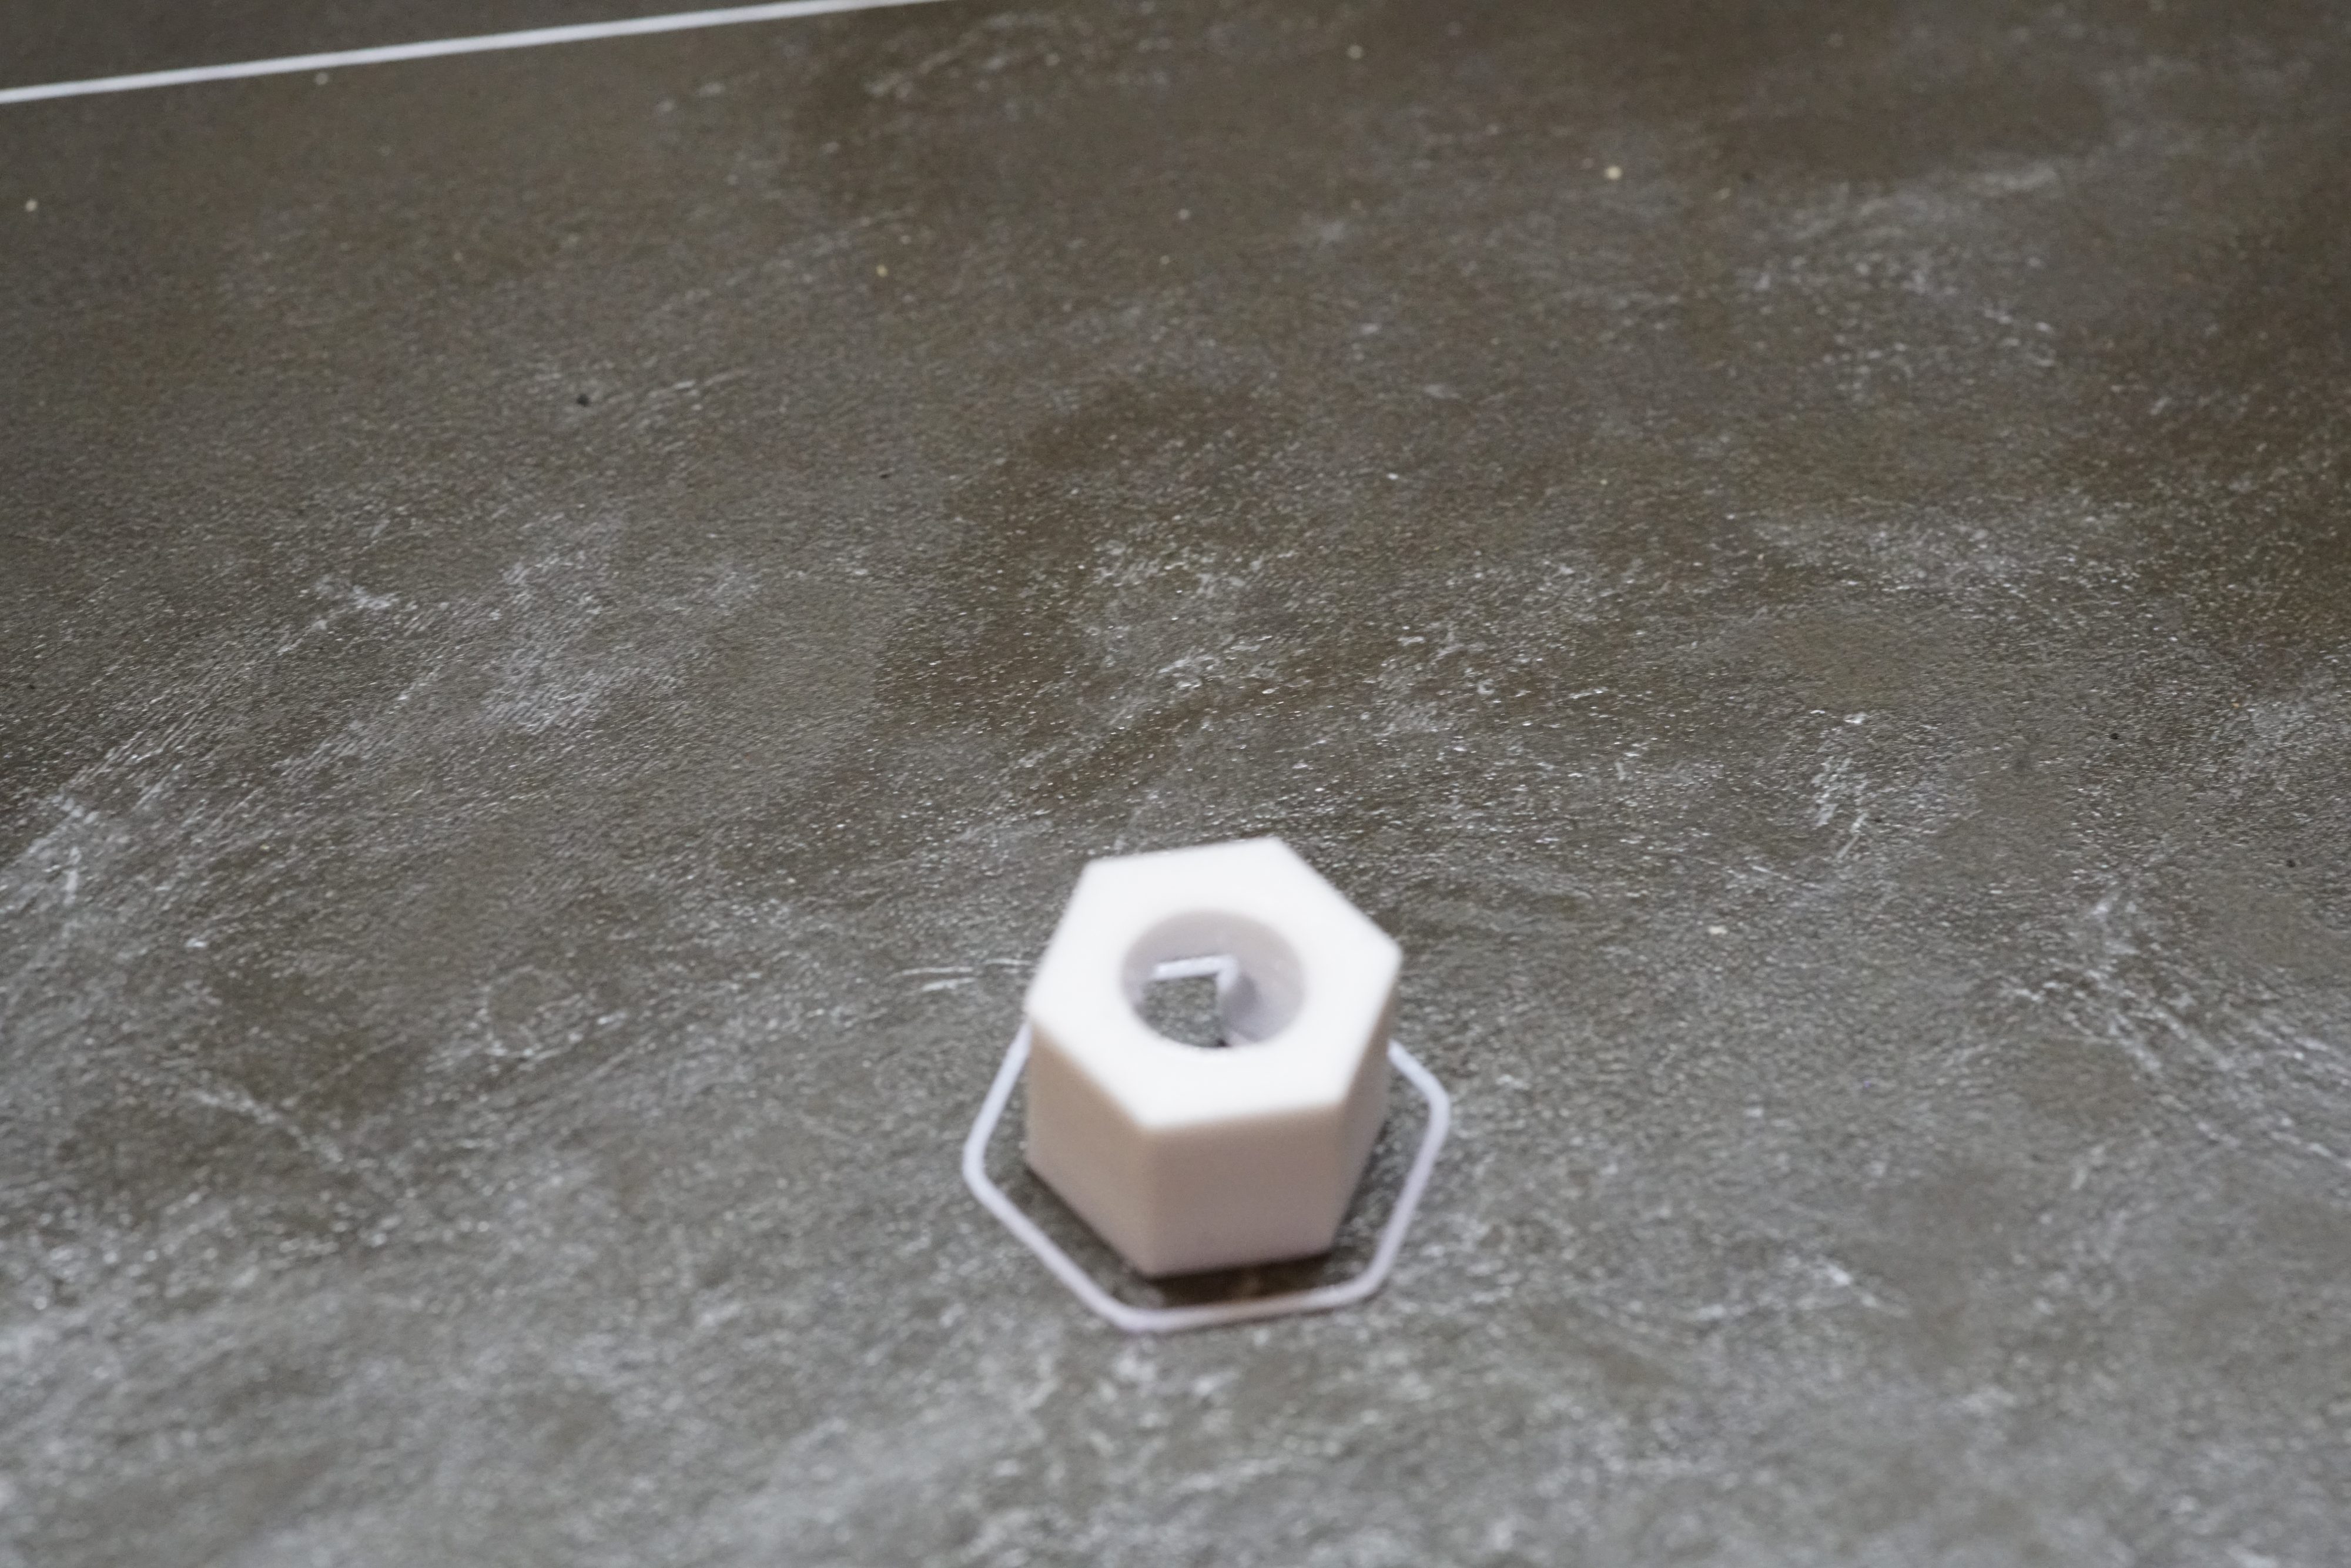
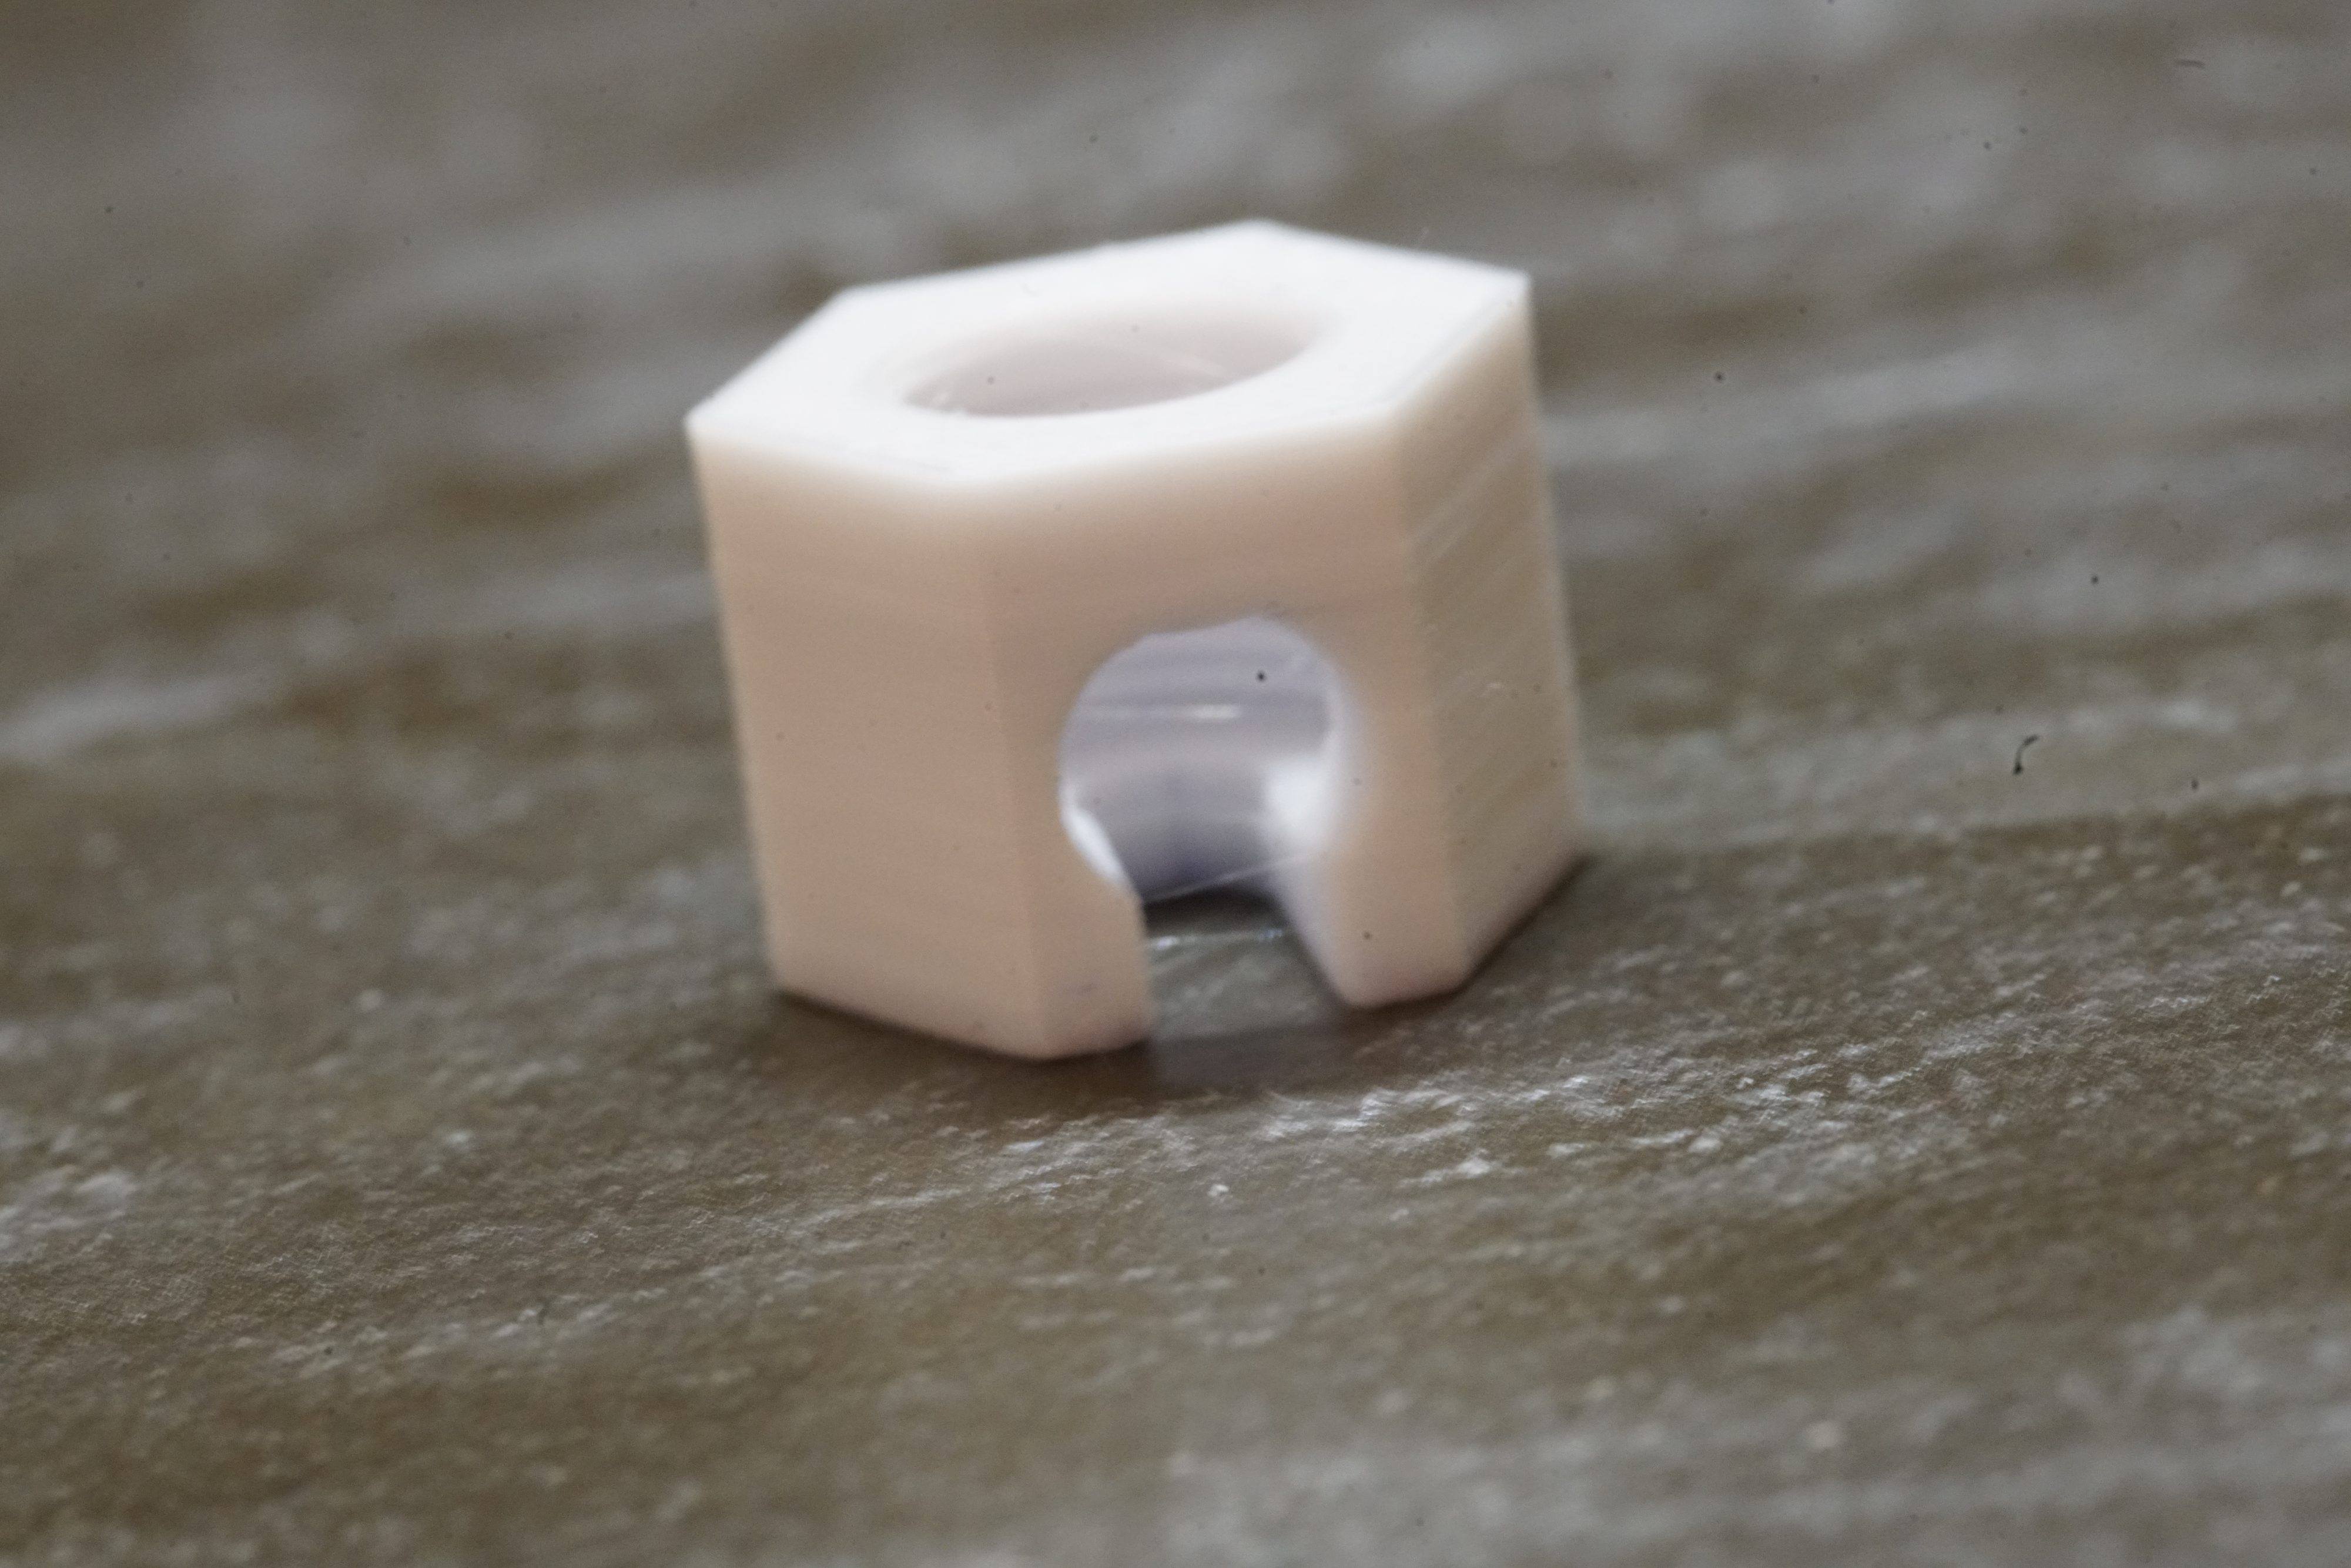
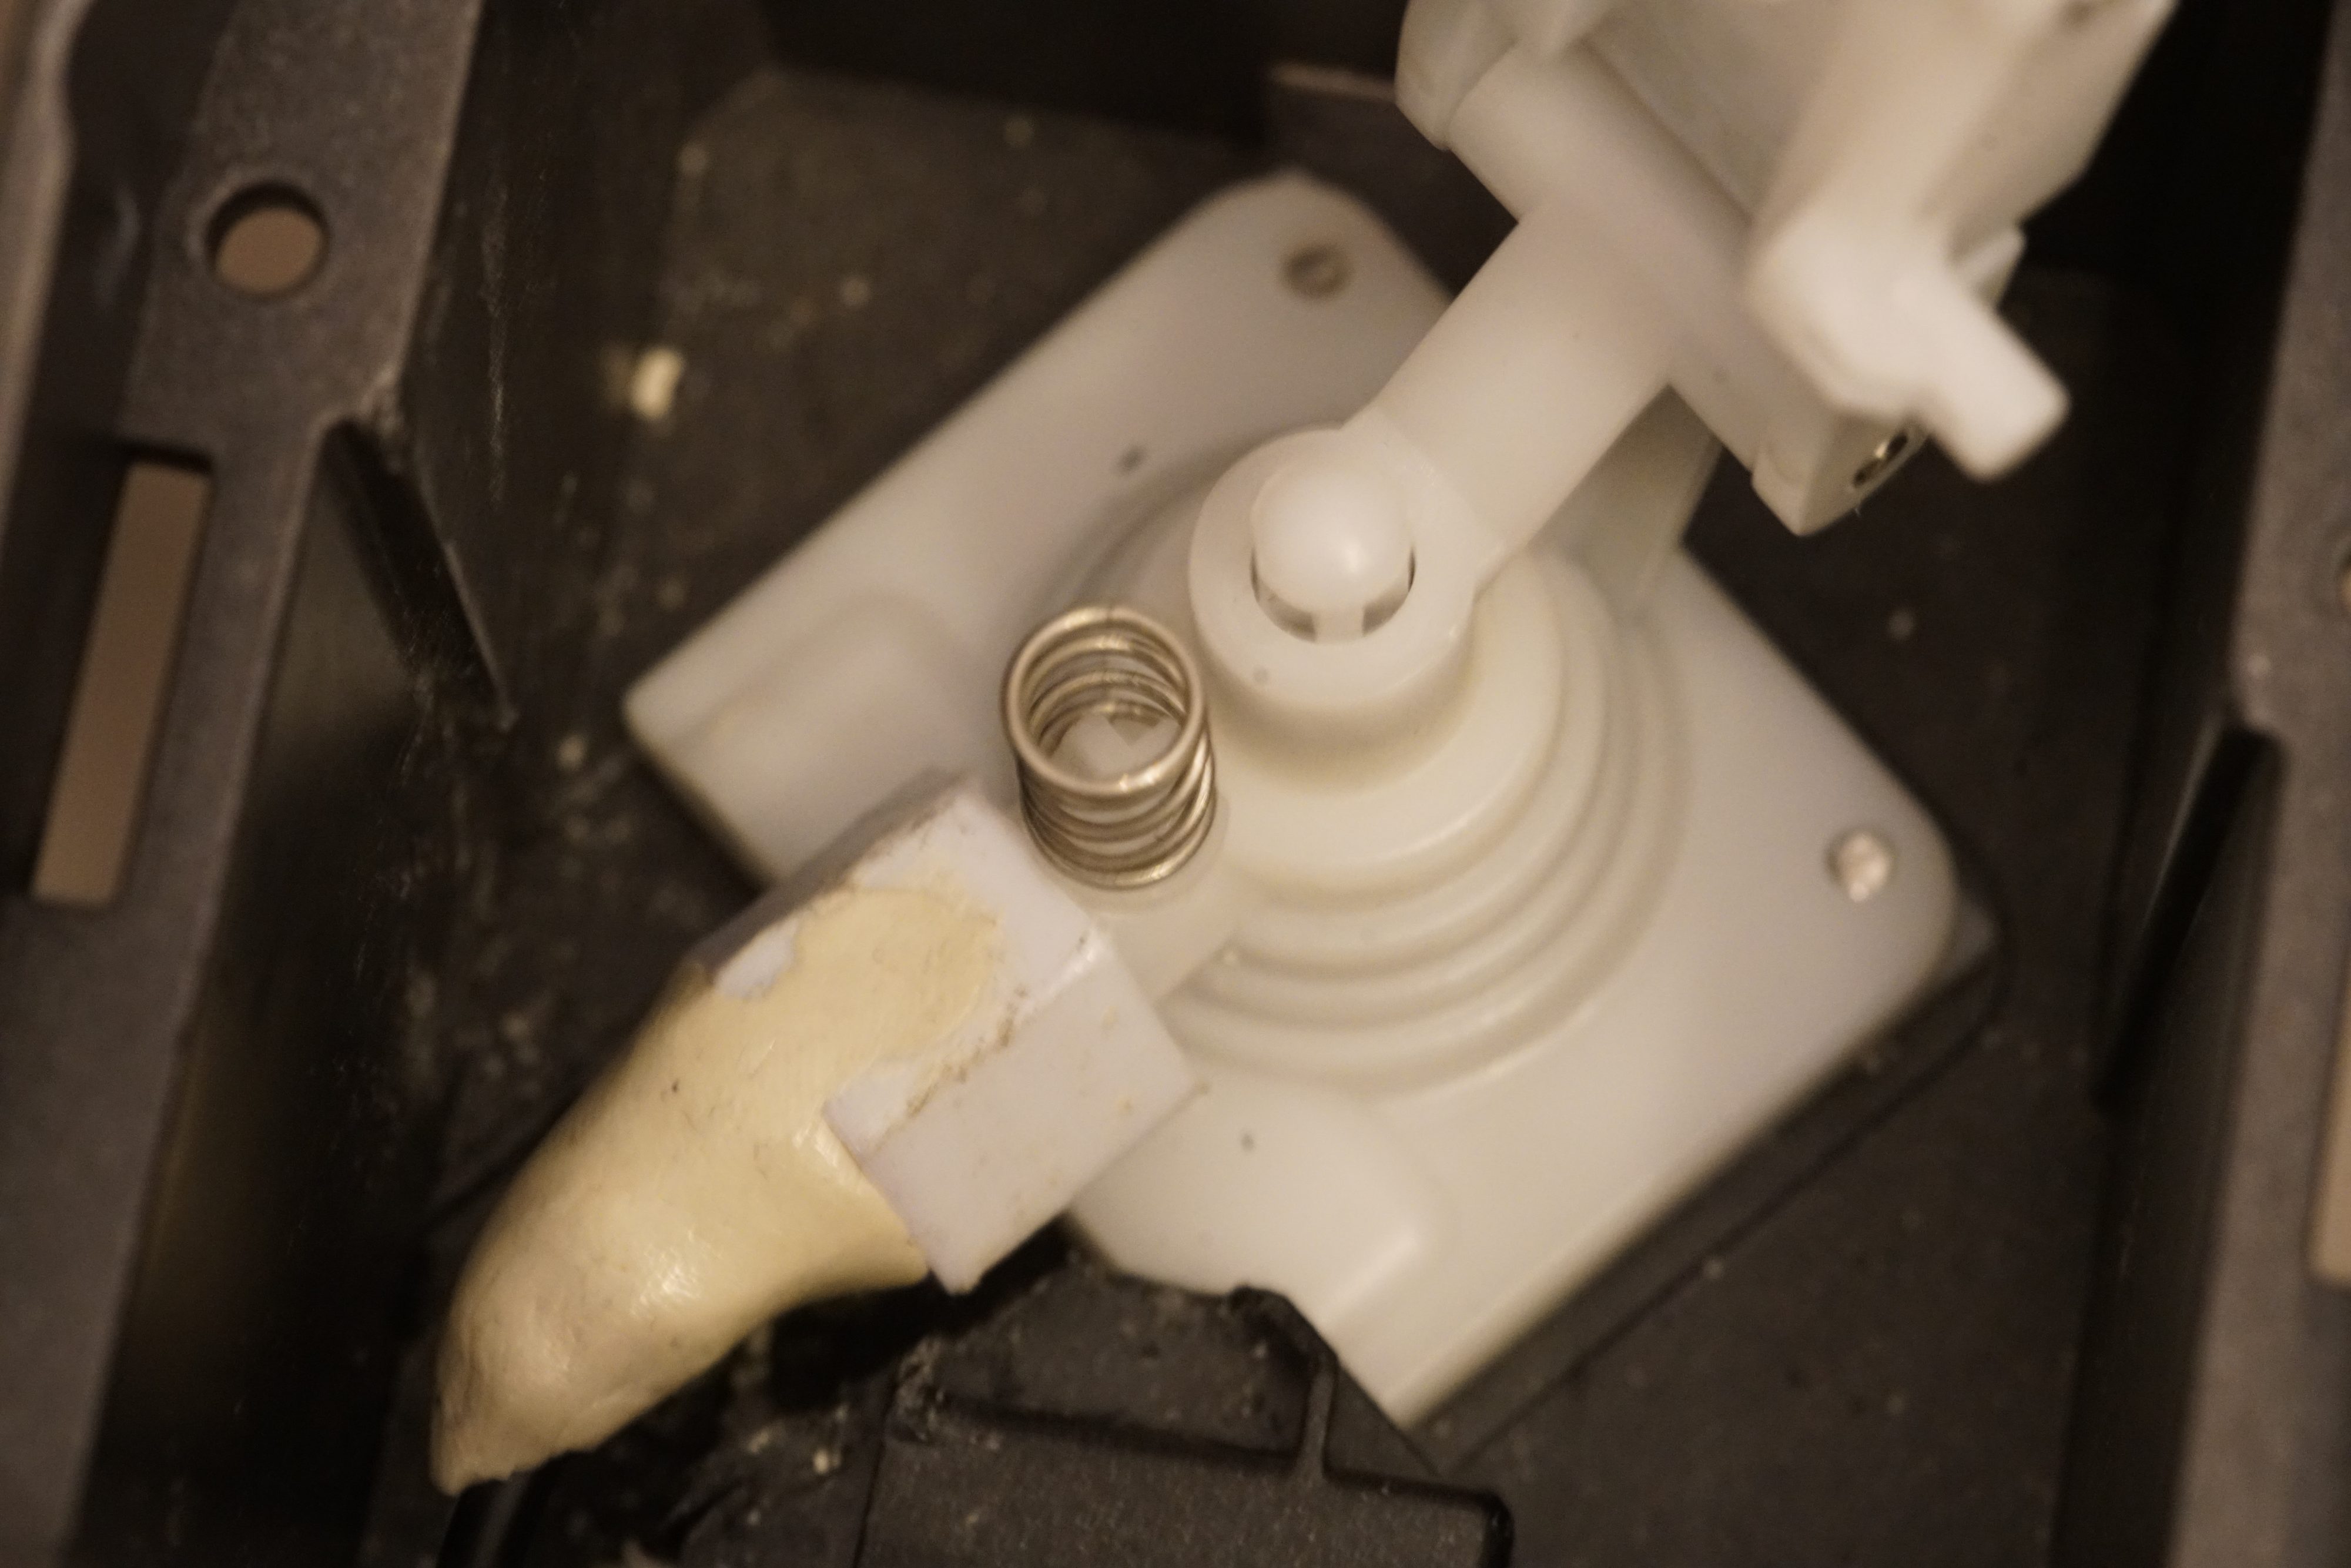
I’ve had the machine with me for some time now. The issue was a broken plastic bolt connecting the air tube from the bottle to the machine, as shown in the photo:
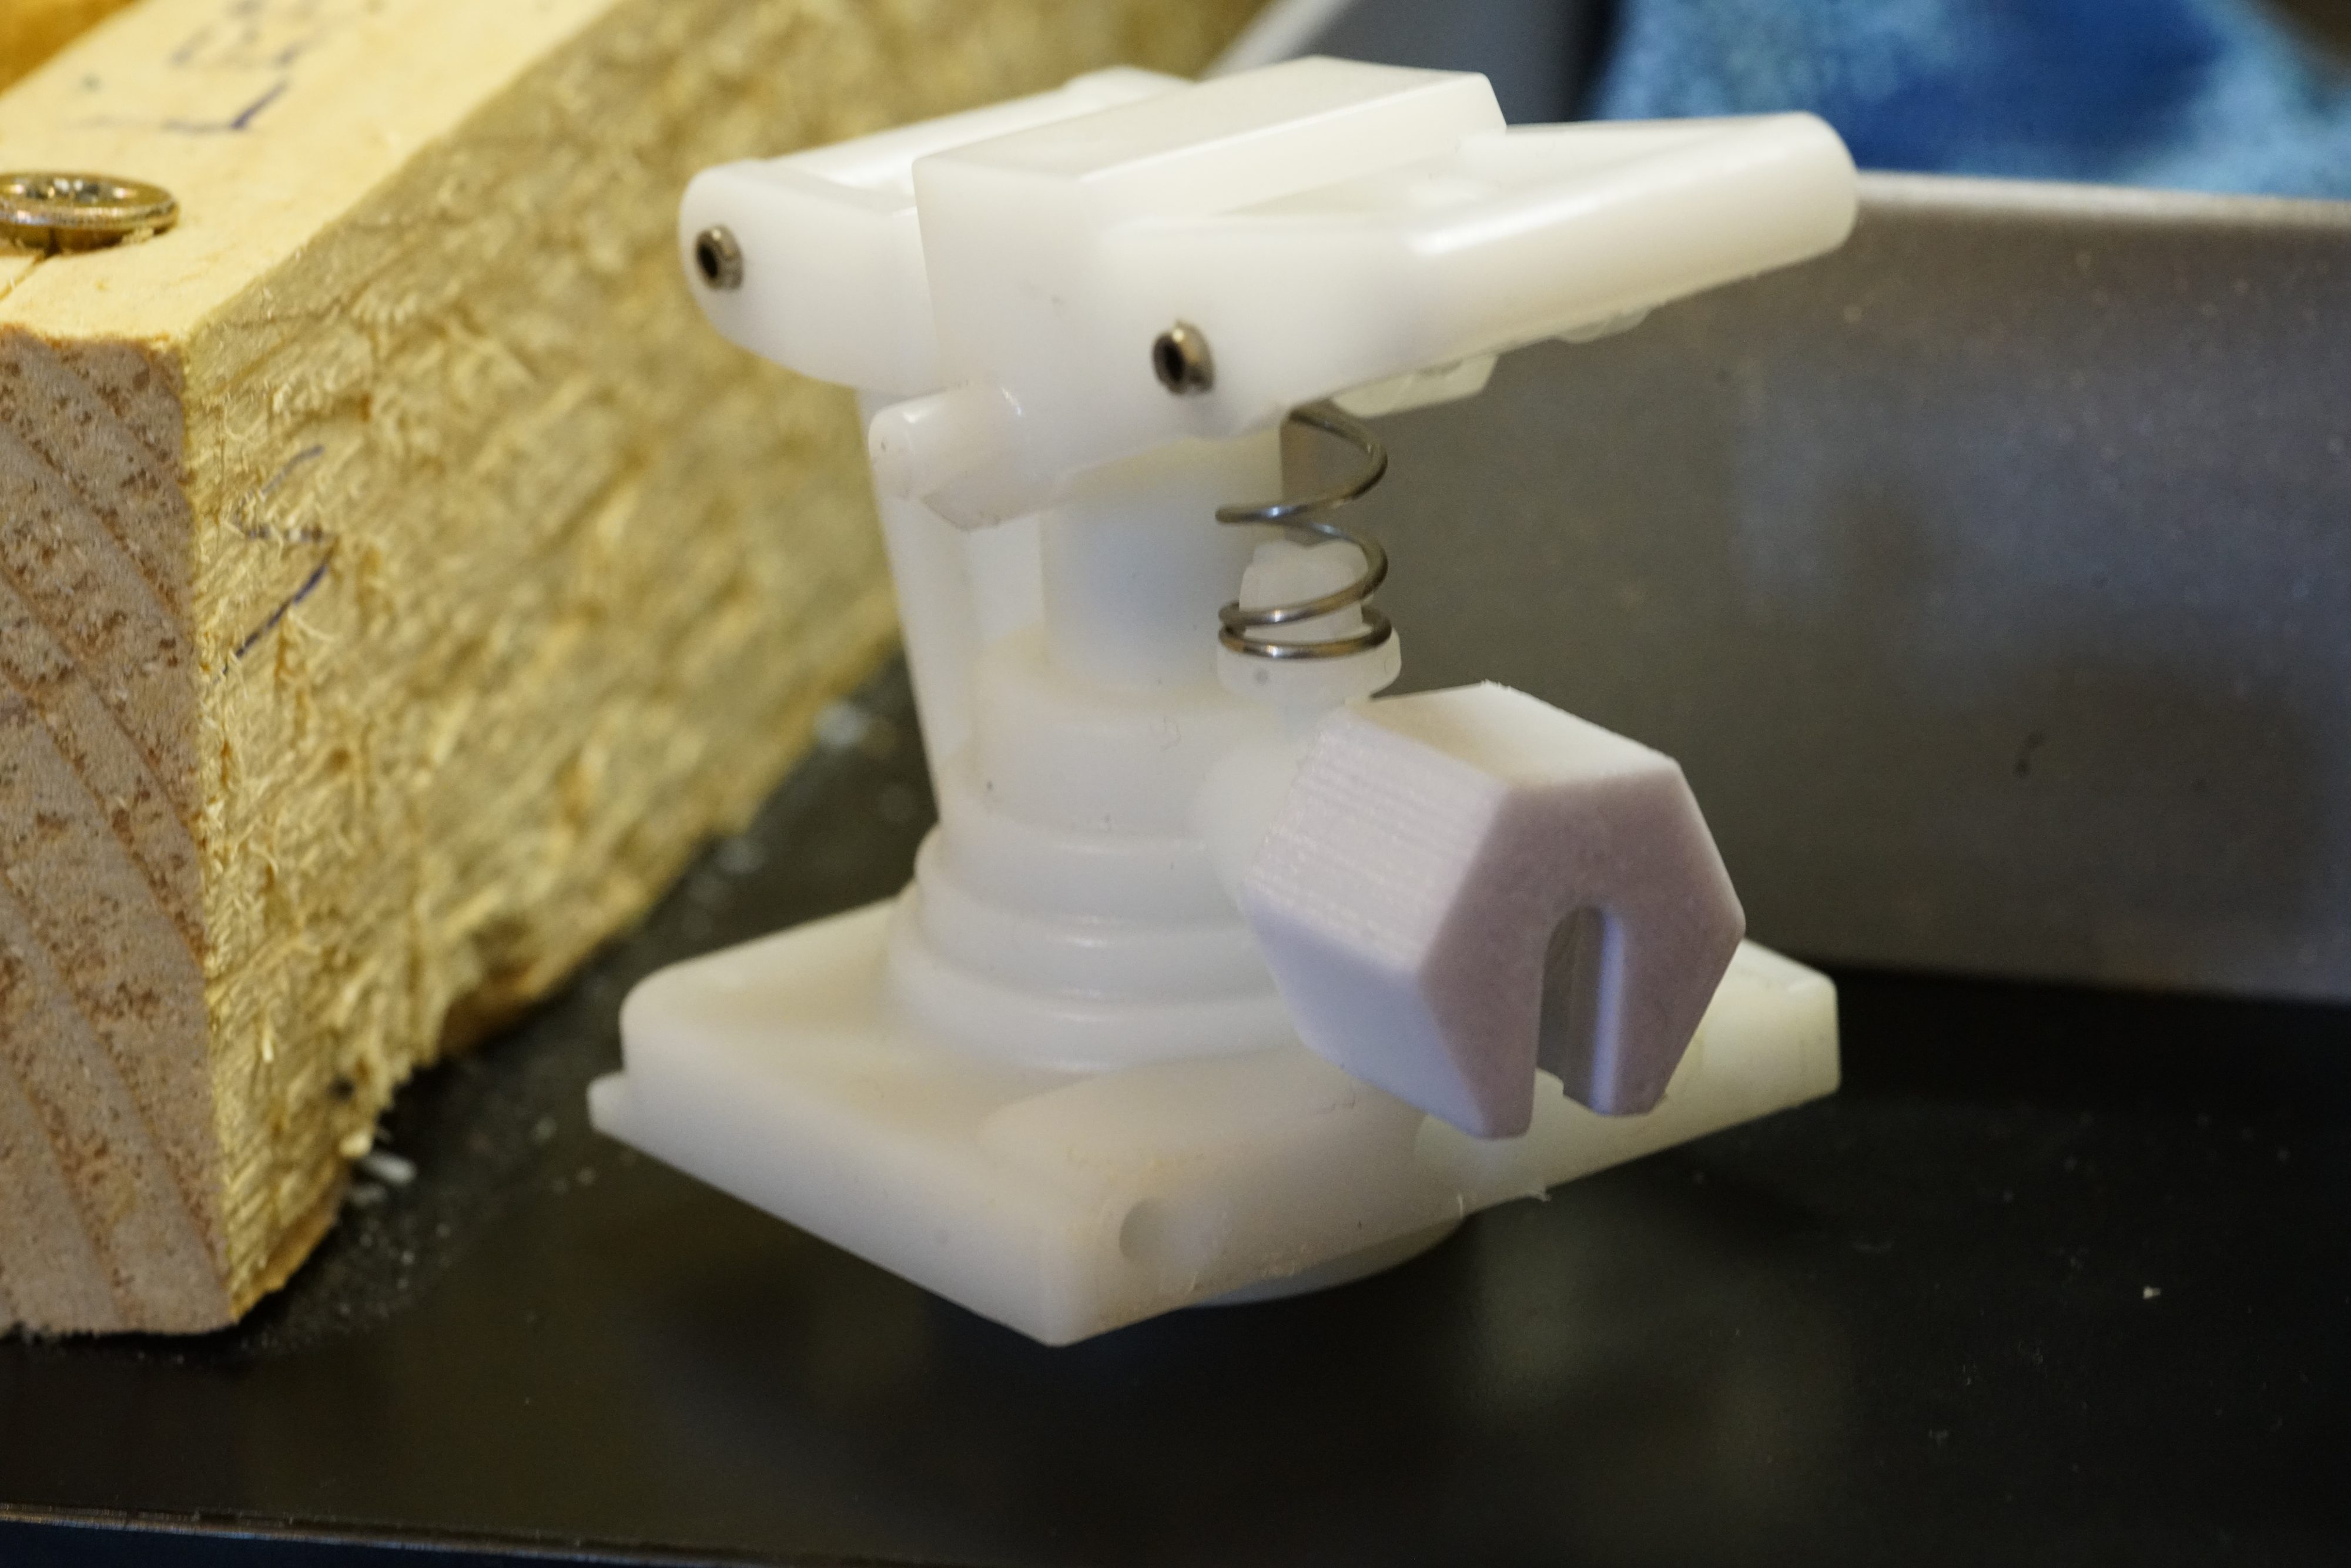
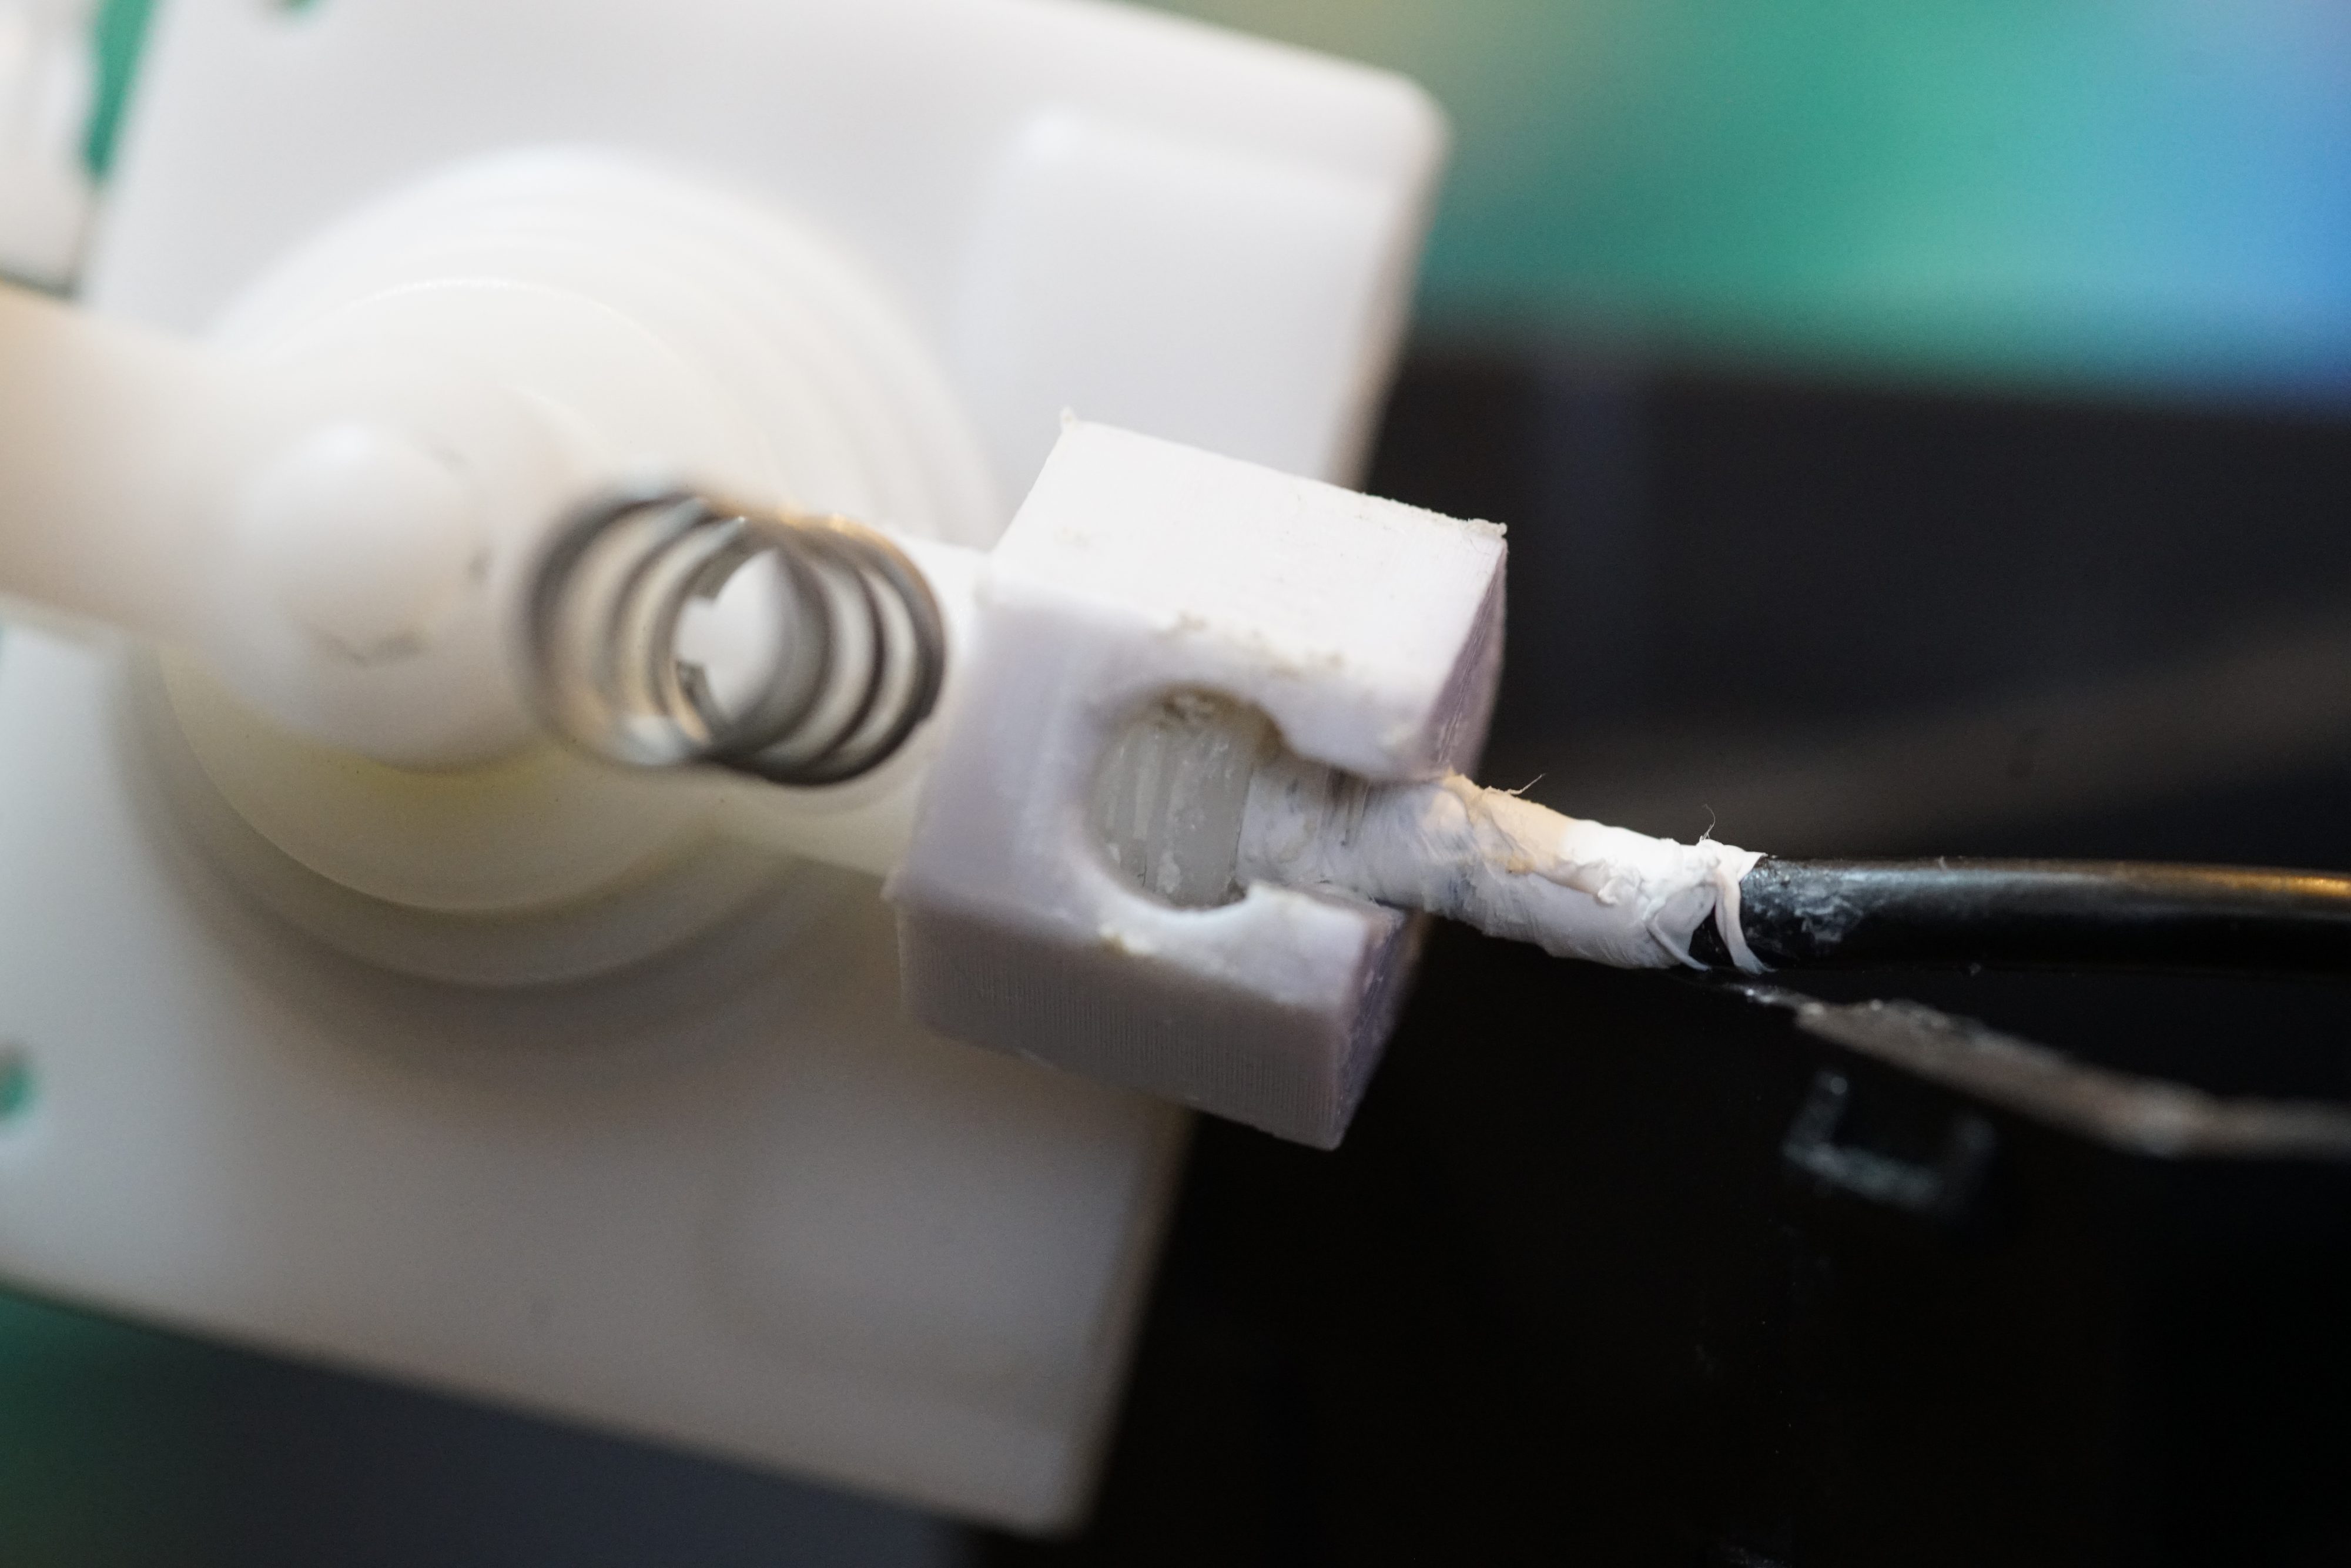
It seemed quite straightforward to me, so I initially tried using some super glue on the broken edges and stuck them back together. But guess what? When I reassembled it and pressed the button, it broke instantly. The air pressure was simply too high for the glue alone to withstand the force generated by the CO2 bottle. Next, I tried using one of the strongest adhesives I know: A-B epoxy, as shown in the photo:
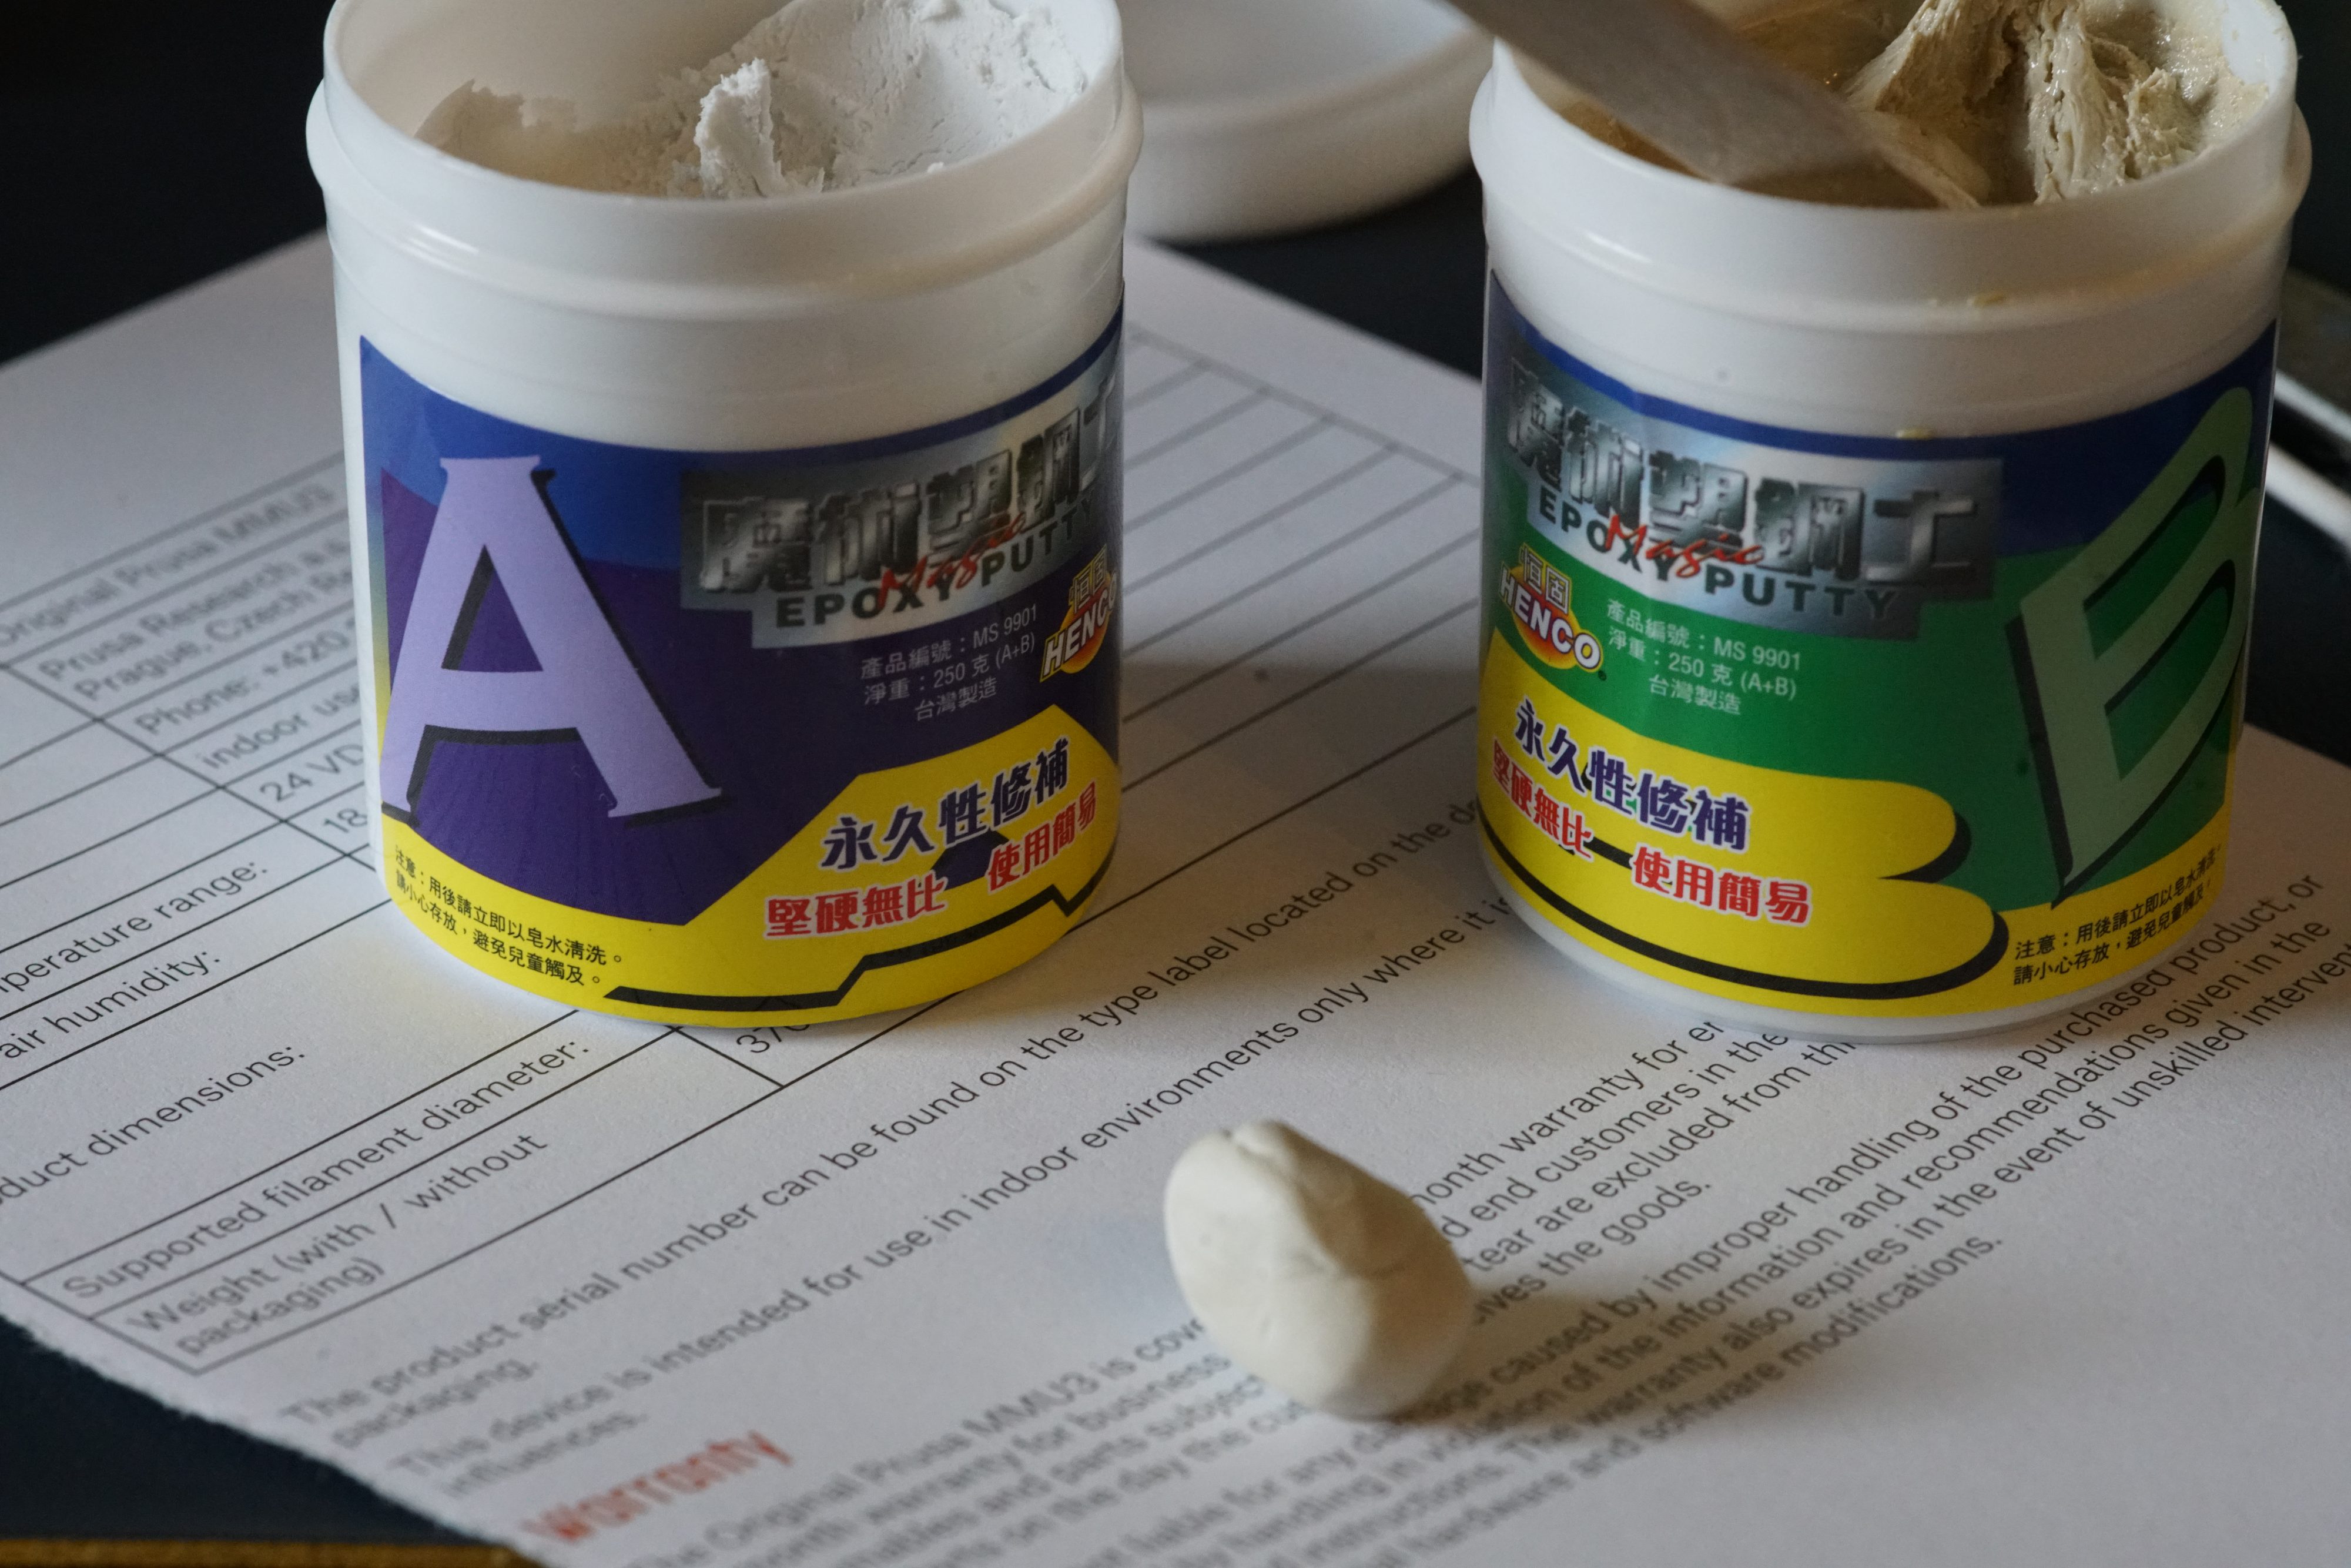
Yet, it still broke instantly upon use. I think I’ve experimented with numerous methods to bond them, including mixing superglue with baking powder, doubling the size of the epoxy paste compared to the plastic bolt, adding more and more around the nut, and even attempting to glue the tube without the nut.
After many attempts, I was about to give up. But it felt too straightforward to surrender. I believed there had to be some spare parts available online, so I started some research on the internet.
It turns out, no spare parts were available from SodaStream. However, I discovered that many other people had encountered the same issue as me: the machine broke just after the warranty expired. Fortunately, I found these Reddit posts (here and here) that described the same problem. Users even mentioned that this part is designed to fail, which I felt compelled to write about so anyone stumbling upon this post would know it could be fixed, instead of just discarding the entire machine.
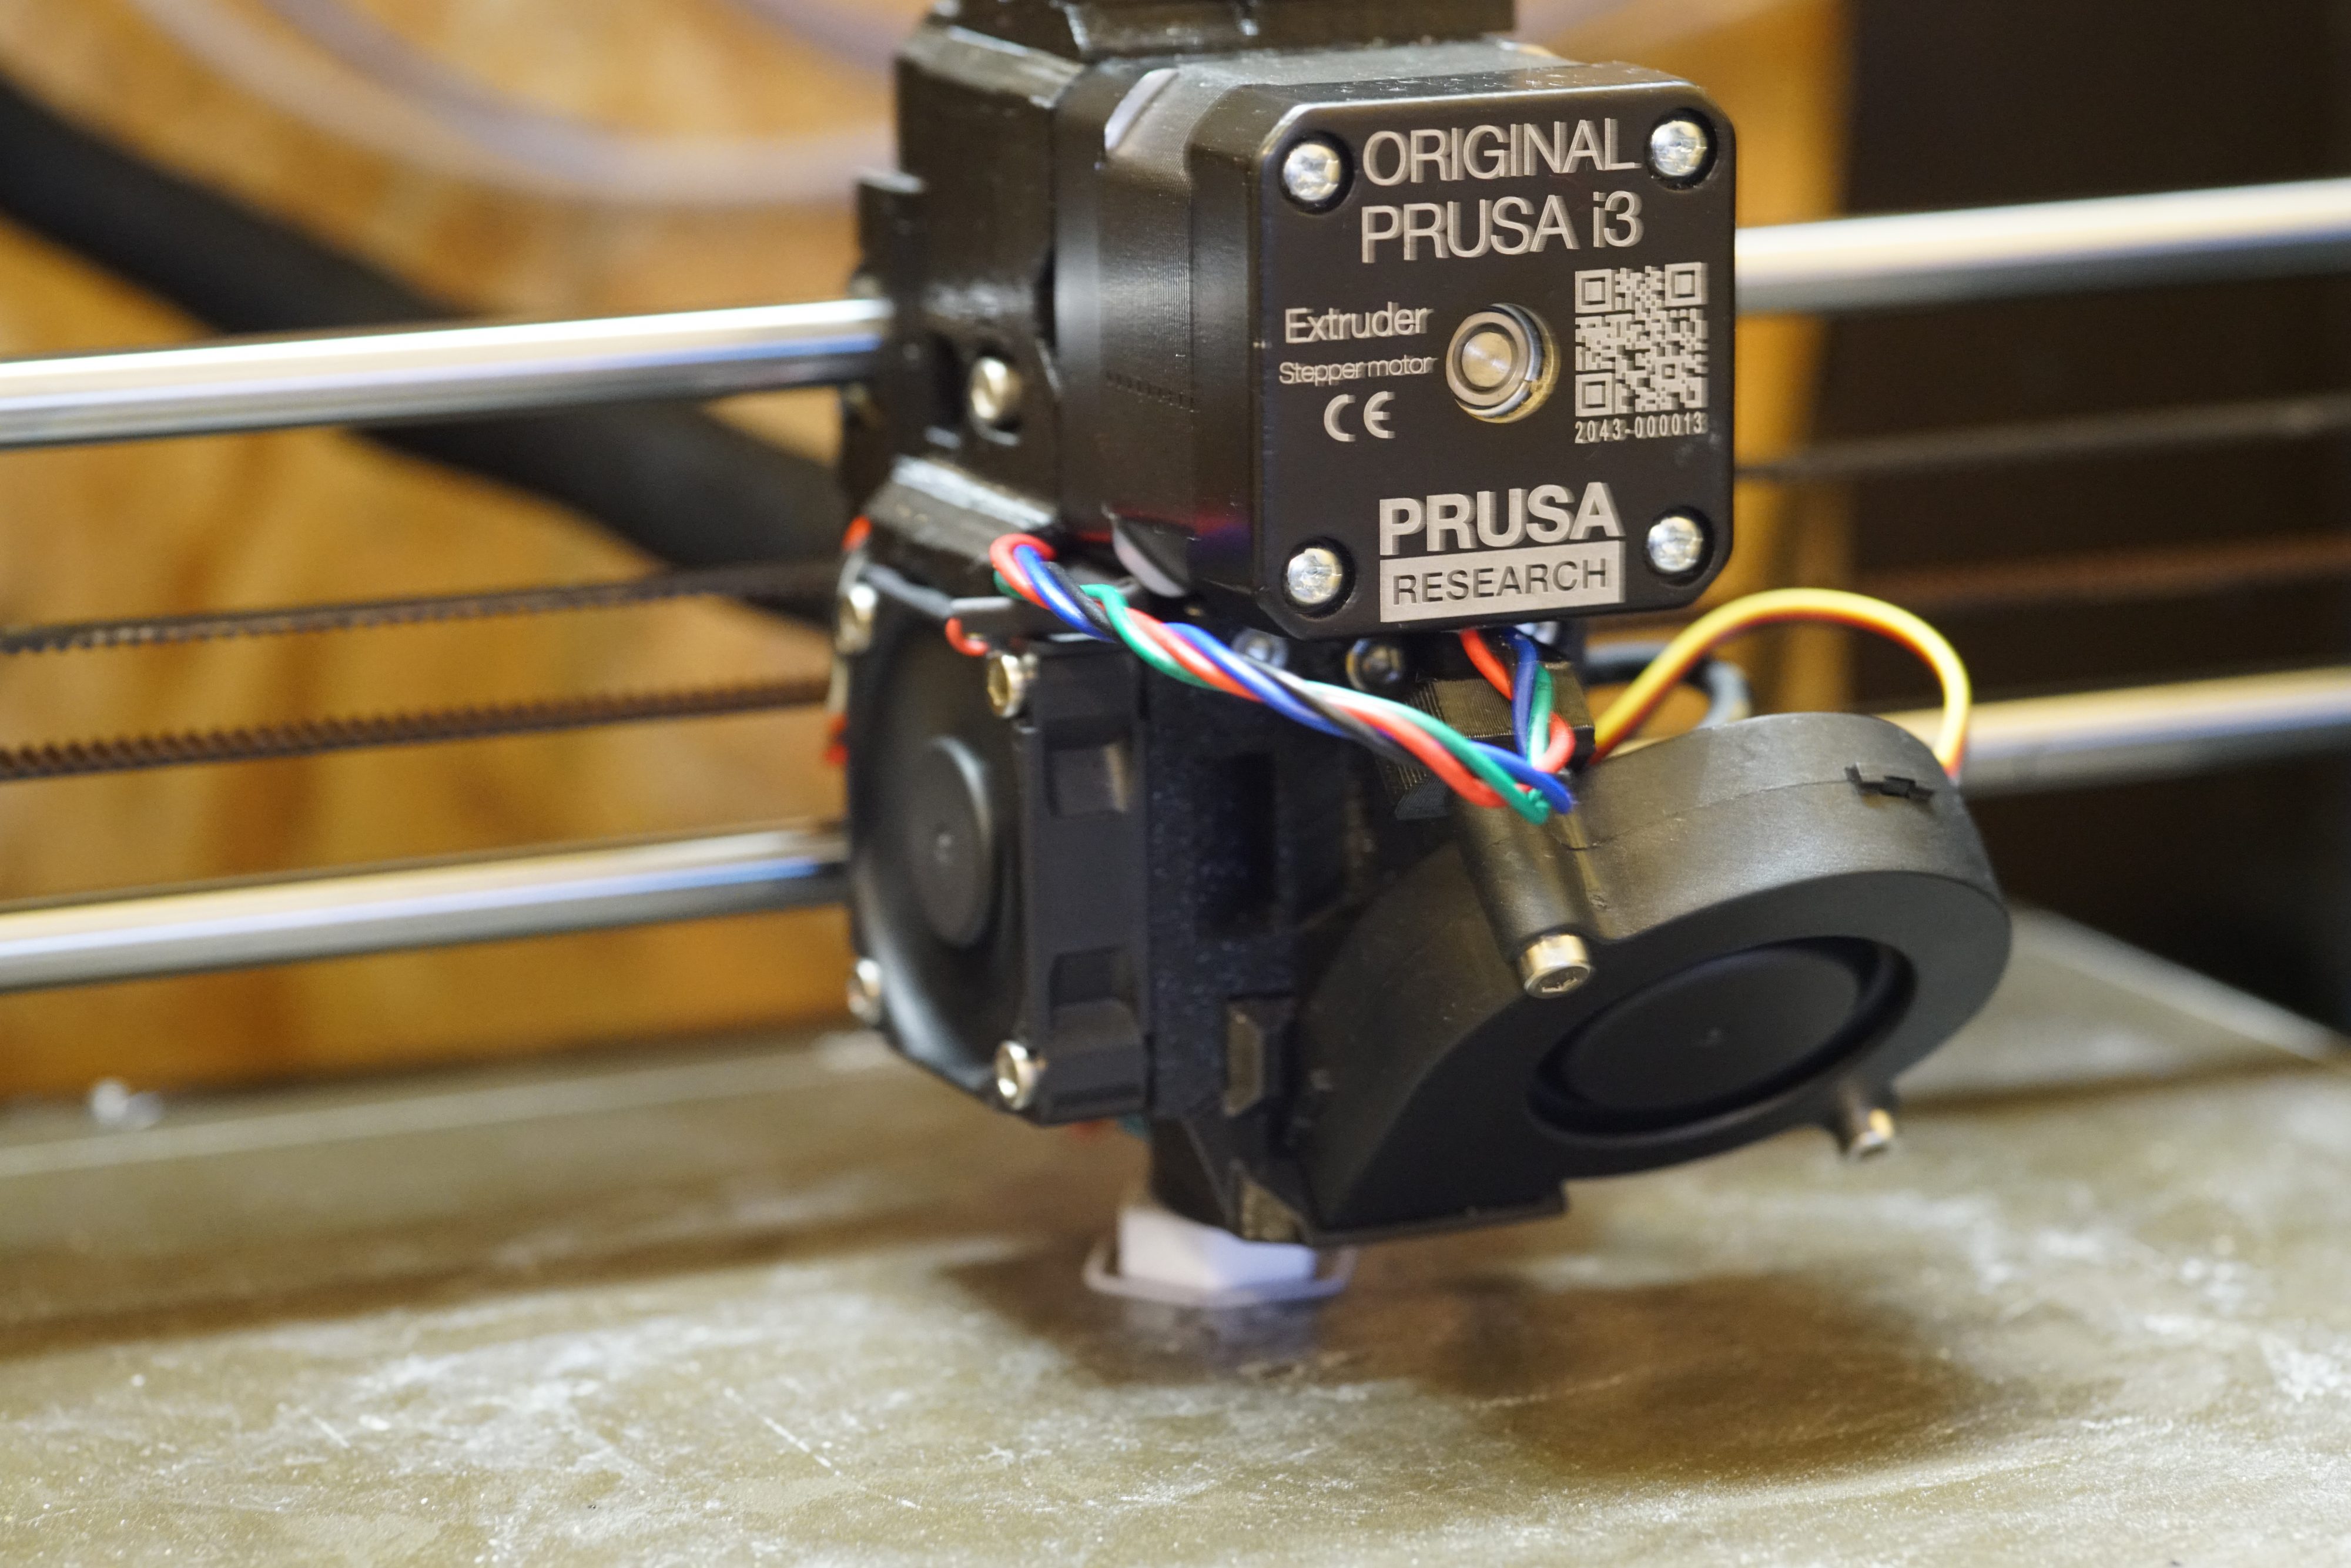
In the same post,I learned that people had resolved this issue through 3D printing, which seemed almost too good to be true. I immediately located the file on Thingiverse and printed it using my Prusa i3 MK3S+ 3D printer.
After installing the new bolt, I was overjoyed not to hear the dreaded cracking sound when pressing the button. It worked remarkably well. To ensure no water leaks and to solidify the repair, I added some extra epoxy for reinforcement along with some plumber’s tape on the inside.
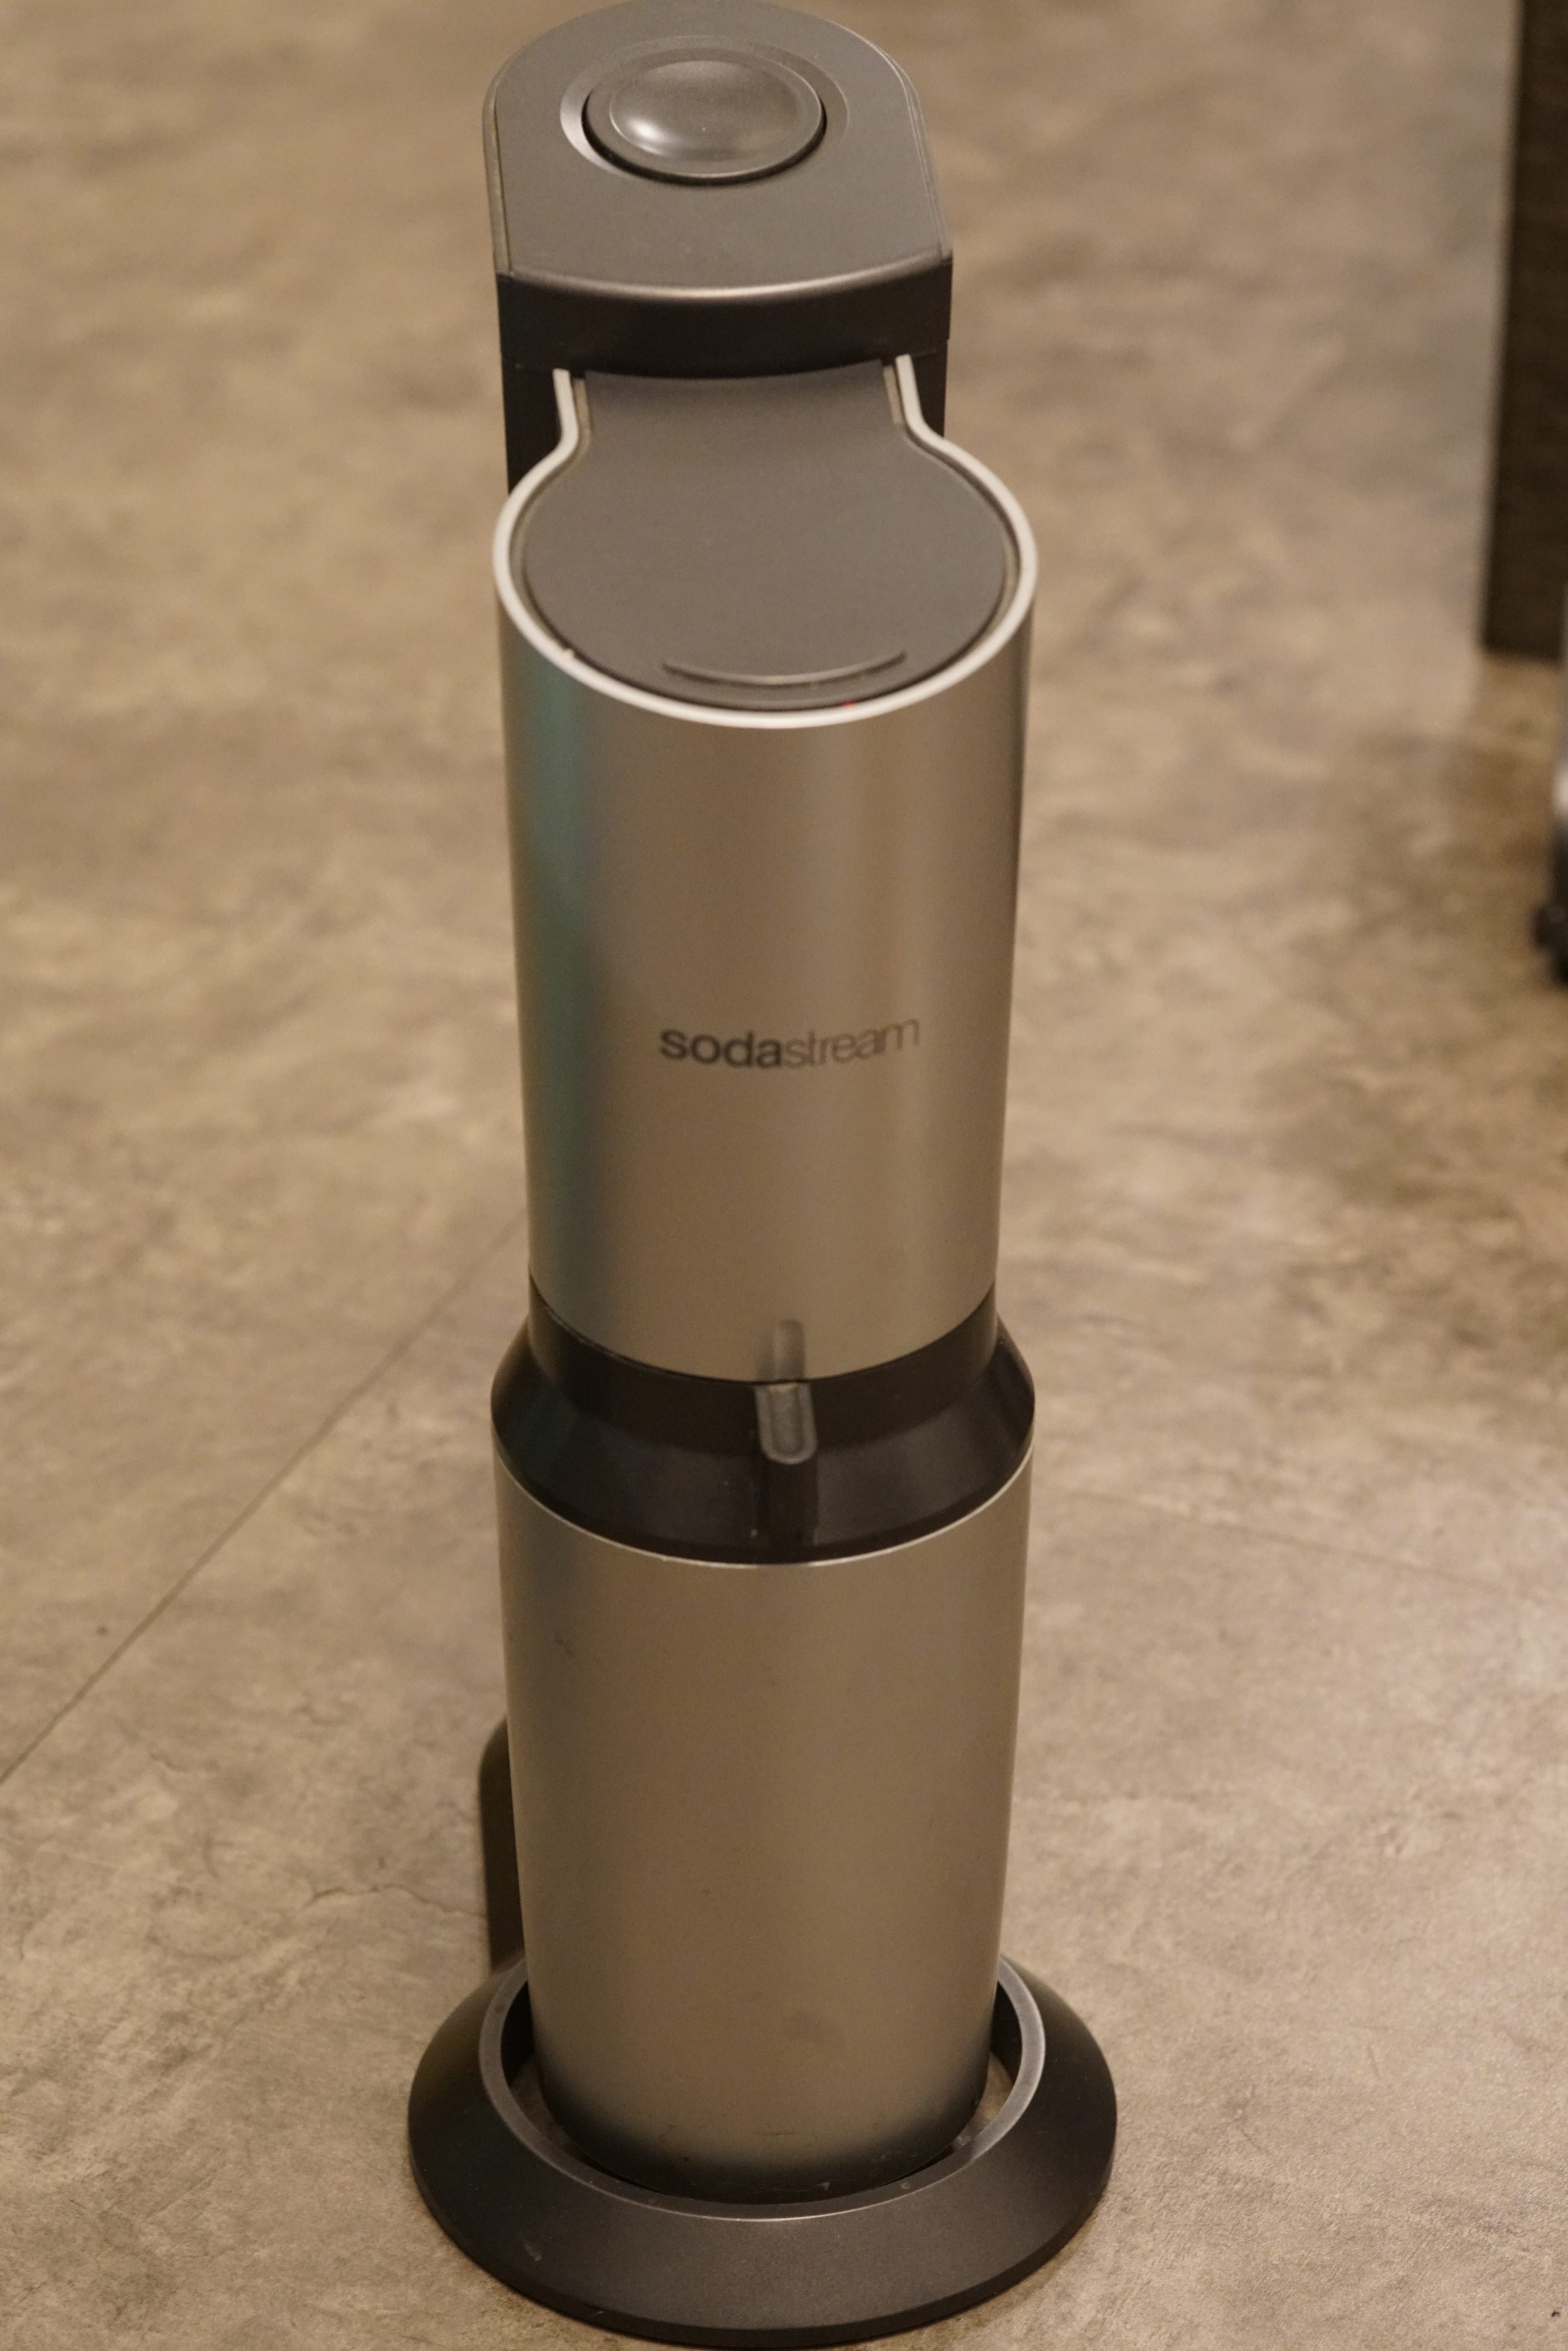
Voilà, a repaired machine with an extended lifespan. 😀