Last time, I showed how I built an add-on for my brother’s watch. This blog will focus on the creation process of the PretoWatch.
This will be the first watch ever designed primarily with a focus on vibration functionality. I aimed for it to be energy-efficient and not require daily charging like most smartwatches.
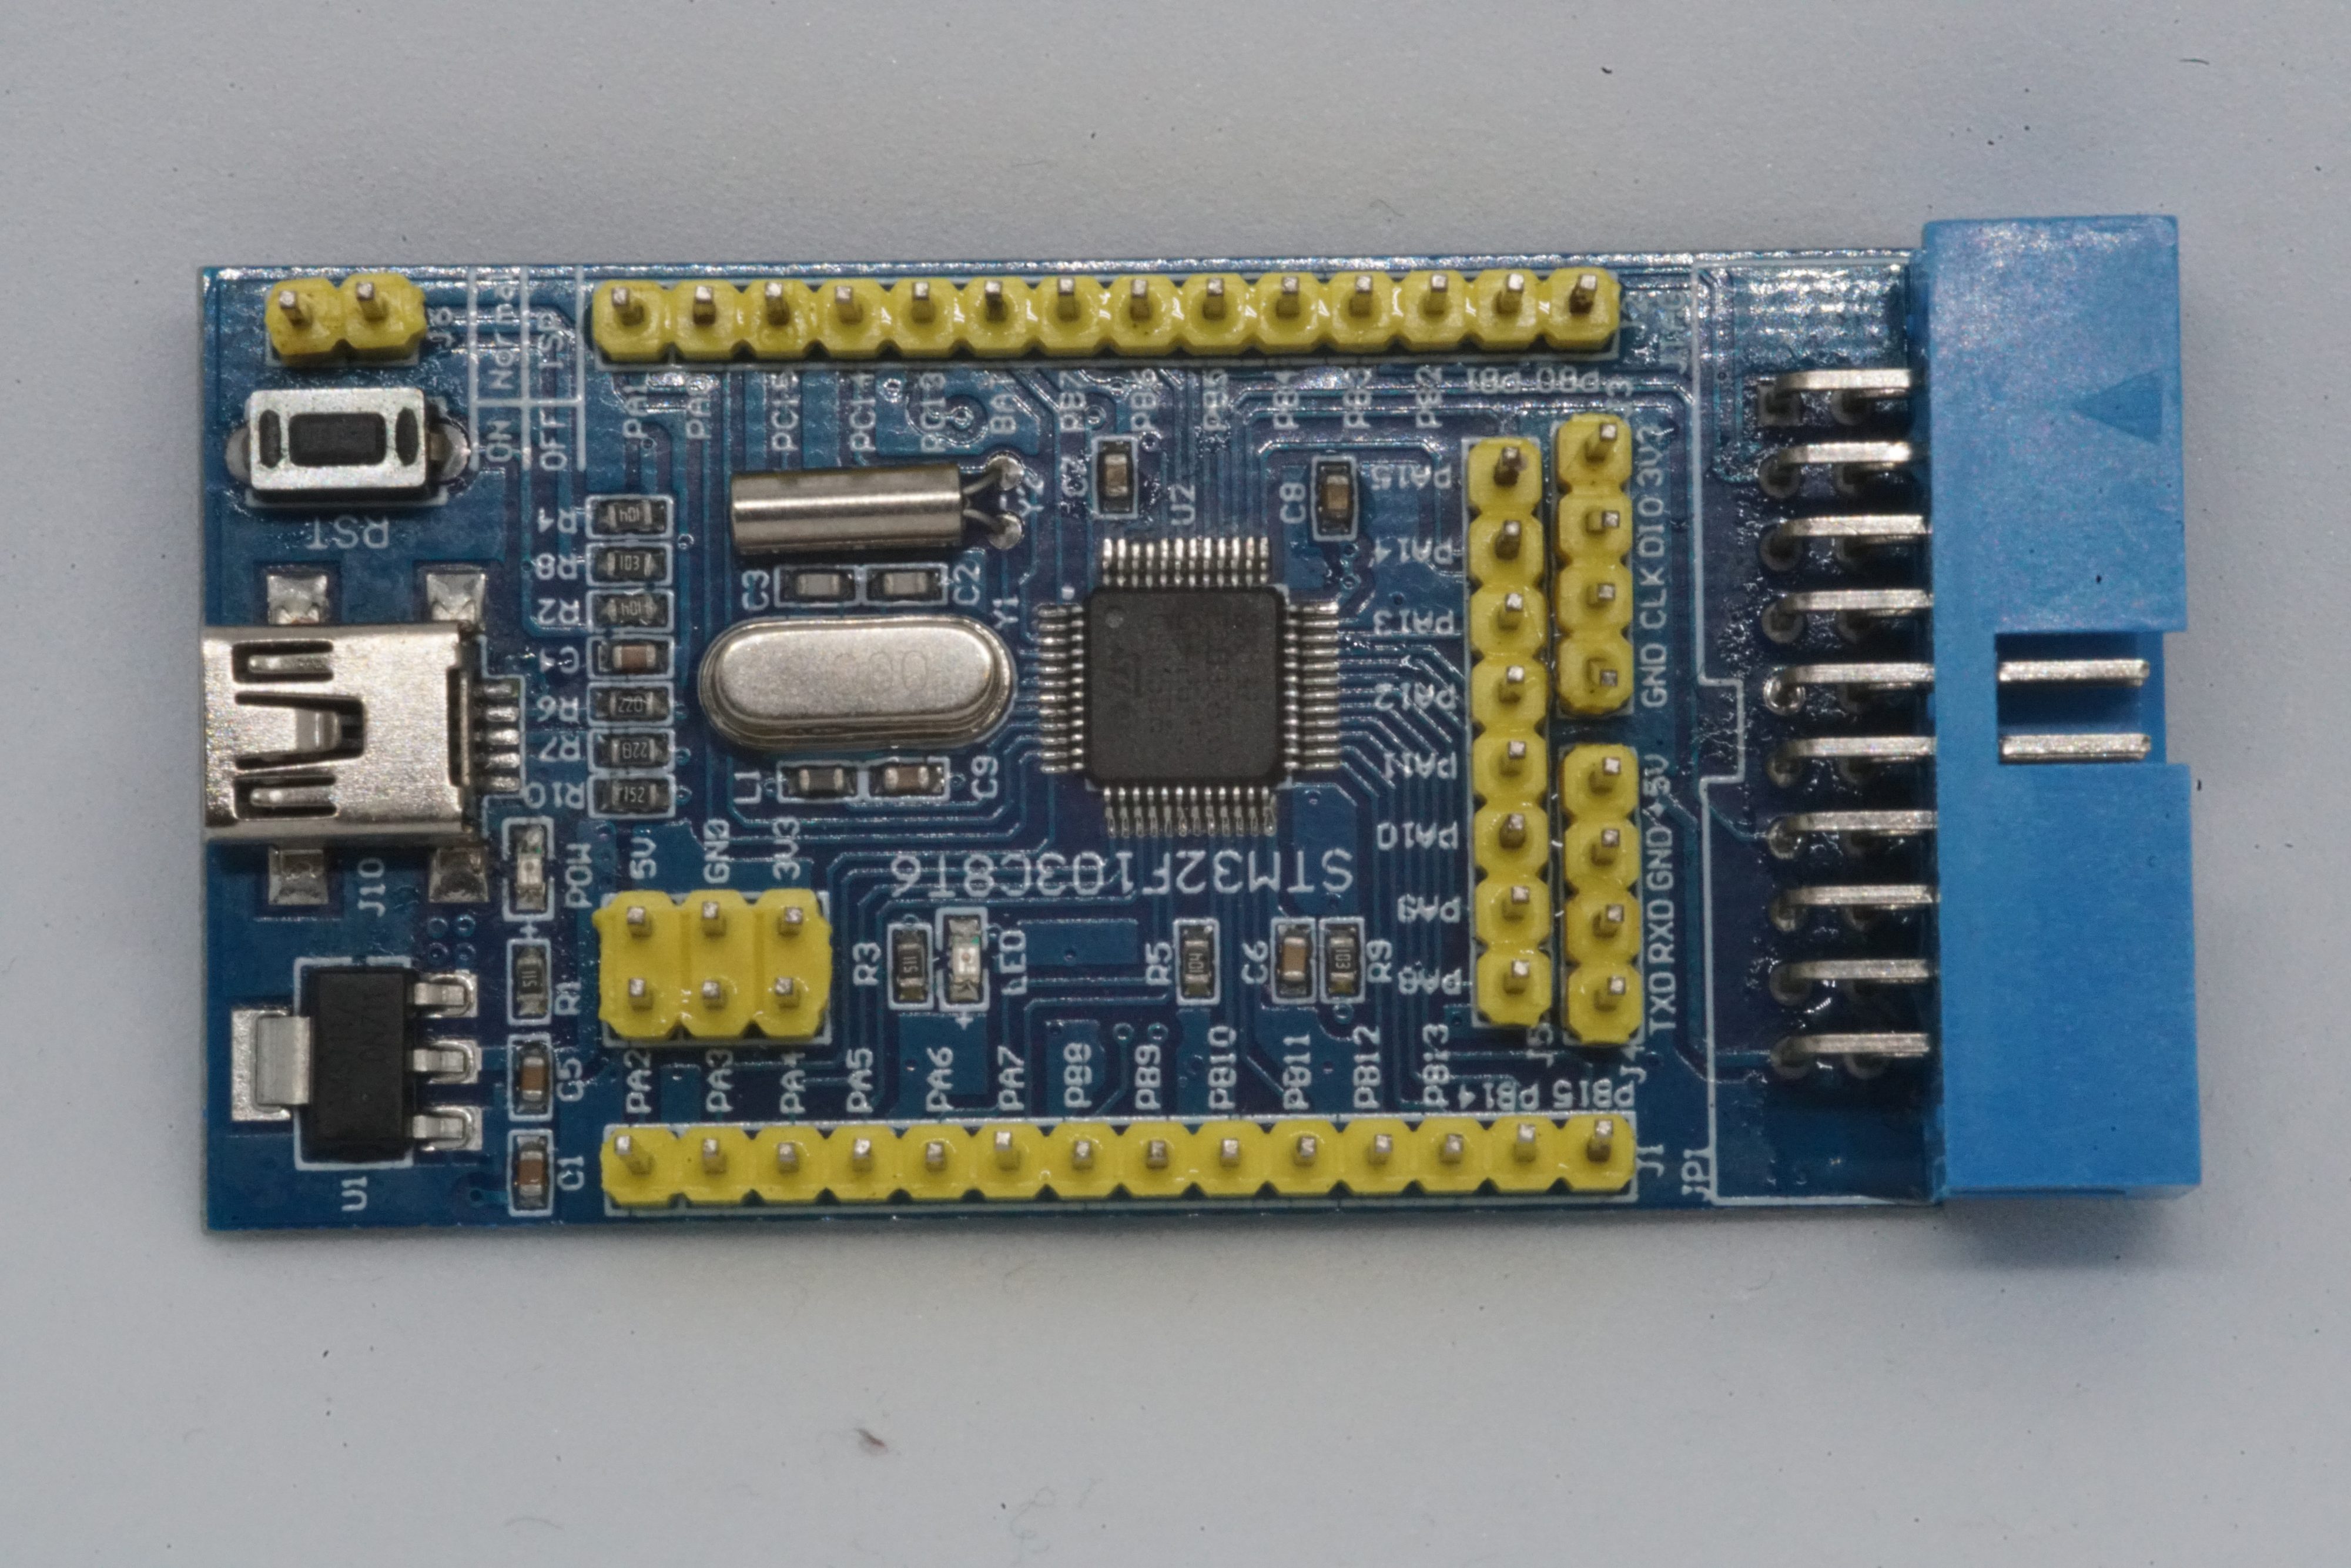
I chose the STM32F103 as the MCU for this prototype project because I’ve had this development board on hand for some time.
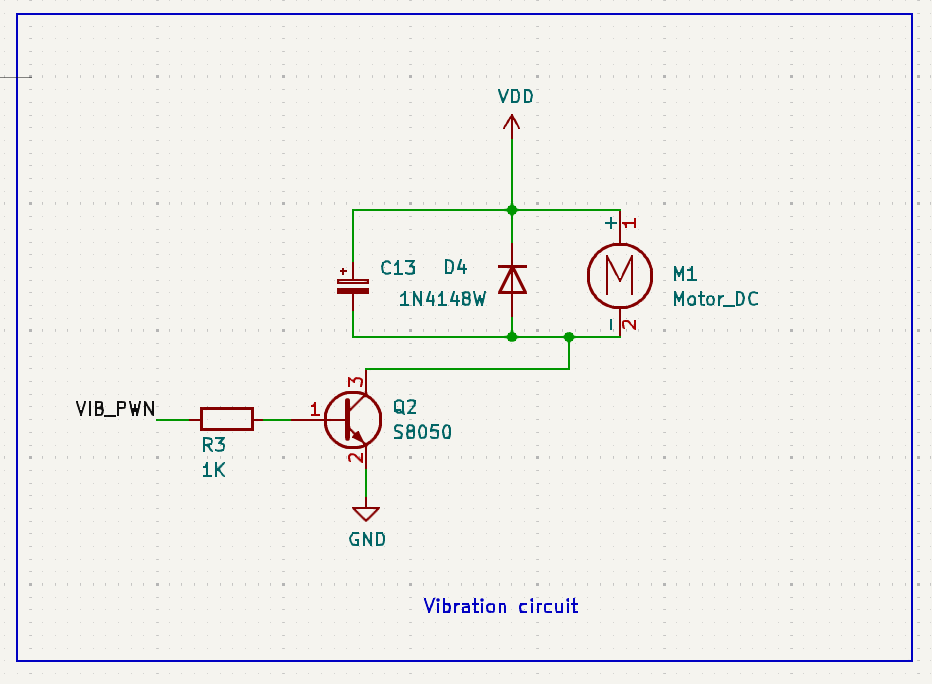
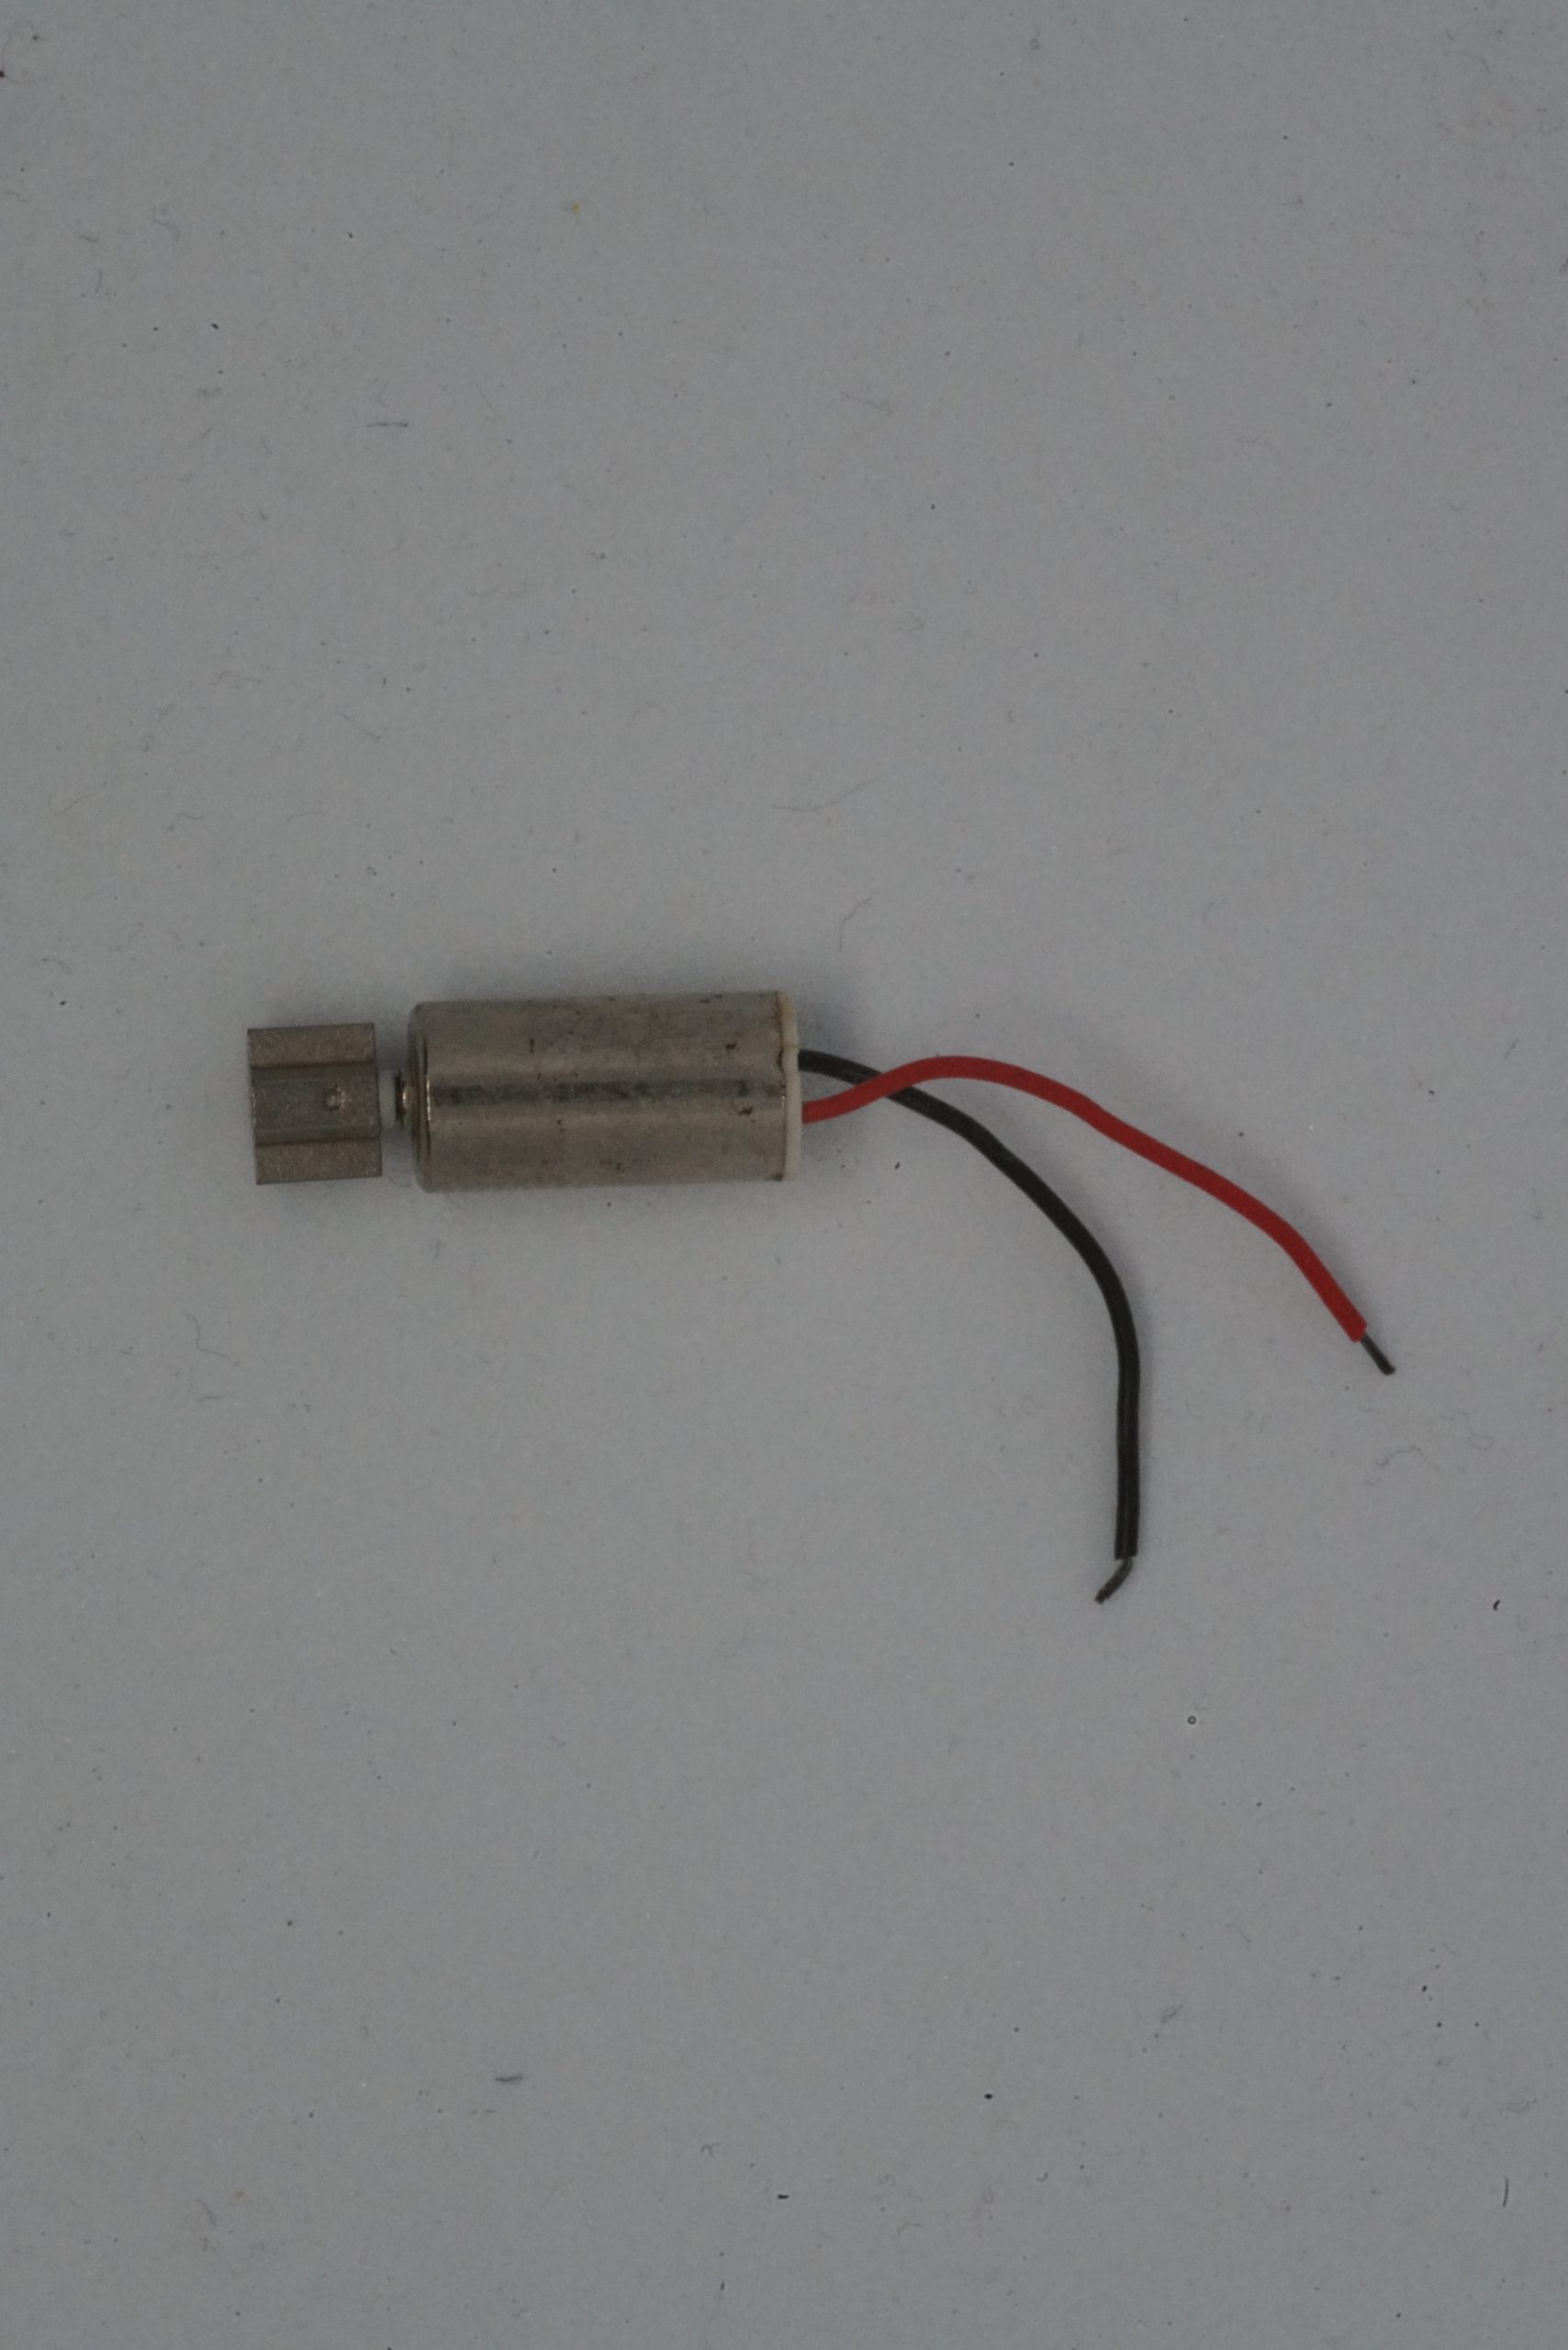
Of course, a vibration motor was necessary.
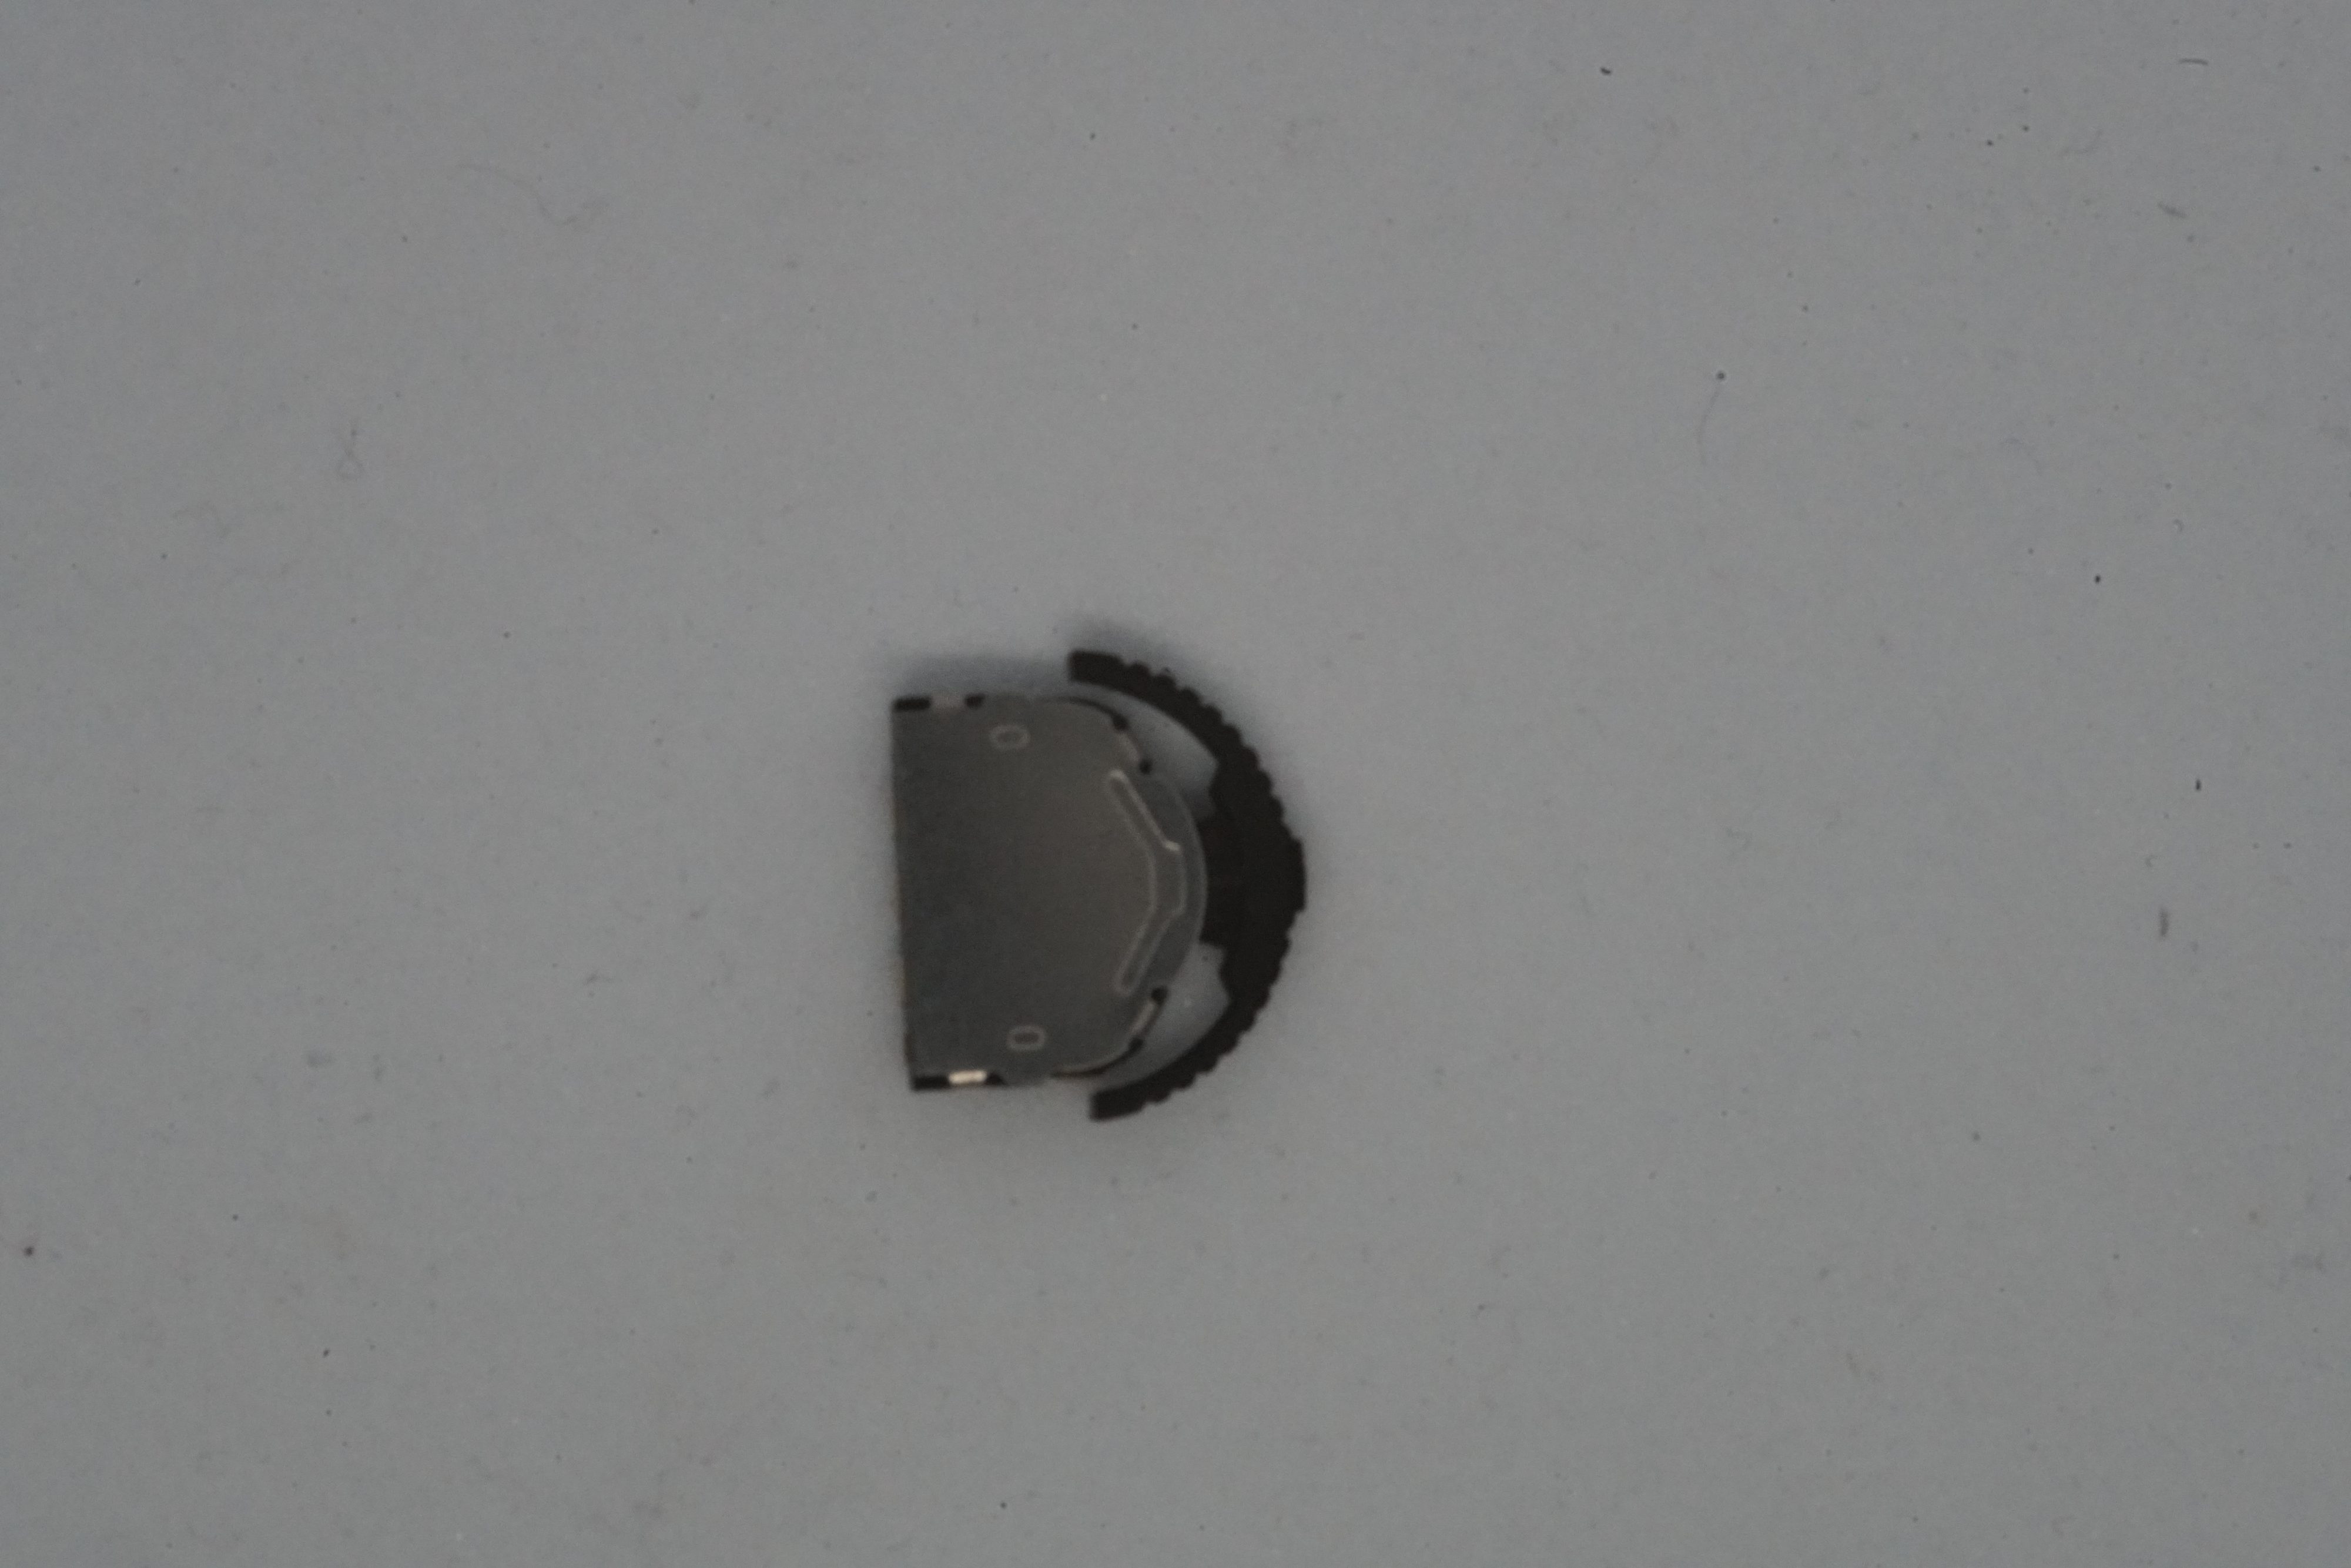
A normal watch requires some method for user interaction, like a touchscreen or buttons. I opted for a side switch, which takes up only a tiny space on the PCB and allows for three different input methods (slide up/down or press) to act as three buttons serving various functions.
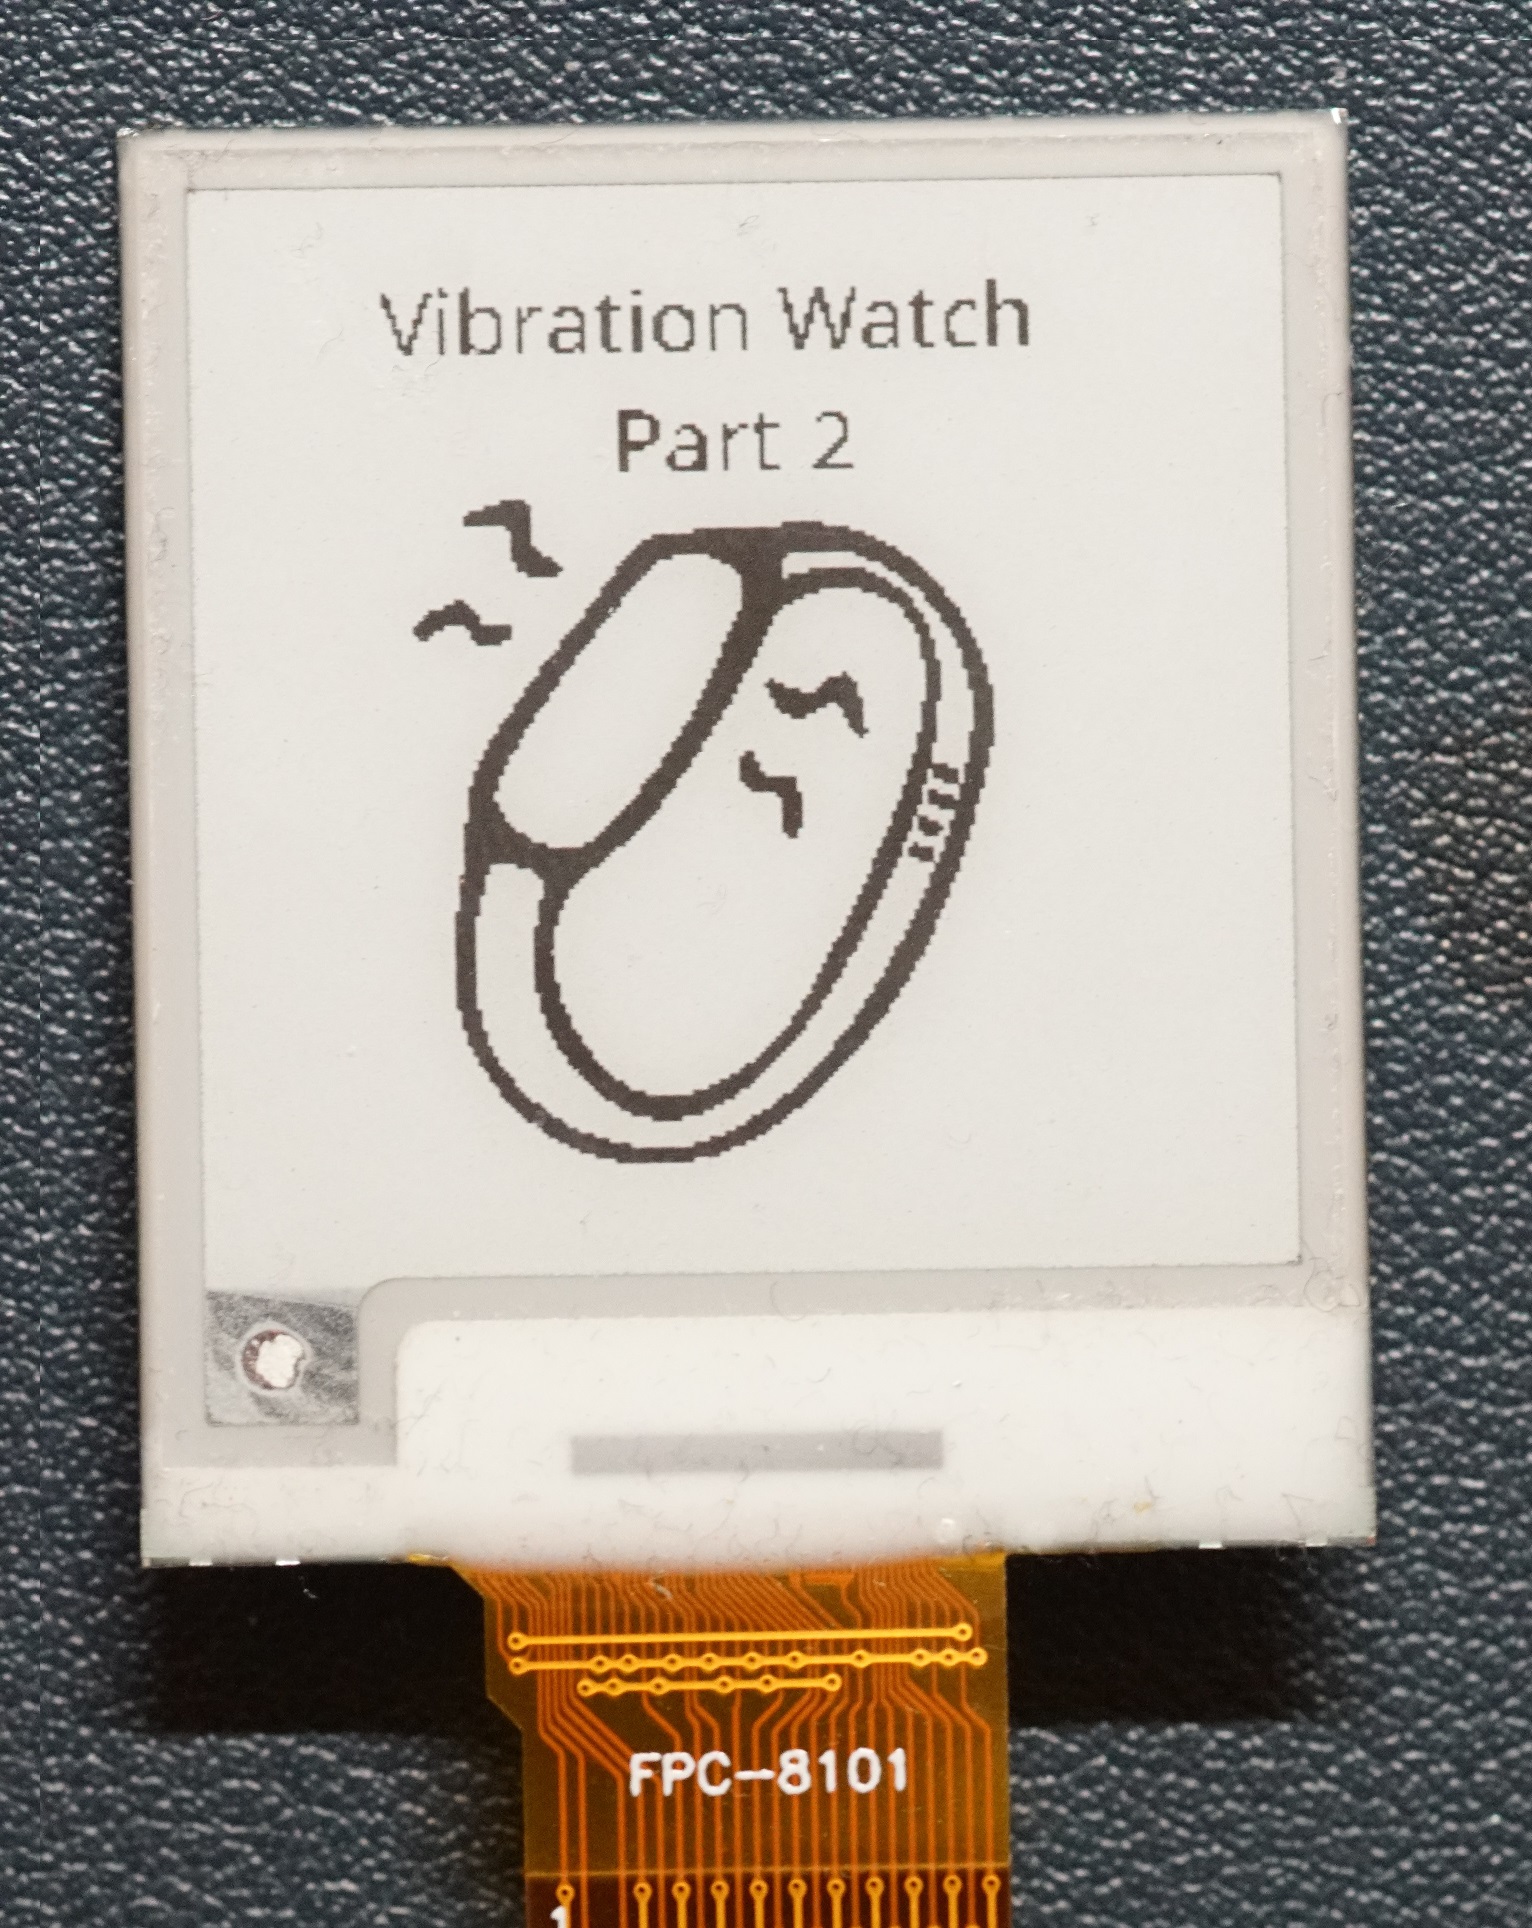
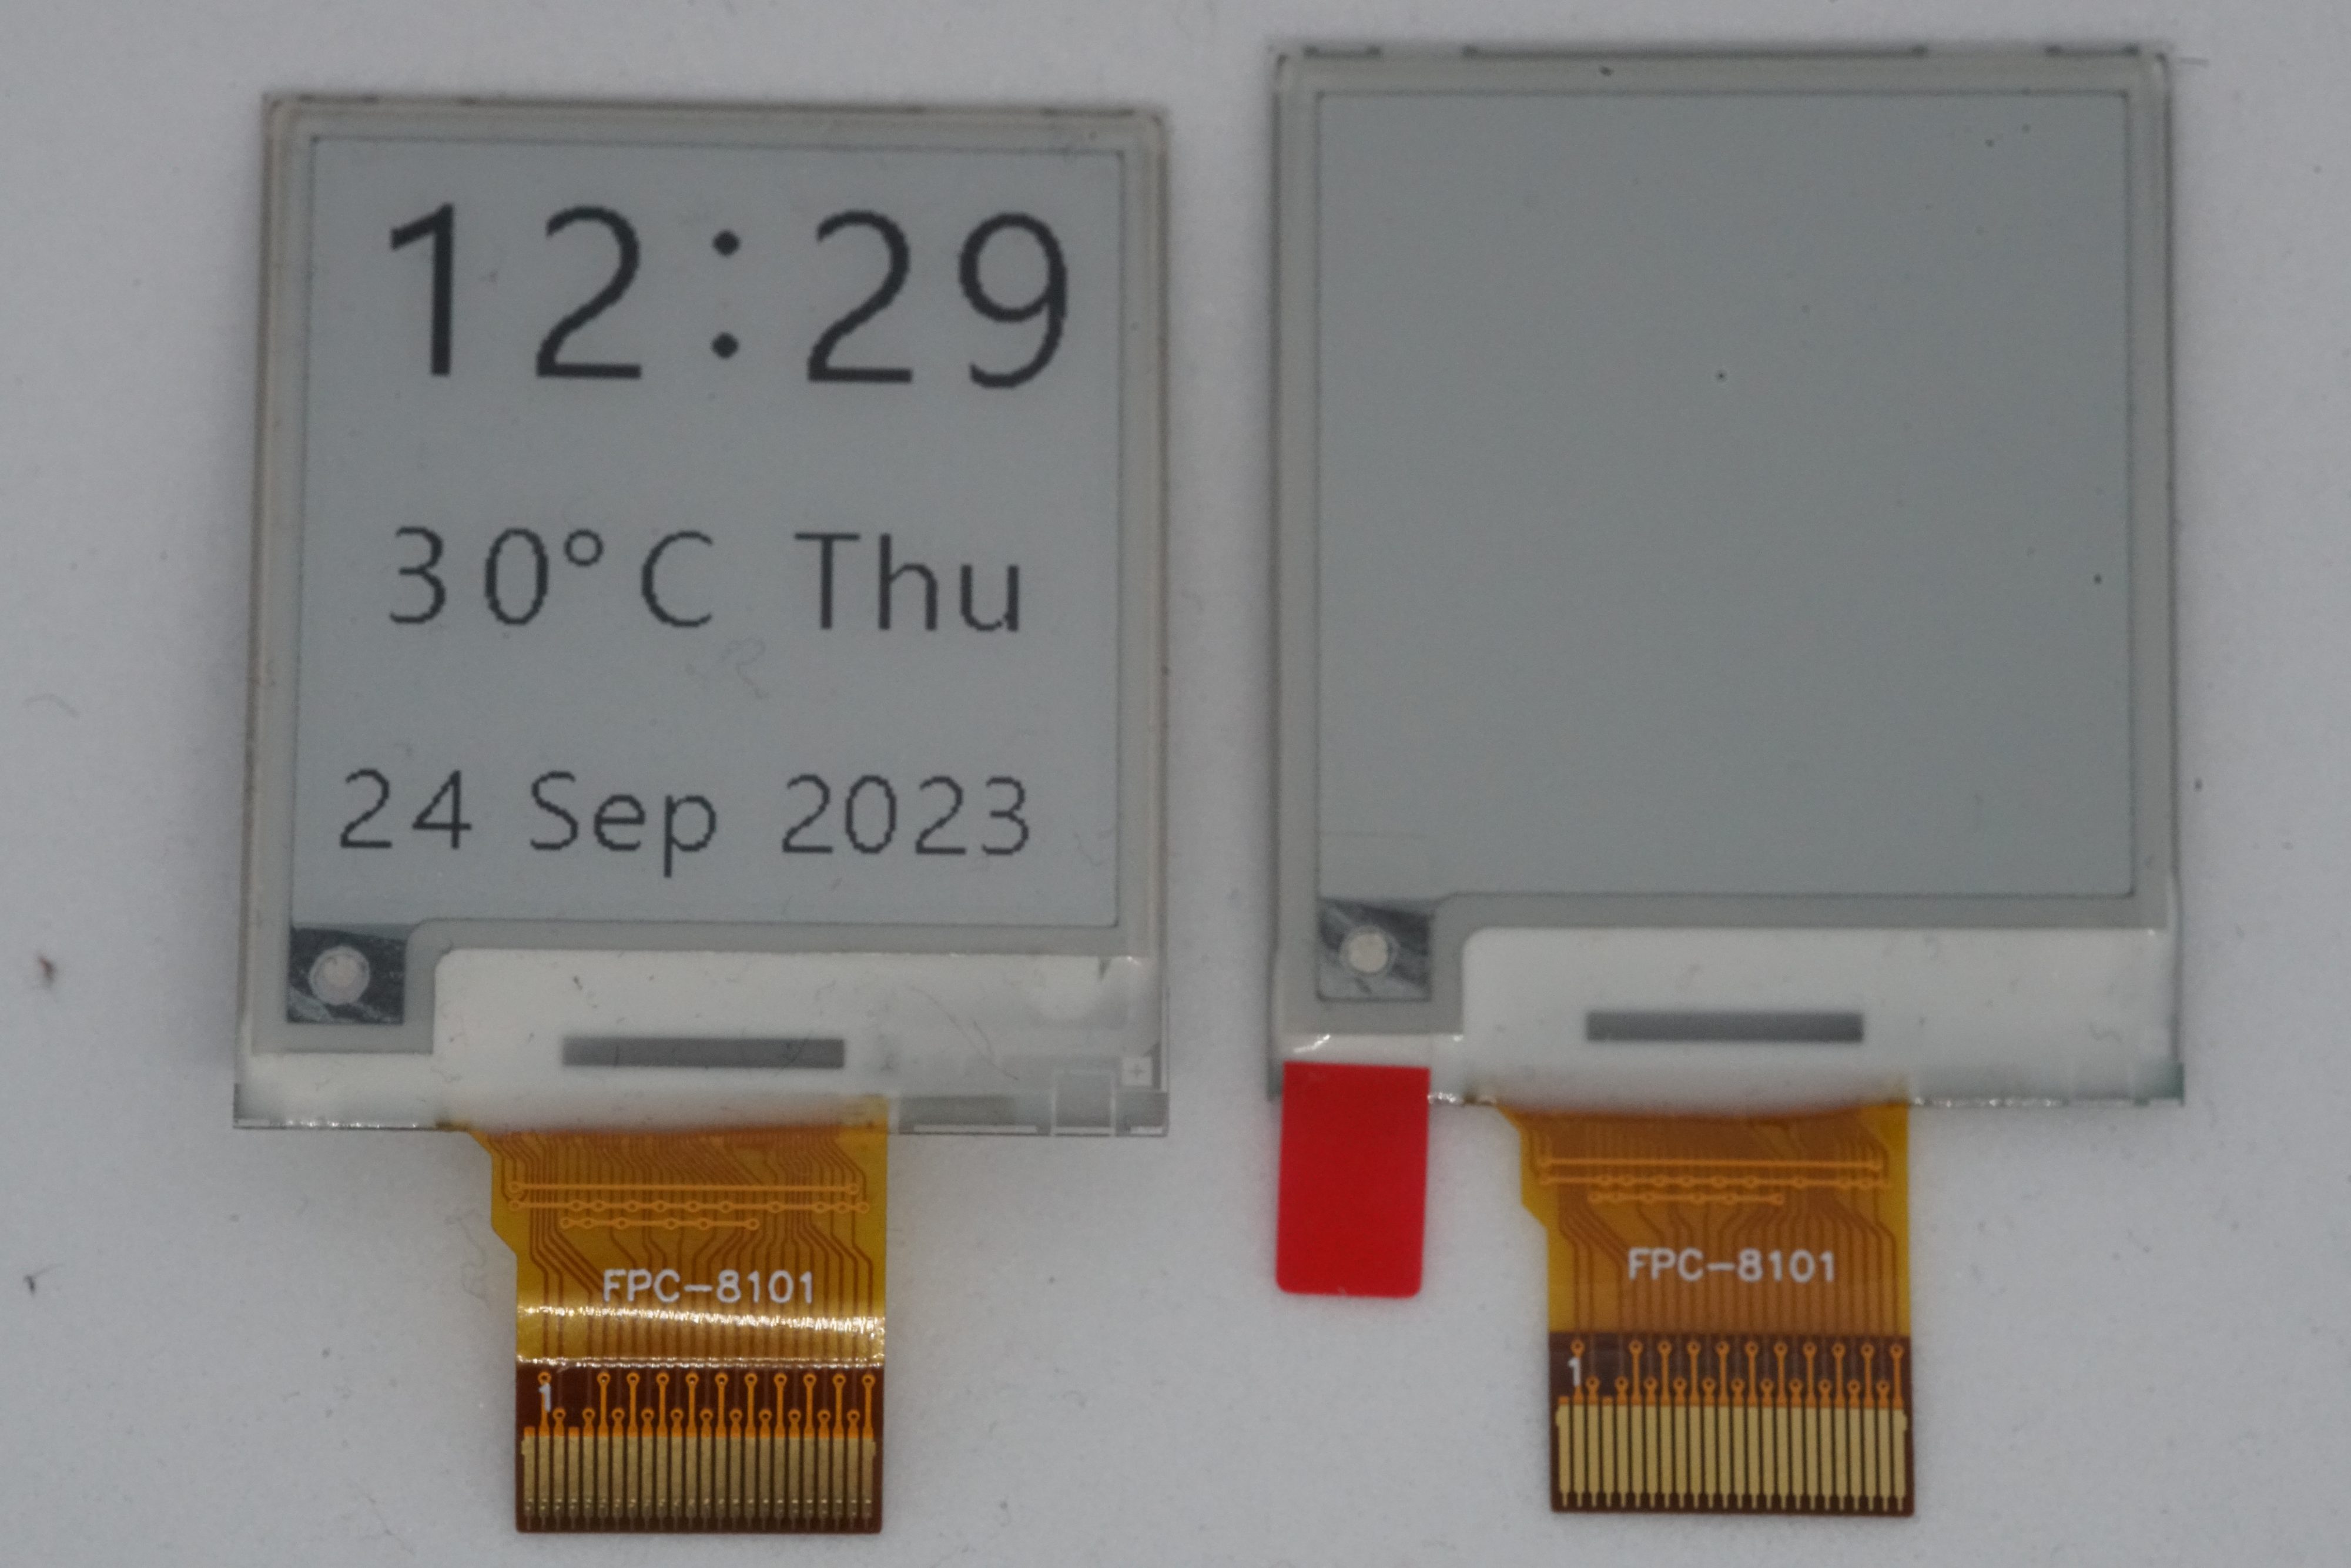
Additionally, a system must provide user feedback for configuration. For this purpose, I included a 1.54-inch E-ink screen. I chose an E-ink screen for this project due to its energy efficiency; it only consumes power when changing or refreshing the content on the screen, similar to how the vibration motor only uses energy when it vibrates. This feature is optimal for my project, as I aim to create a watch that doesn’t require daily charging like most smartwatches on the market.
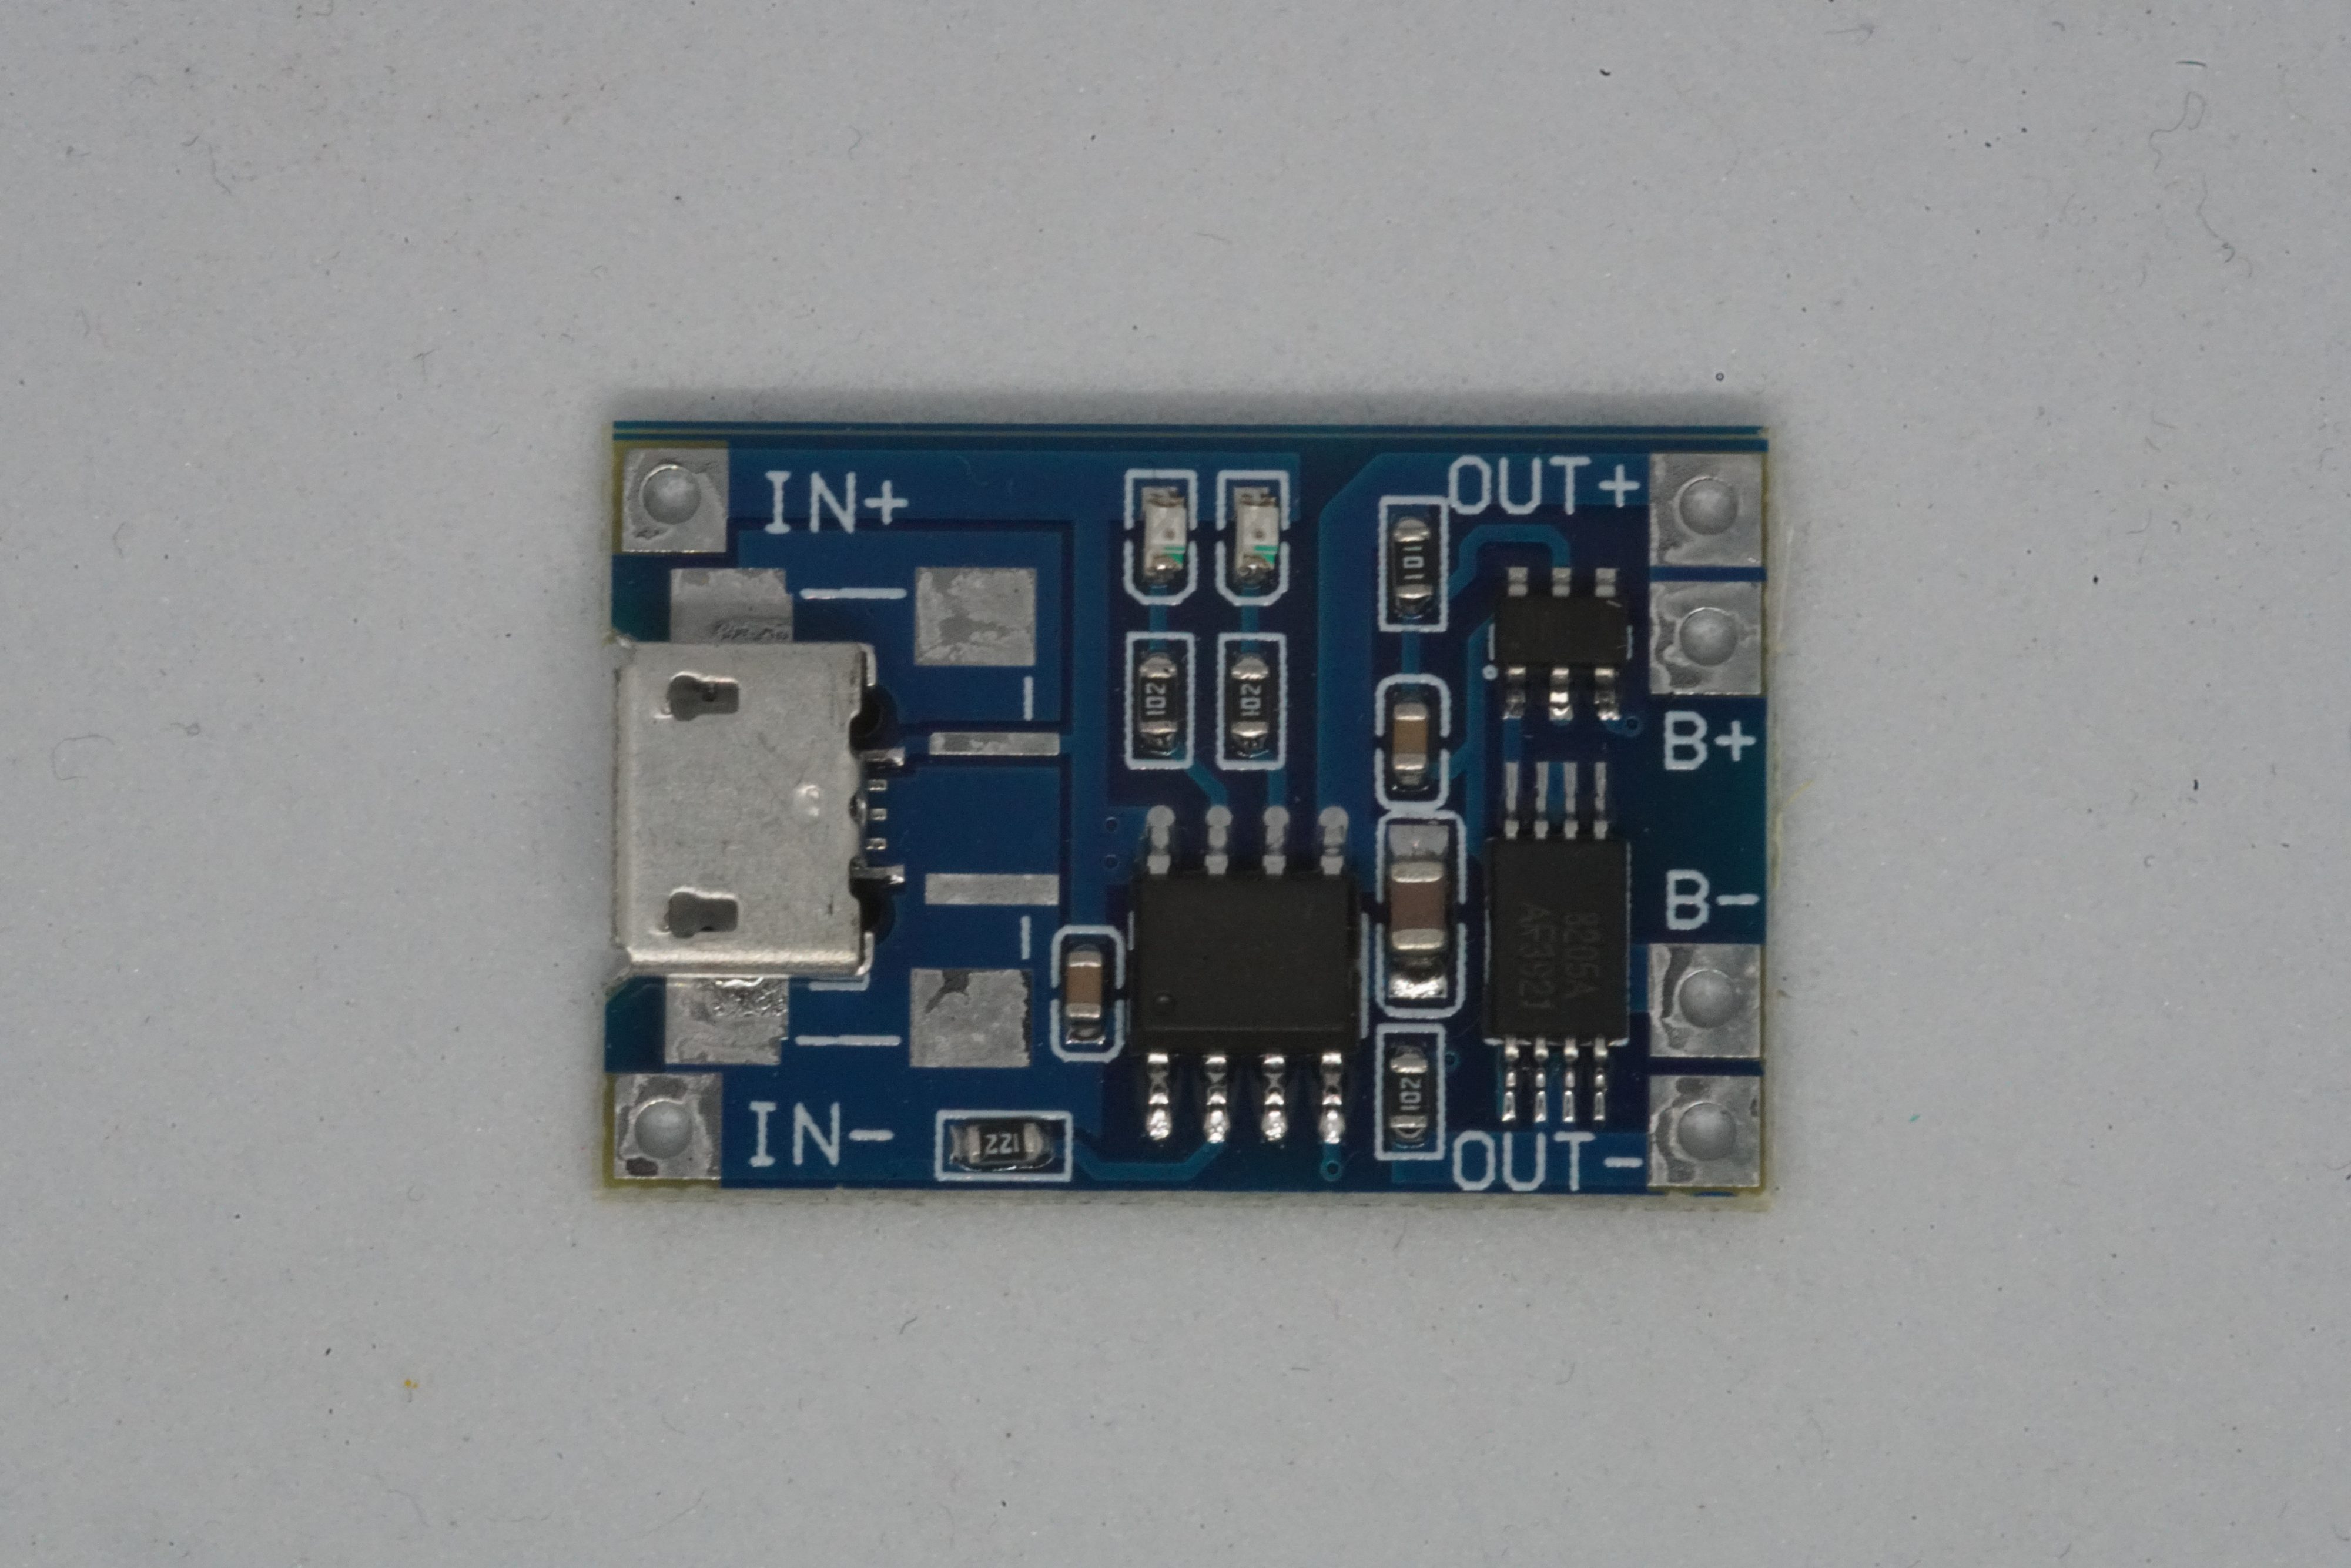
For the power source, I plan to use a LiPo battery. This board offers overcurrent, overvoltage, and short-circuit protection, as well as charging via Micro USB.
After deciding on all the crucial components, it was time to assemble everything and build this prototype circuit for testing.
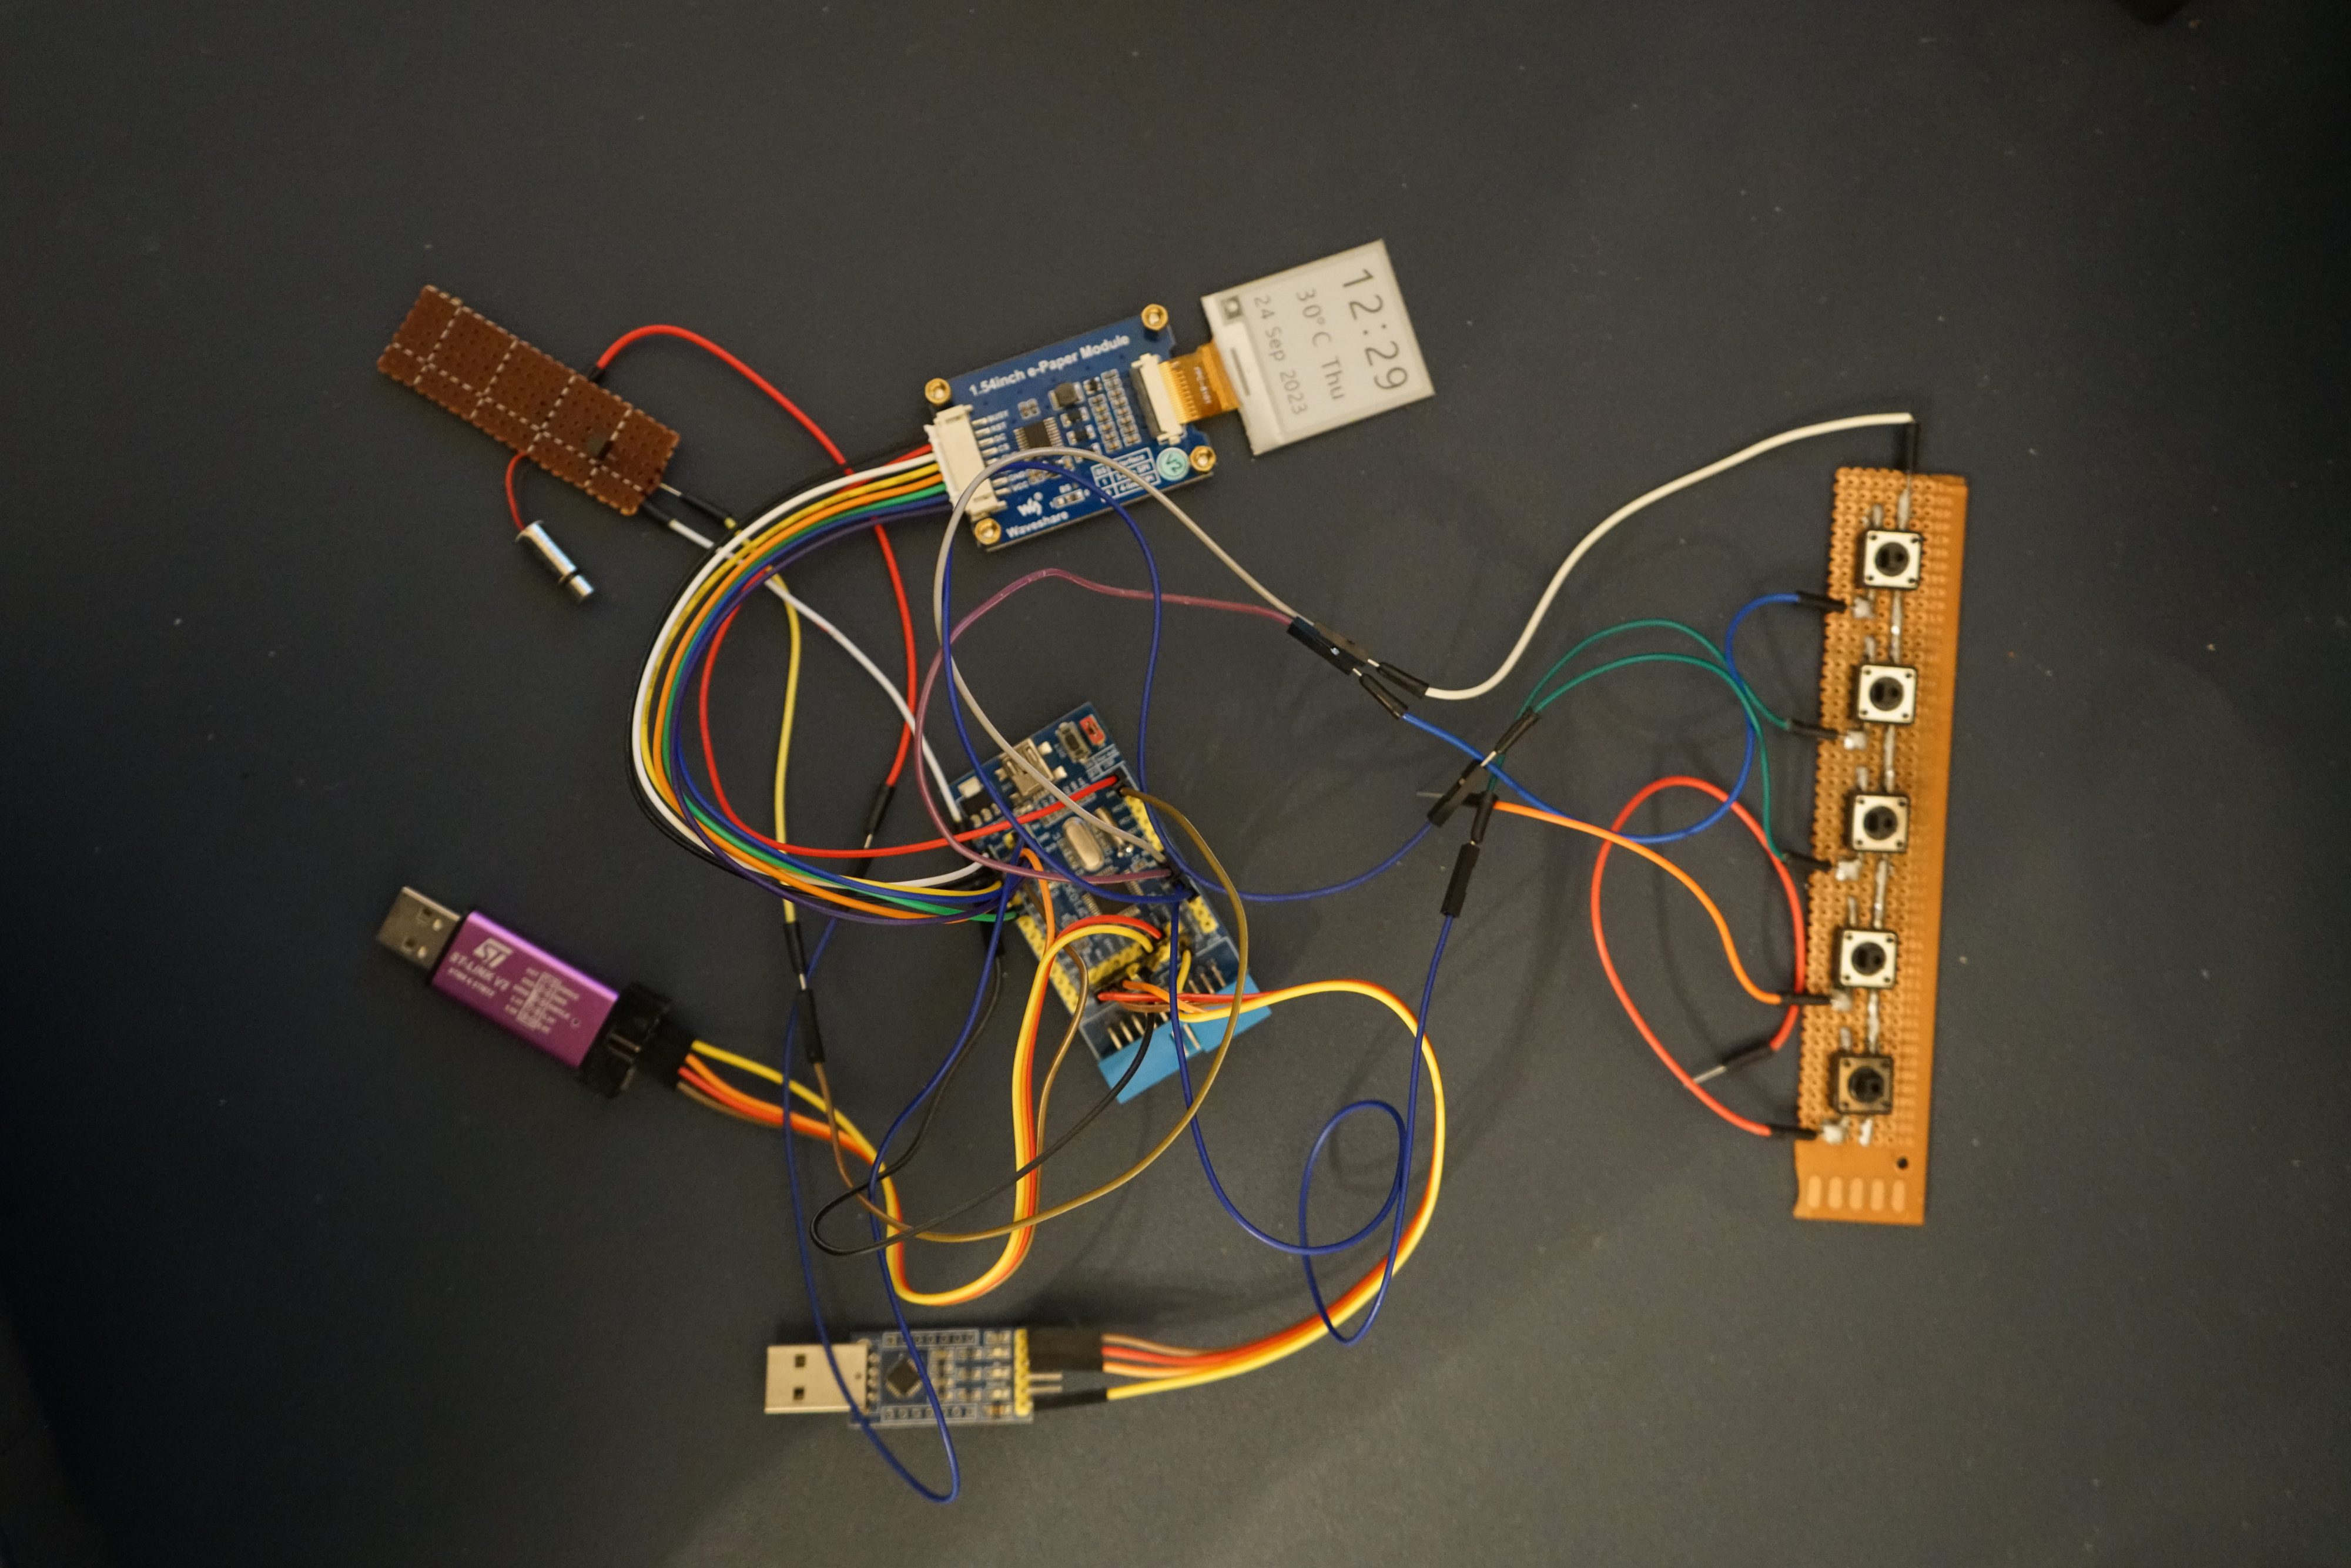
Since this circuit primarily uses existing modules that function quite reliably, the testing phase was brief. As a result, I proceeded to create the PCB design using KiCad.

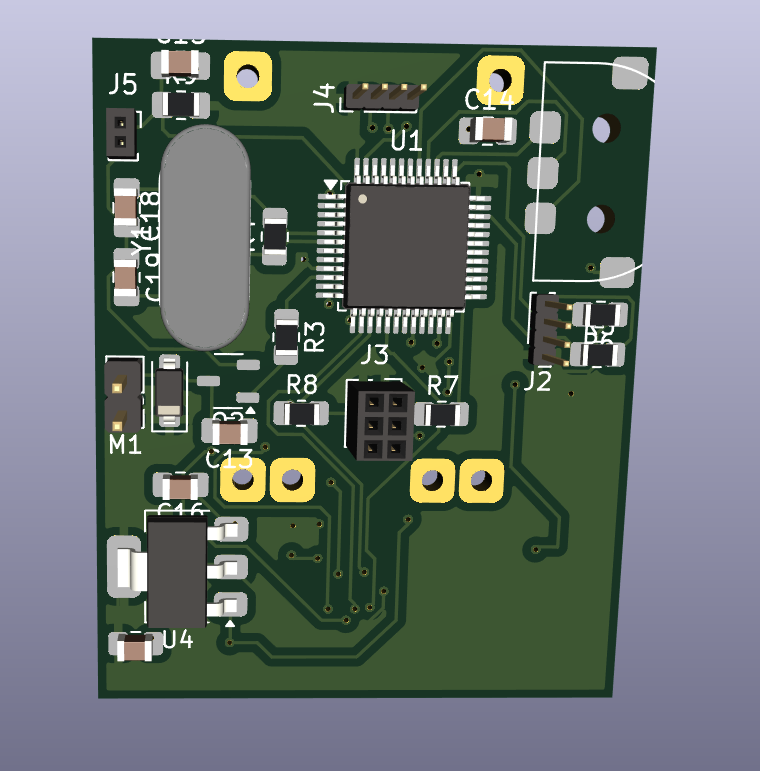
I exported the design as Gerber files and ordered the PCB prototype from JLCPCB. After two weeks of production and delivery, I finally received the first prototype board.
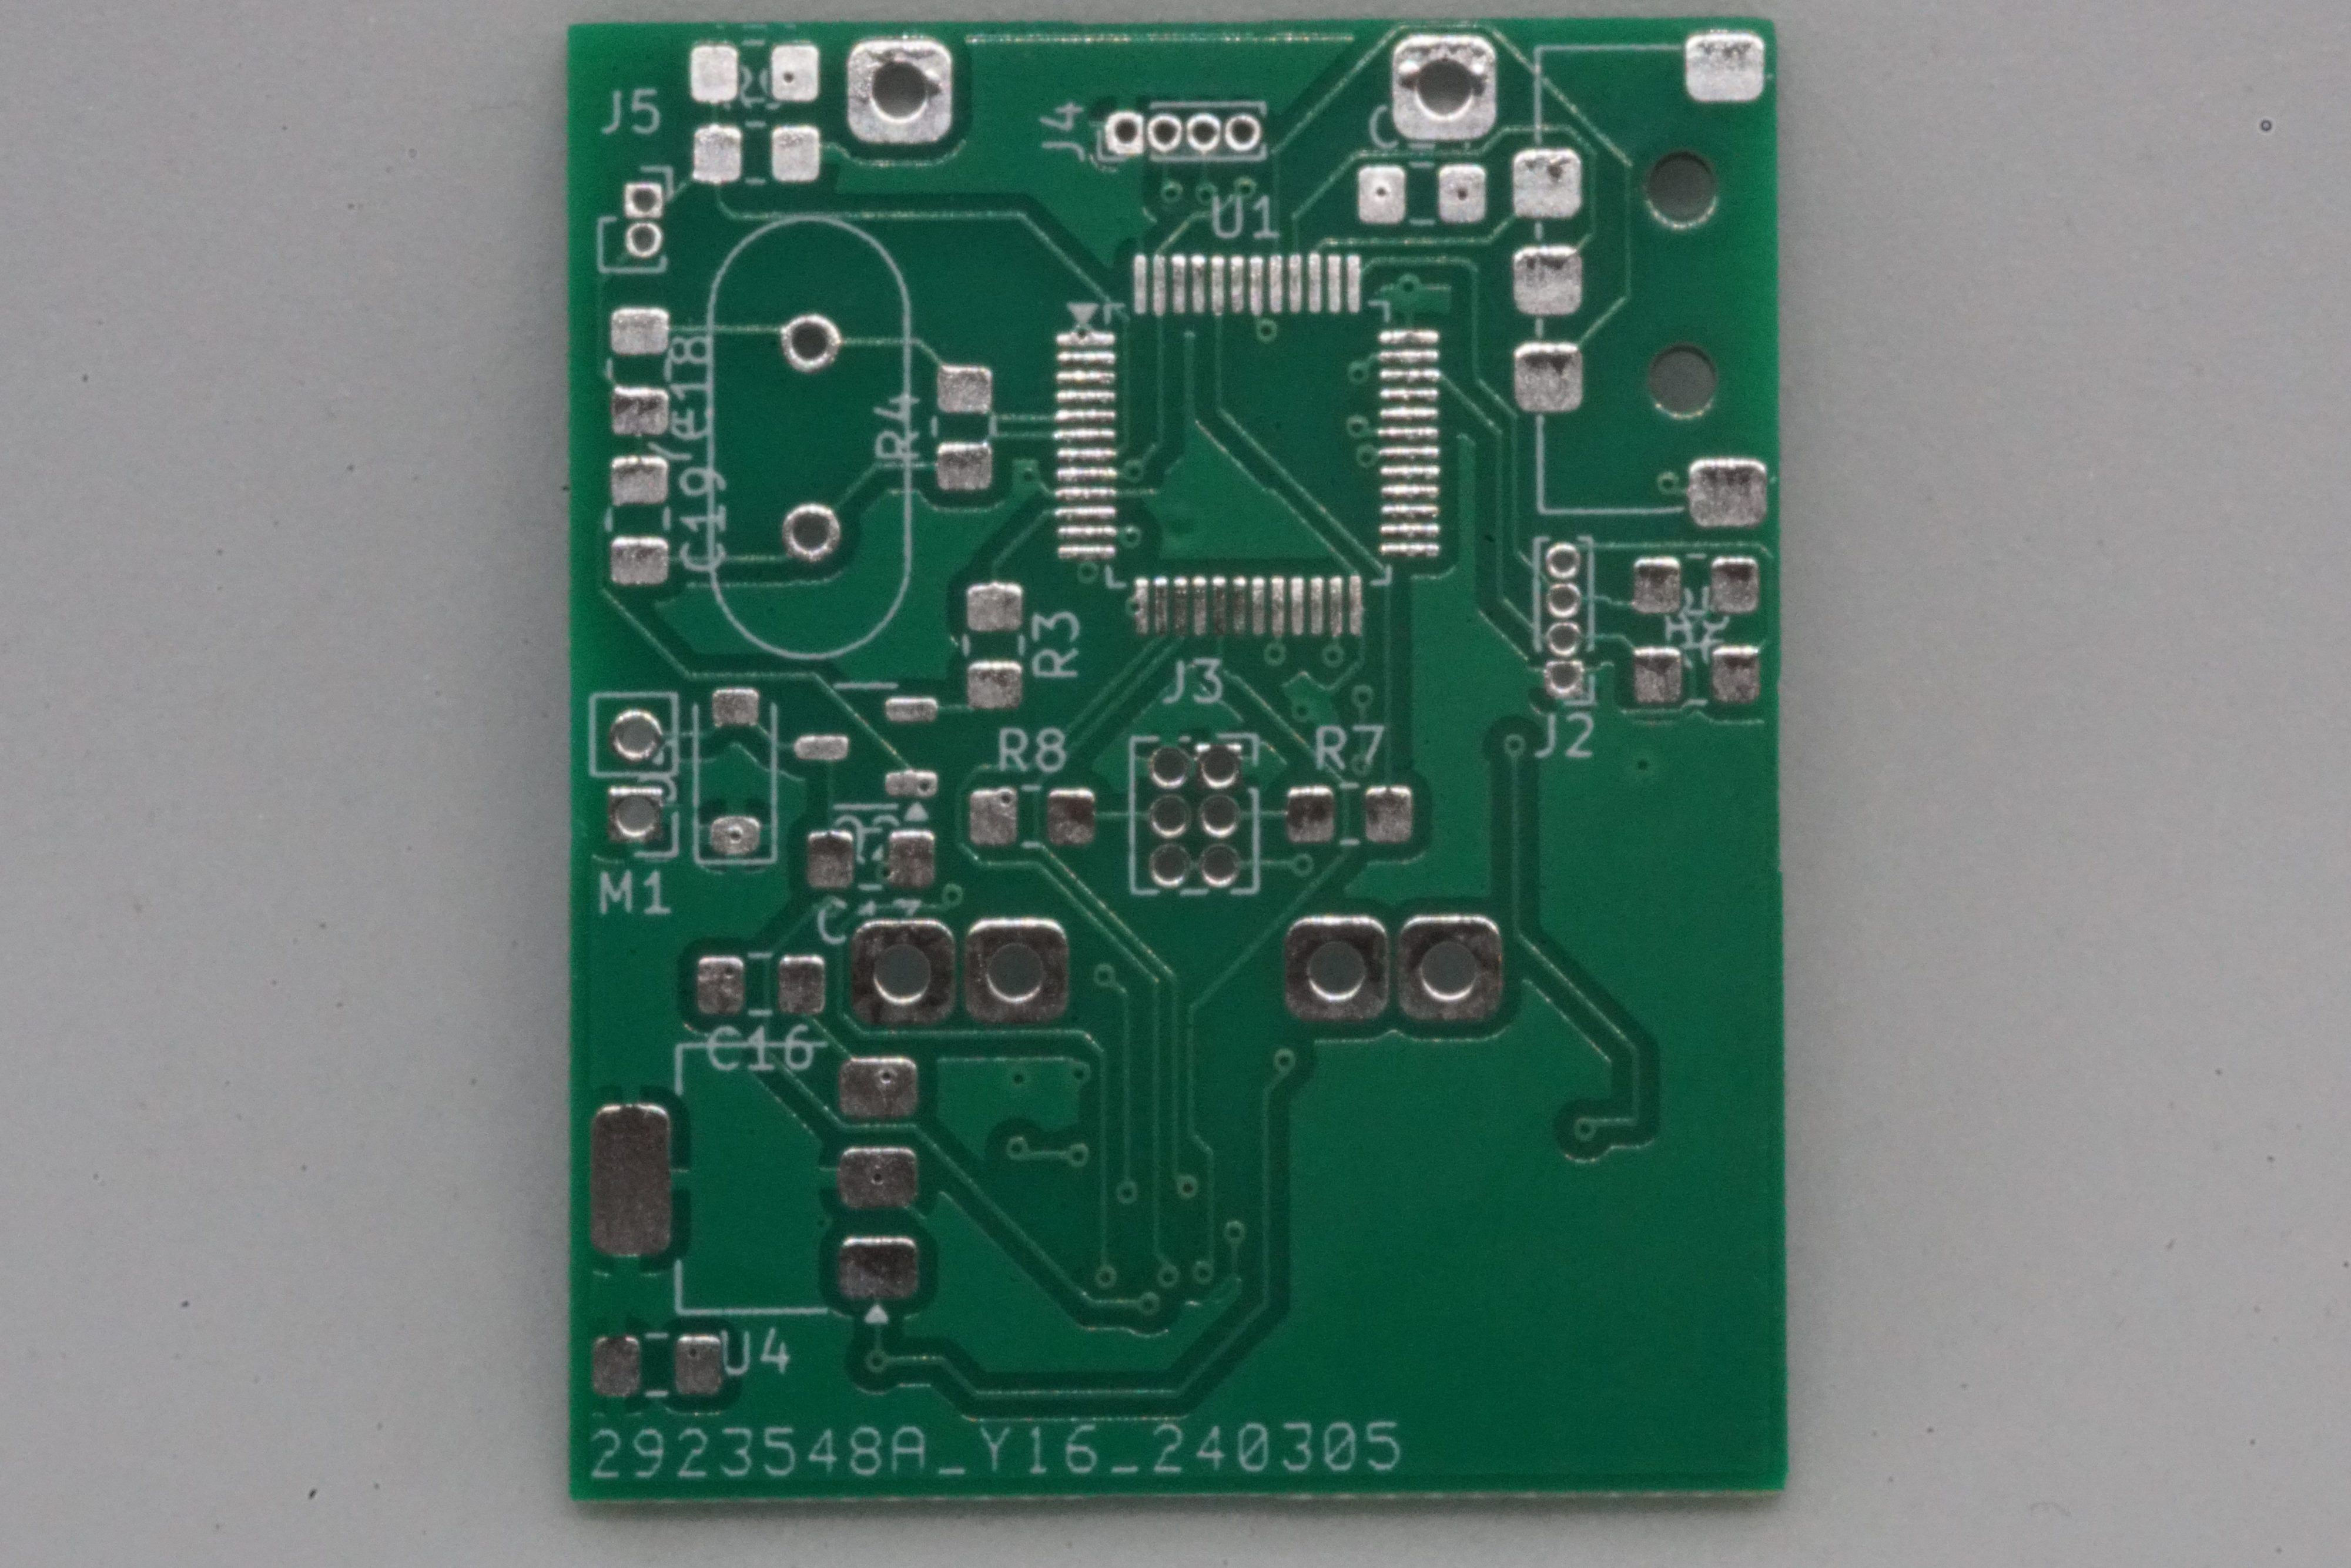
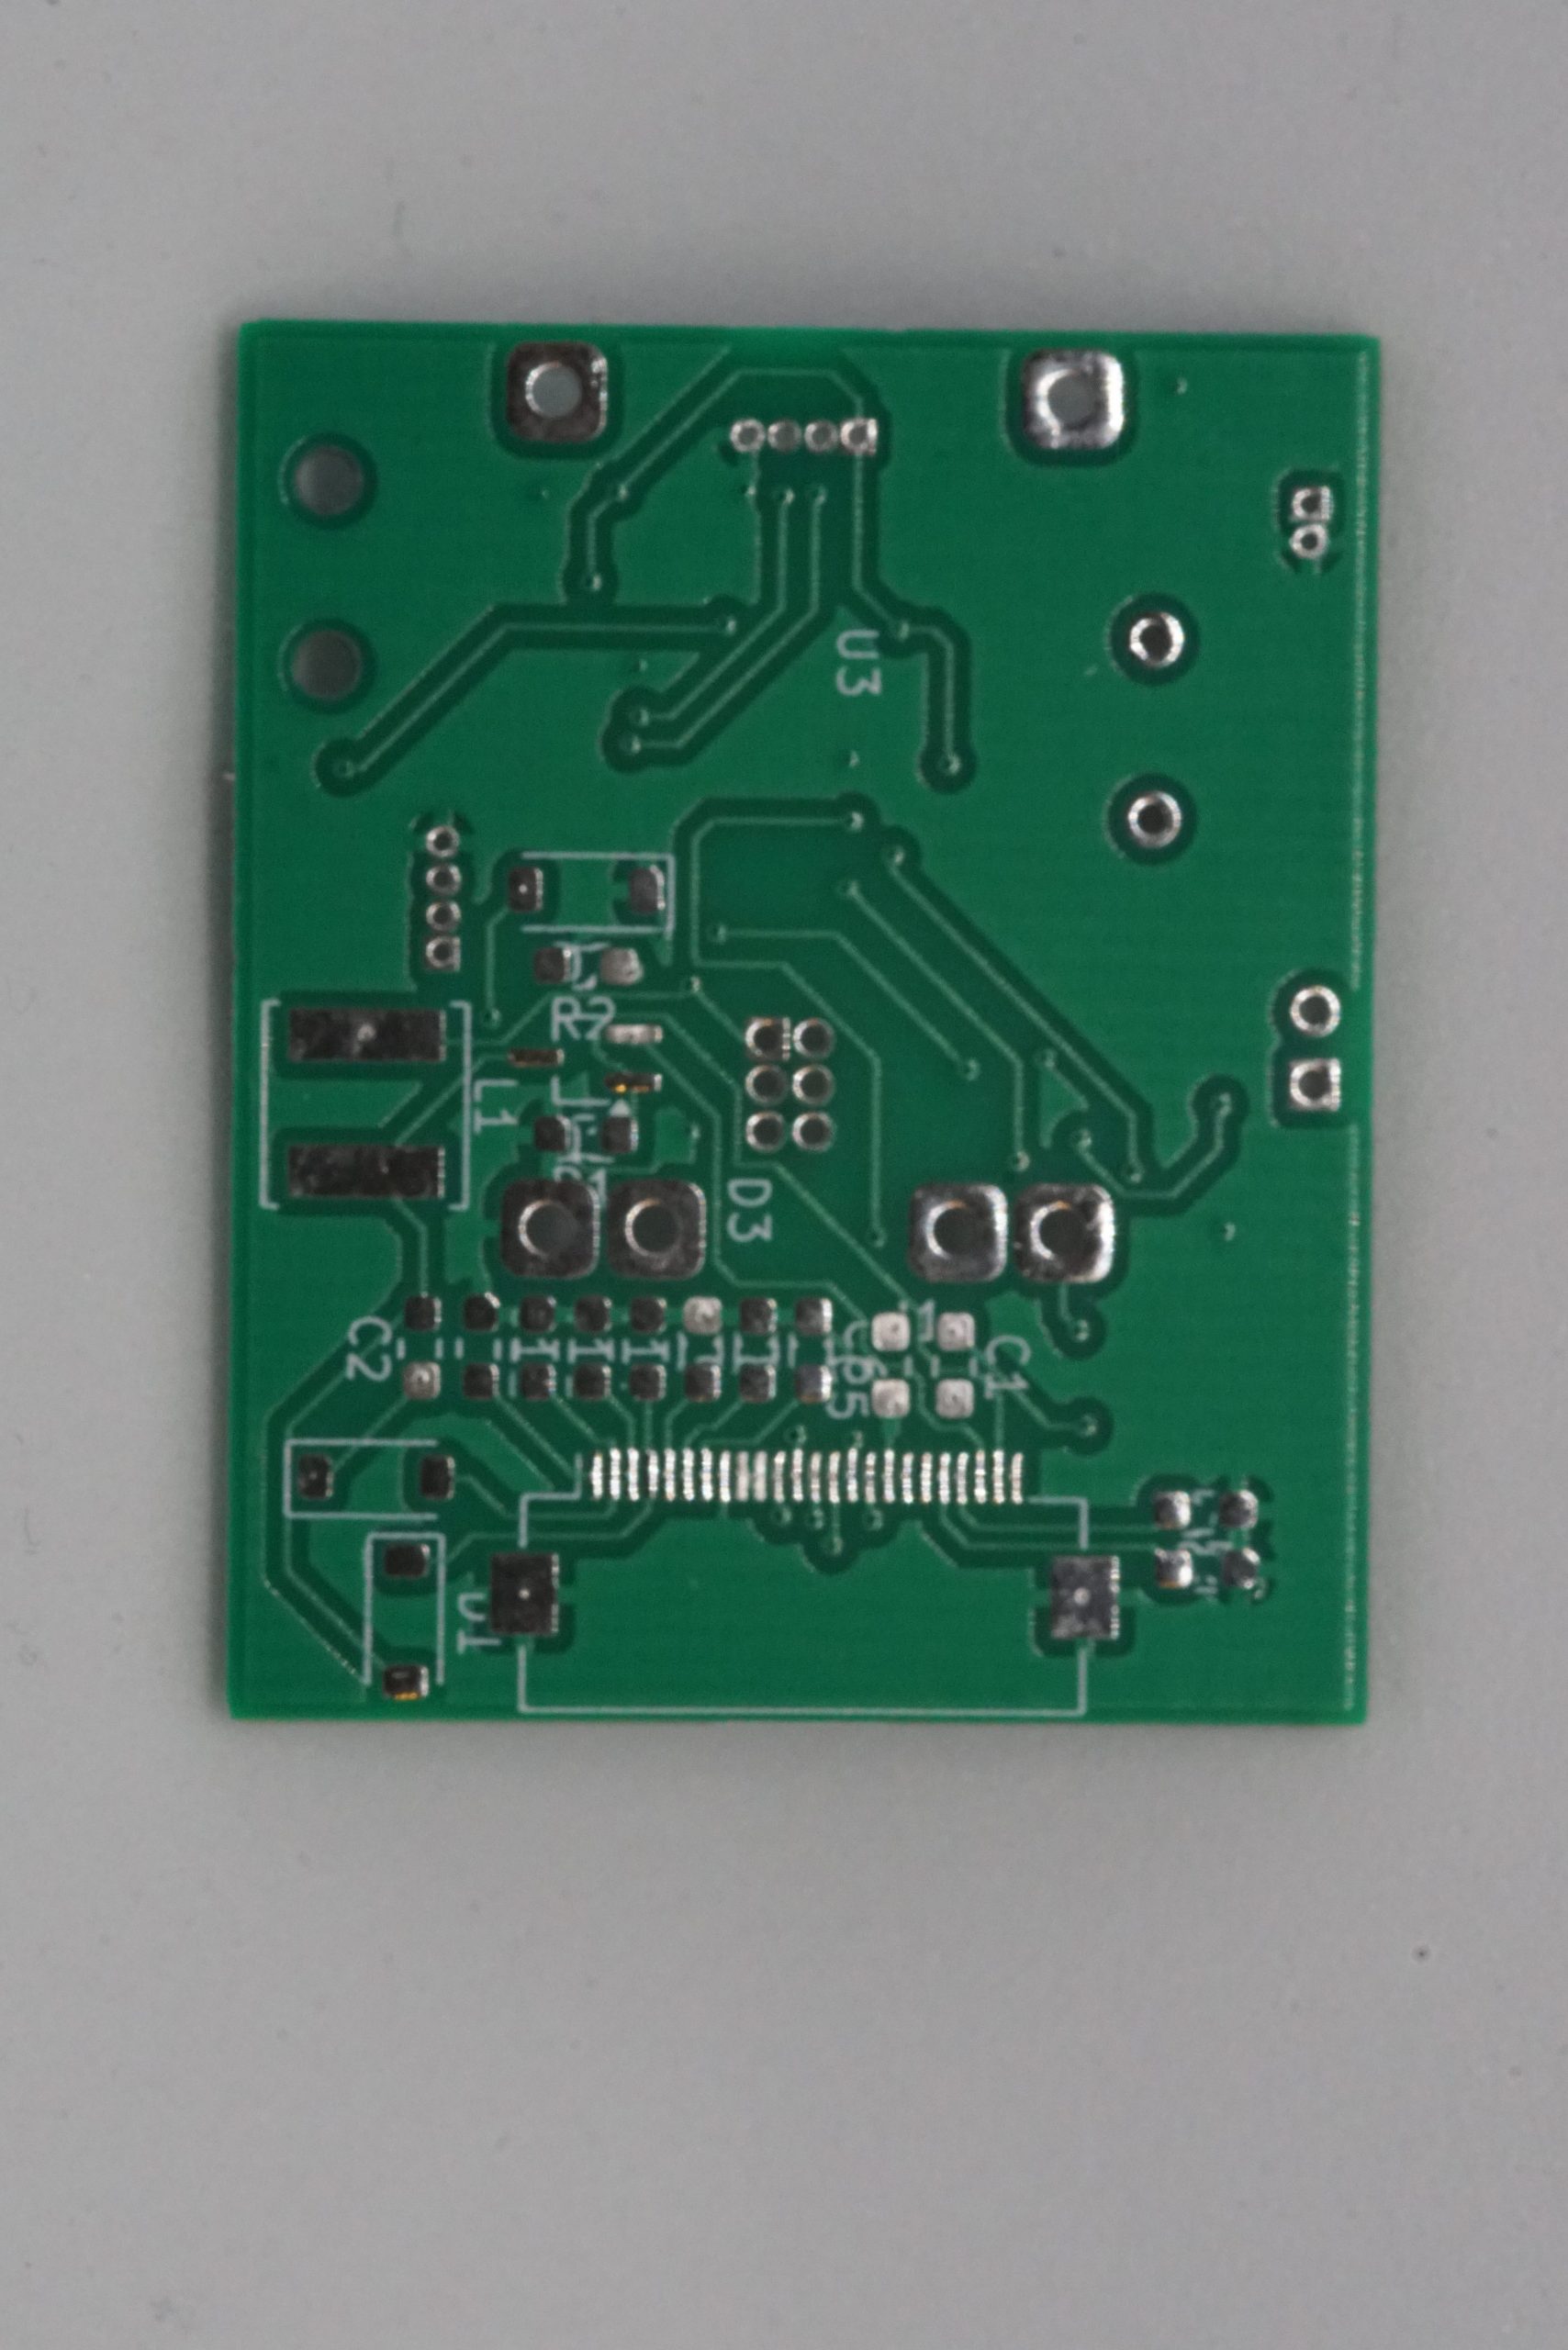
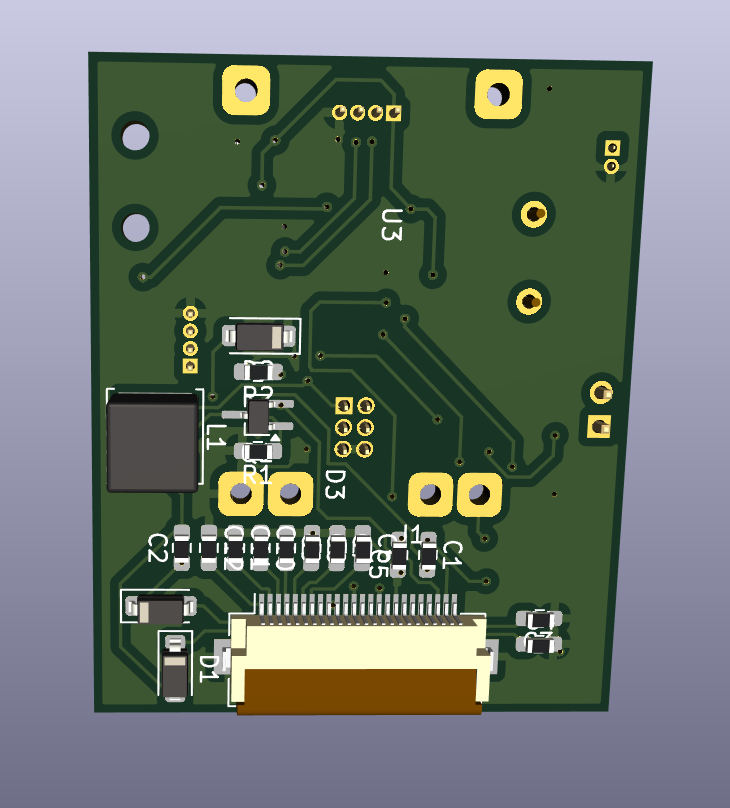
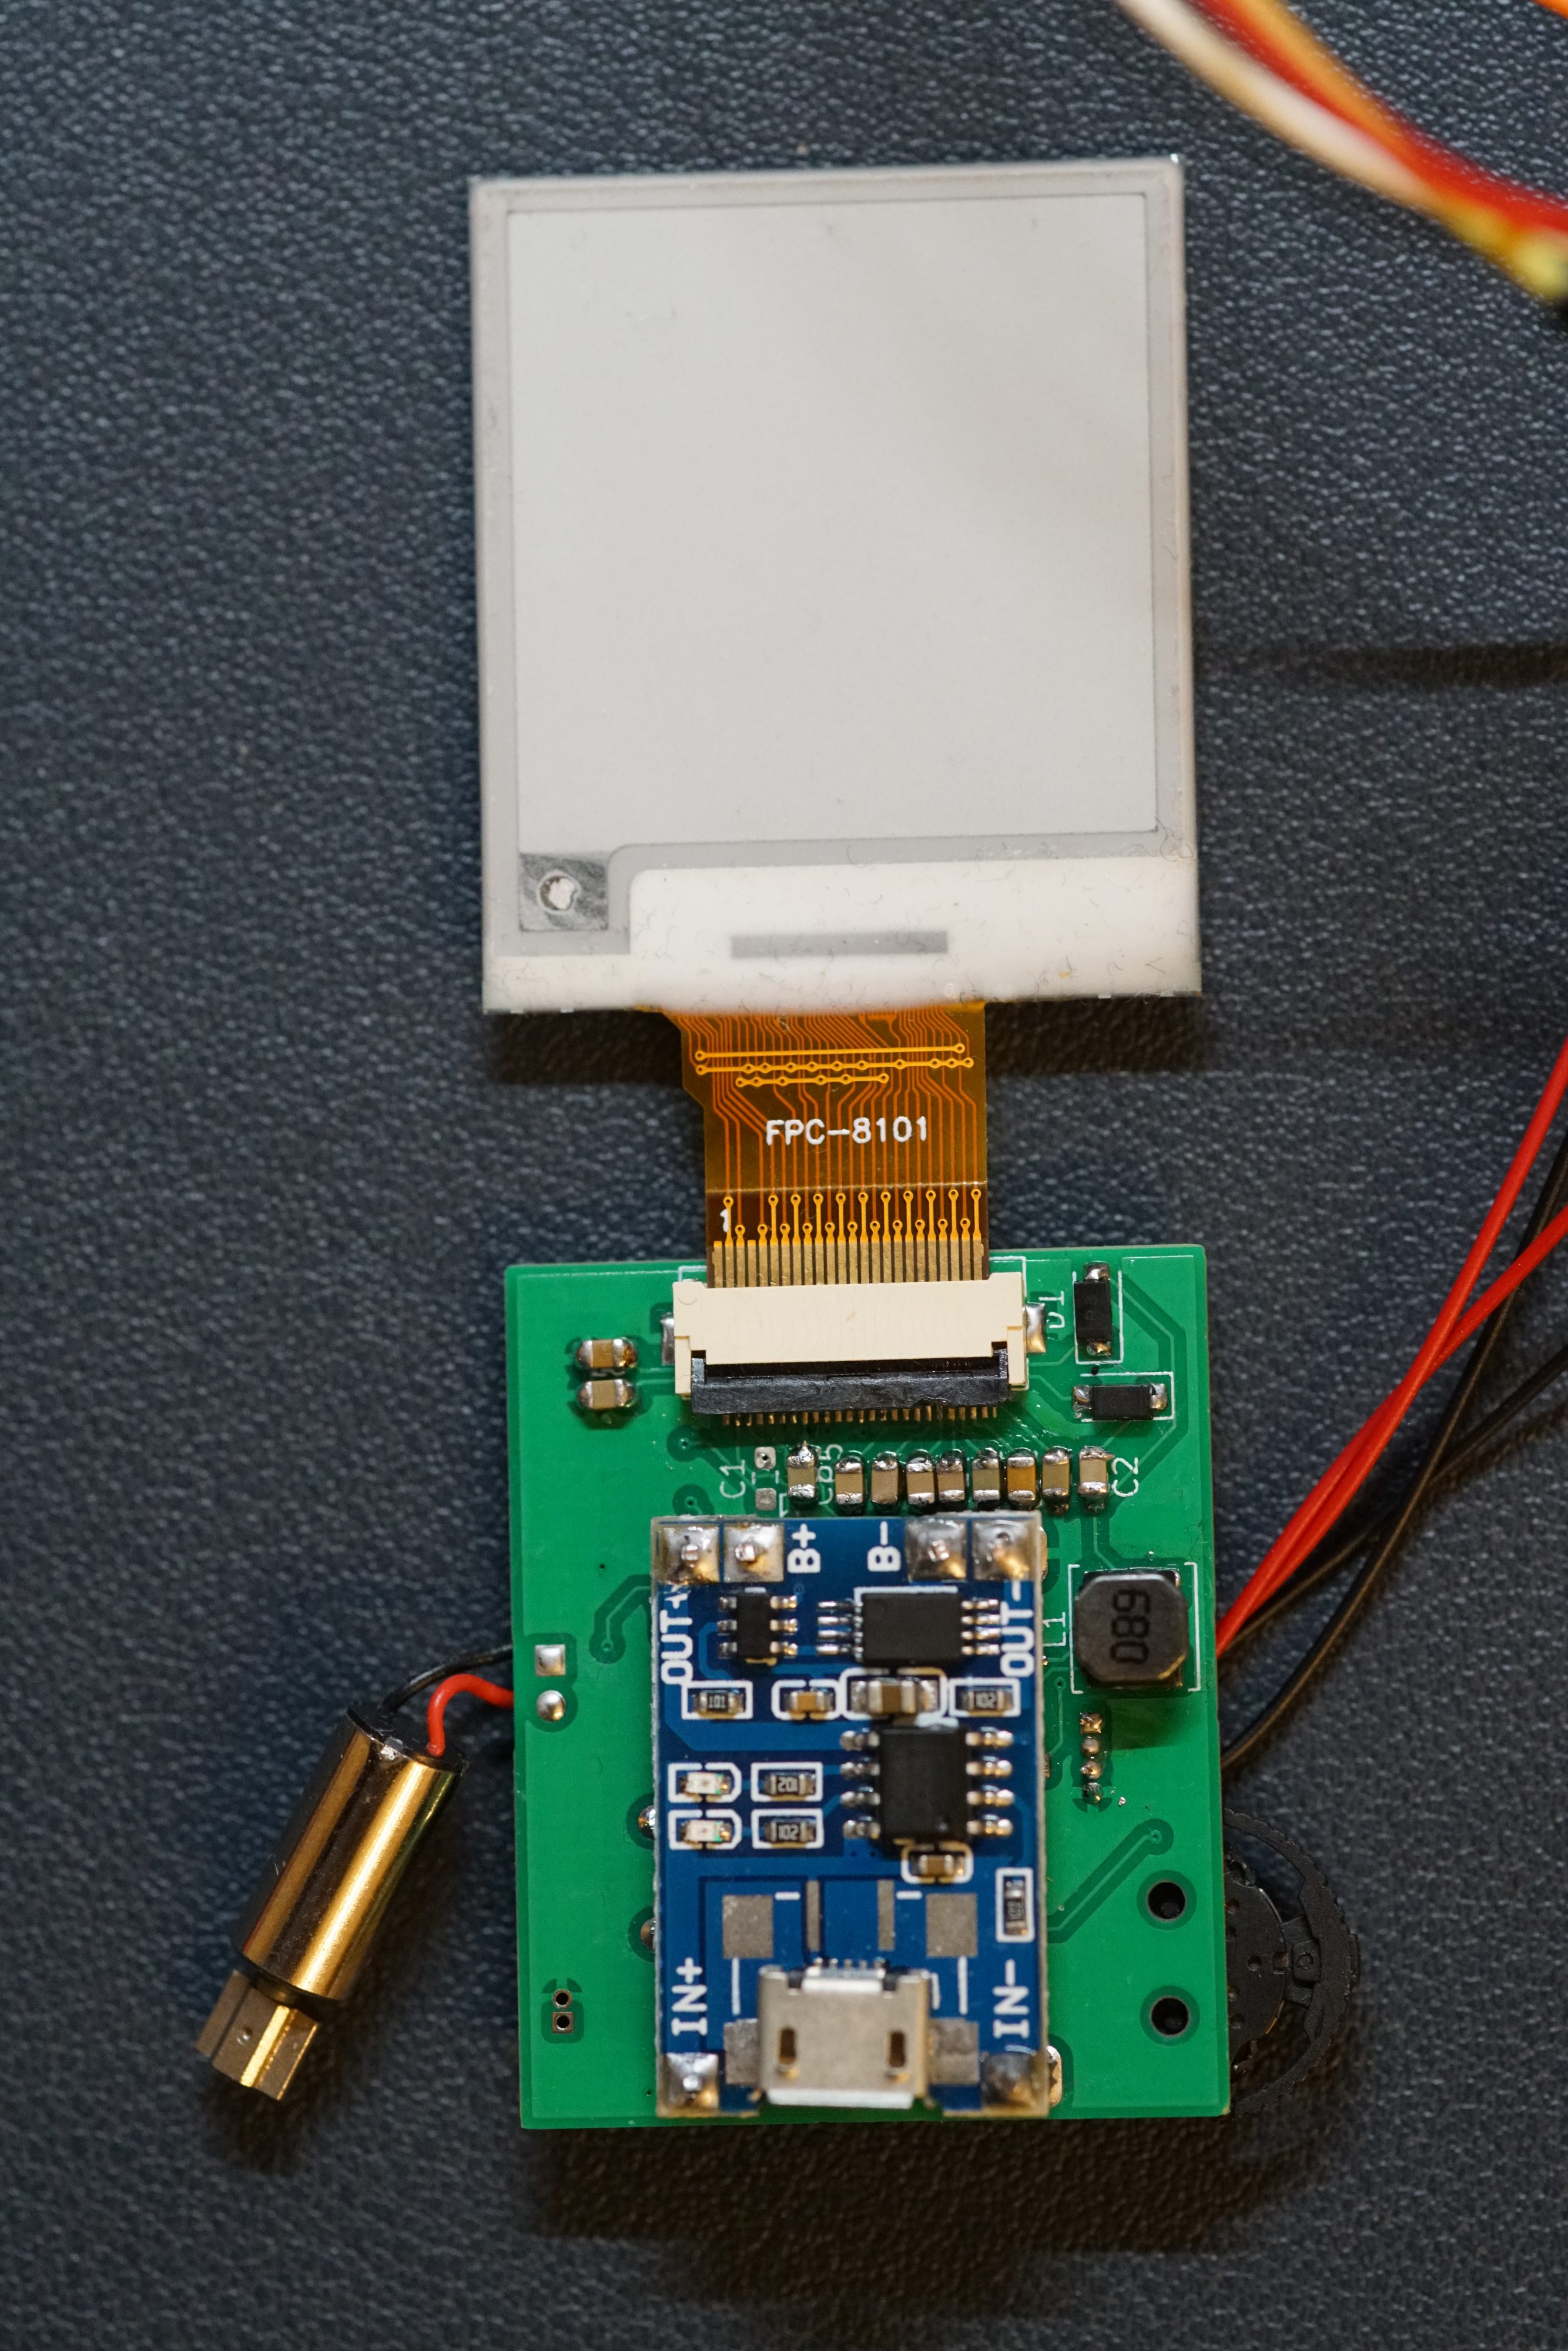
Here’s how it looks after all the components were hand-soldered.
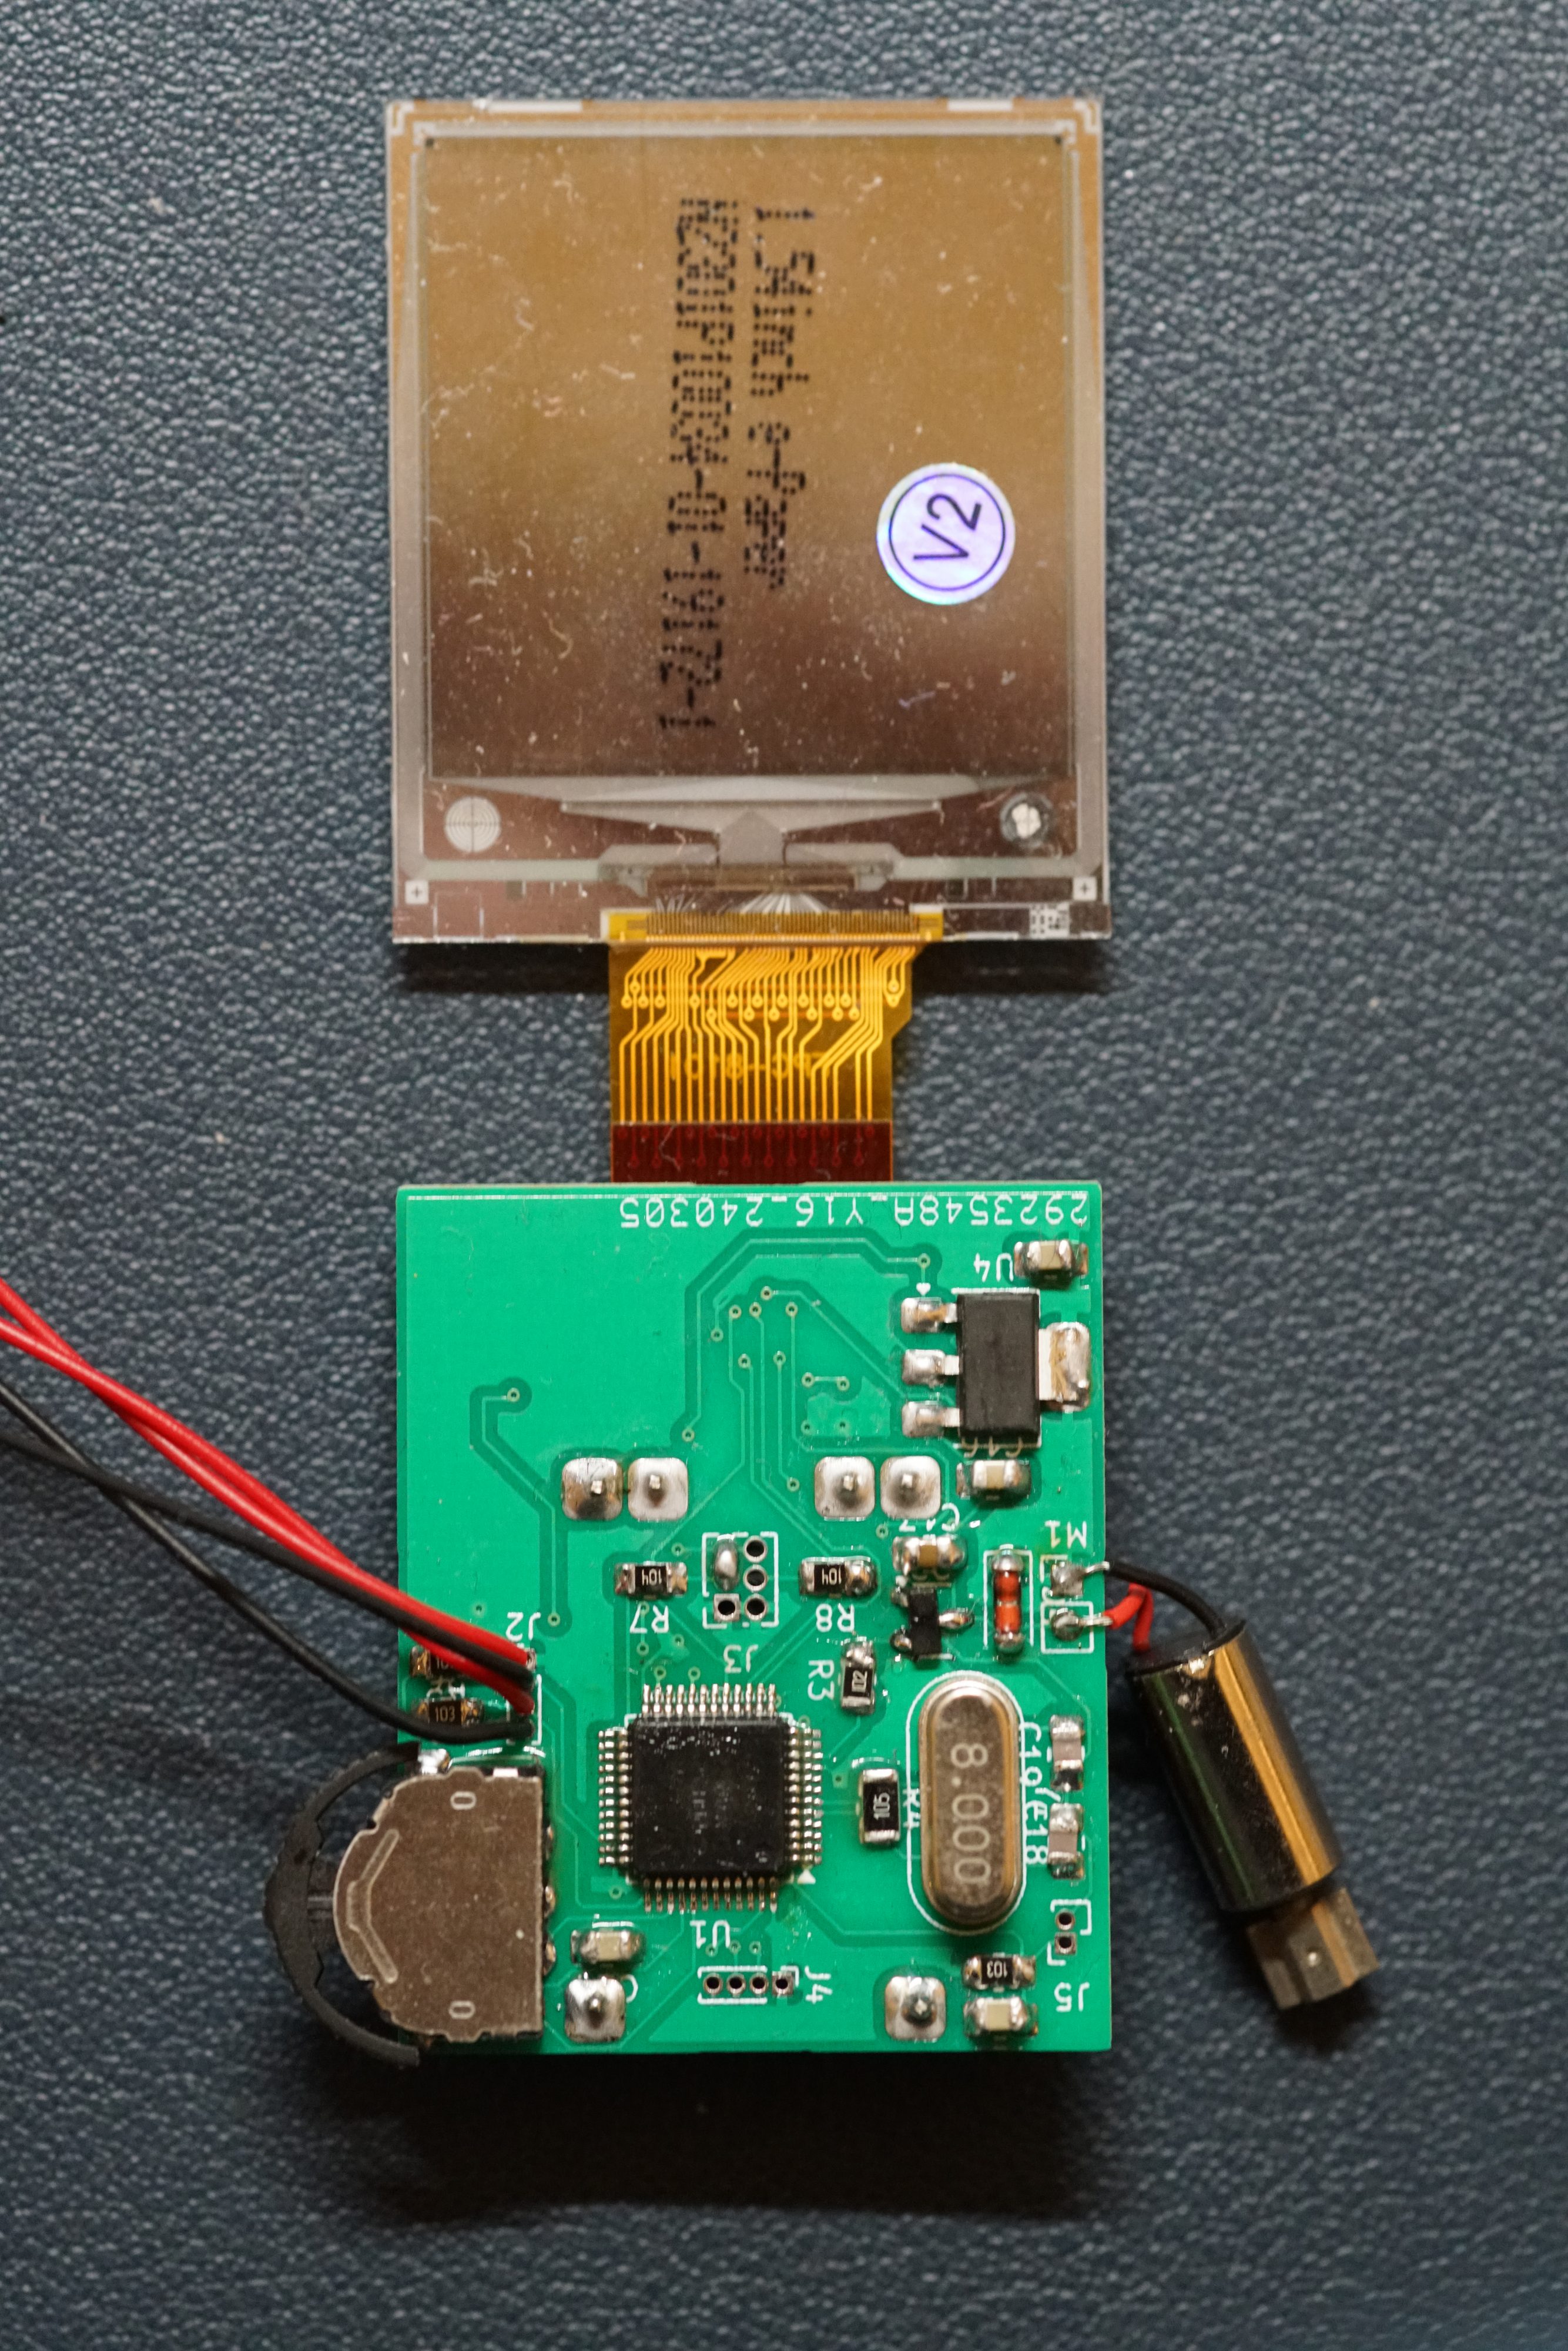
Now, the hardware of the PretoWatch is ready! In my next post, I’ll explore the details of the firmware design. Stay tuned! 🙂