
A few months ago, a relative asked if I could enhance their new garden decoration—a metal dinosaur—by making it “come alive” with smoke and sound effects triggered when someone walks by. It sounded like a fun and straightforward project, so I decided to take it on. Here, I’ll document the entire process of creating this Dino Egg.
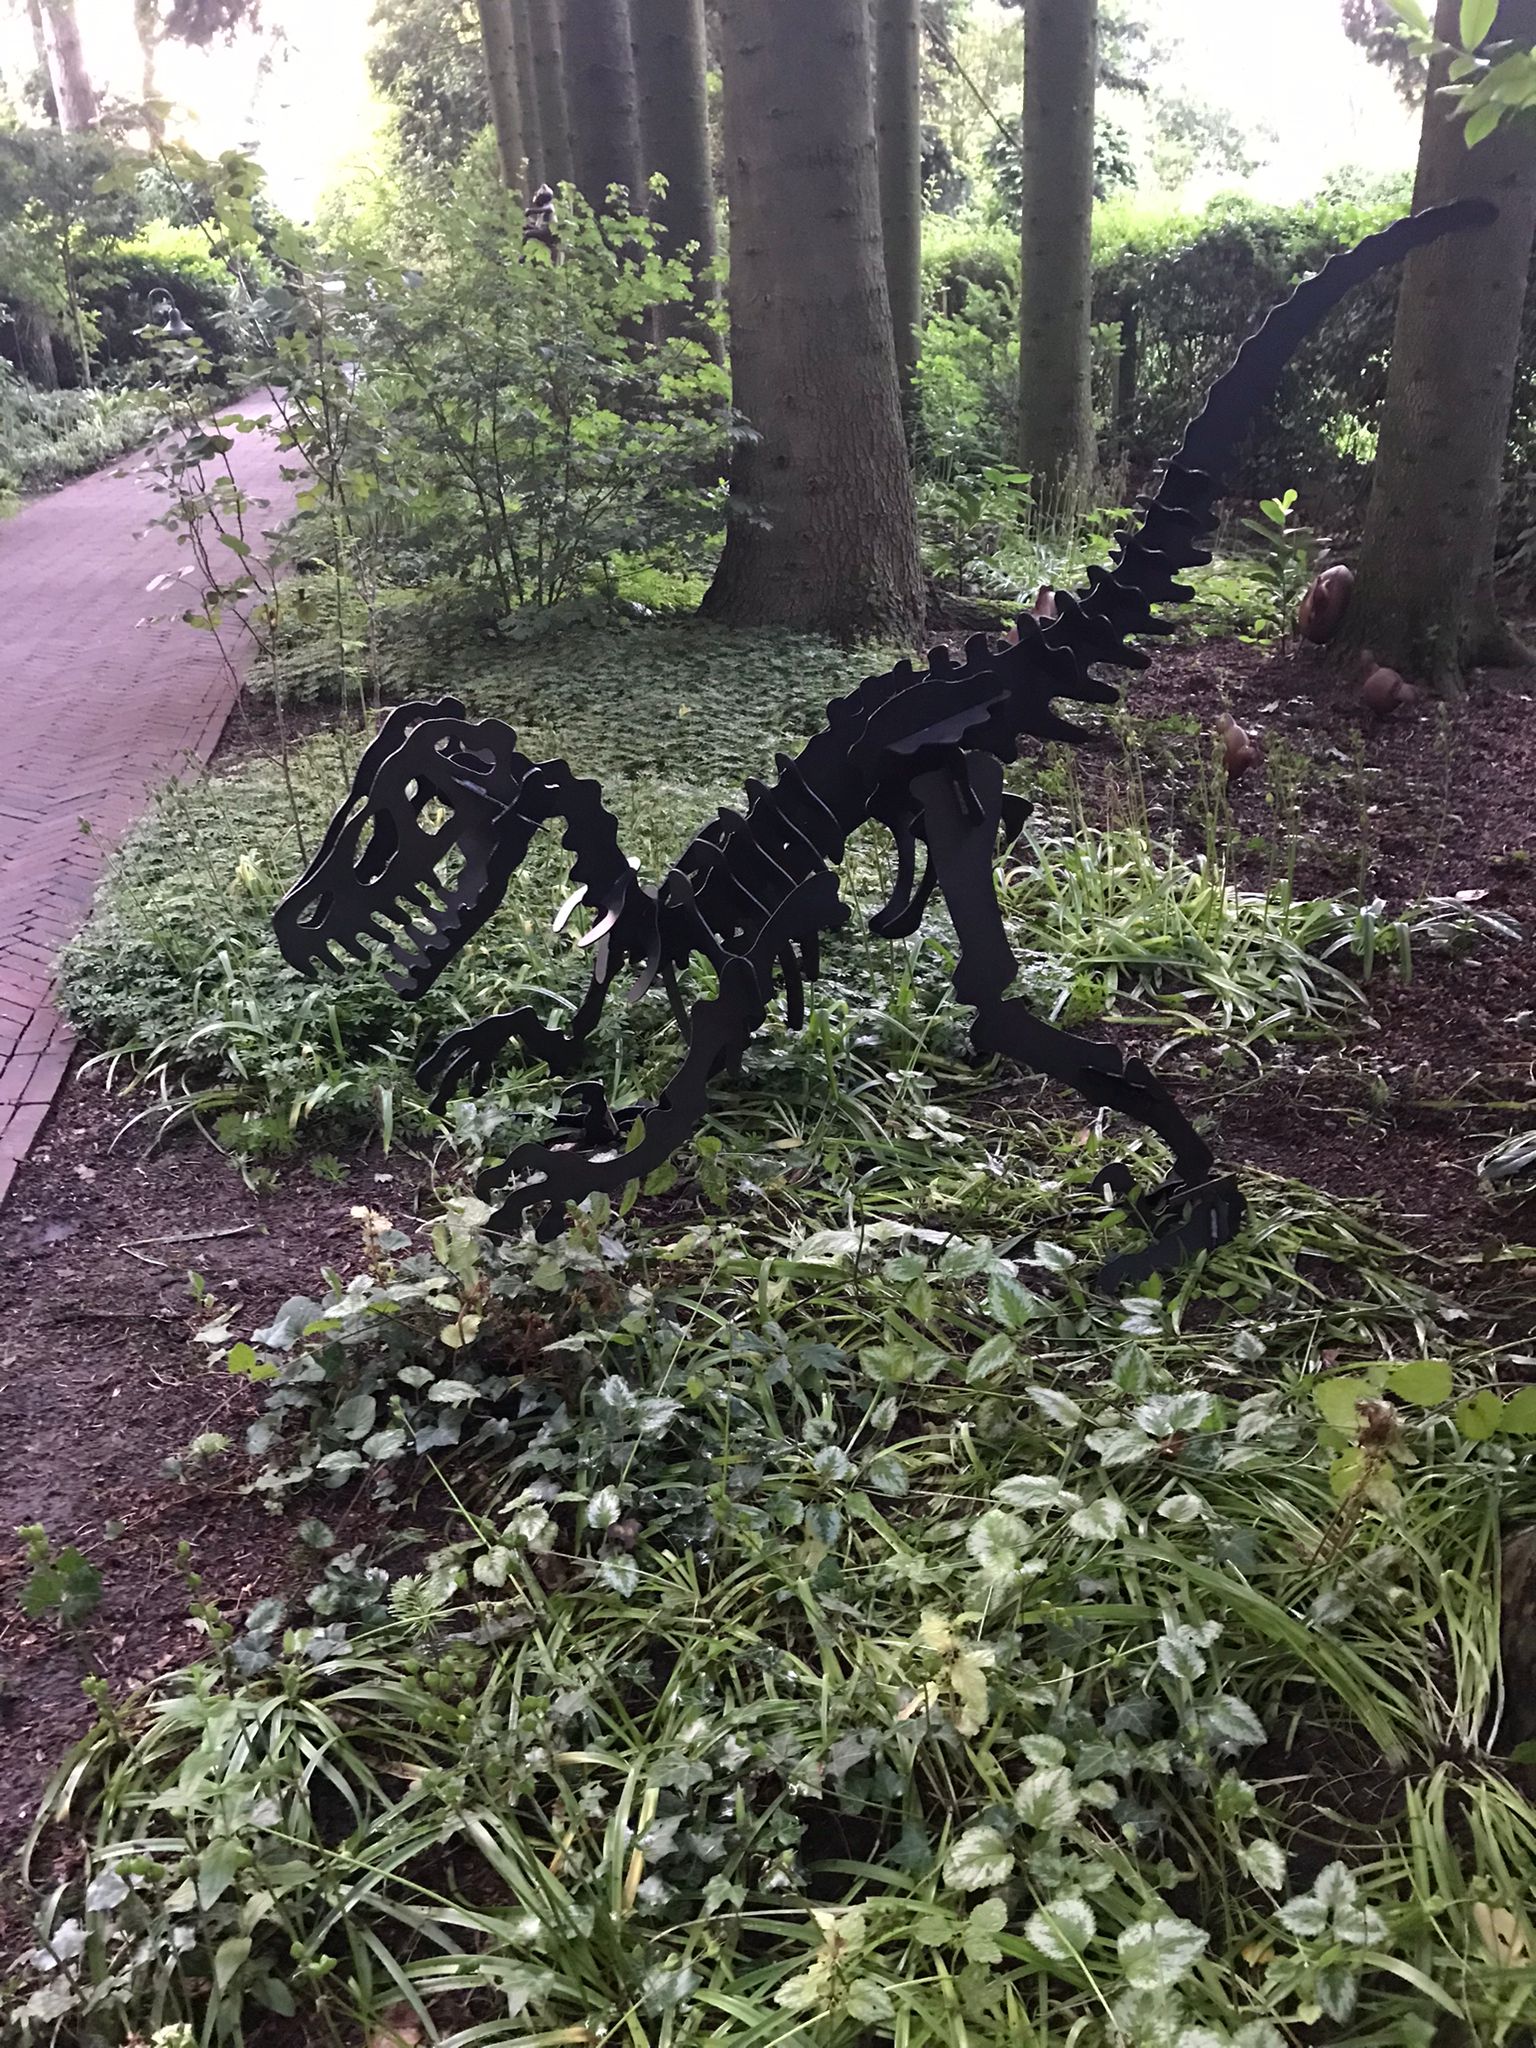
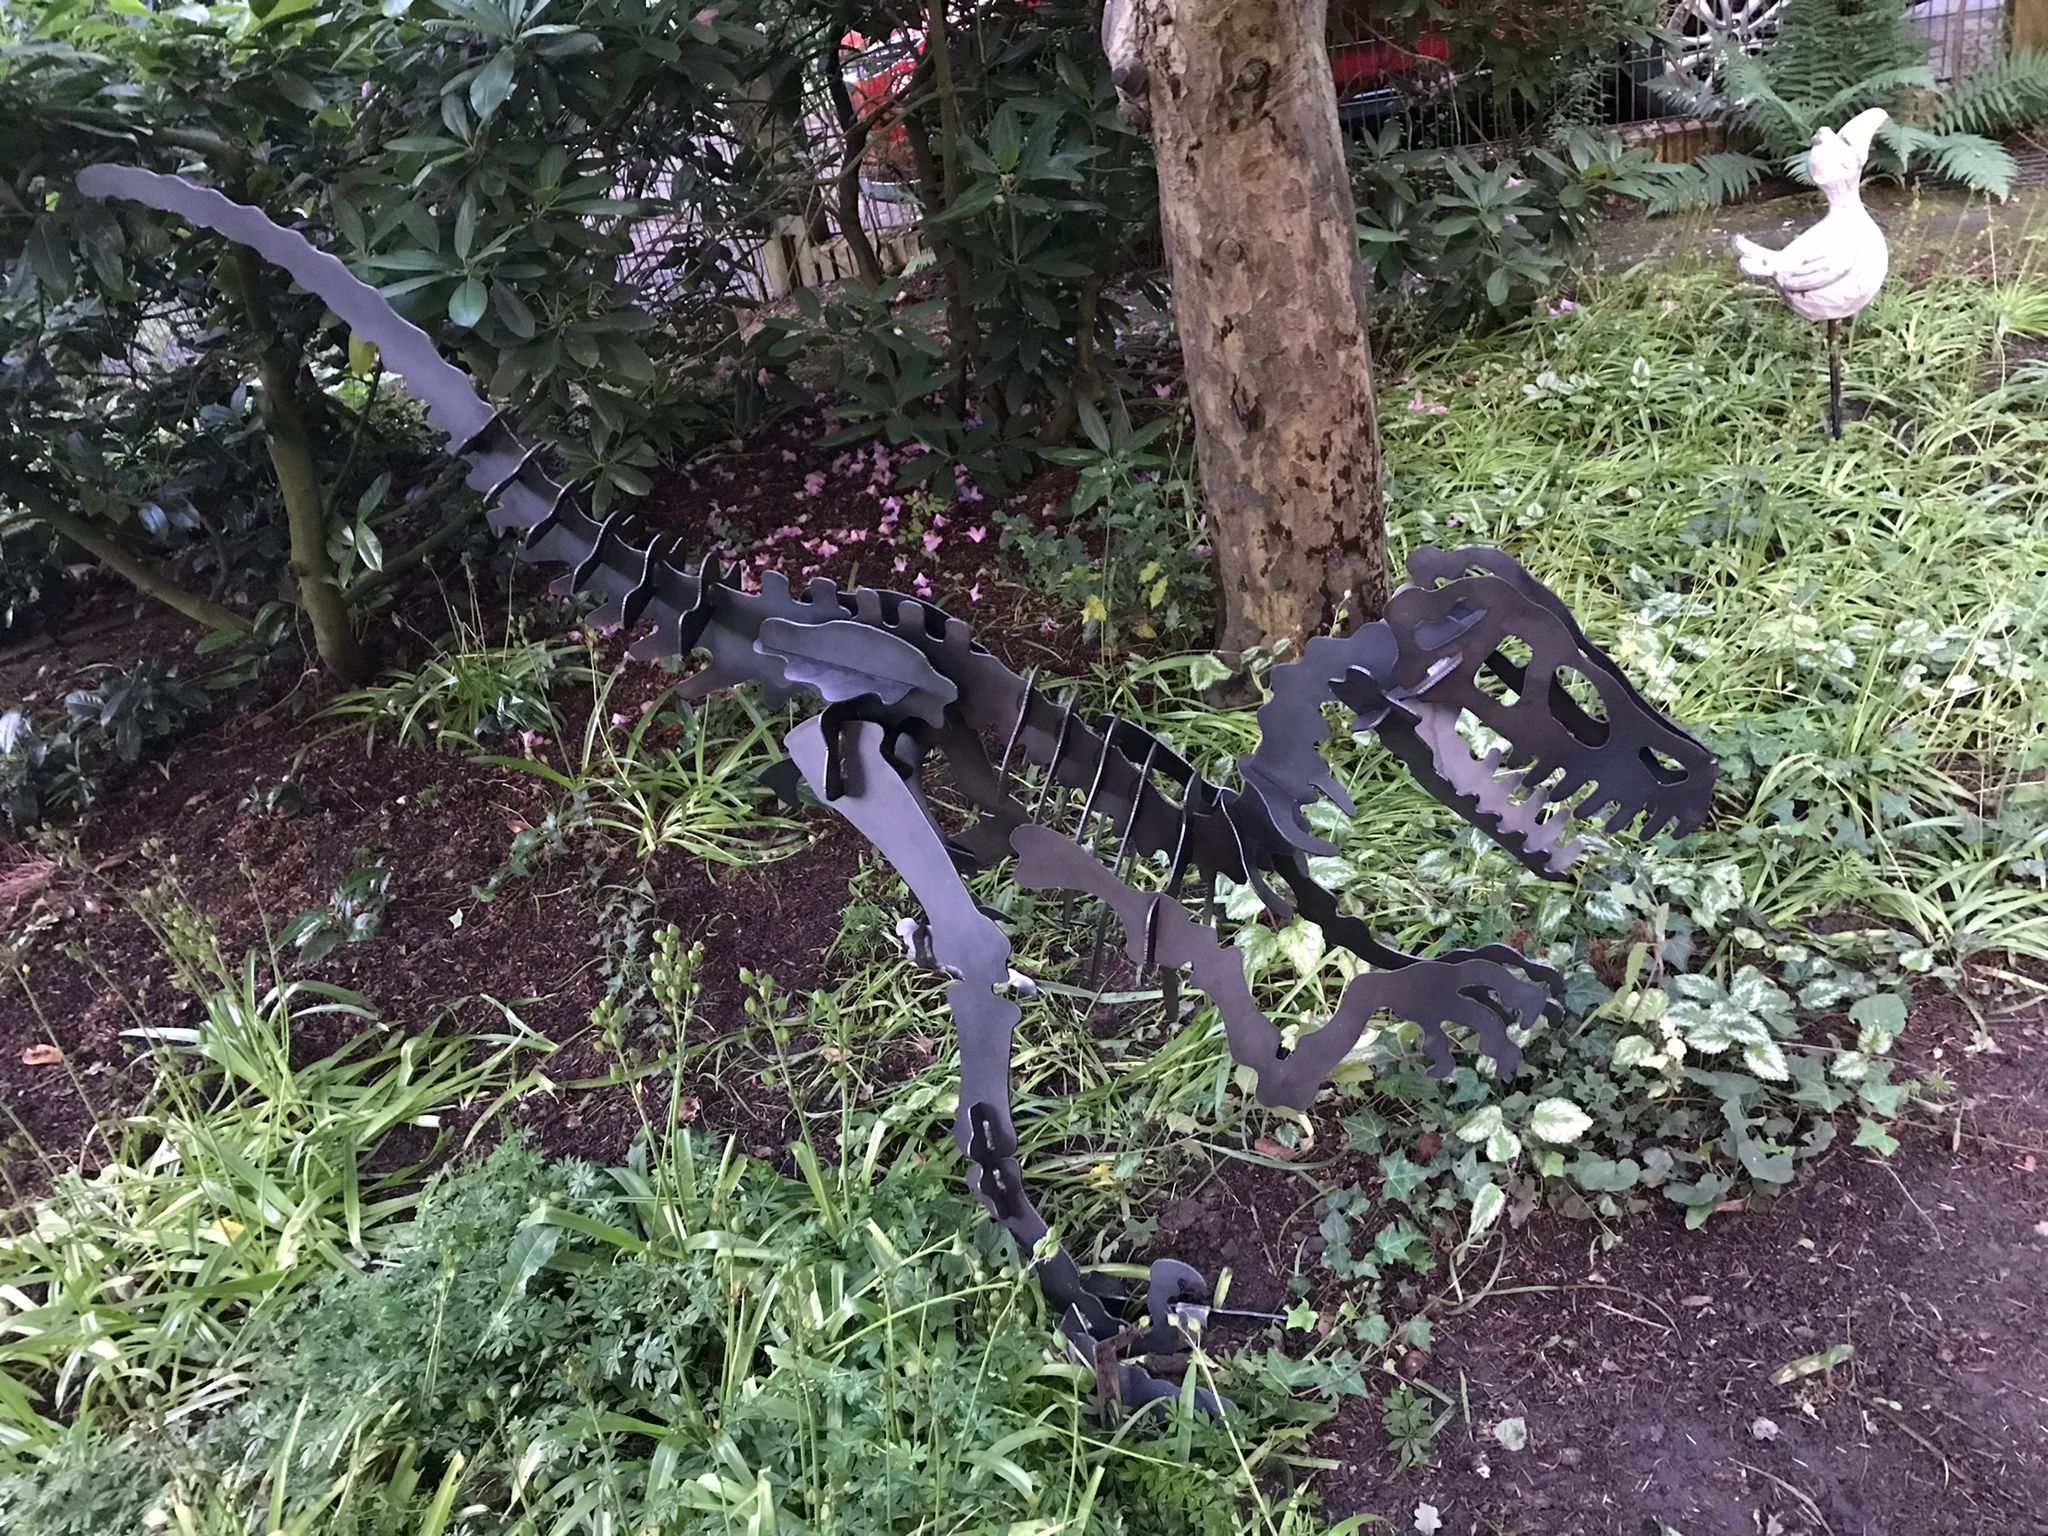
Upon inspection, it became clear that the metal dinosaur’s thin, open-frame structure didn’t leave much room to conceal the electronic components. This added a layer of complexity to the project.
To solve this, I proposed creating a small egg to place in front of the dinosaur. The egg would serve as a housing for all the electronics, water tank, and wiring. He thought this idea worked perfectly.
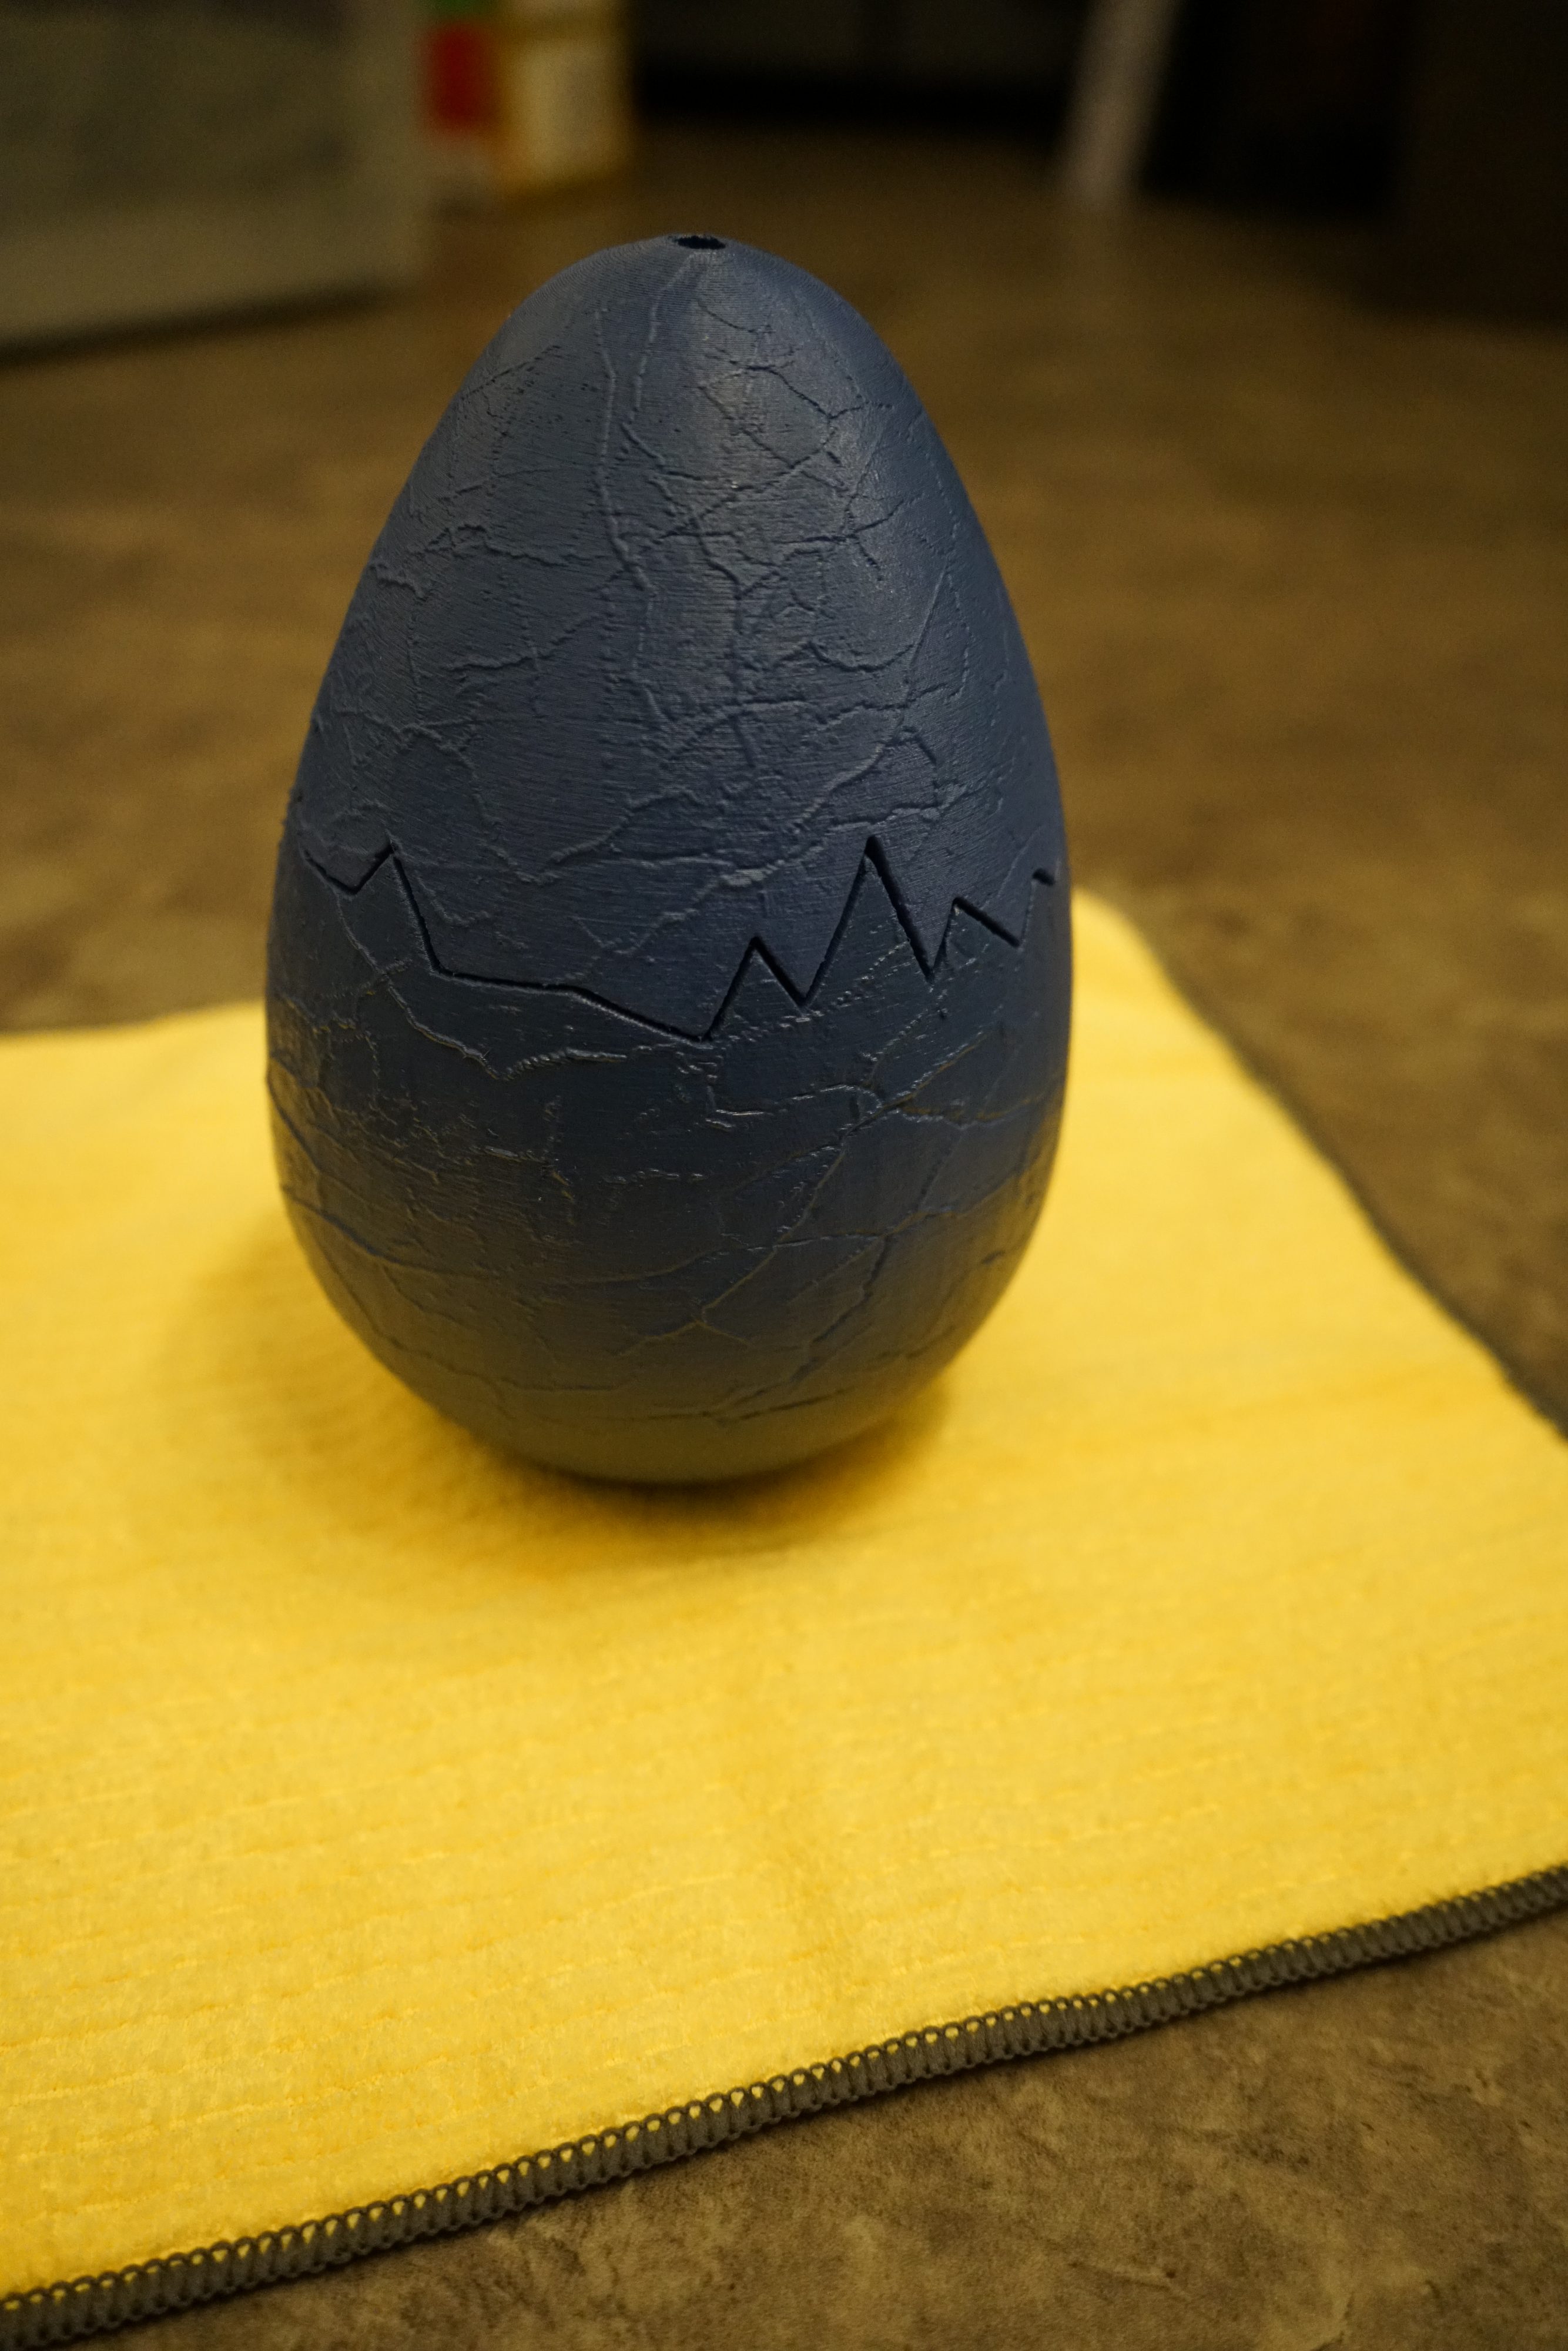
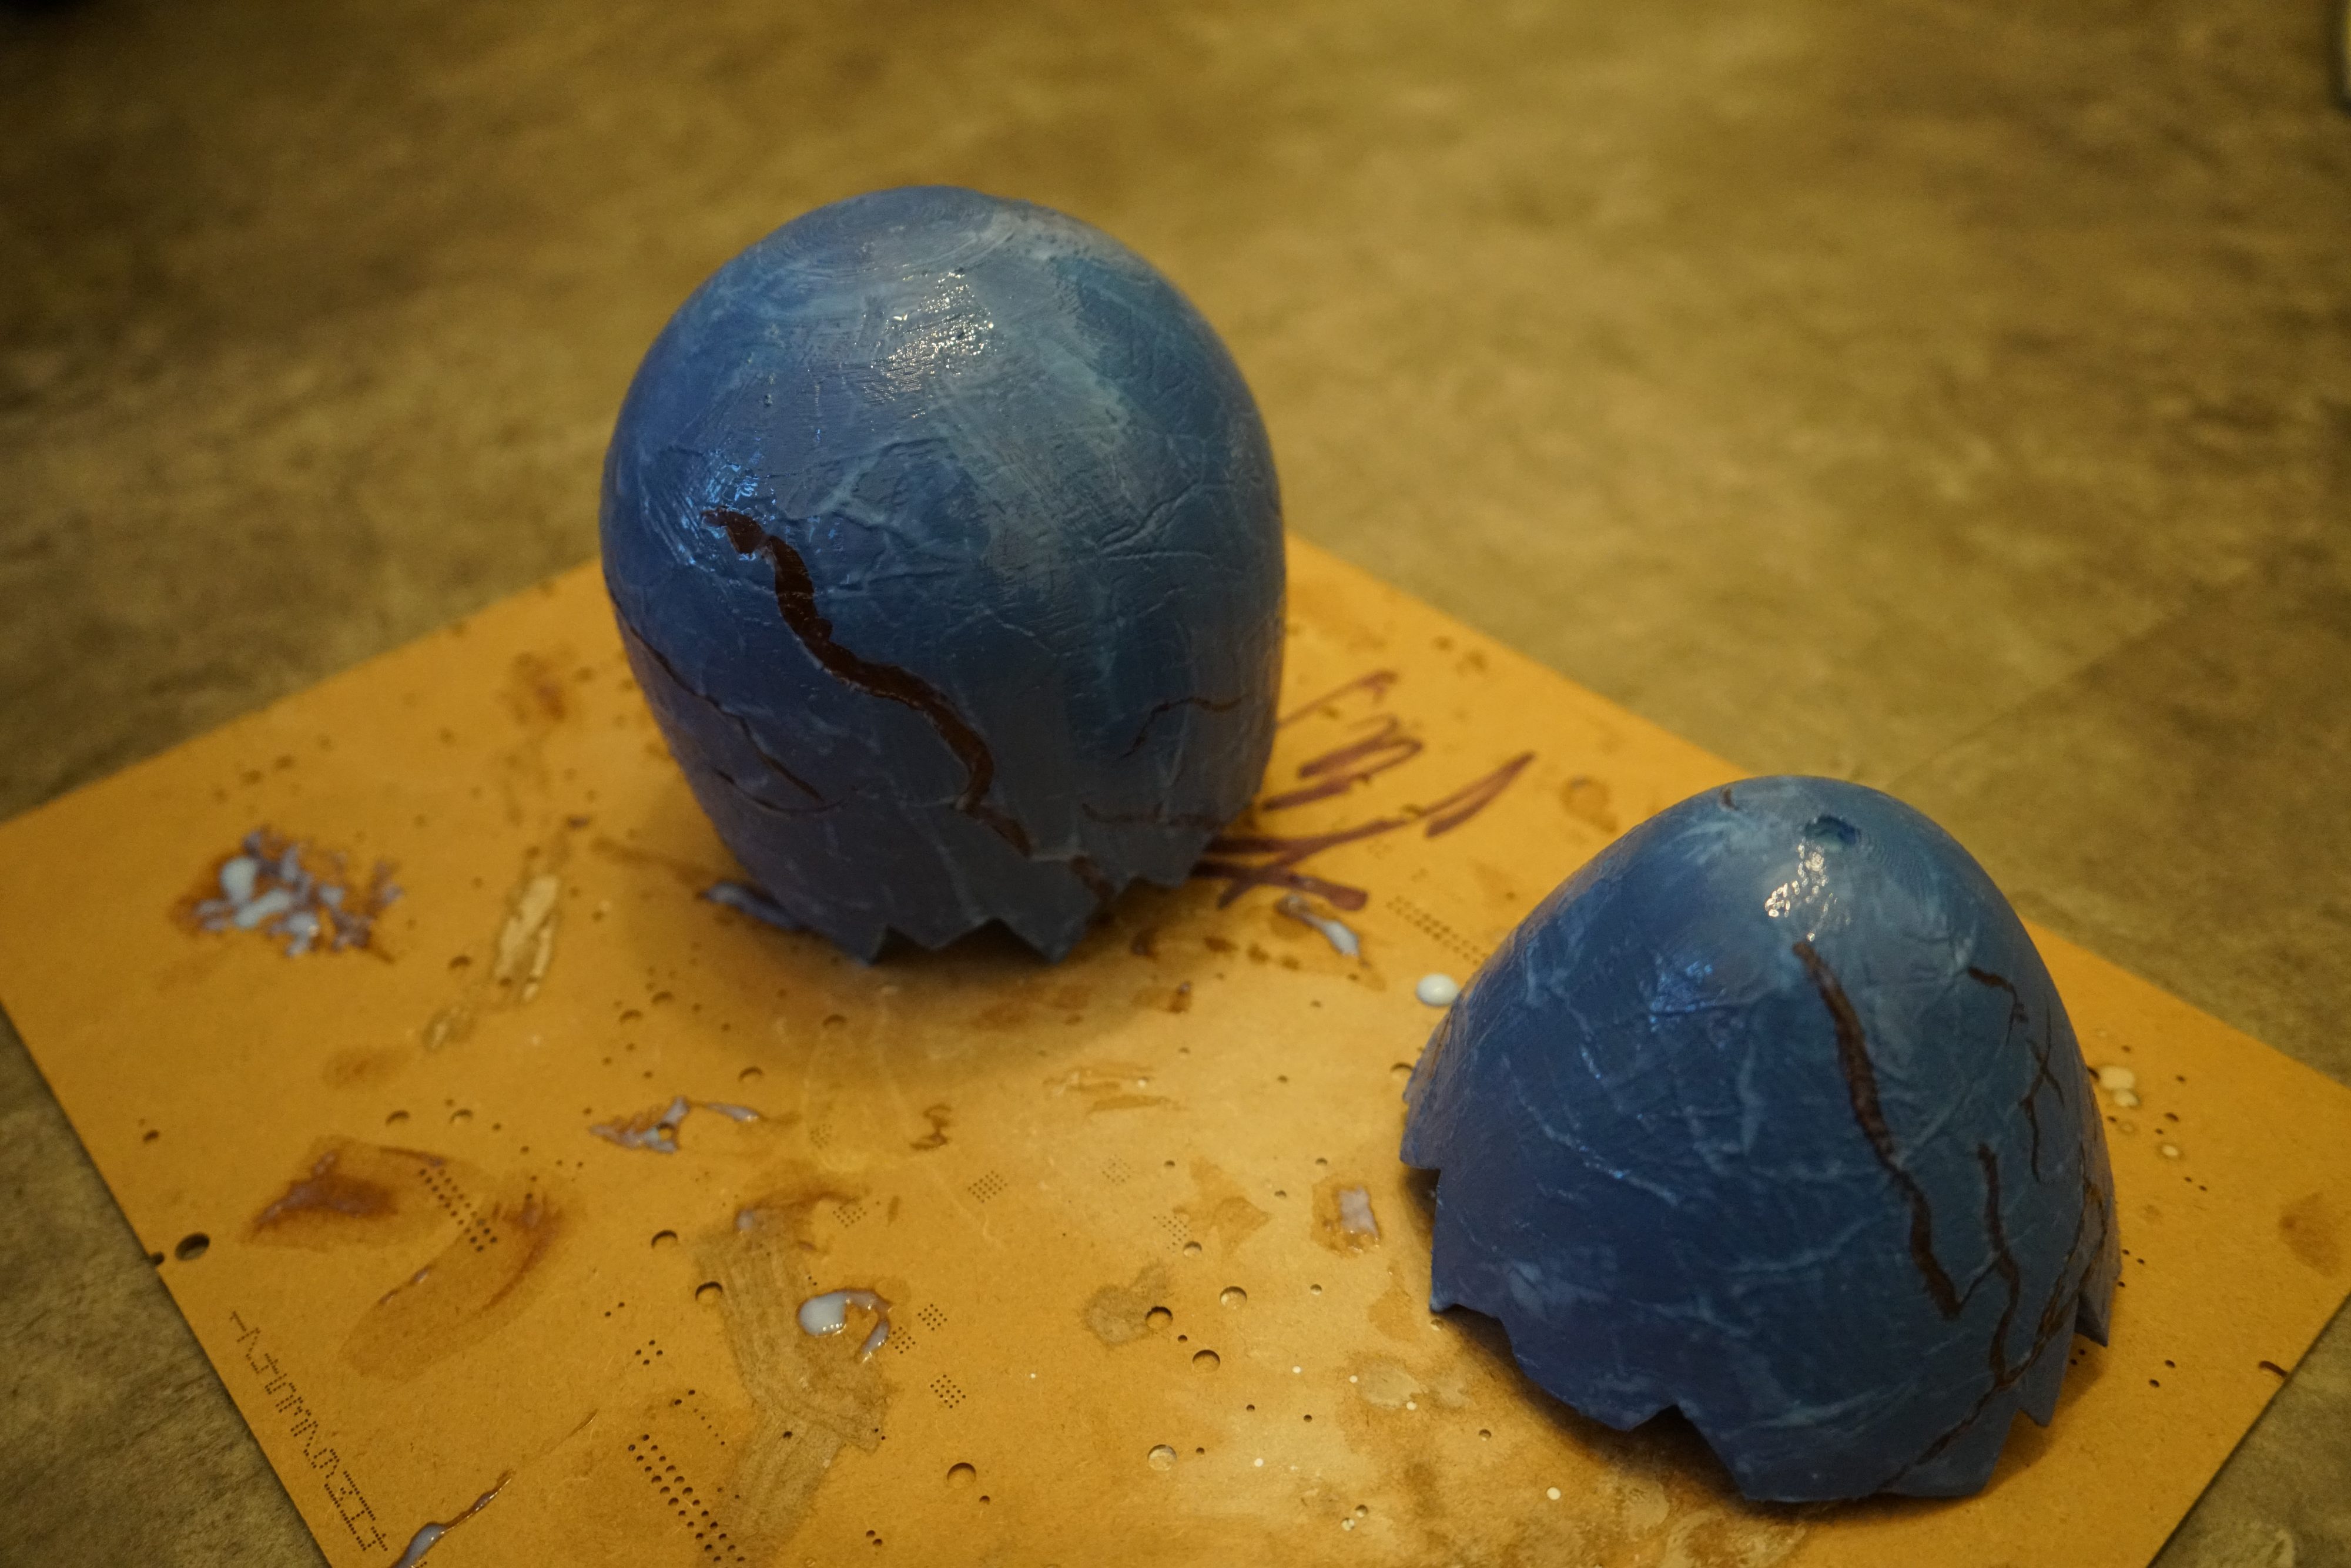
I then searched online for a suitable dinosaur egg 3D model and found this one on Cults3D: Cracked Dinosaur Egg by ALLOUTSA. It was a great fit because it was designed in two separate pieces, making it easy to open for water refills or accessing the controller.
Using my trusty Prusa i3 printer, I printed the egg in one go without any issues. I’m always impressed by how reliable this printer is!
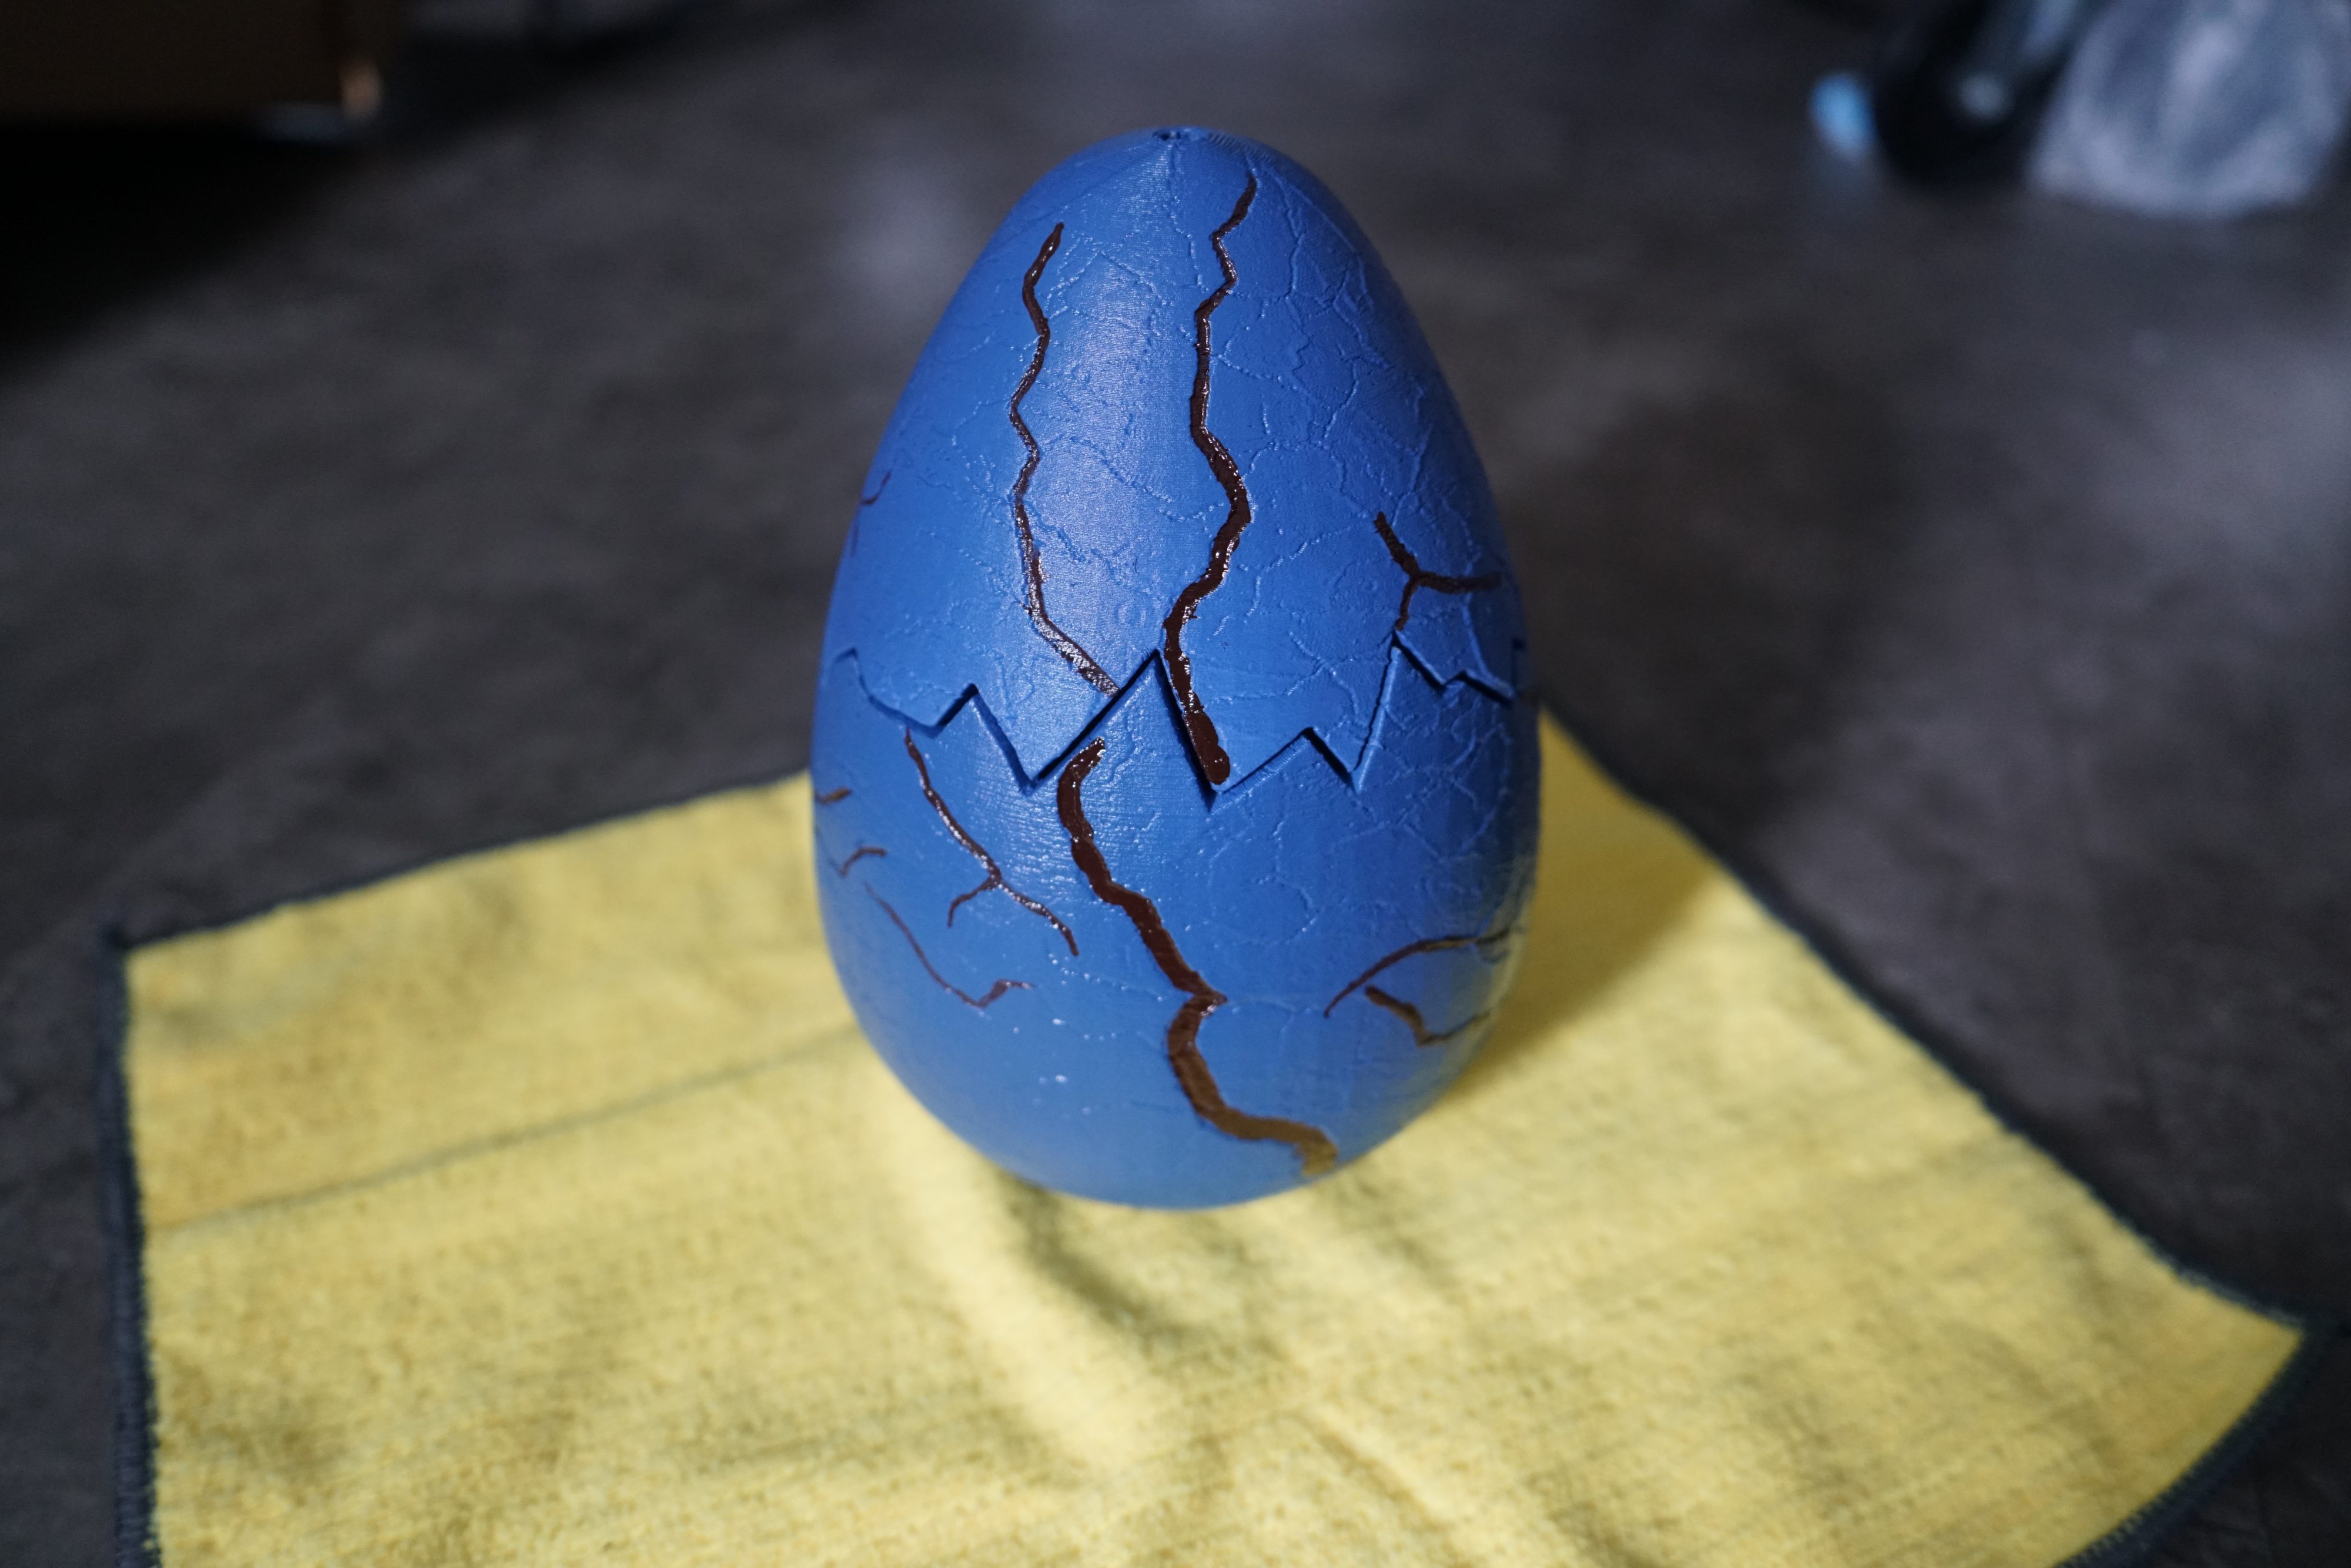
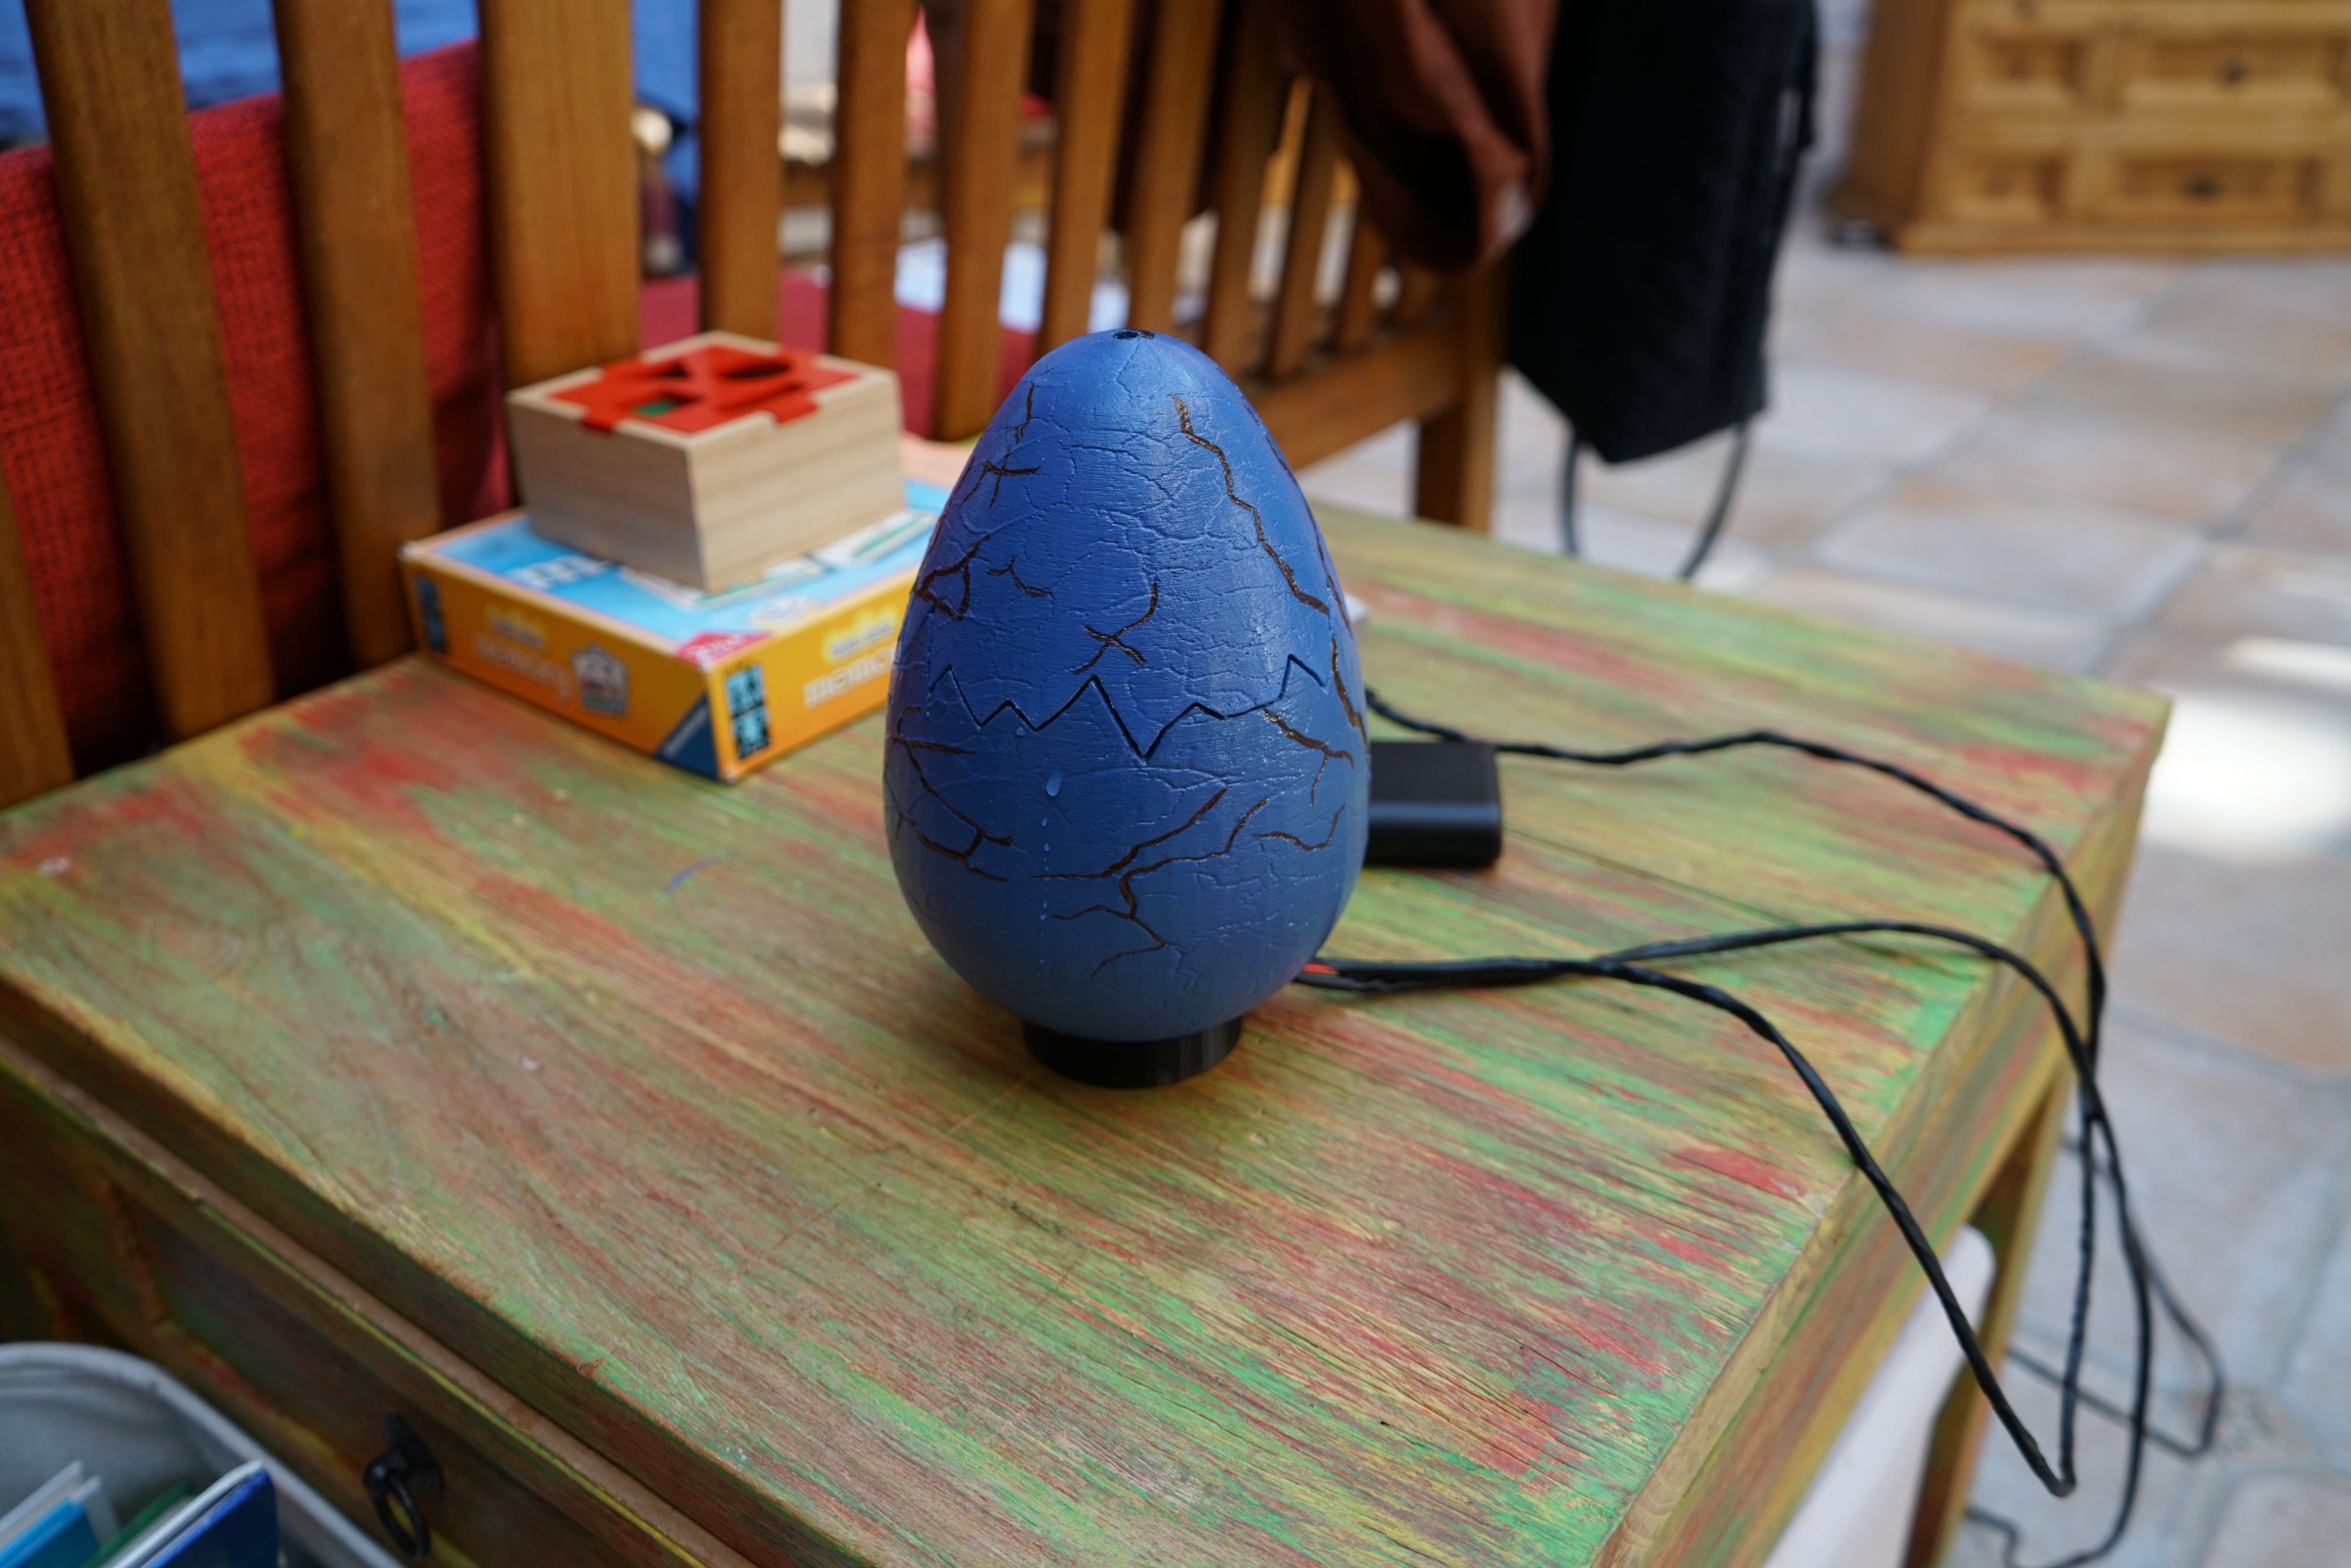
Next, I painted the entire “egg” in a deep navy blue and carefully highlighted the cracks with a brown shade to give it a more realistic and aged appearance.
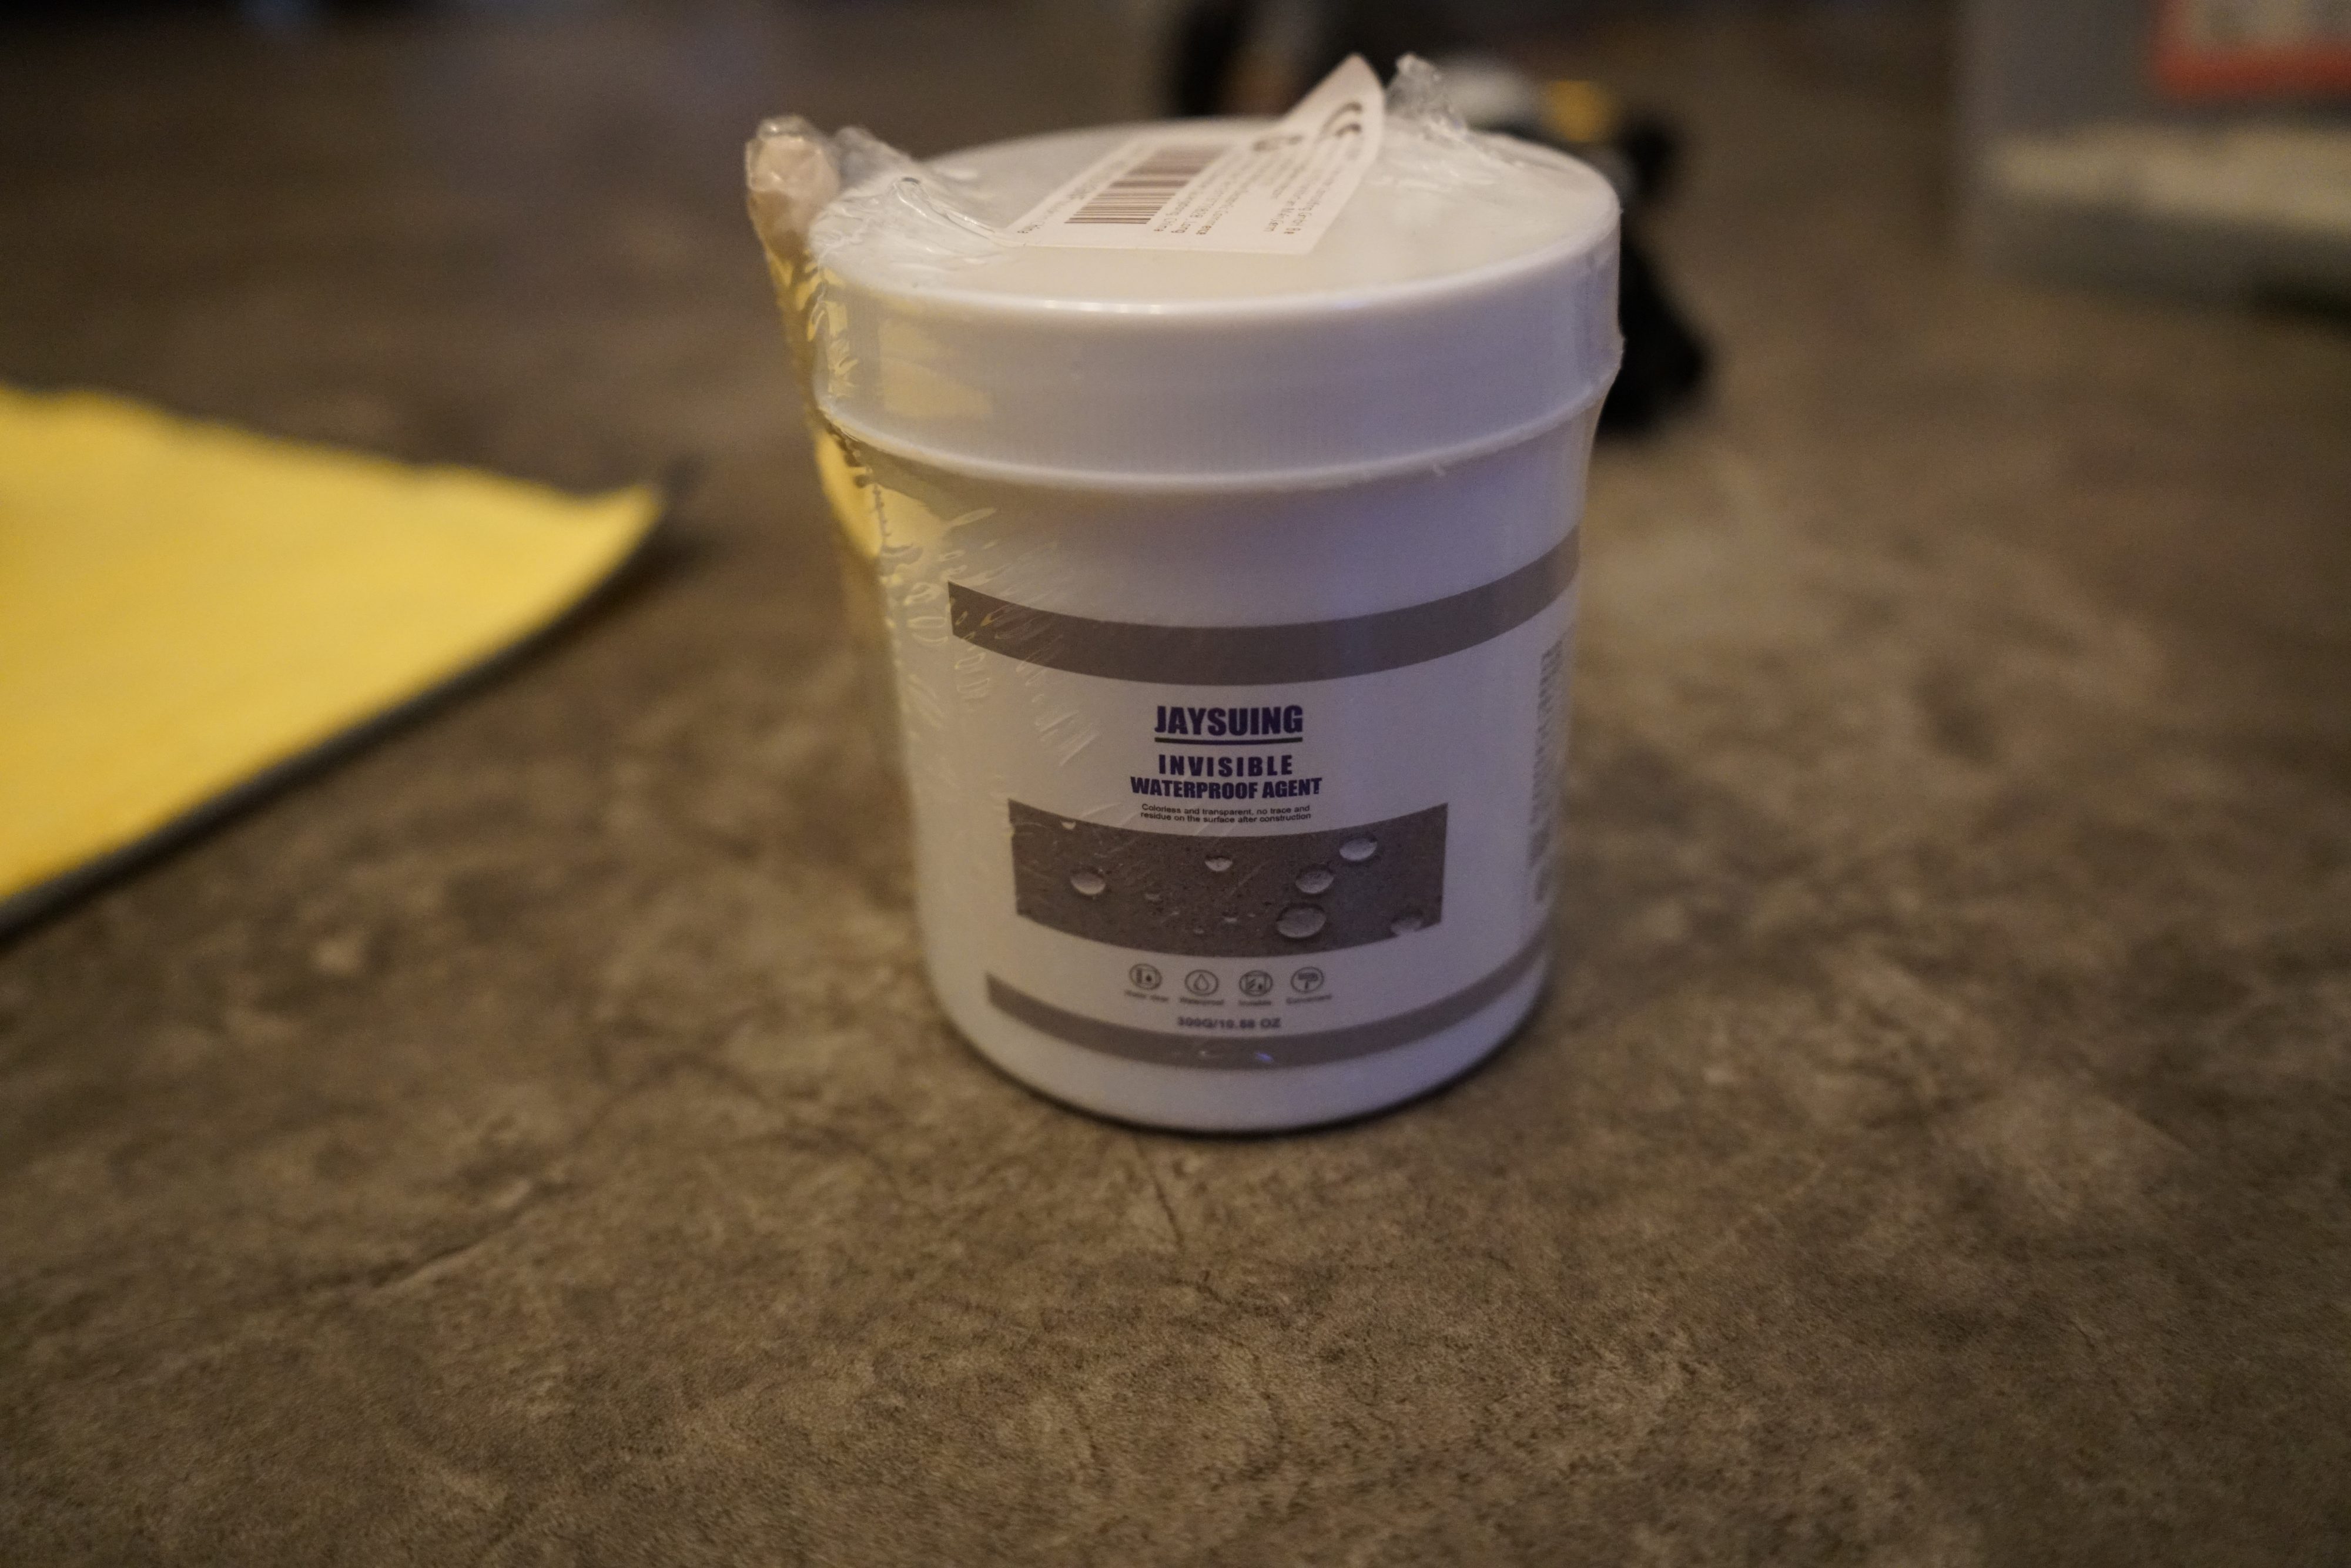
Afterward, I applied a waterproof coating over the entire “egg” to protect it from moisture and ensure durability, especially since it will be used outdoors.

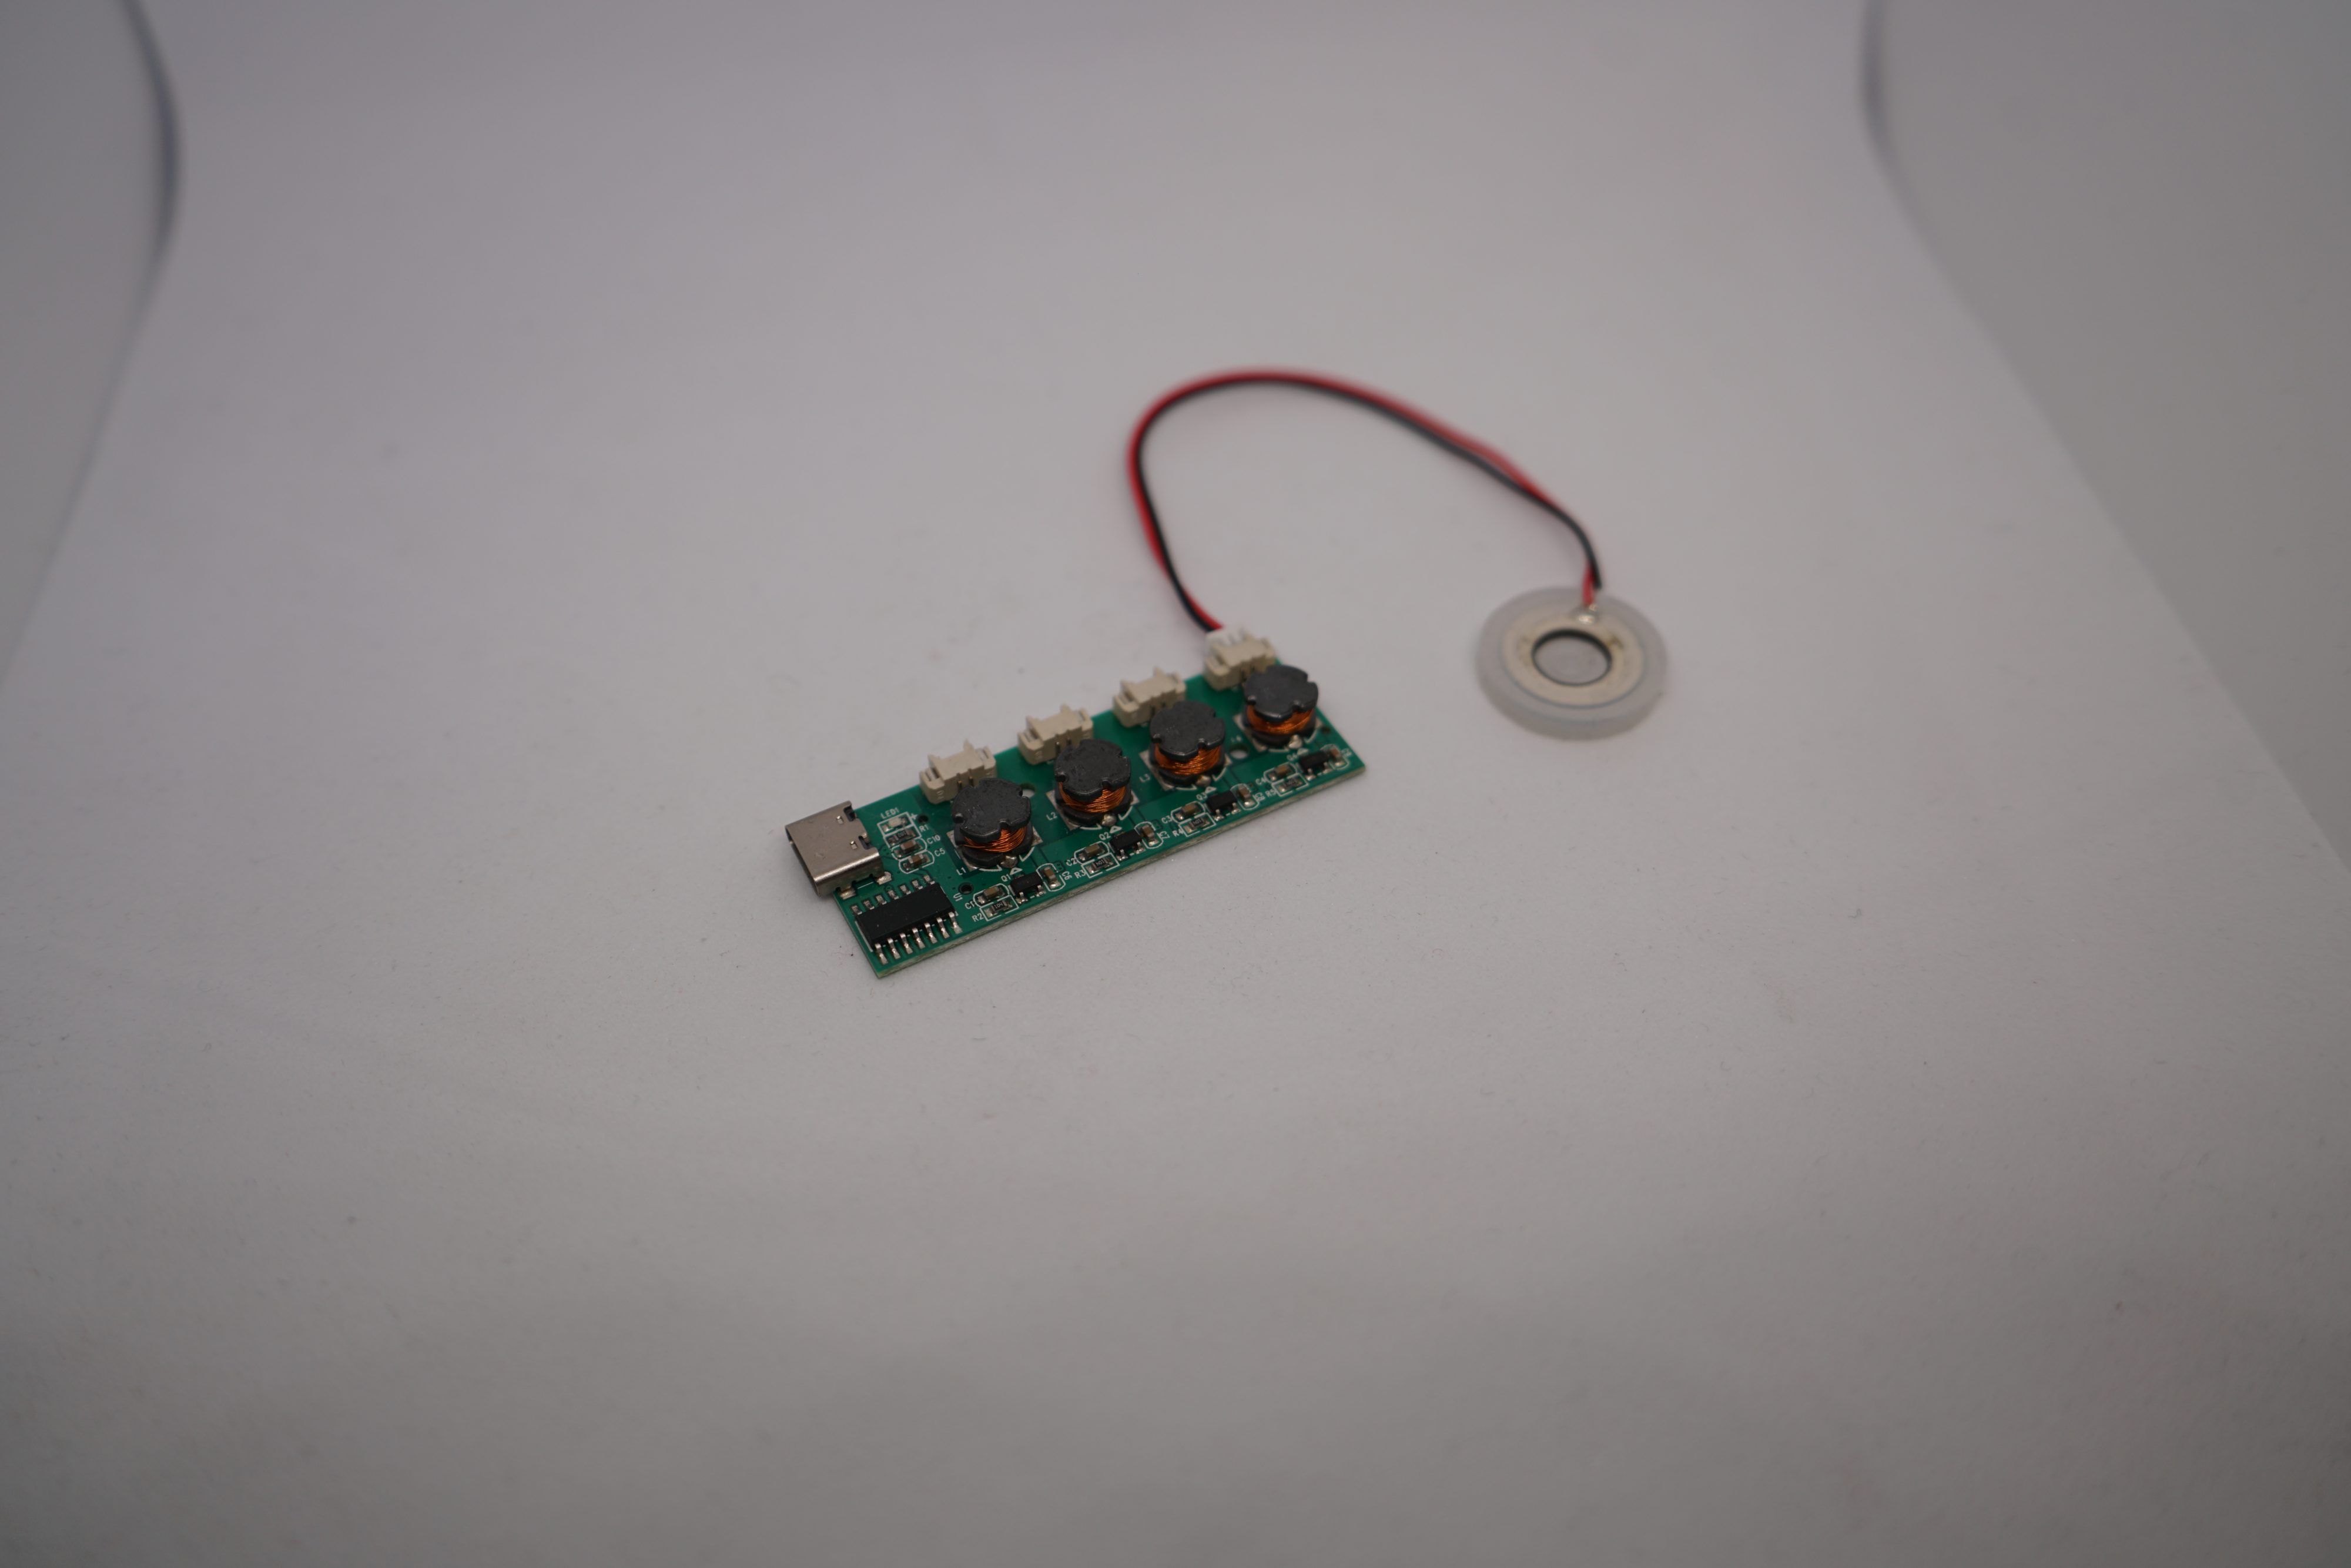
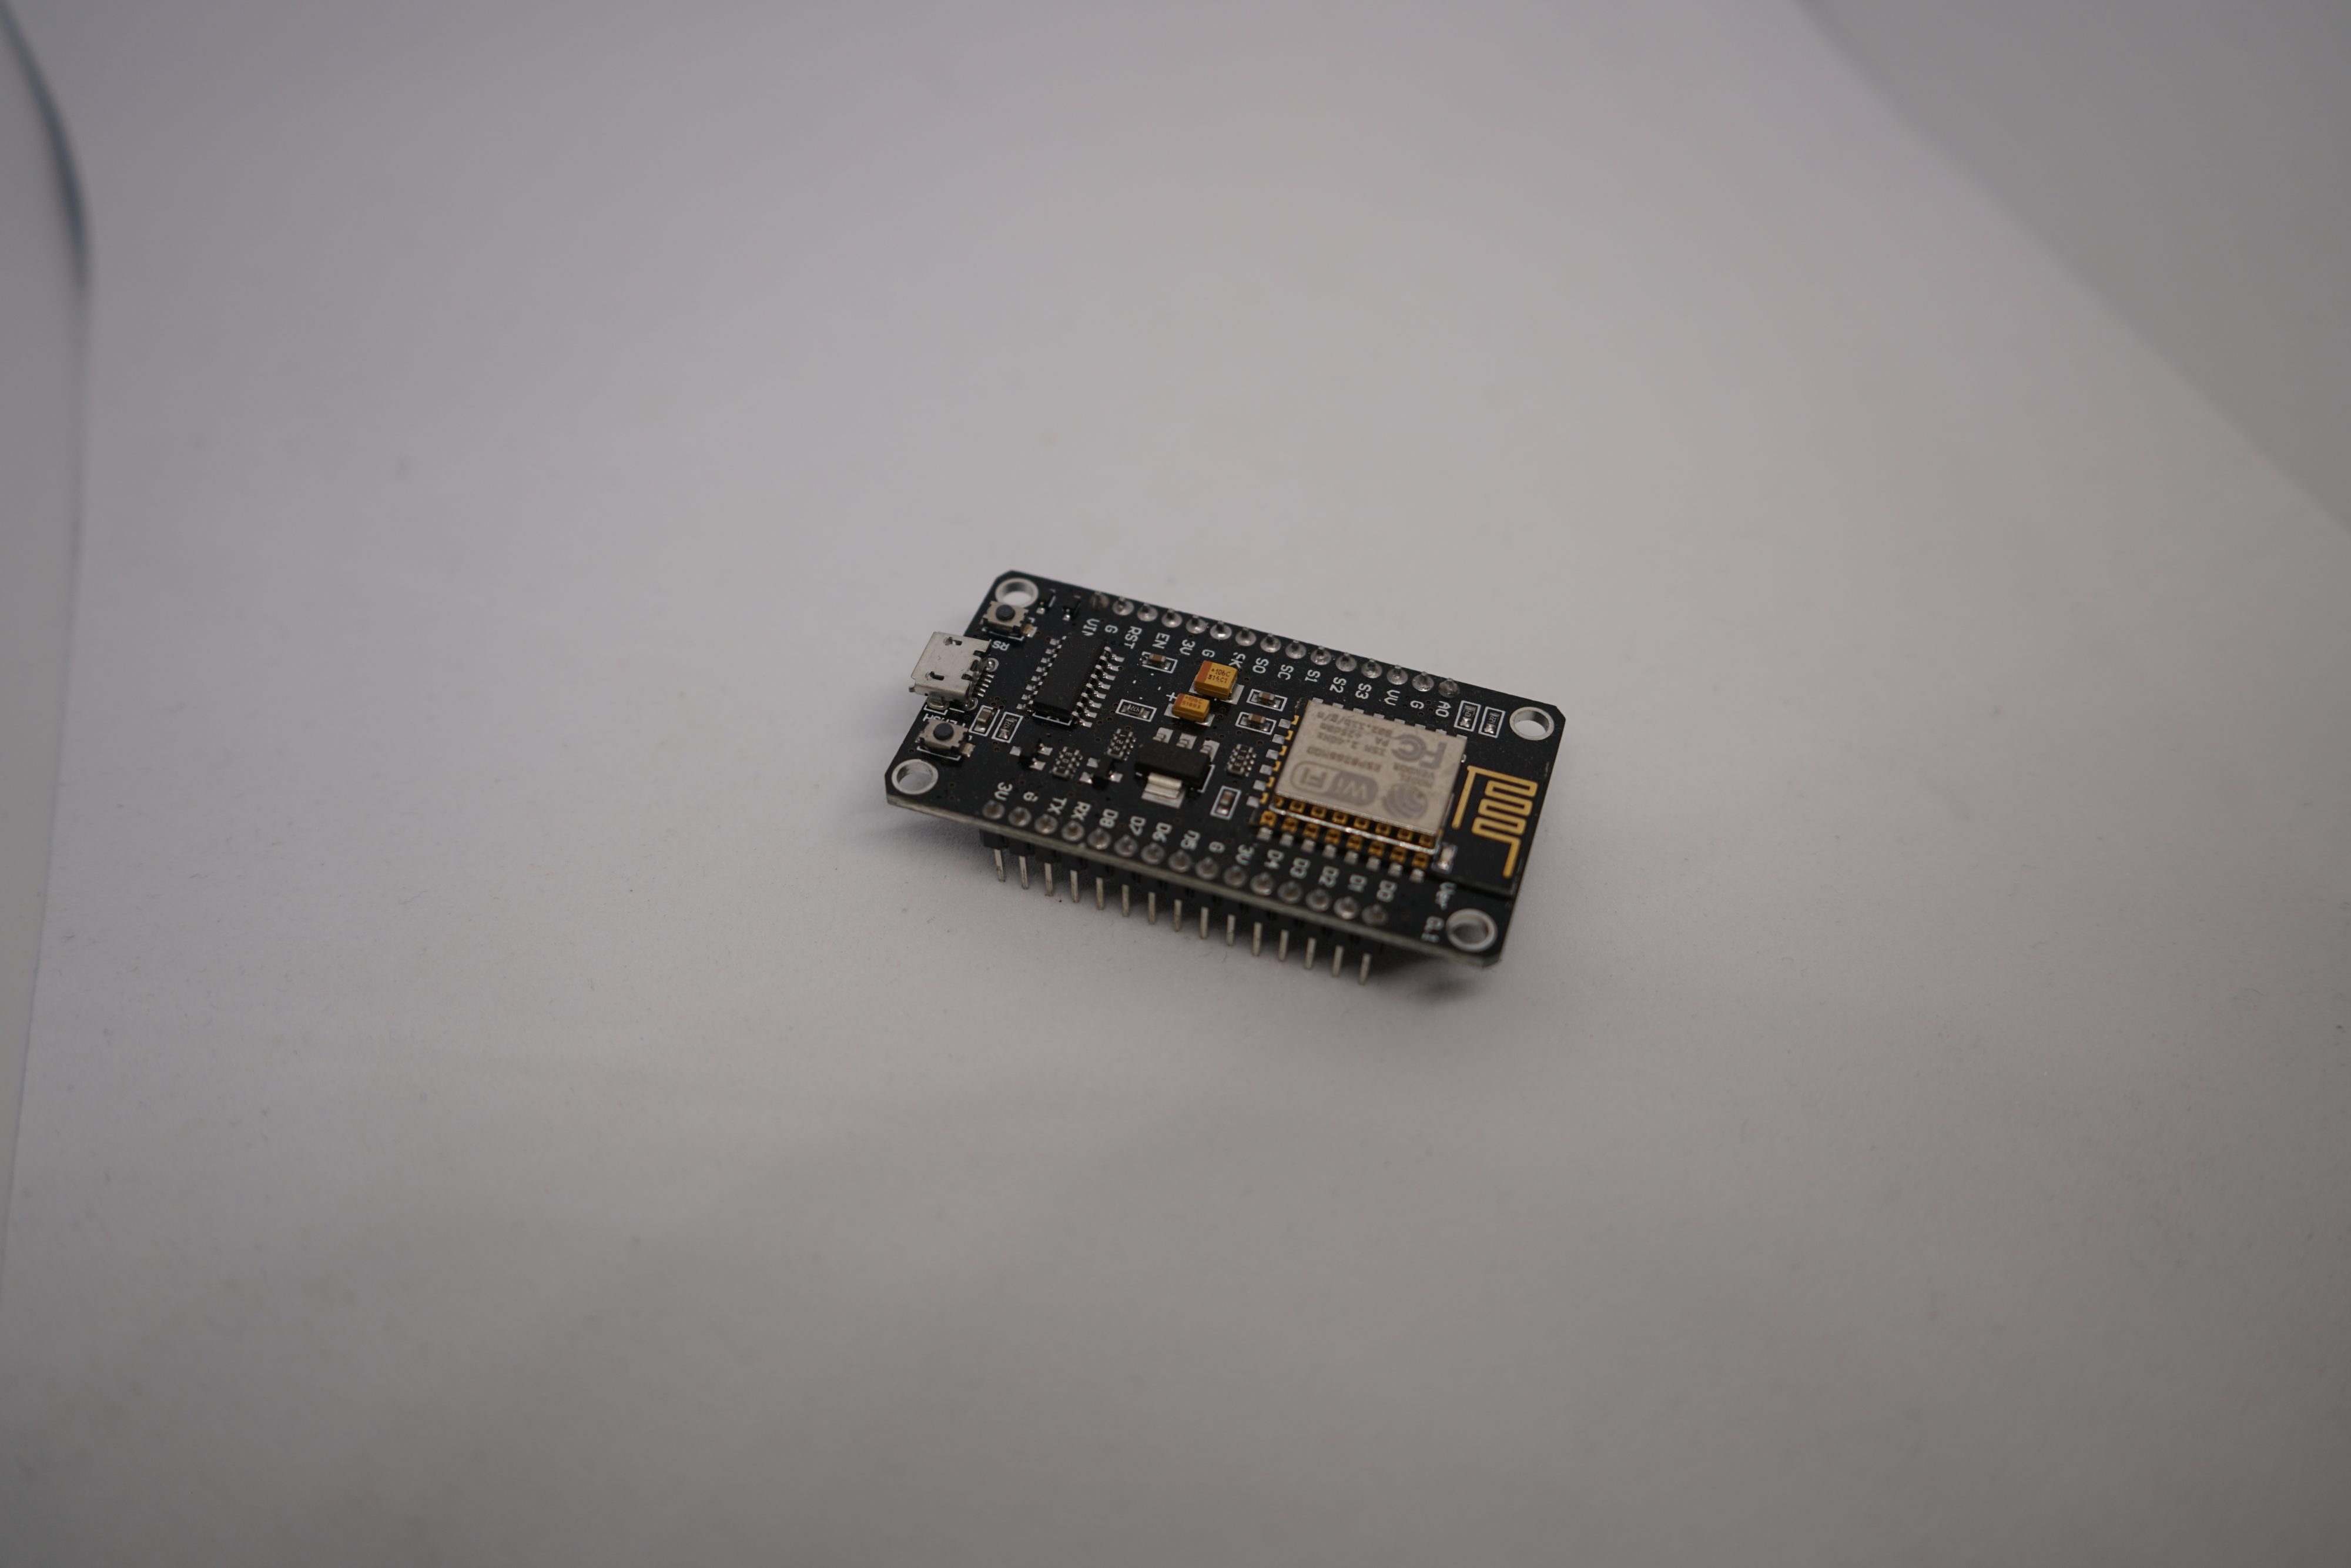
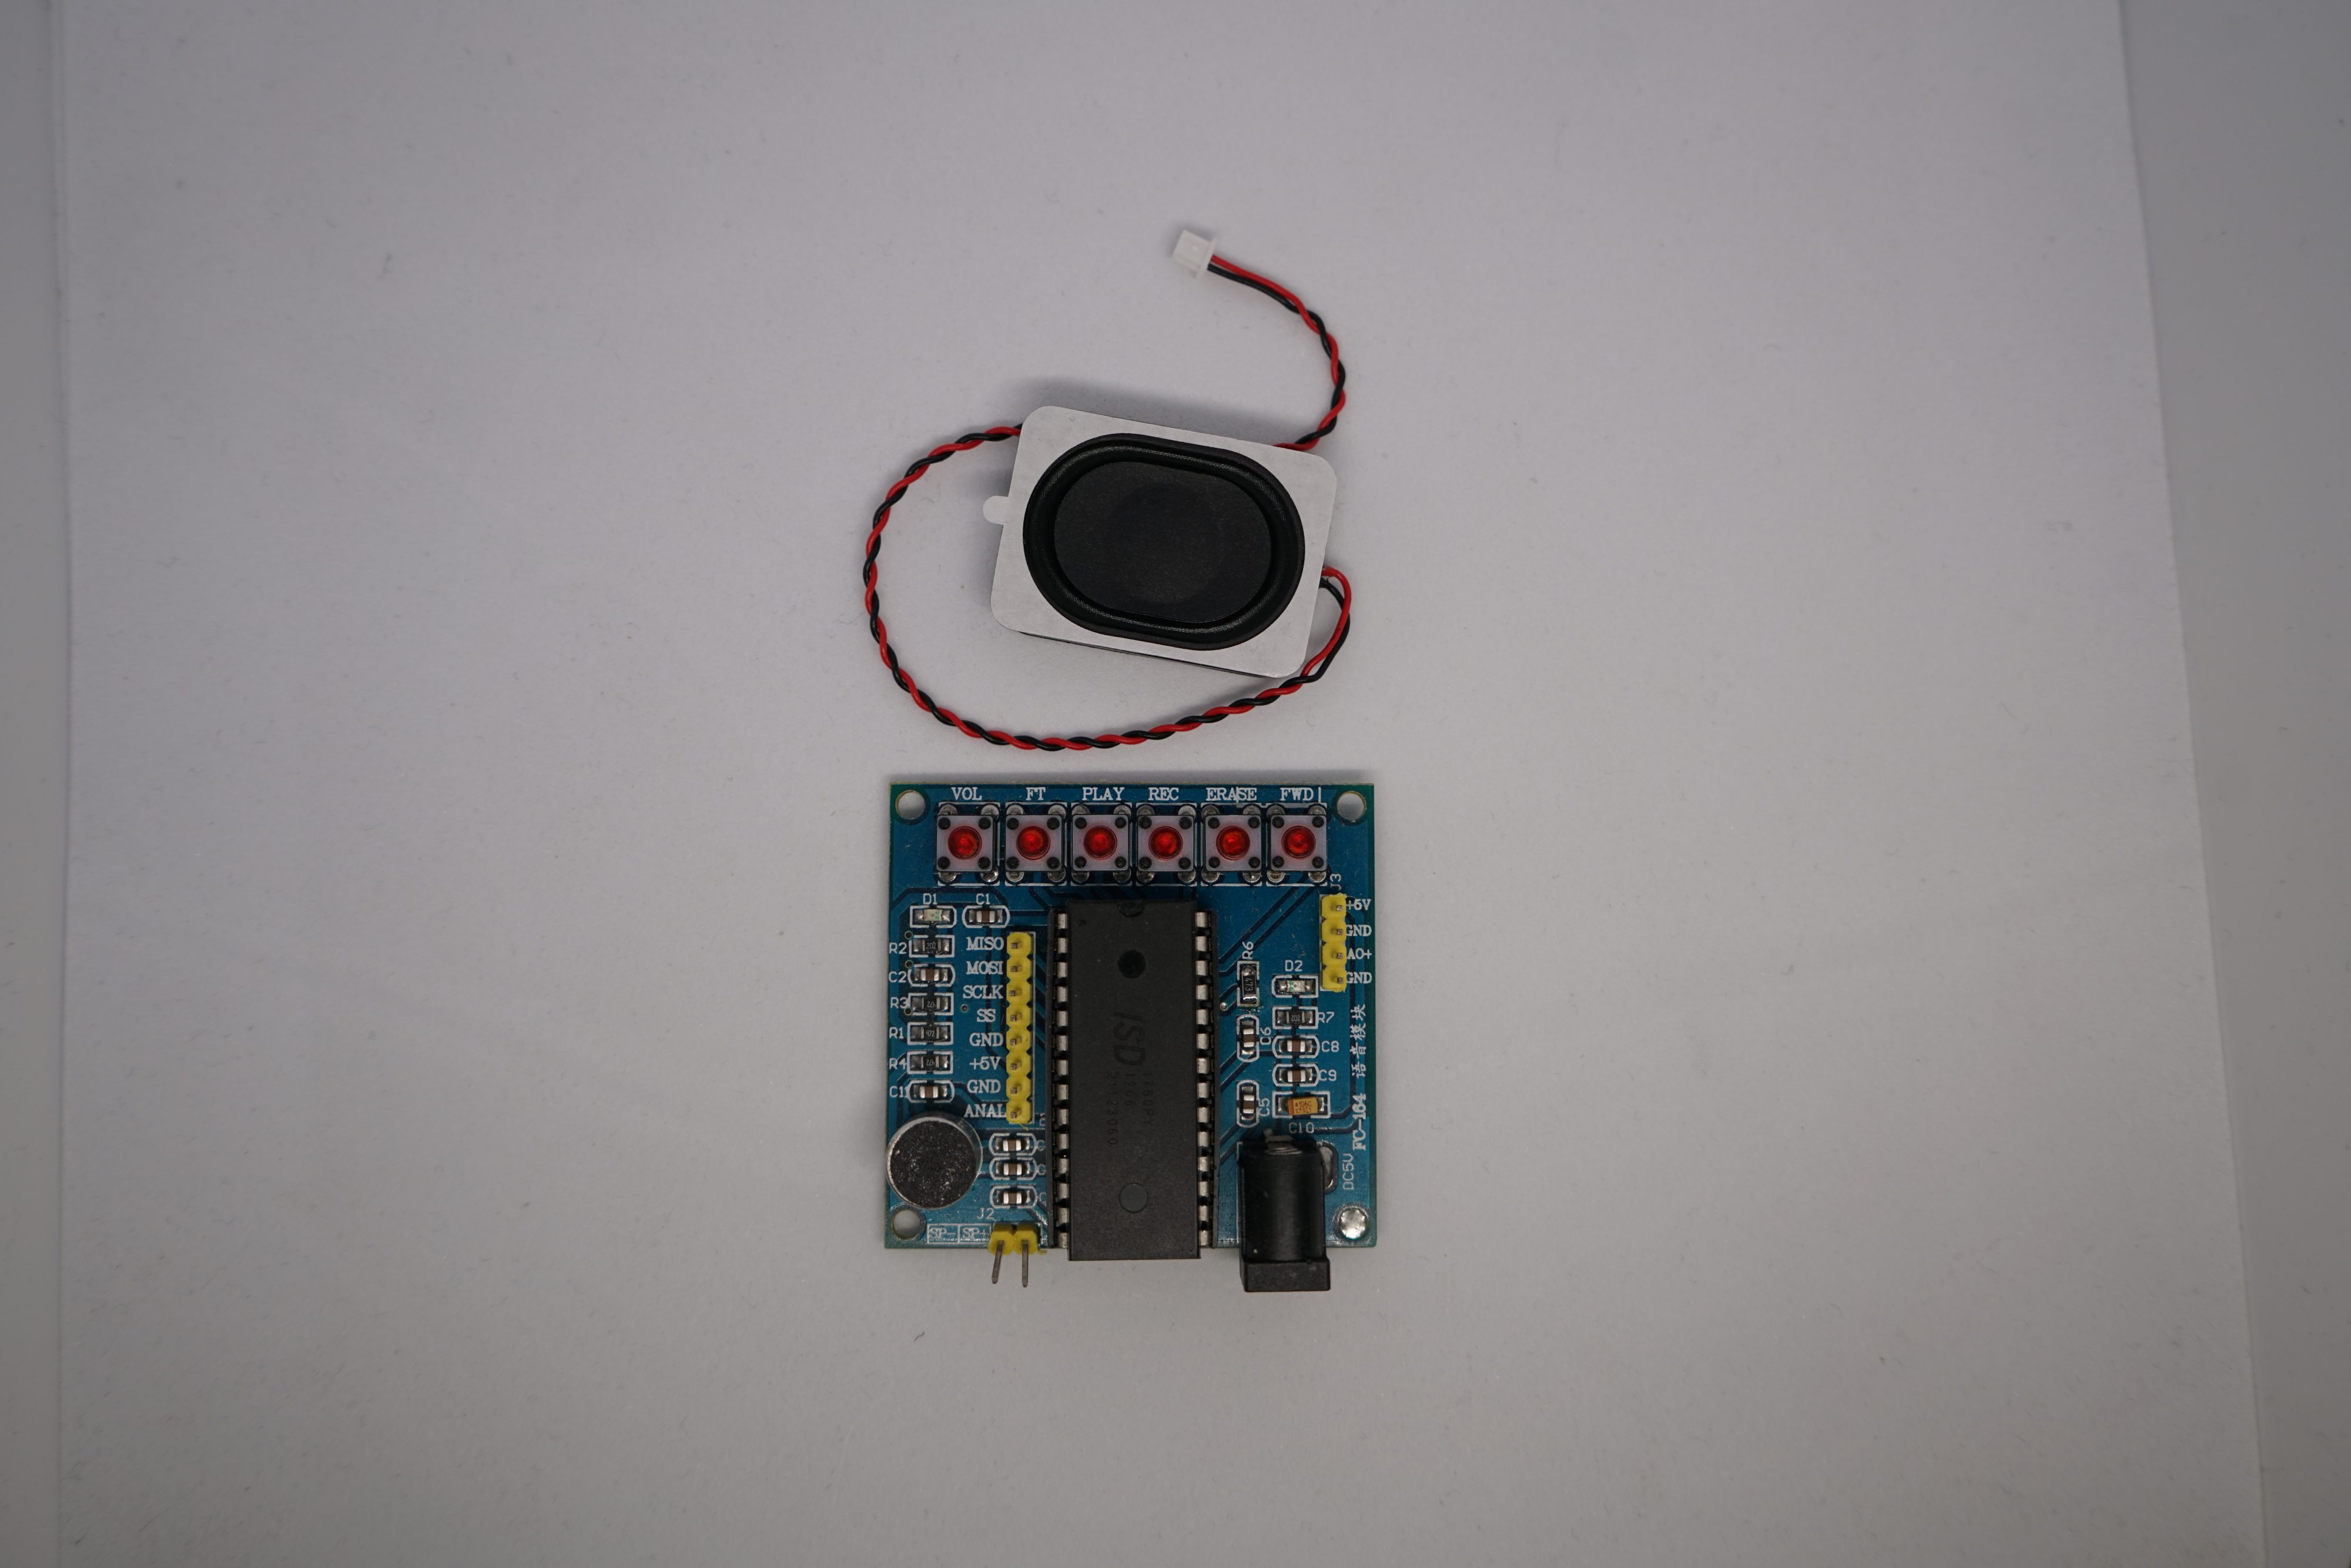
The concept revolves around utilizing existing module boards to simplify the project—avoiding custom PCB design. The setup includes a microcontroller board, a voice recording module with a speaker, a vaporizing module, and a PIR (Passive Infrared) sensor, all working together. Here’s a simplified diagram to illustrate the system:
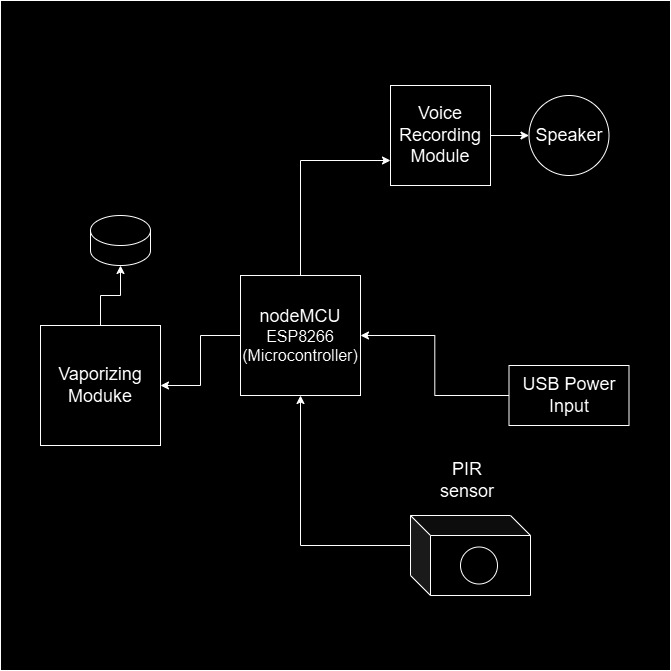
This modular approach ensures ease of assembly and flexibility while keeping the design straightforward and efficient.

After connecting the modules and uploading a basic program, everything is working as intended! 🎉
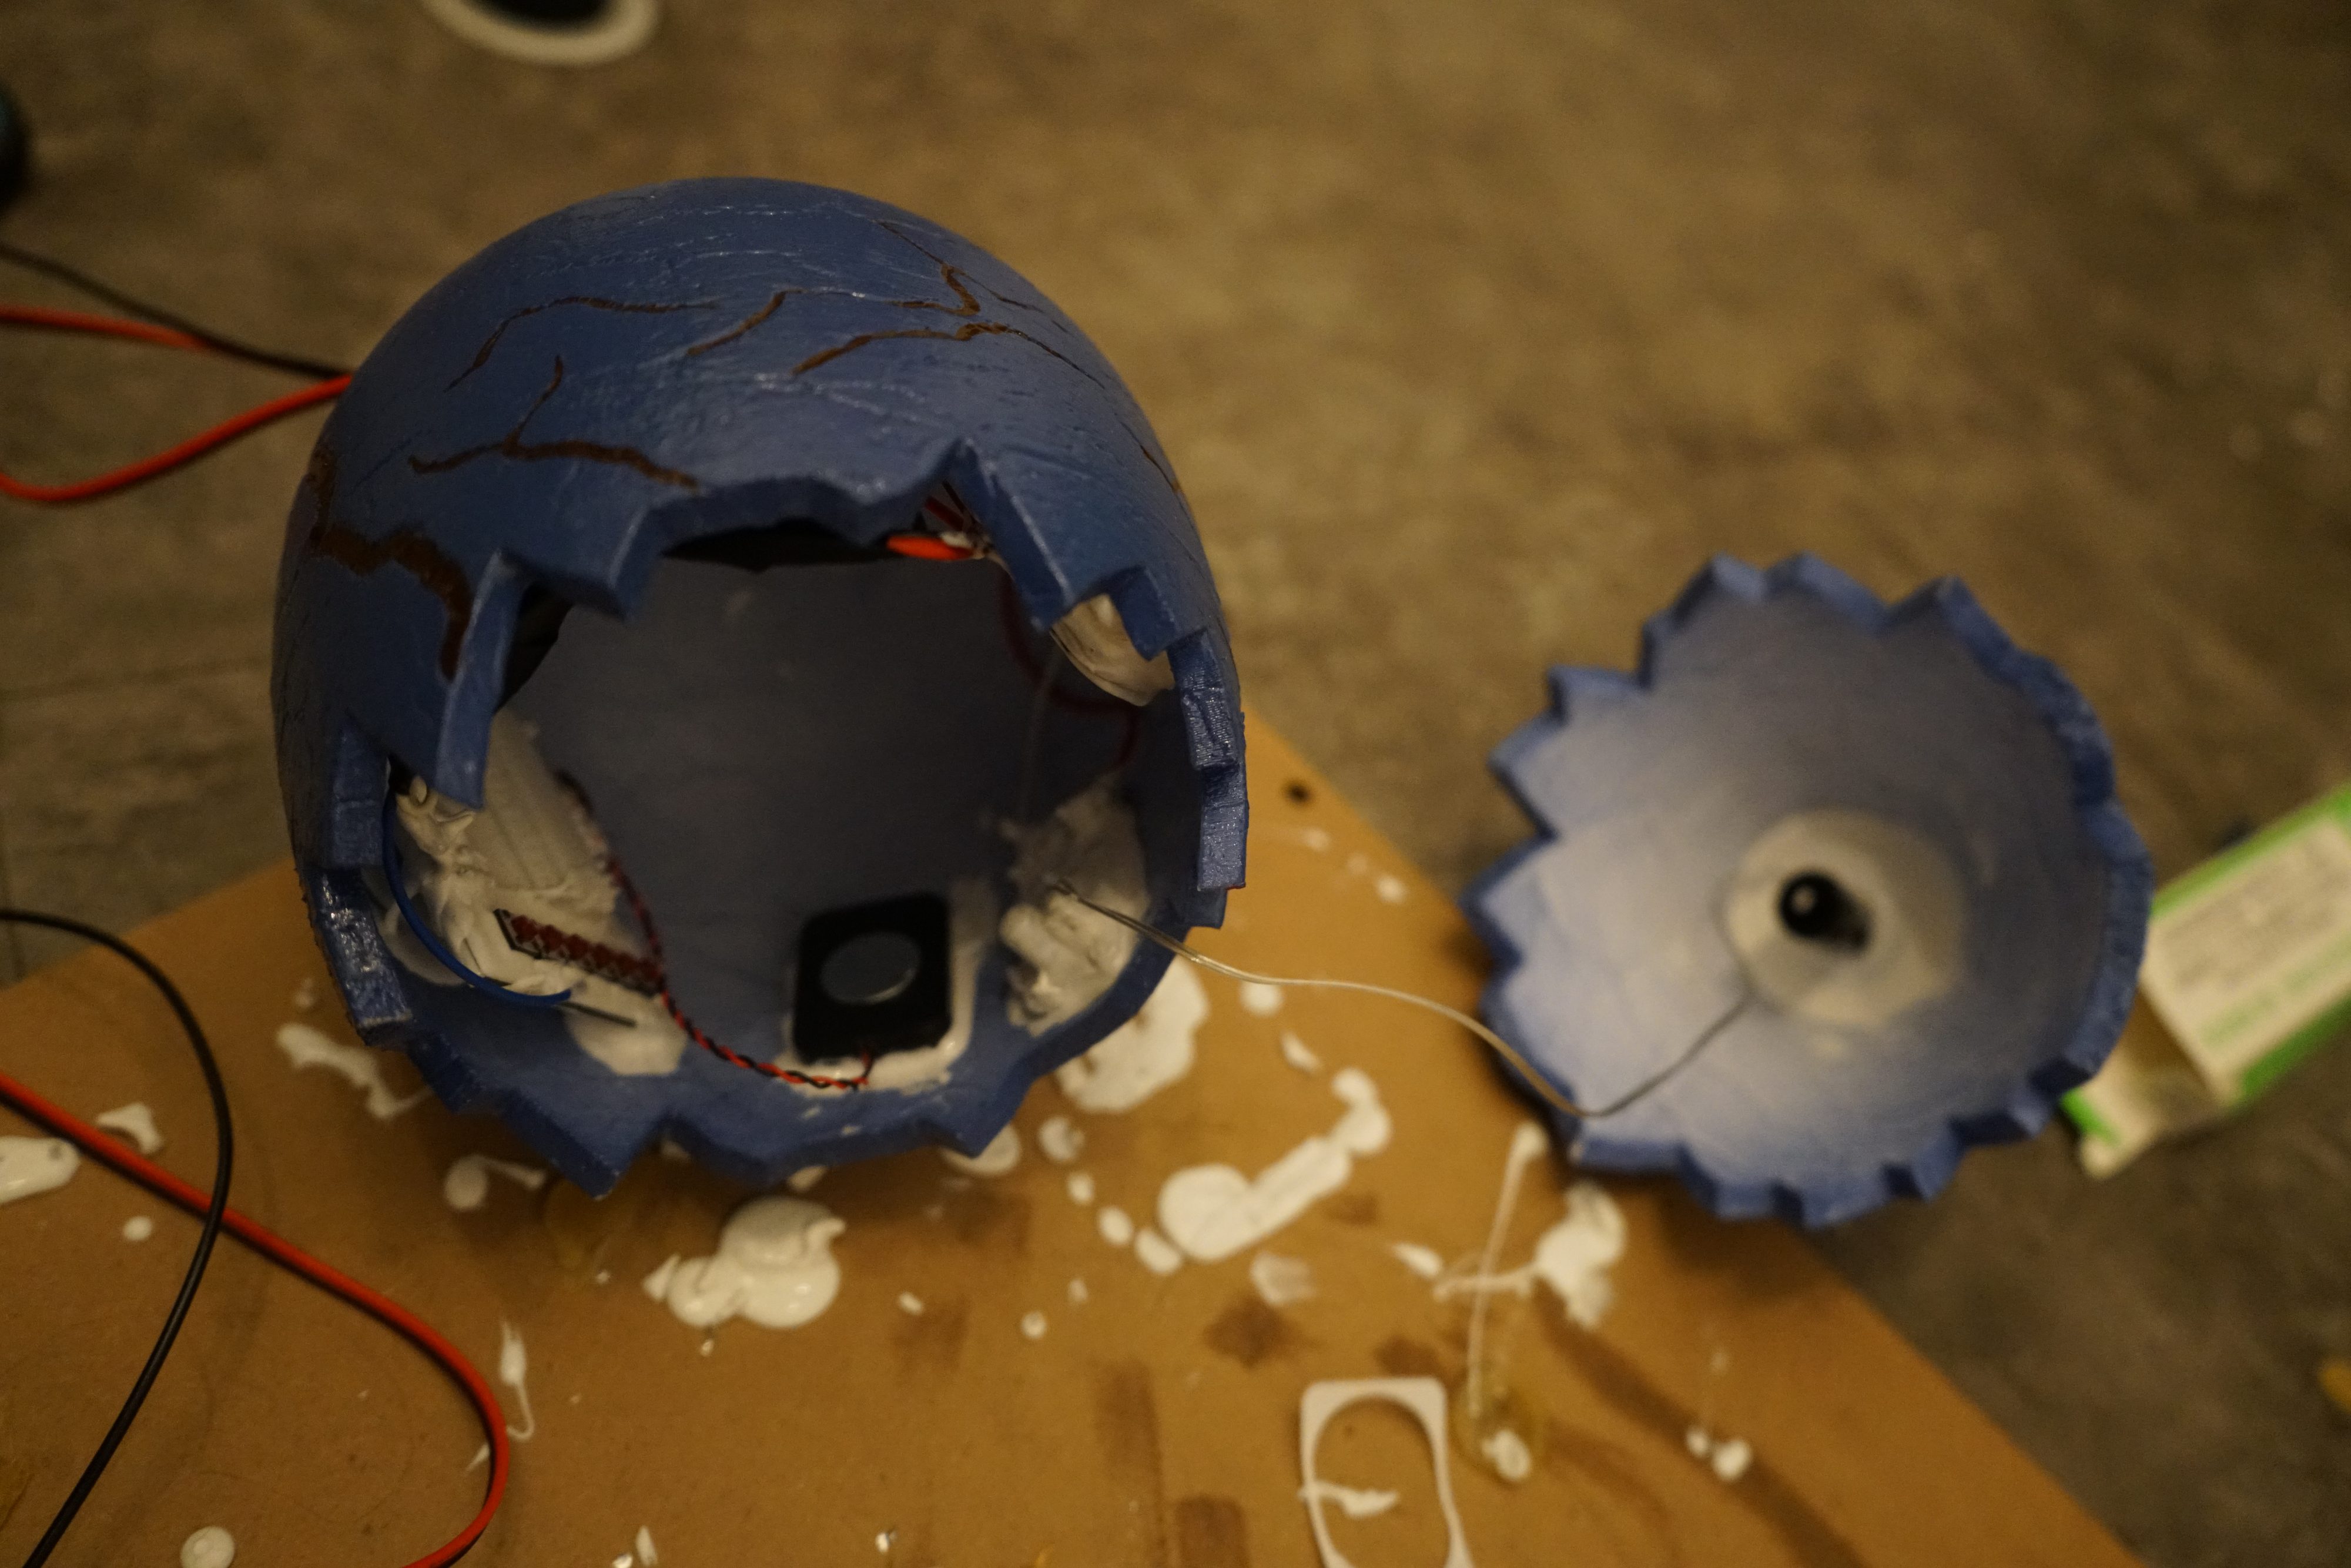
Since the “egg” will be placed outdoors, I had to address the fact that electronics and water don’t mix well. To protect the components, I applied a layer of silicone to seal all the modules securely:

This step ensures the durability and safety of the setup against outdoor elements like moisture and rain.
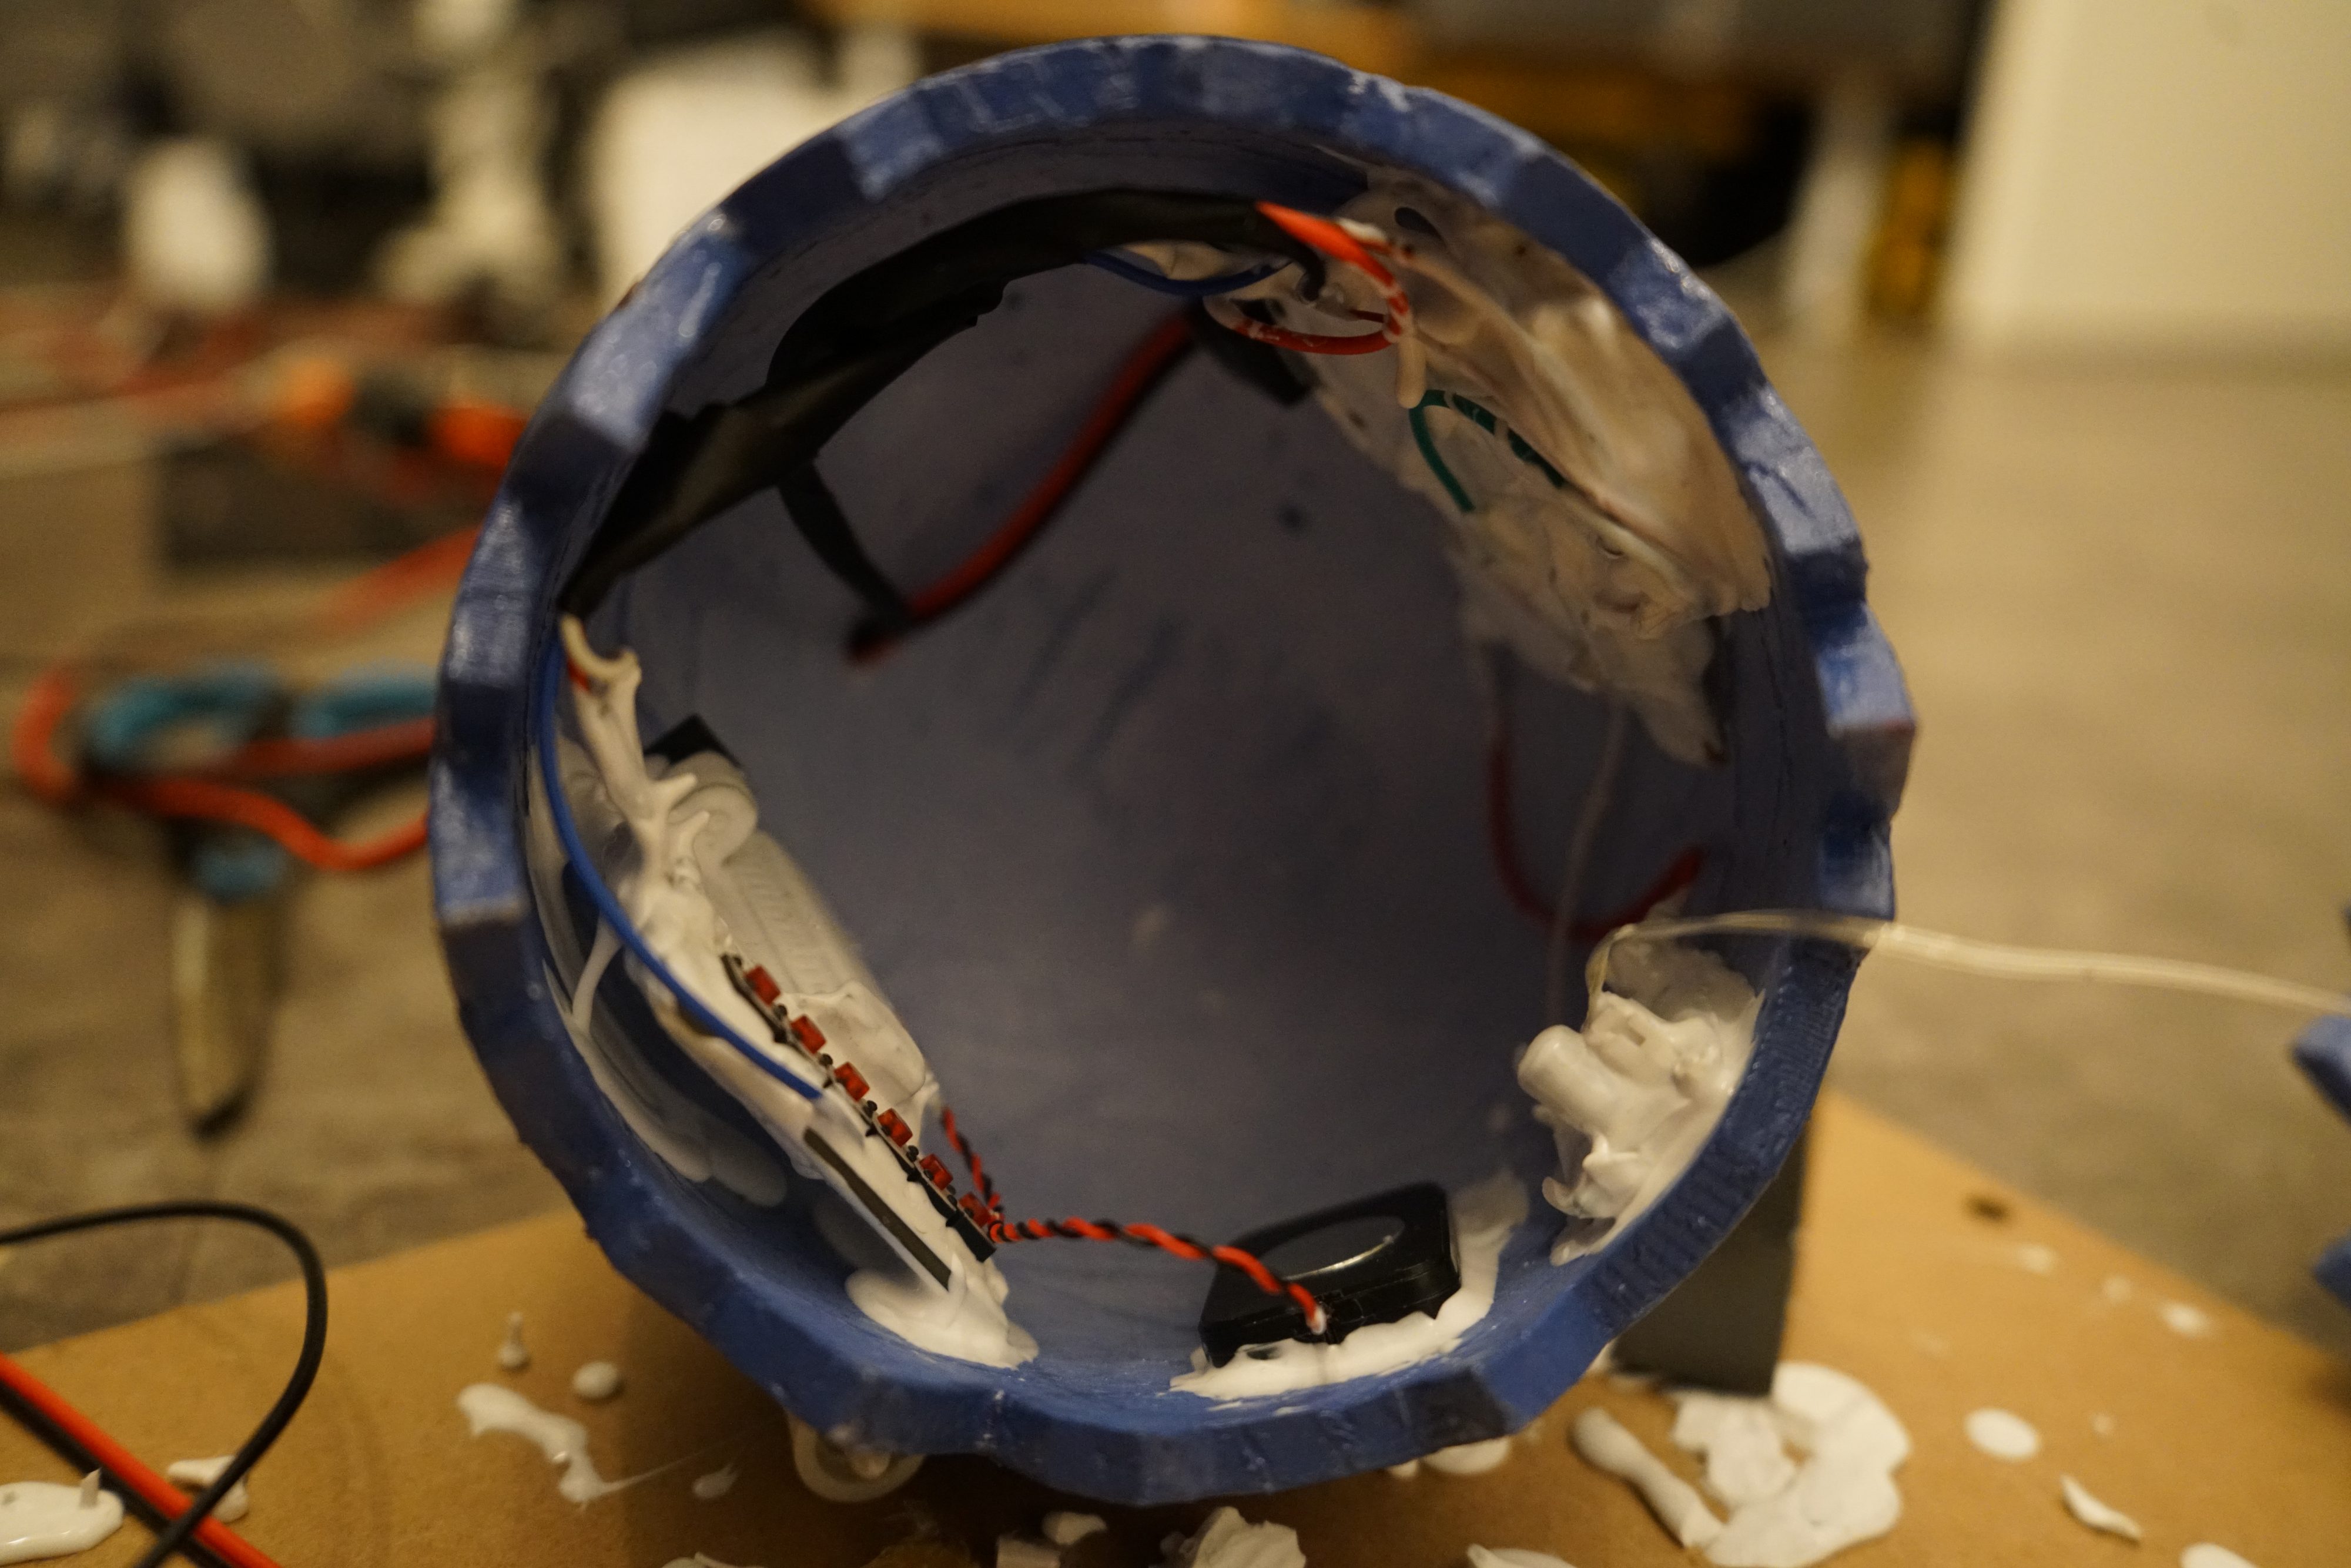
After sealing the components with silicone, I carefully assembled them inside the “egg.”
The compact design fits perfectly, ensuring all the modules are secure and protected while still allowing easy access for maintenance or refilling the water tank. This step brings the Dino Egg project closer to life! 🦖✨
Next, I ran some tests to ensure the PIR sensor and speaker were working as expected:
The PIR sensor successfully detected motion, and the speaker played the sounds without any issues. It’s always satisfying to see everything come together smoothly during testing! 🎉
Since the egg couldn’t stand properly on its own, I 3D-printed a small ring and attached it to the bottom of the egg. This gave it a stable base, allowing it to stand upright on its own. Problem solved! 🎉

After securely gluing all the modules inside the egg, the interior looks much tidier and more organized now.
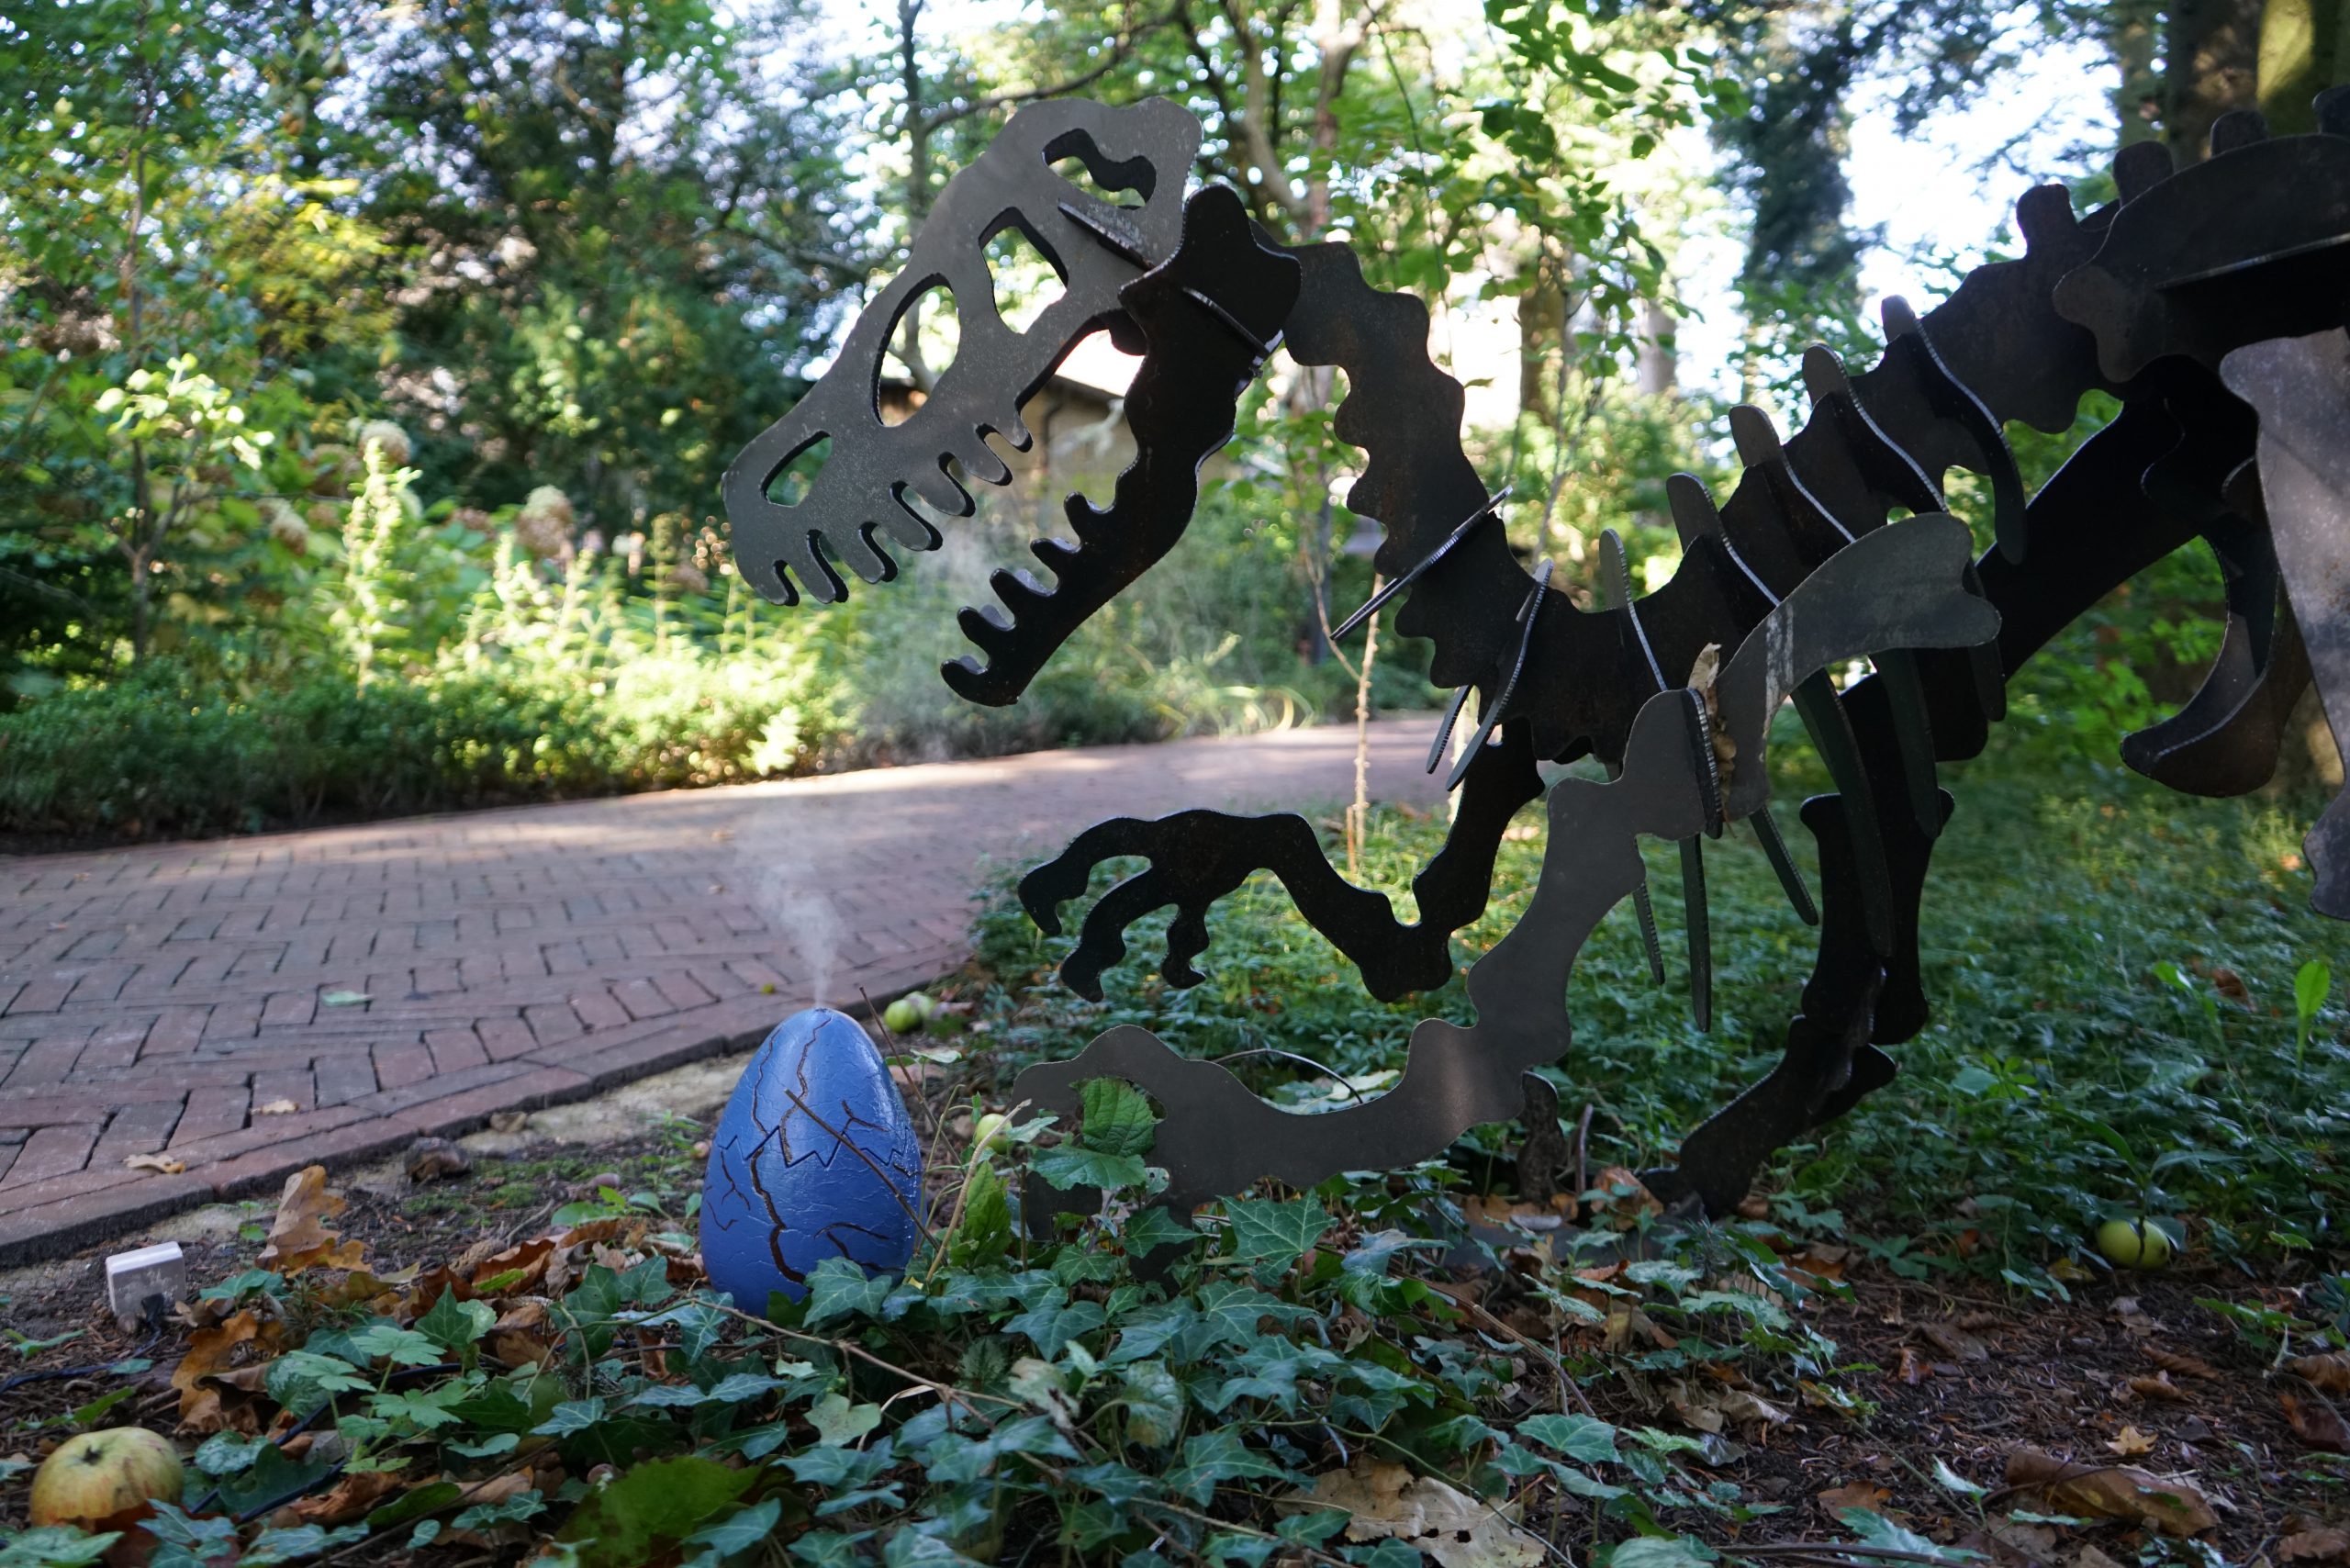
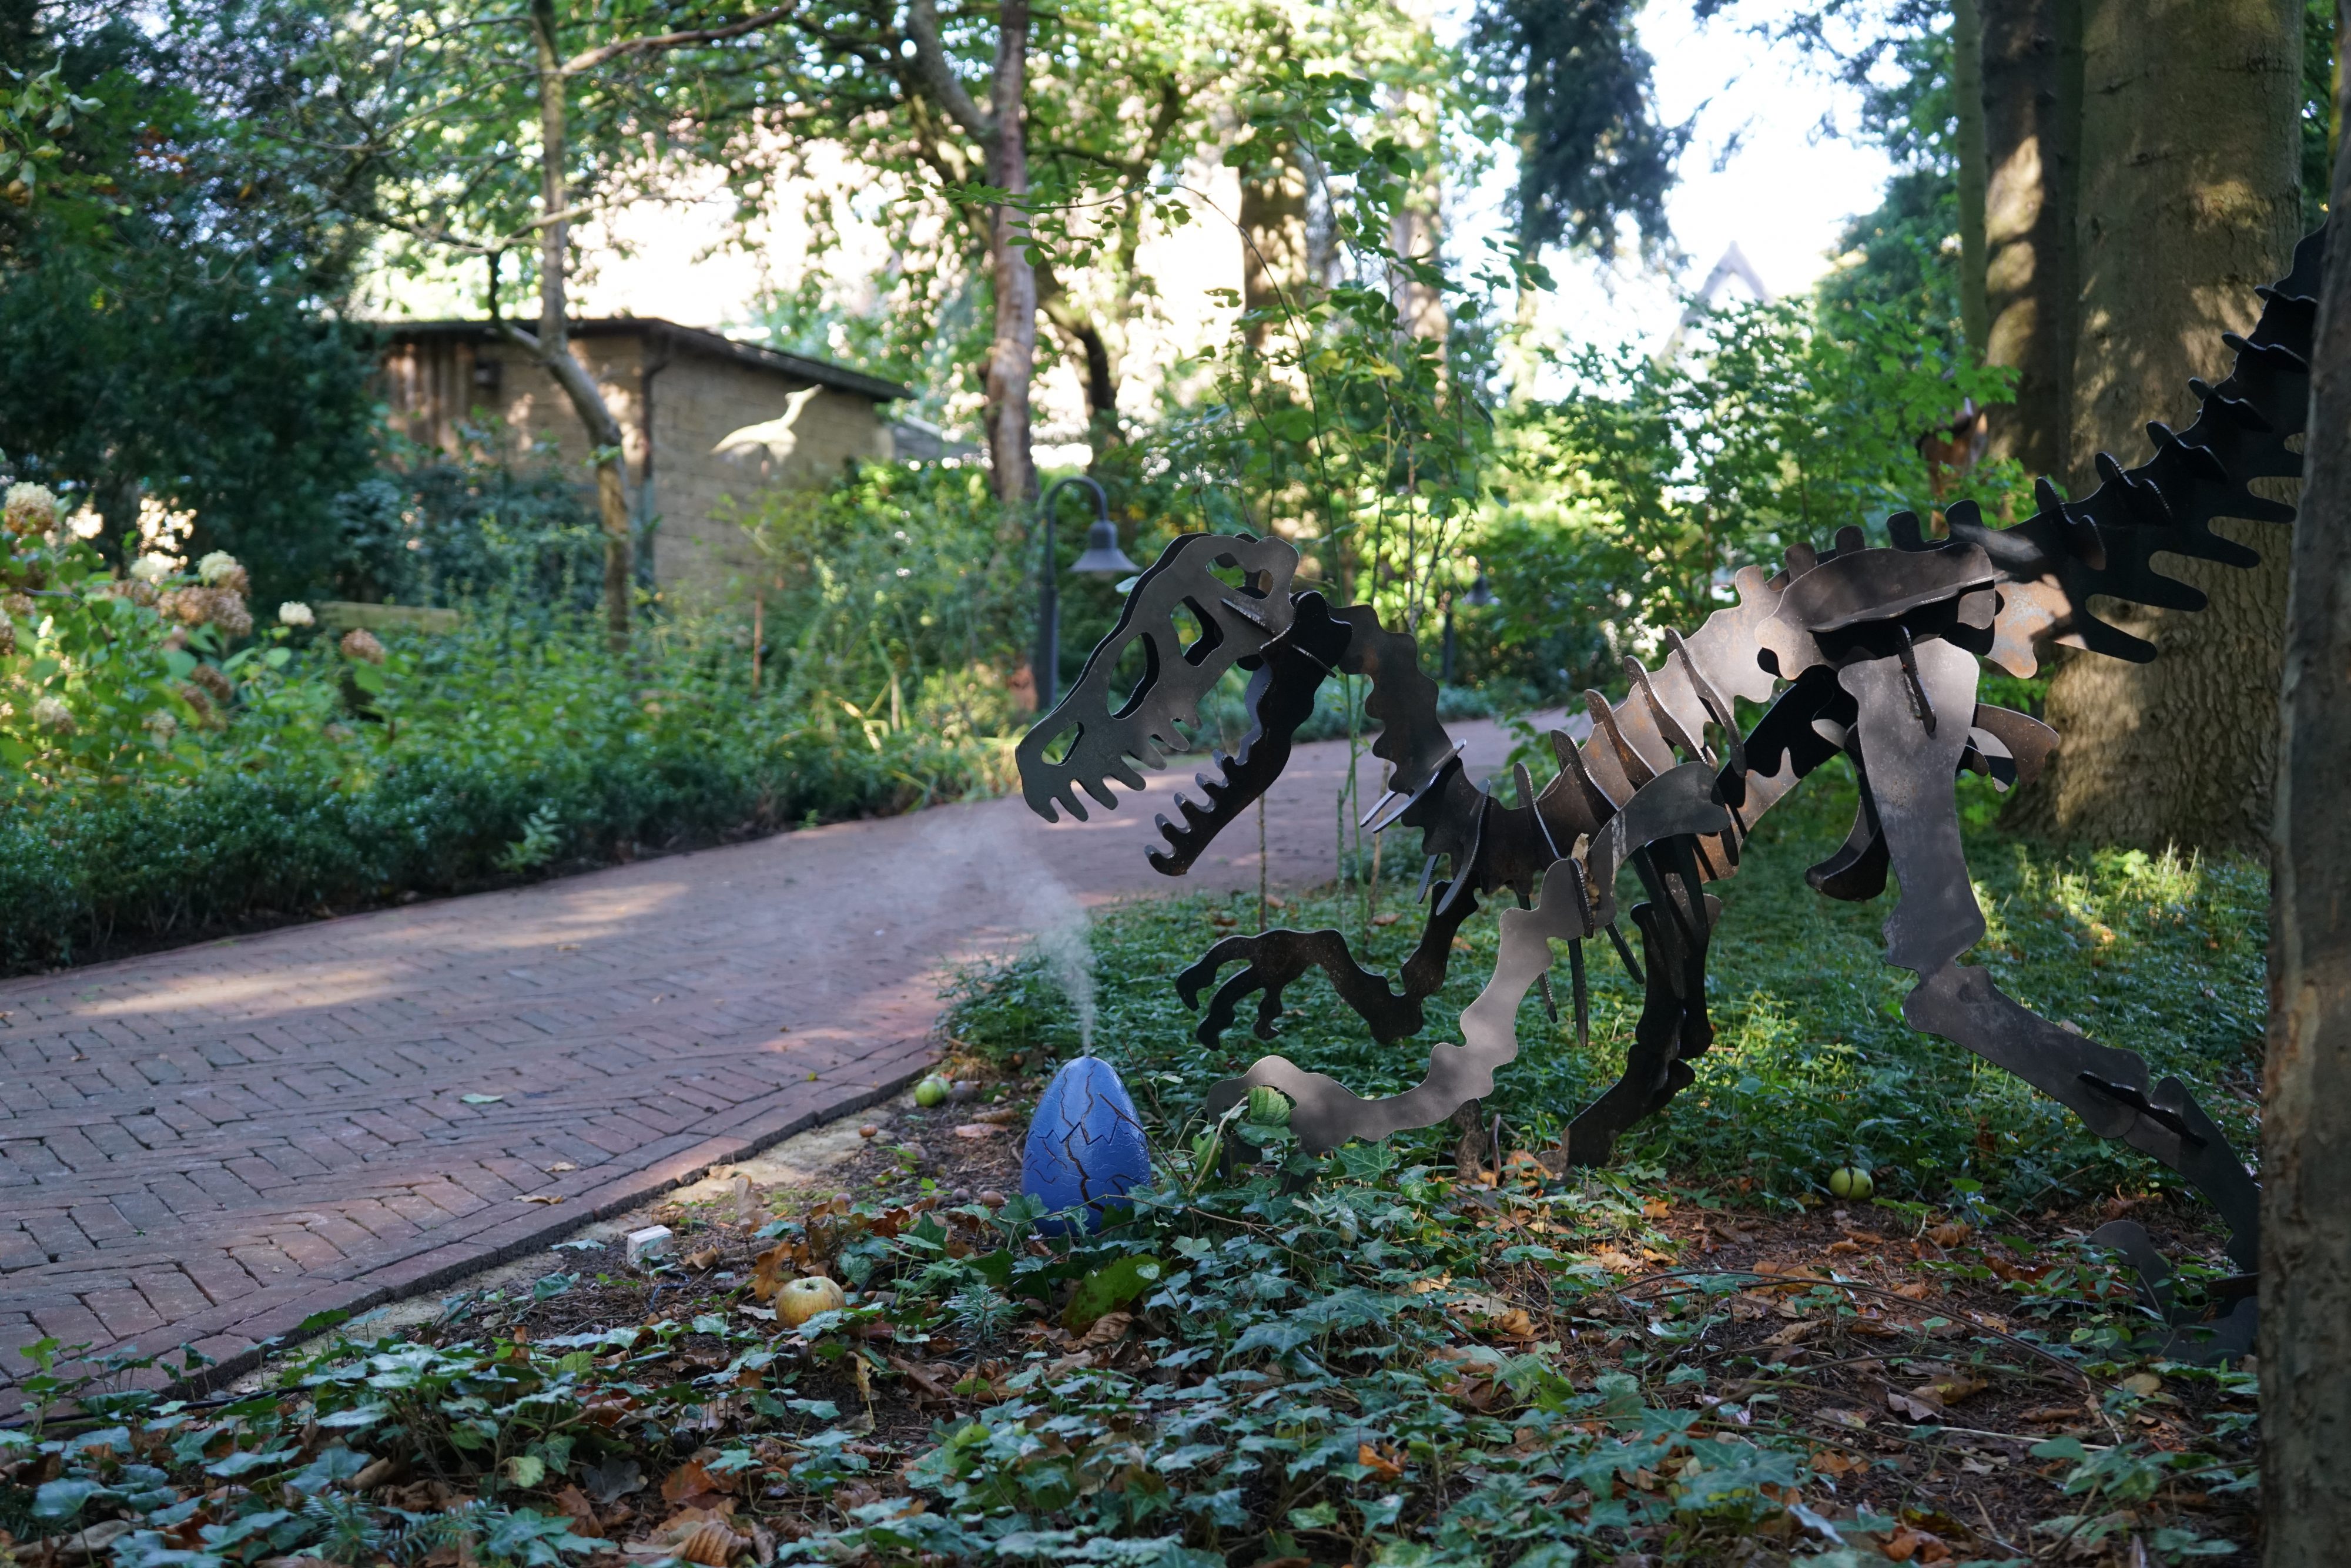
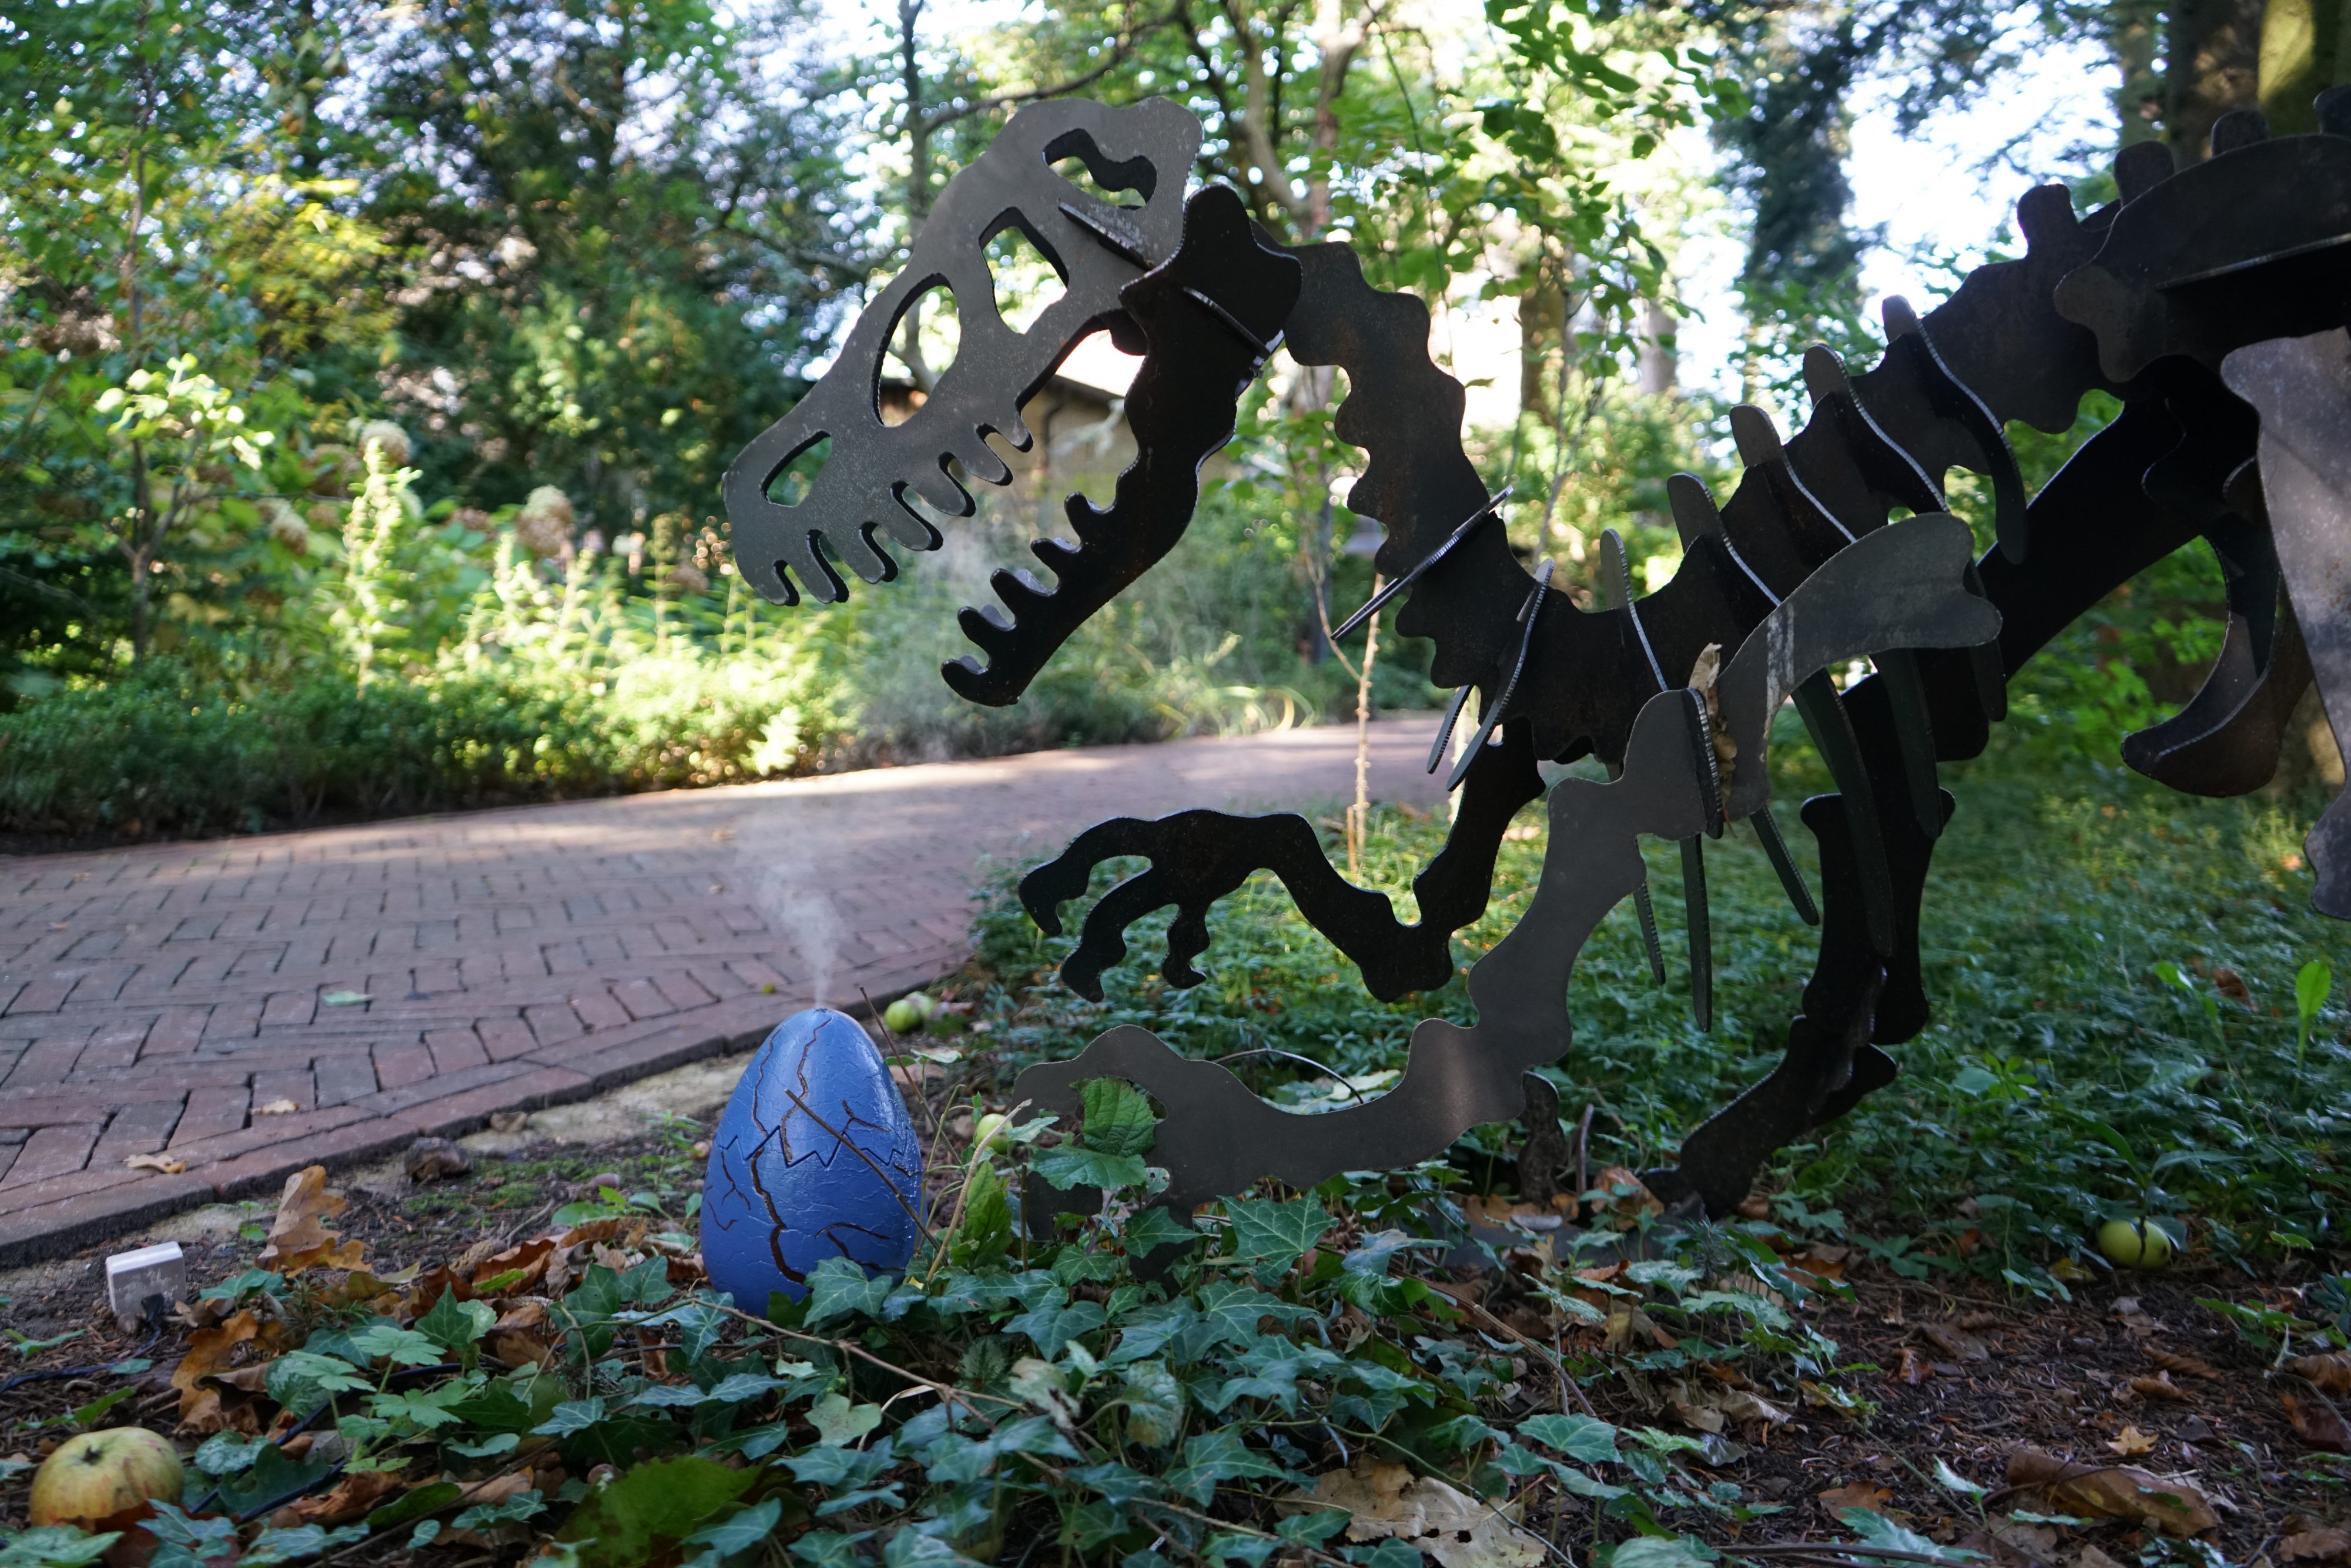
Finally, here’s how it all came together:
Here’s the final result after installing the egg next to the dinosaur:
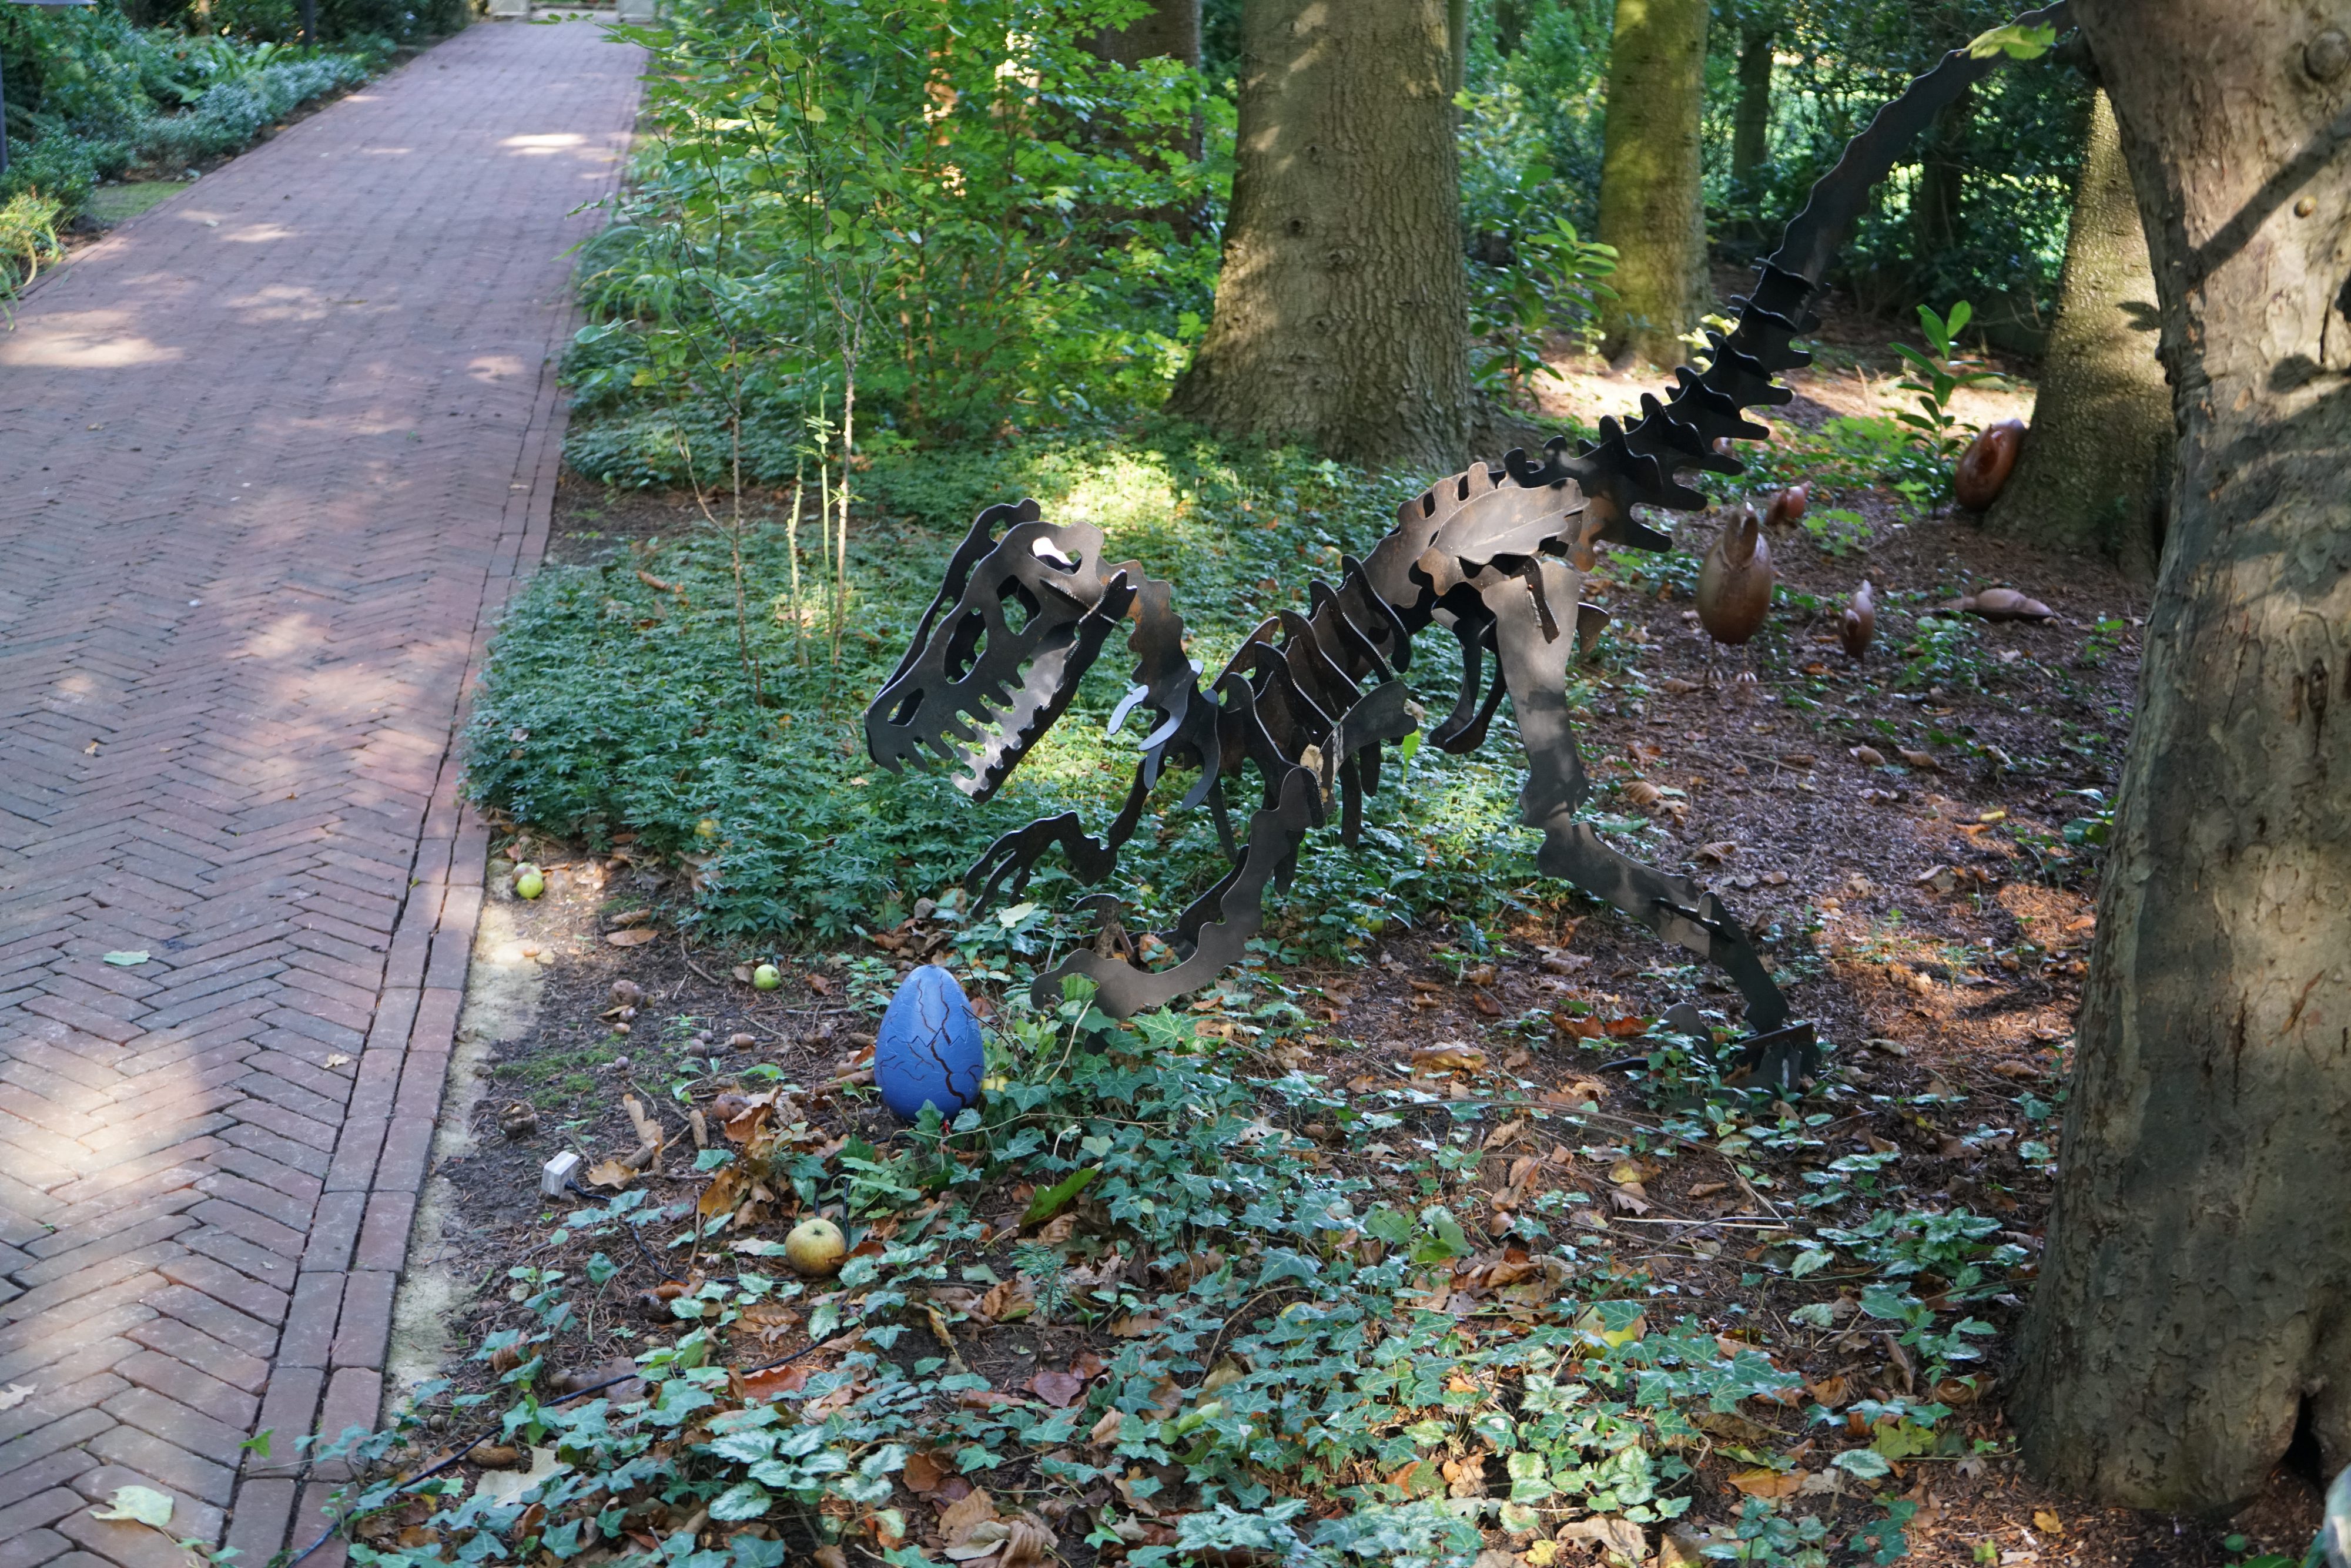
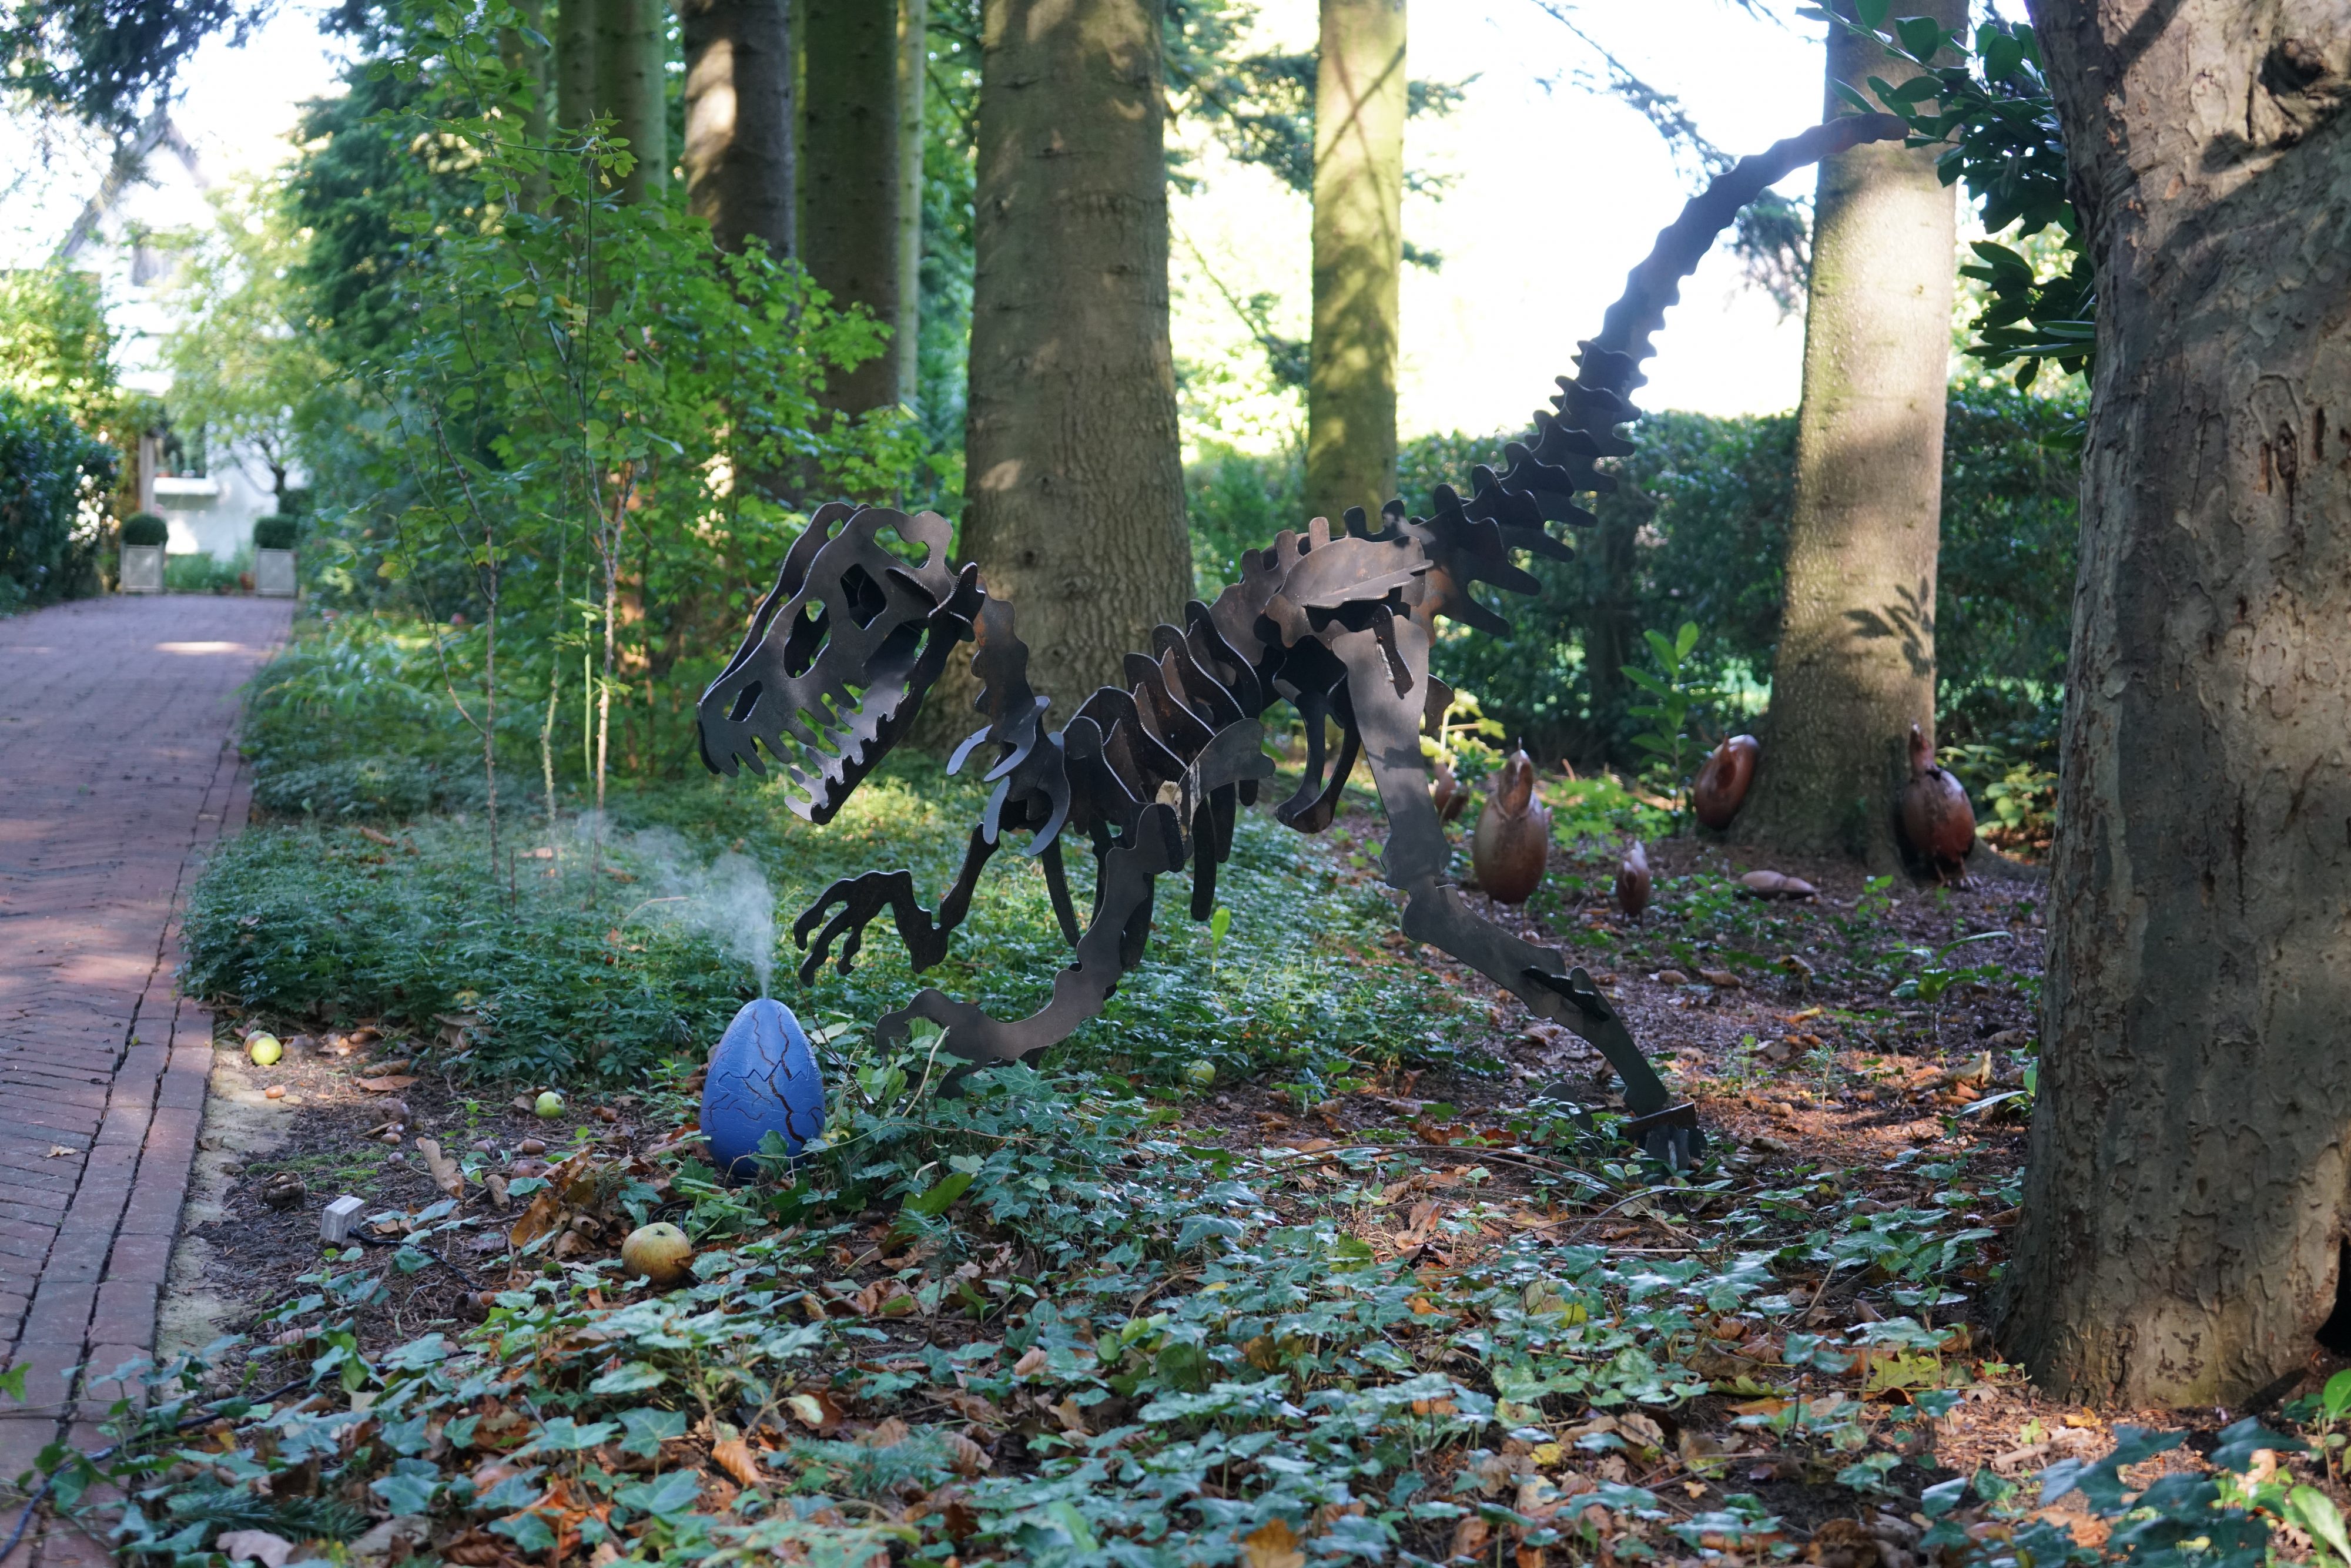
This project was a fun and creative challenge, combining technology with art to bring a simple idea to life. The Dino Egg not only adds character to the garden but also showcases how accessible tools like 3D printing and modular electronics can transform imaginative ideas into reality. I hope you enjoyed following along with this journey, and I’m excited to take on more projects like this in the future. Thanks for reading!