The past few months have been a nightmare for my pollen allergies—every spring hits hard, but this year felt even worse. And it’s not just me being dramatic. Thanks to climate change, allergy seasons are getting longer and more intense.
Some related studies back this up:
- Climate change is supercharging pollen and making allergies worse
- Impact of climate change on allergic diseases in Germany – RKI
- Pumped up pollen: How climate change could be making your seasonal allergies worse
For someone with allergies—especially living in a valley—this is really bad news.
During allergy season, my body definitely lets me know when pollen is in the air. But by then, it’s too late. The allergens are already in my system. My usual defense routine includes antihistamines, an air purifier, wearing a mask outdoors, and checking pollen forecasts.
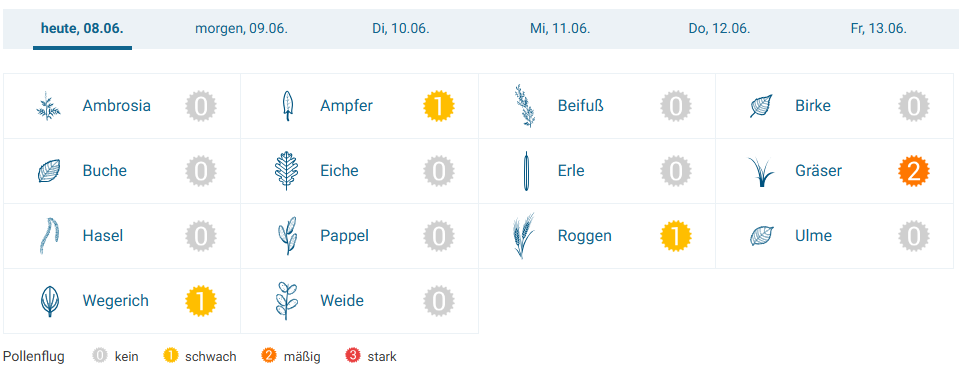
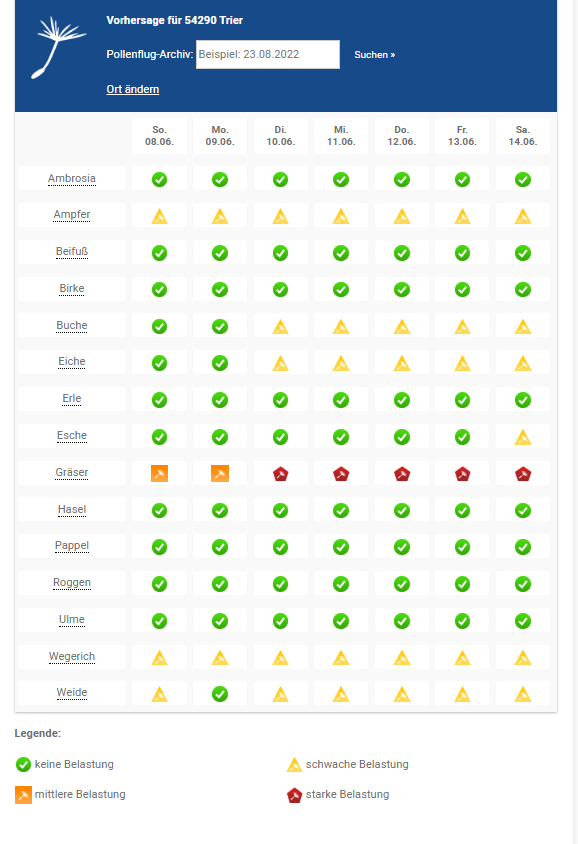
However, I’ve noticed something frustrating: even within the same city, different pollen forecasts can show very different data. And I still can’t tell which one is more accurate. I guess that’s because:
- Most pollen data is regional and doesn’t account for microclimates within a city.
- The forecasts usually only give one daily reading—so it’s not really “real-time” data.
As a maker who likes to solve problems—especially those that impact my health—I started wondering: Could I build a device to sense pollen myself?
Well… turns out, detecting specific types of pollen is not easy. A proper pollen-detection device usually involves three key stages:
- Air sampling – pulling air into the device.
- Particle separation and/or deposition – using filters or inertial impactors.
- Detection and classification – identifying and measuring the particles.
Since I don’t have the right lab equipment or experience dealing with microscopic particles, I decided not to dive too deep into this rabbit hole (yet). I had to balance my motivation with the complexity of the project—otherwise I’d just burn out and abandon it.
So I took a step back and thought: I don’t need to know exactly which pollen is in the air. Even just knowing the general intensity of airborne particles could help me manage my allergies better—especially if I could get real-time, hyperlocal data.
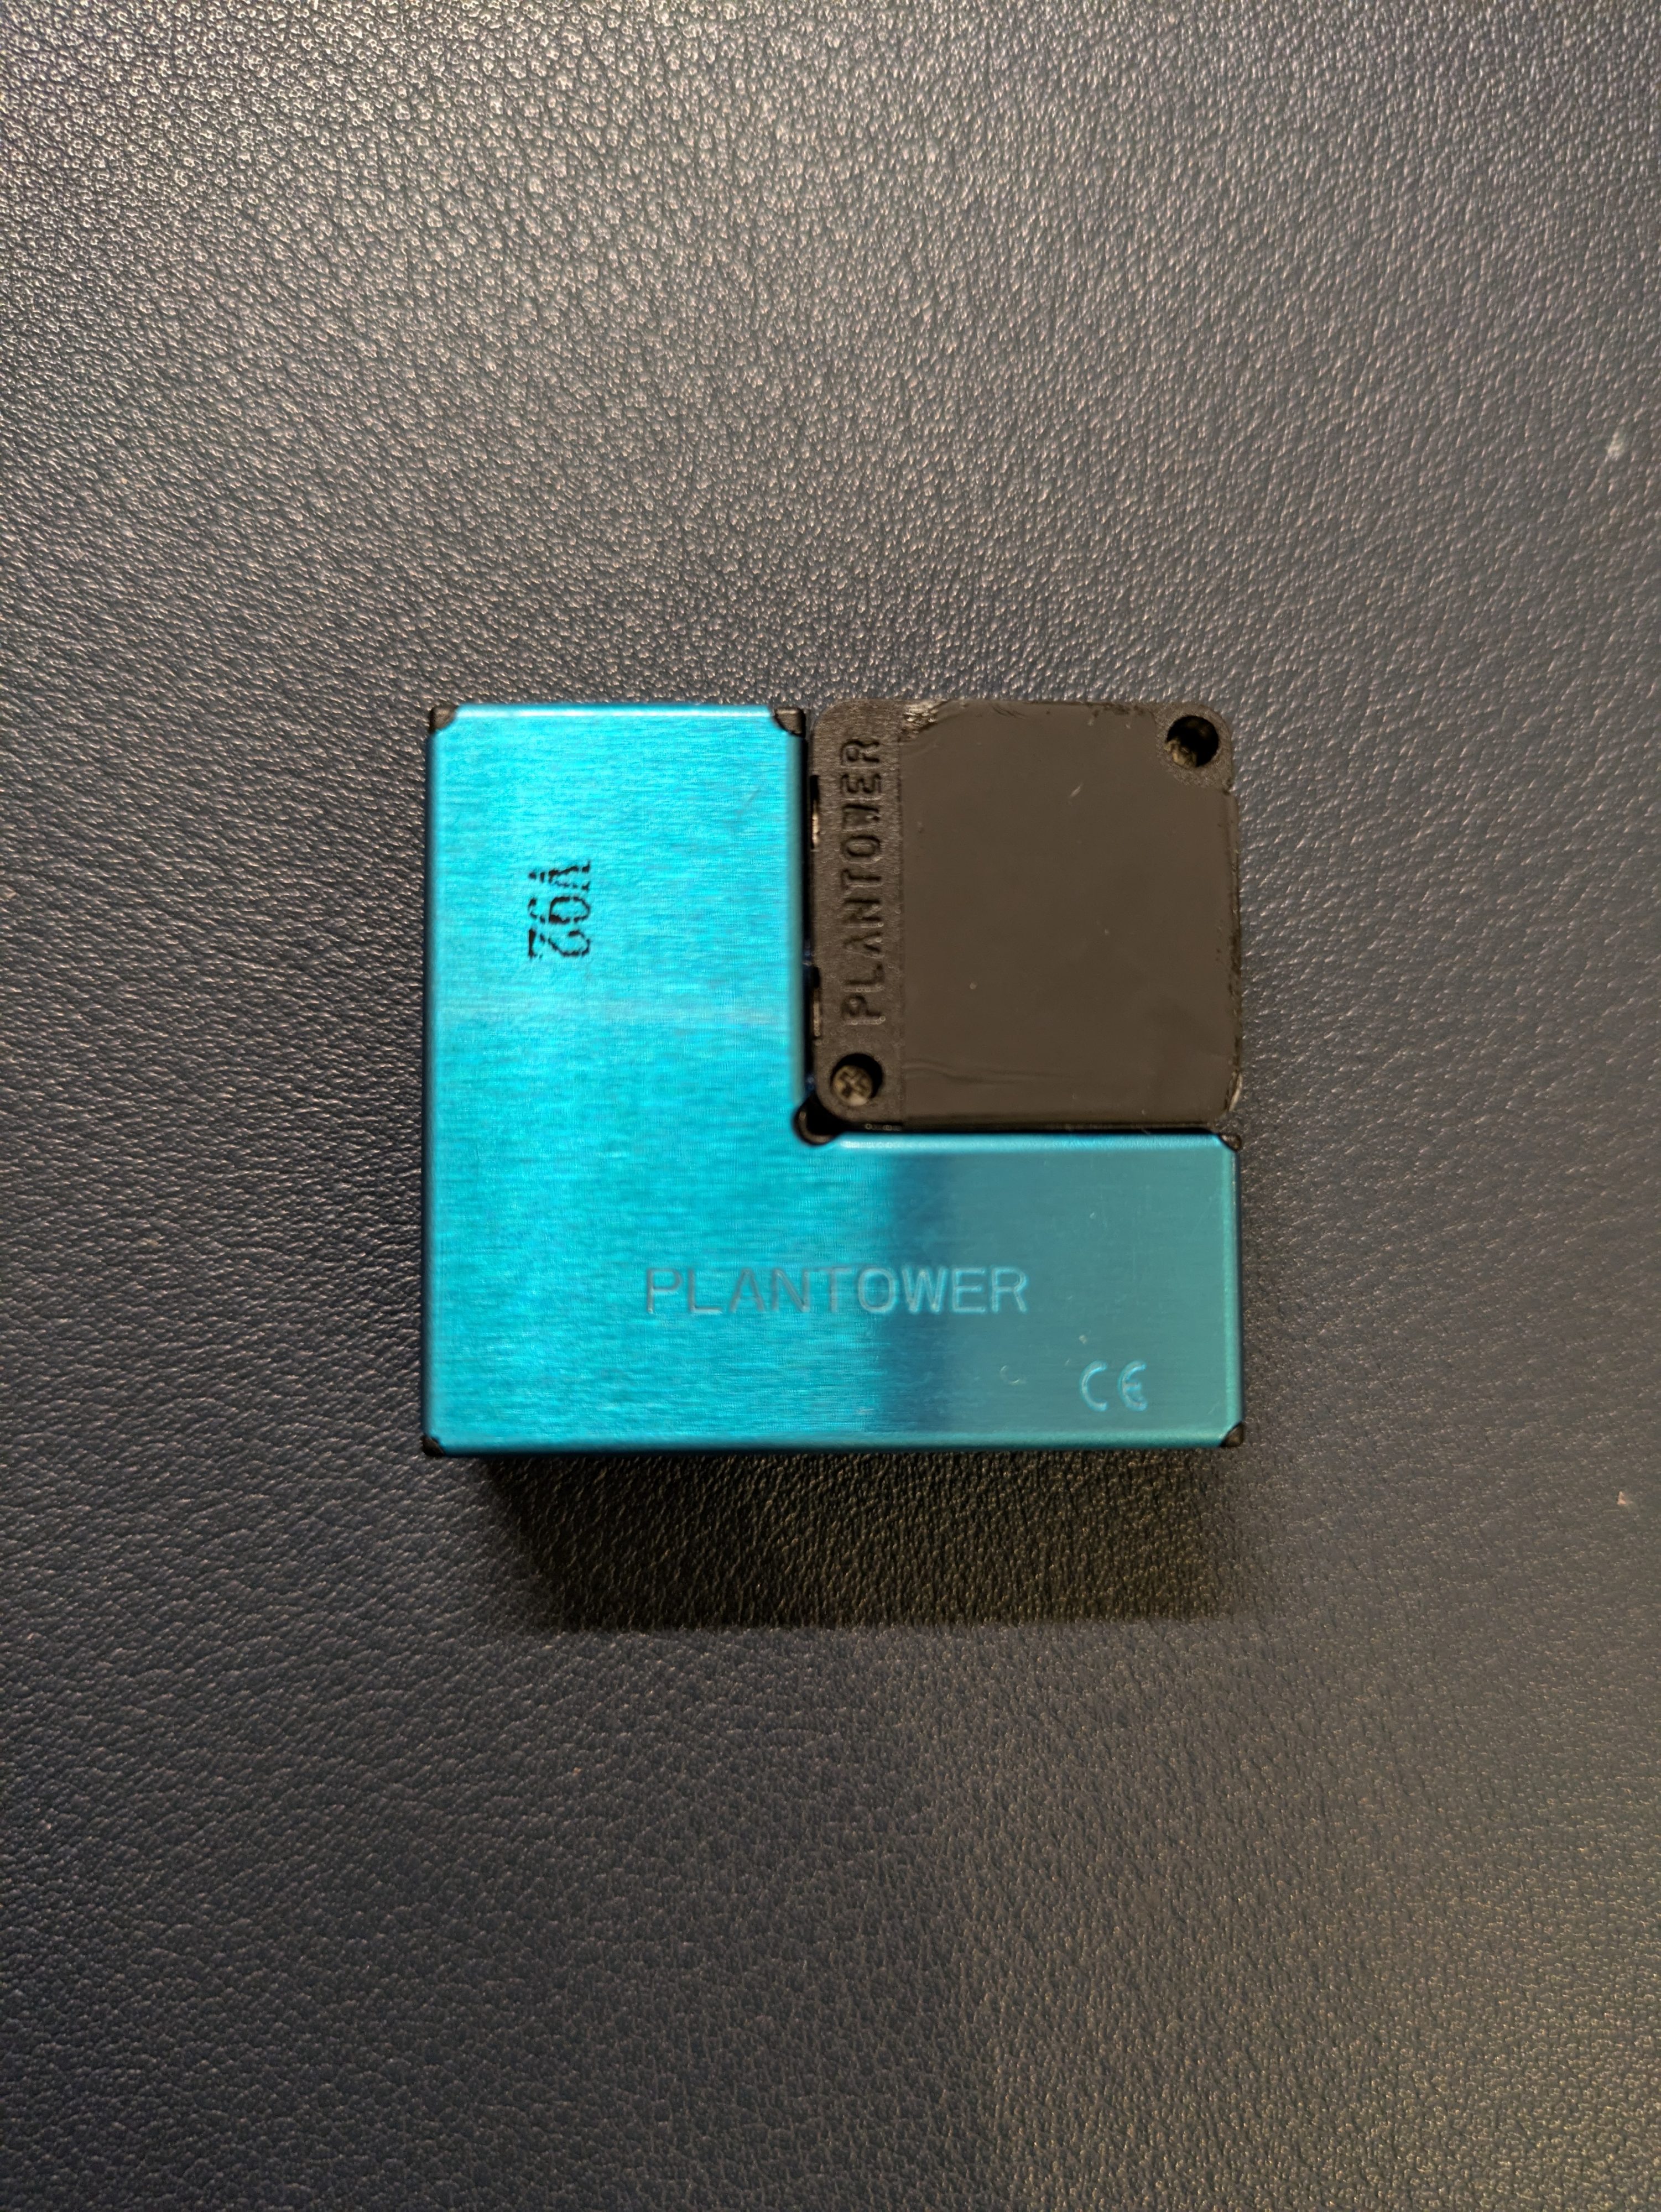
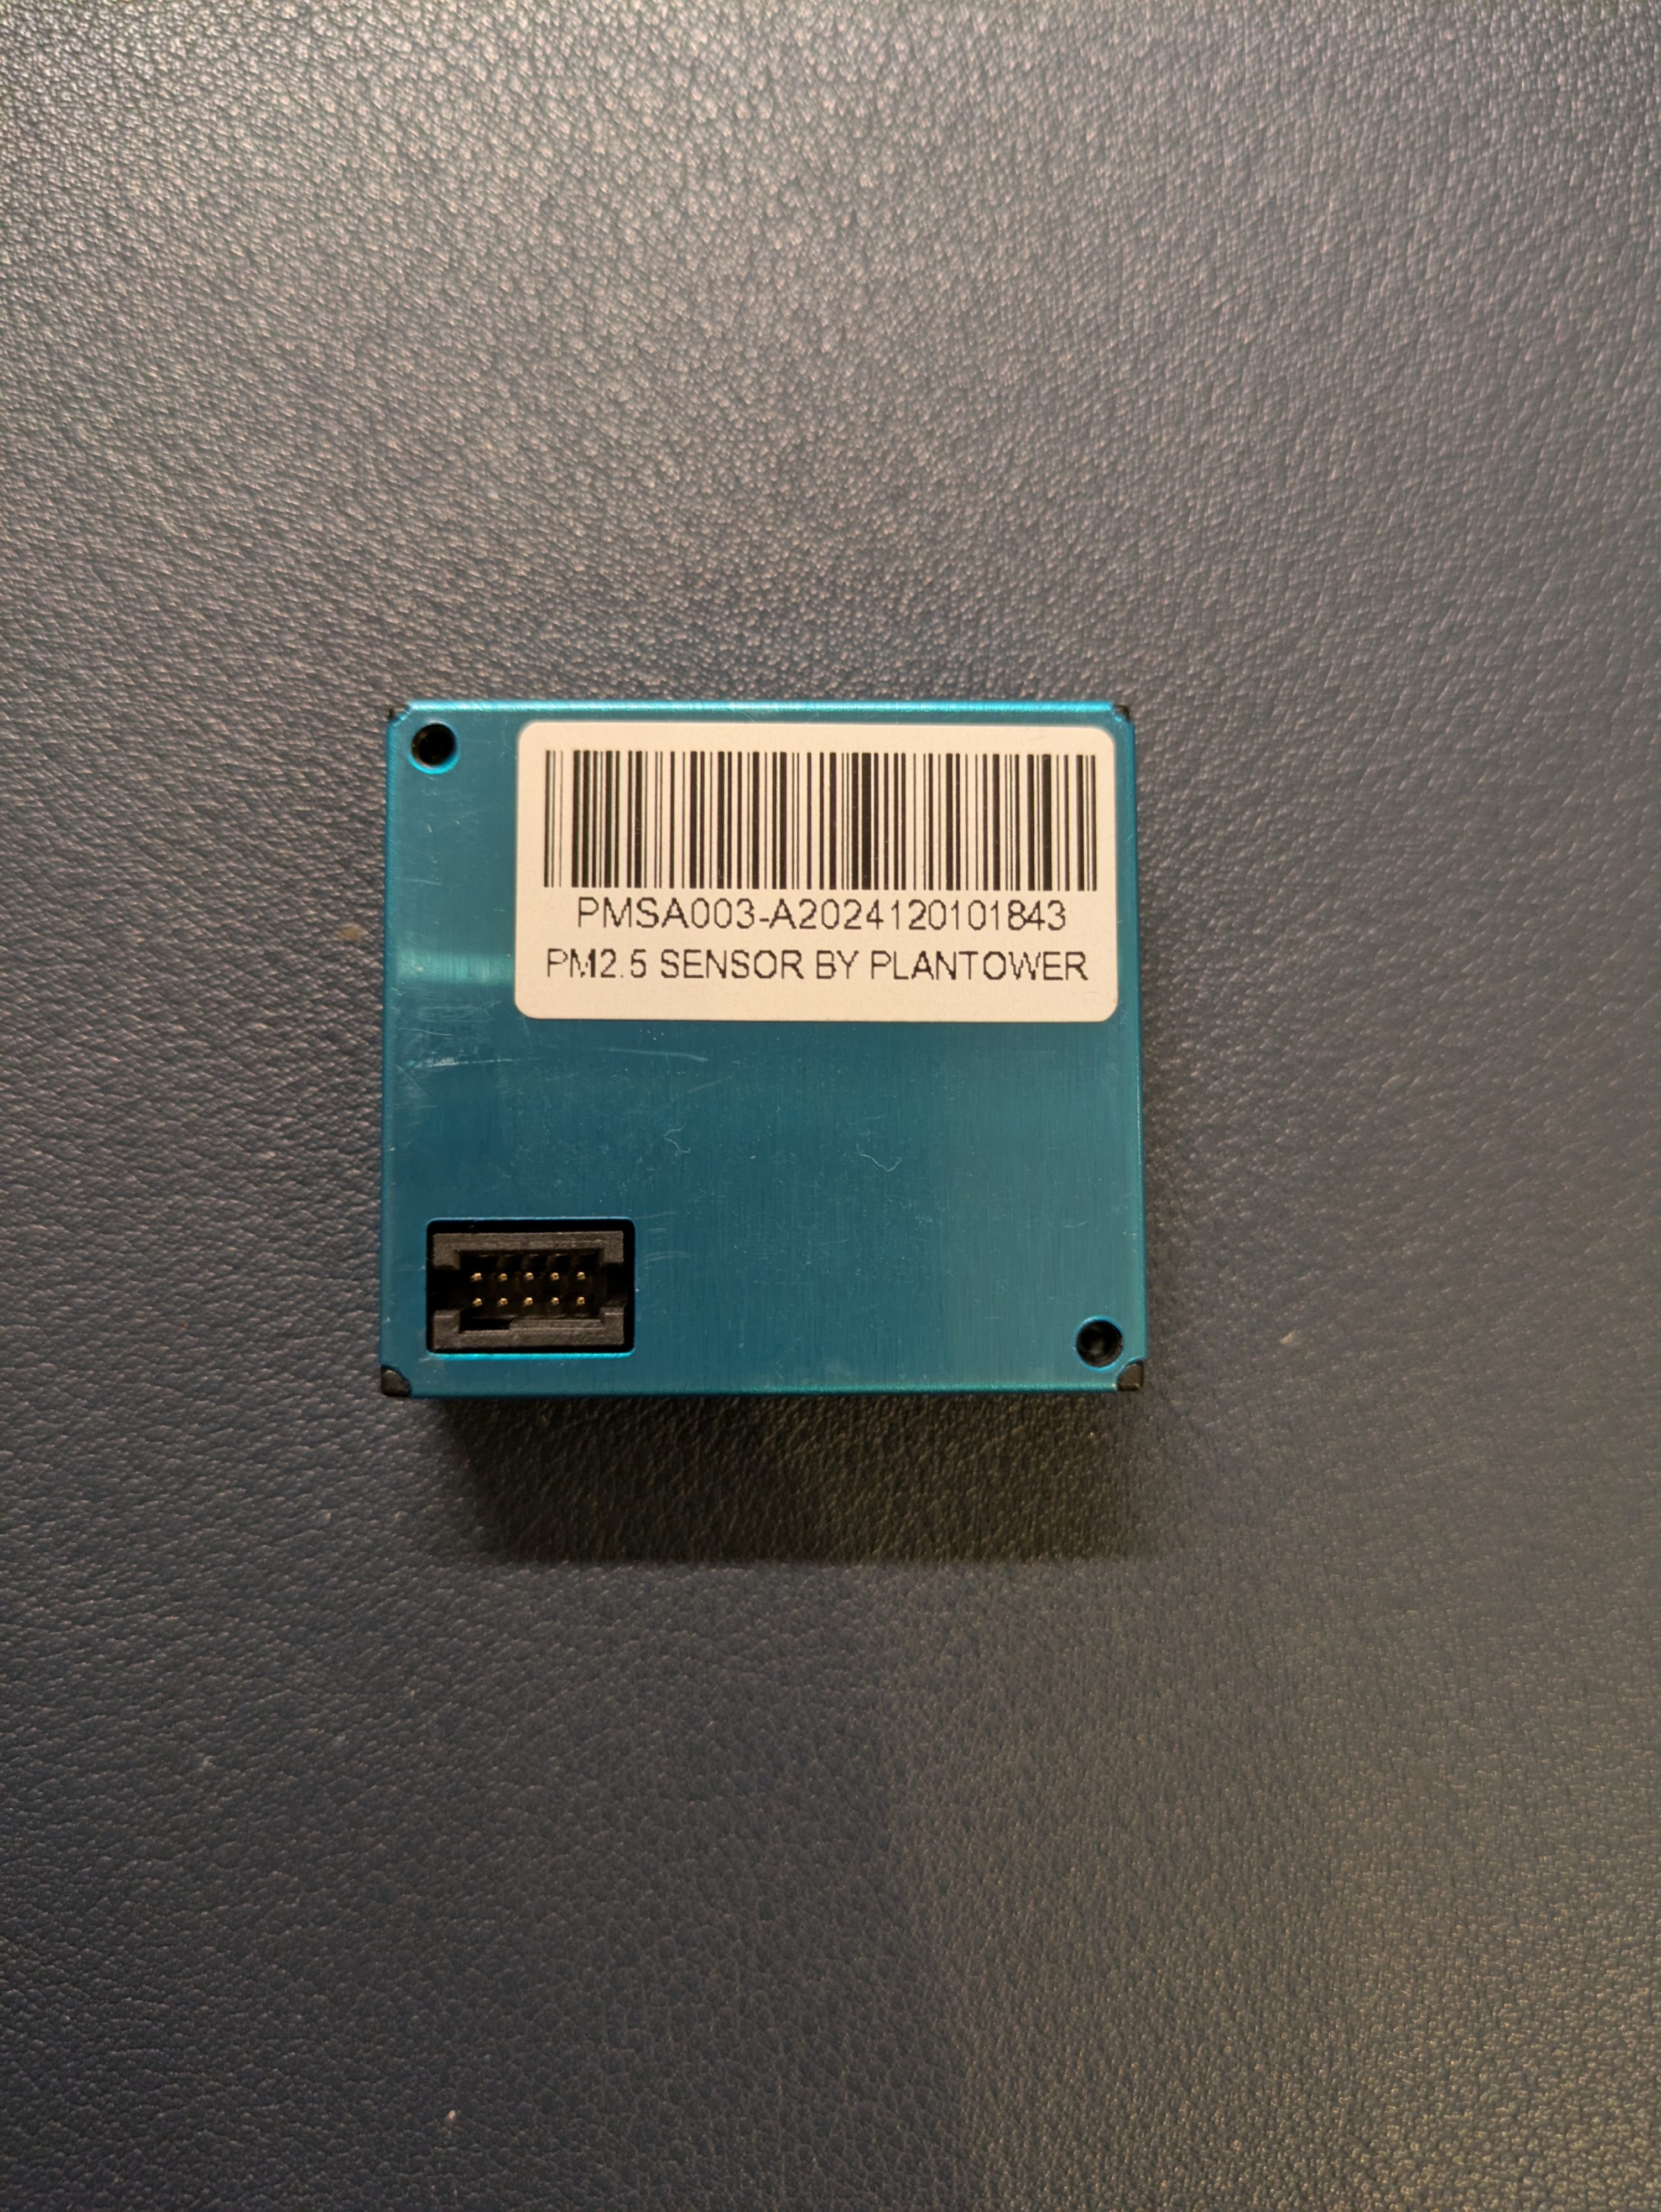
That’s when I came across the Plantower PMSA003.
It’s a laser-based PM2.5 sensor with a compact footprint (38mm × 35mm × 12mm)—perfect for DIY. The sensor includes a visible internal fan for air intake, and a detector module housed in a blue section.
It uses a 1mm pitch connector, and comes with two tiny 4×2 1mm pitch female headers. I soldered one for use with breadboard cables and the other for the final build.
This sensor can detect particles as small as 0.3 micrometers—which is much smaller than most pollen—making it a great candidate for a general pollen activity sensor.

My Plan:
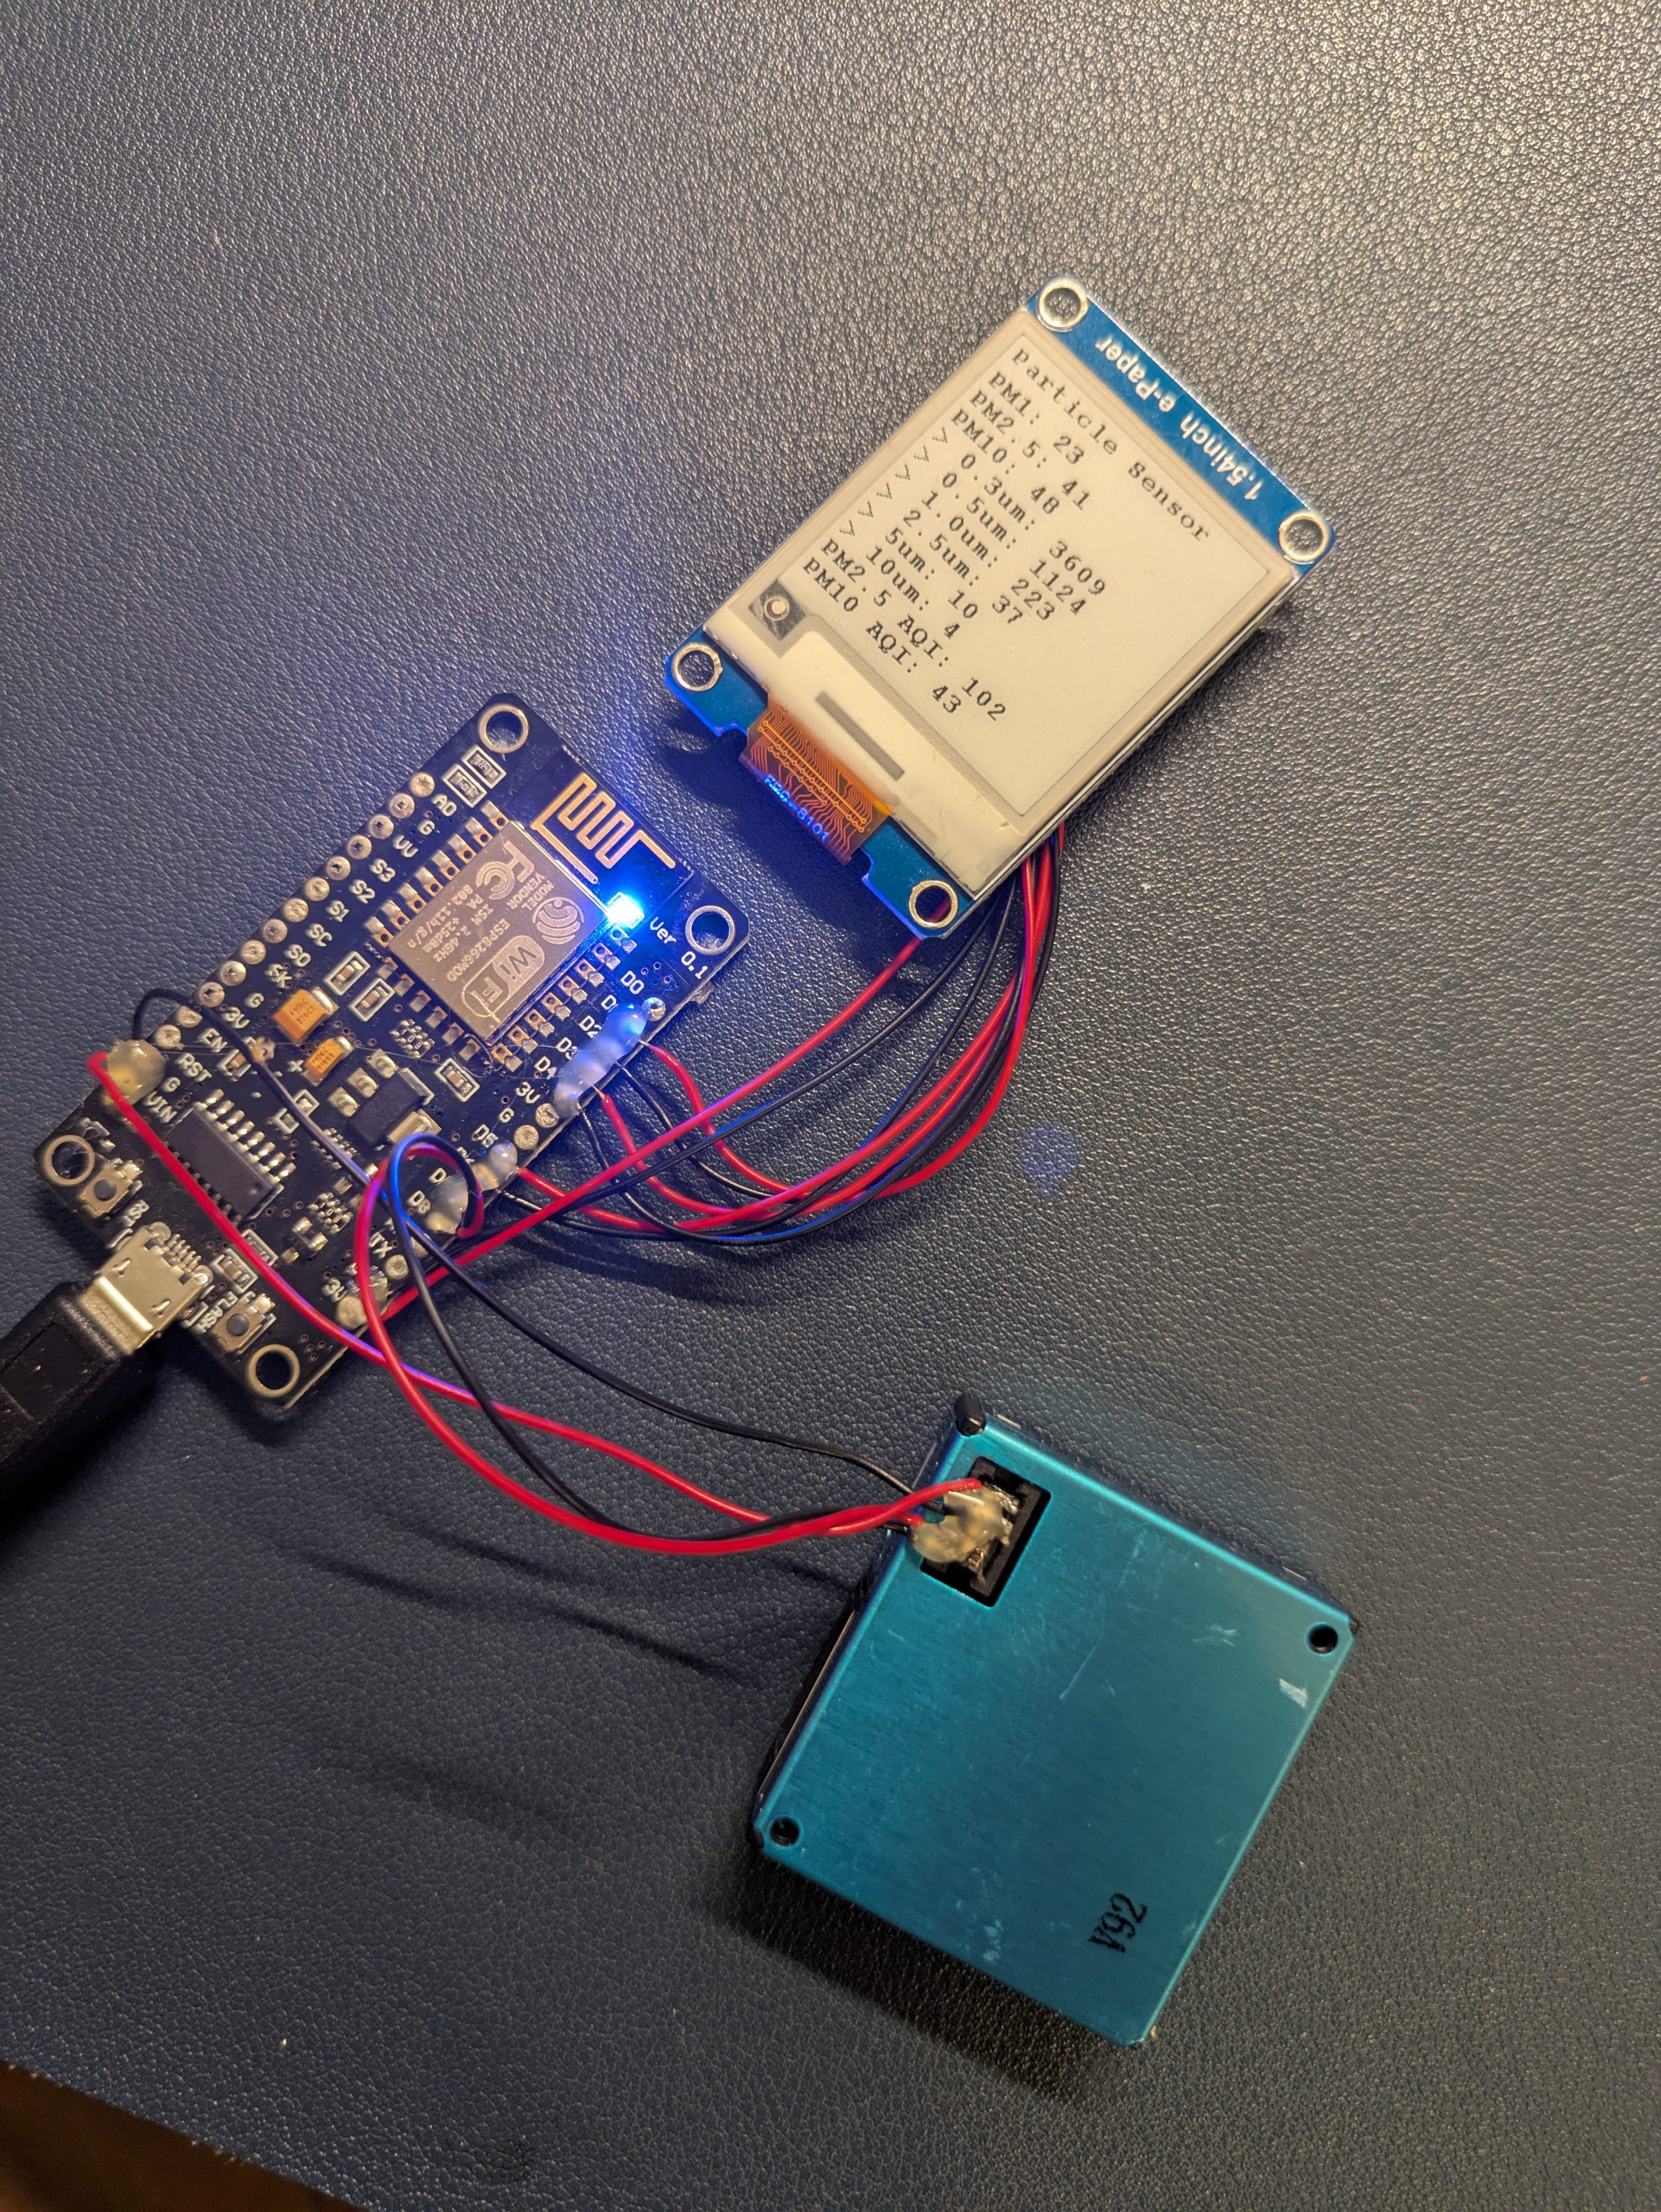
I decided to pair the sensor with:
- A NodeMCU (ESP8266), because it’s easy to use, has built-in Wi-Fi, and can host a web page for remote viewing.
- A 1.54-inch Waveshare e-ink screen, because I already have several and they’re super power-efficient.
This combination makes the device compact, low-power, and easy to place anywhere.
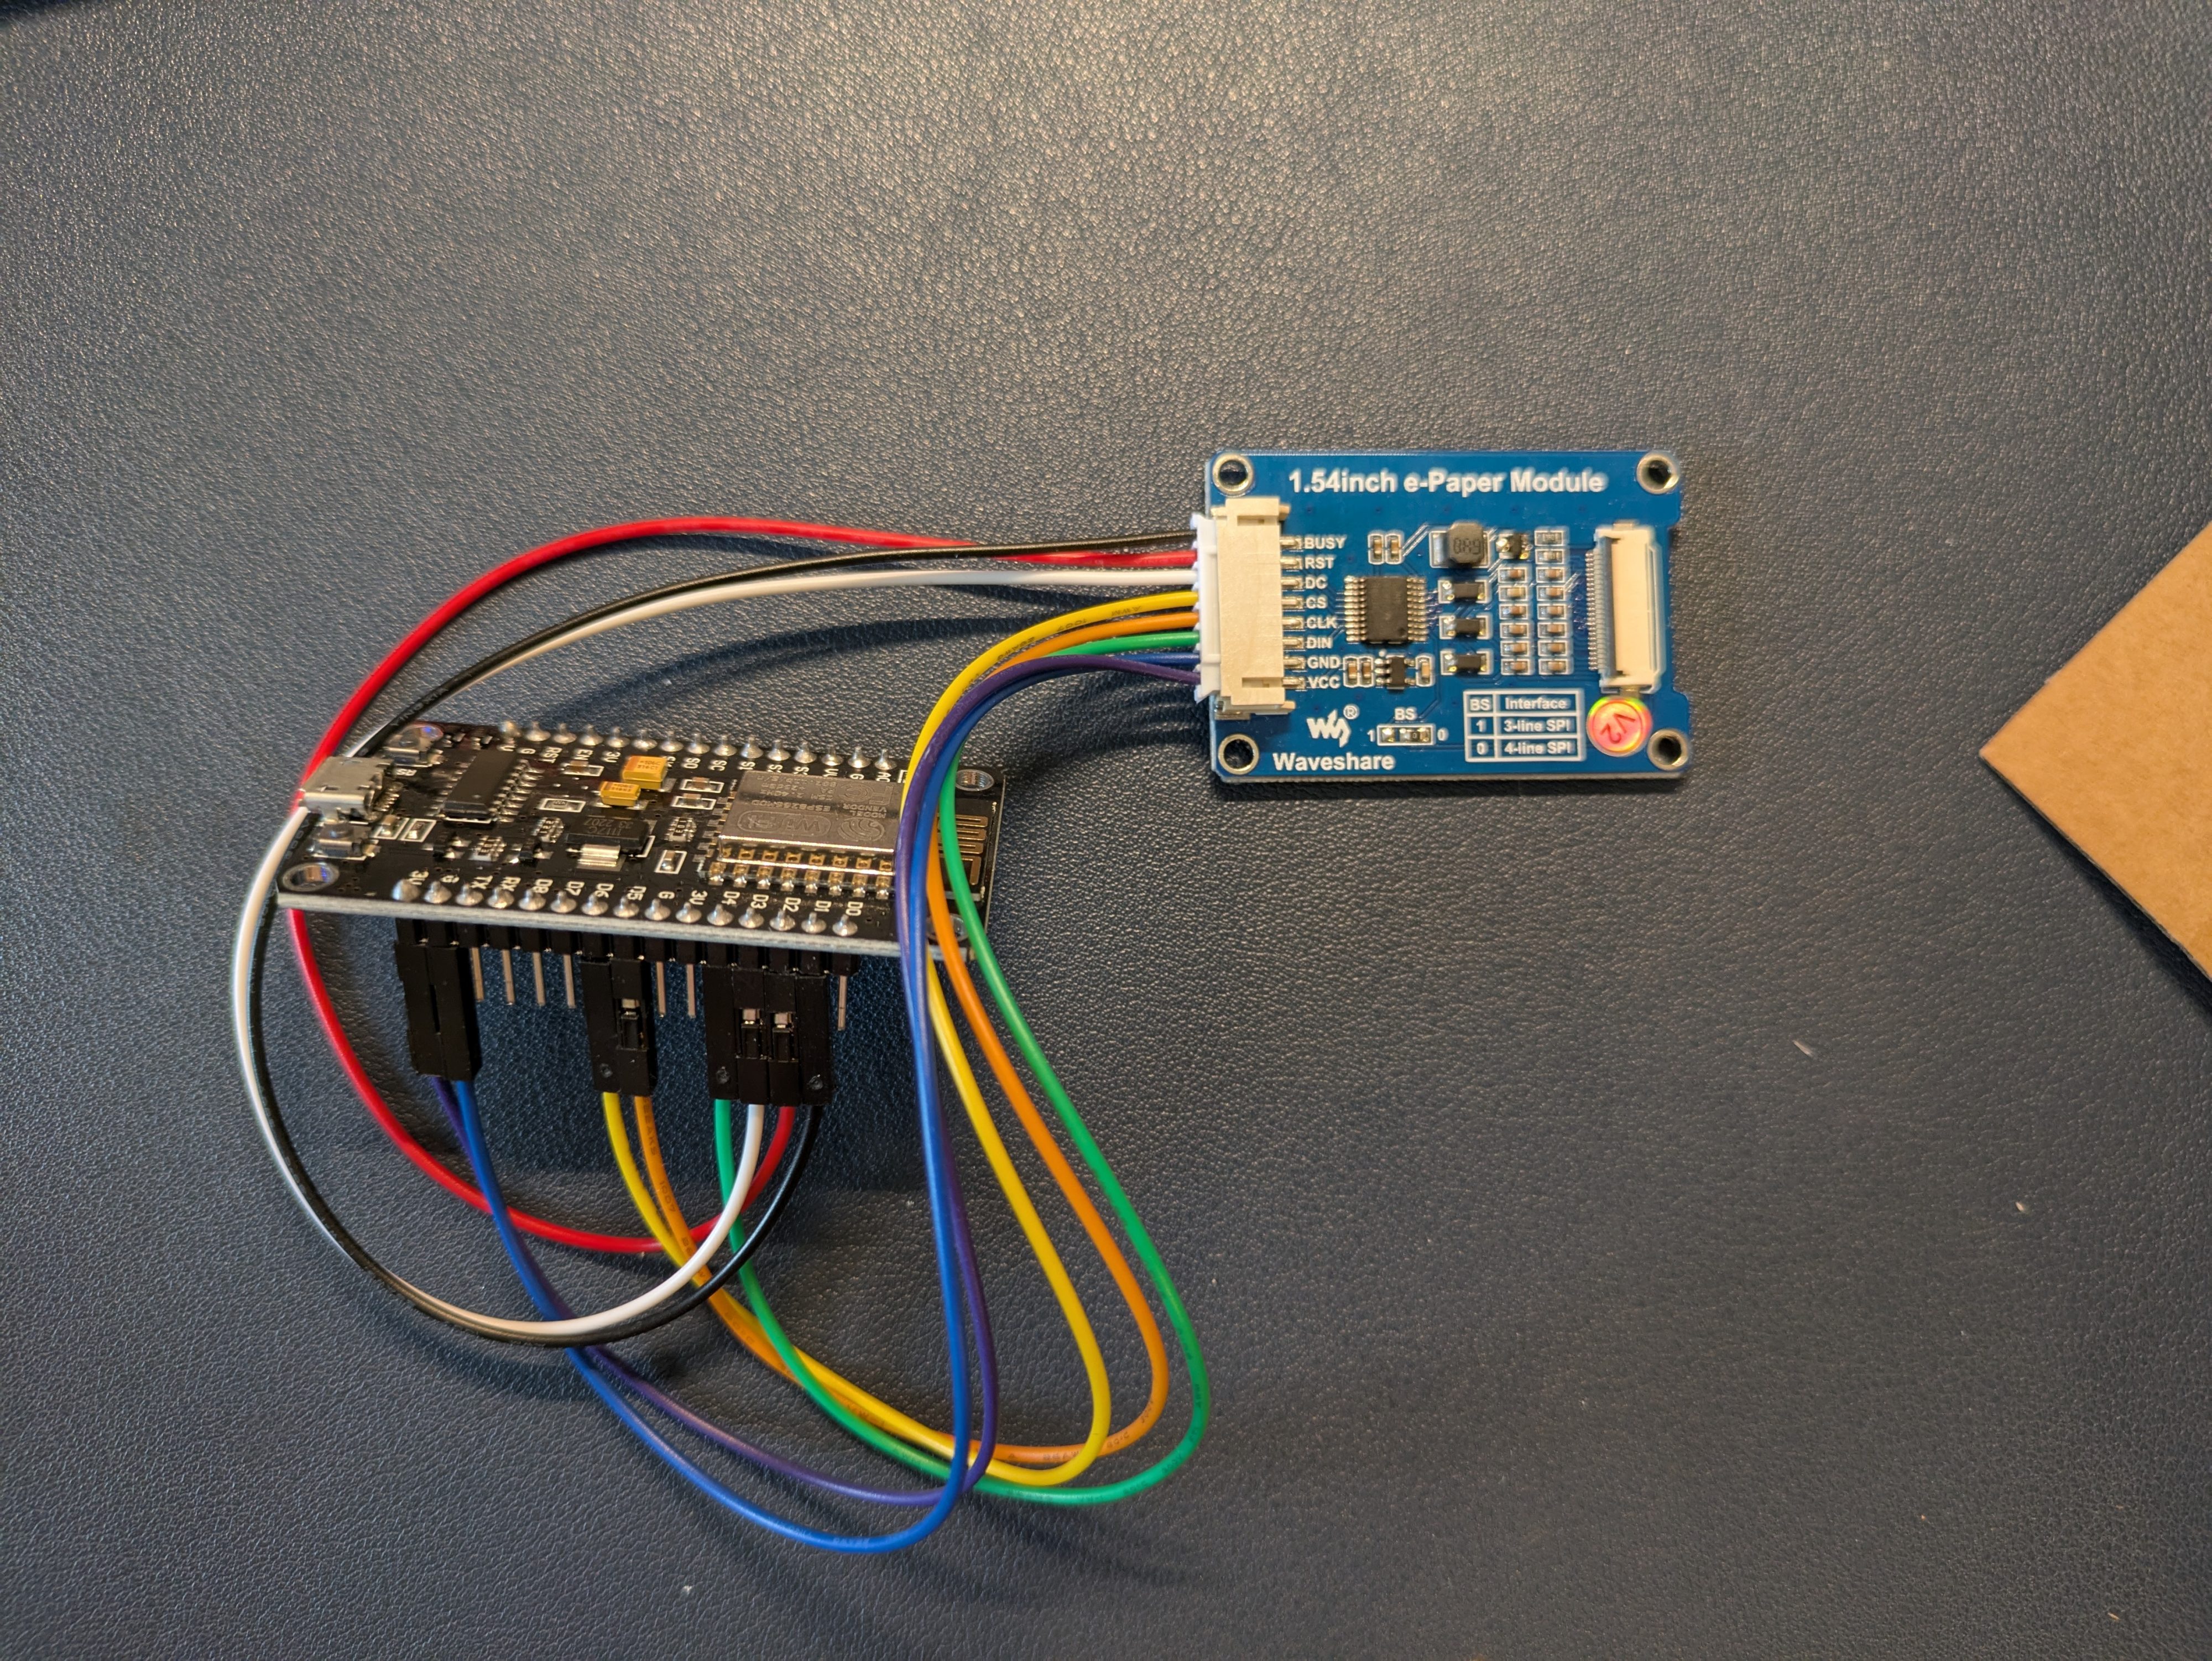

The whole circuit wasn’t too complex—I managed to fully utilize all the necessary pins on the NodeMCU.
Once both the prototype circuit and the software were working reliably, I thought about designing a custom PCB for the final build. But after some consideration, I decided against it. Manufacturing a PCB would add weeks to the project timeline, and hand-soldering all the tiny components—especially the e-ink display—didn’t sound fun.
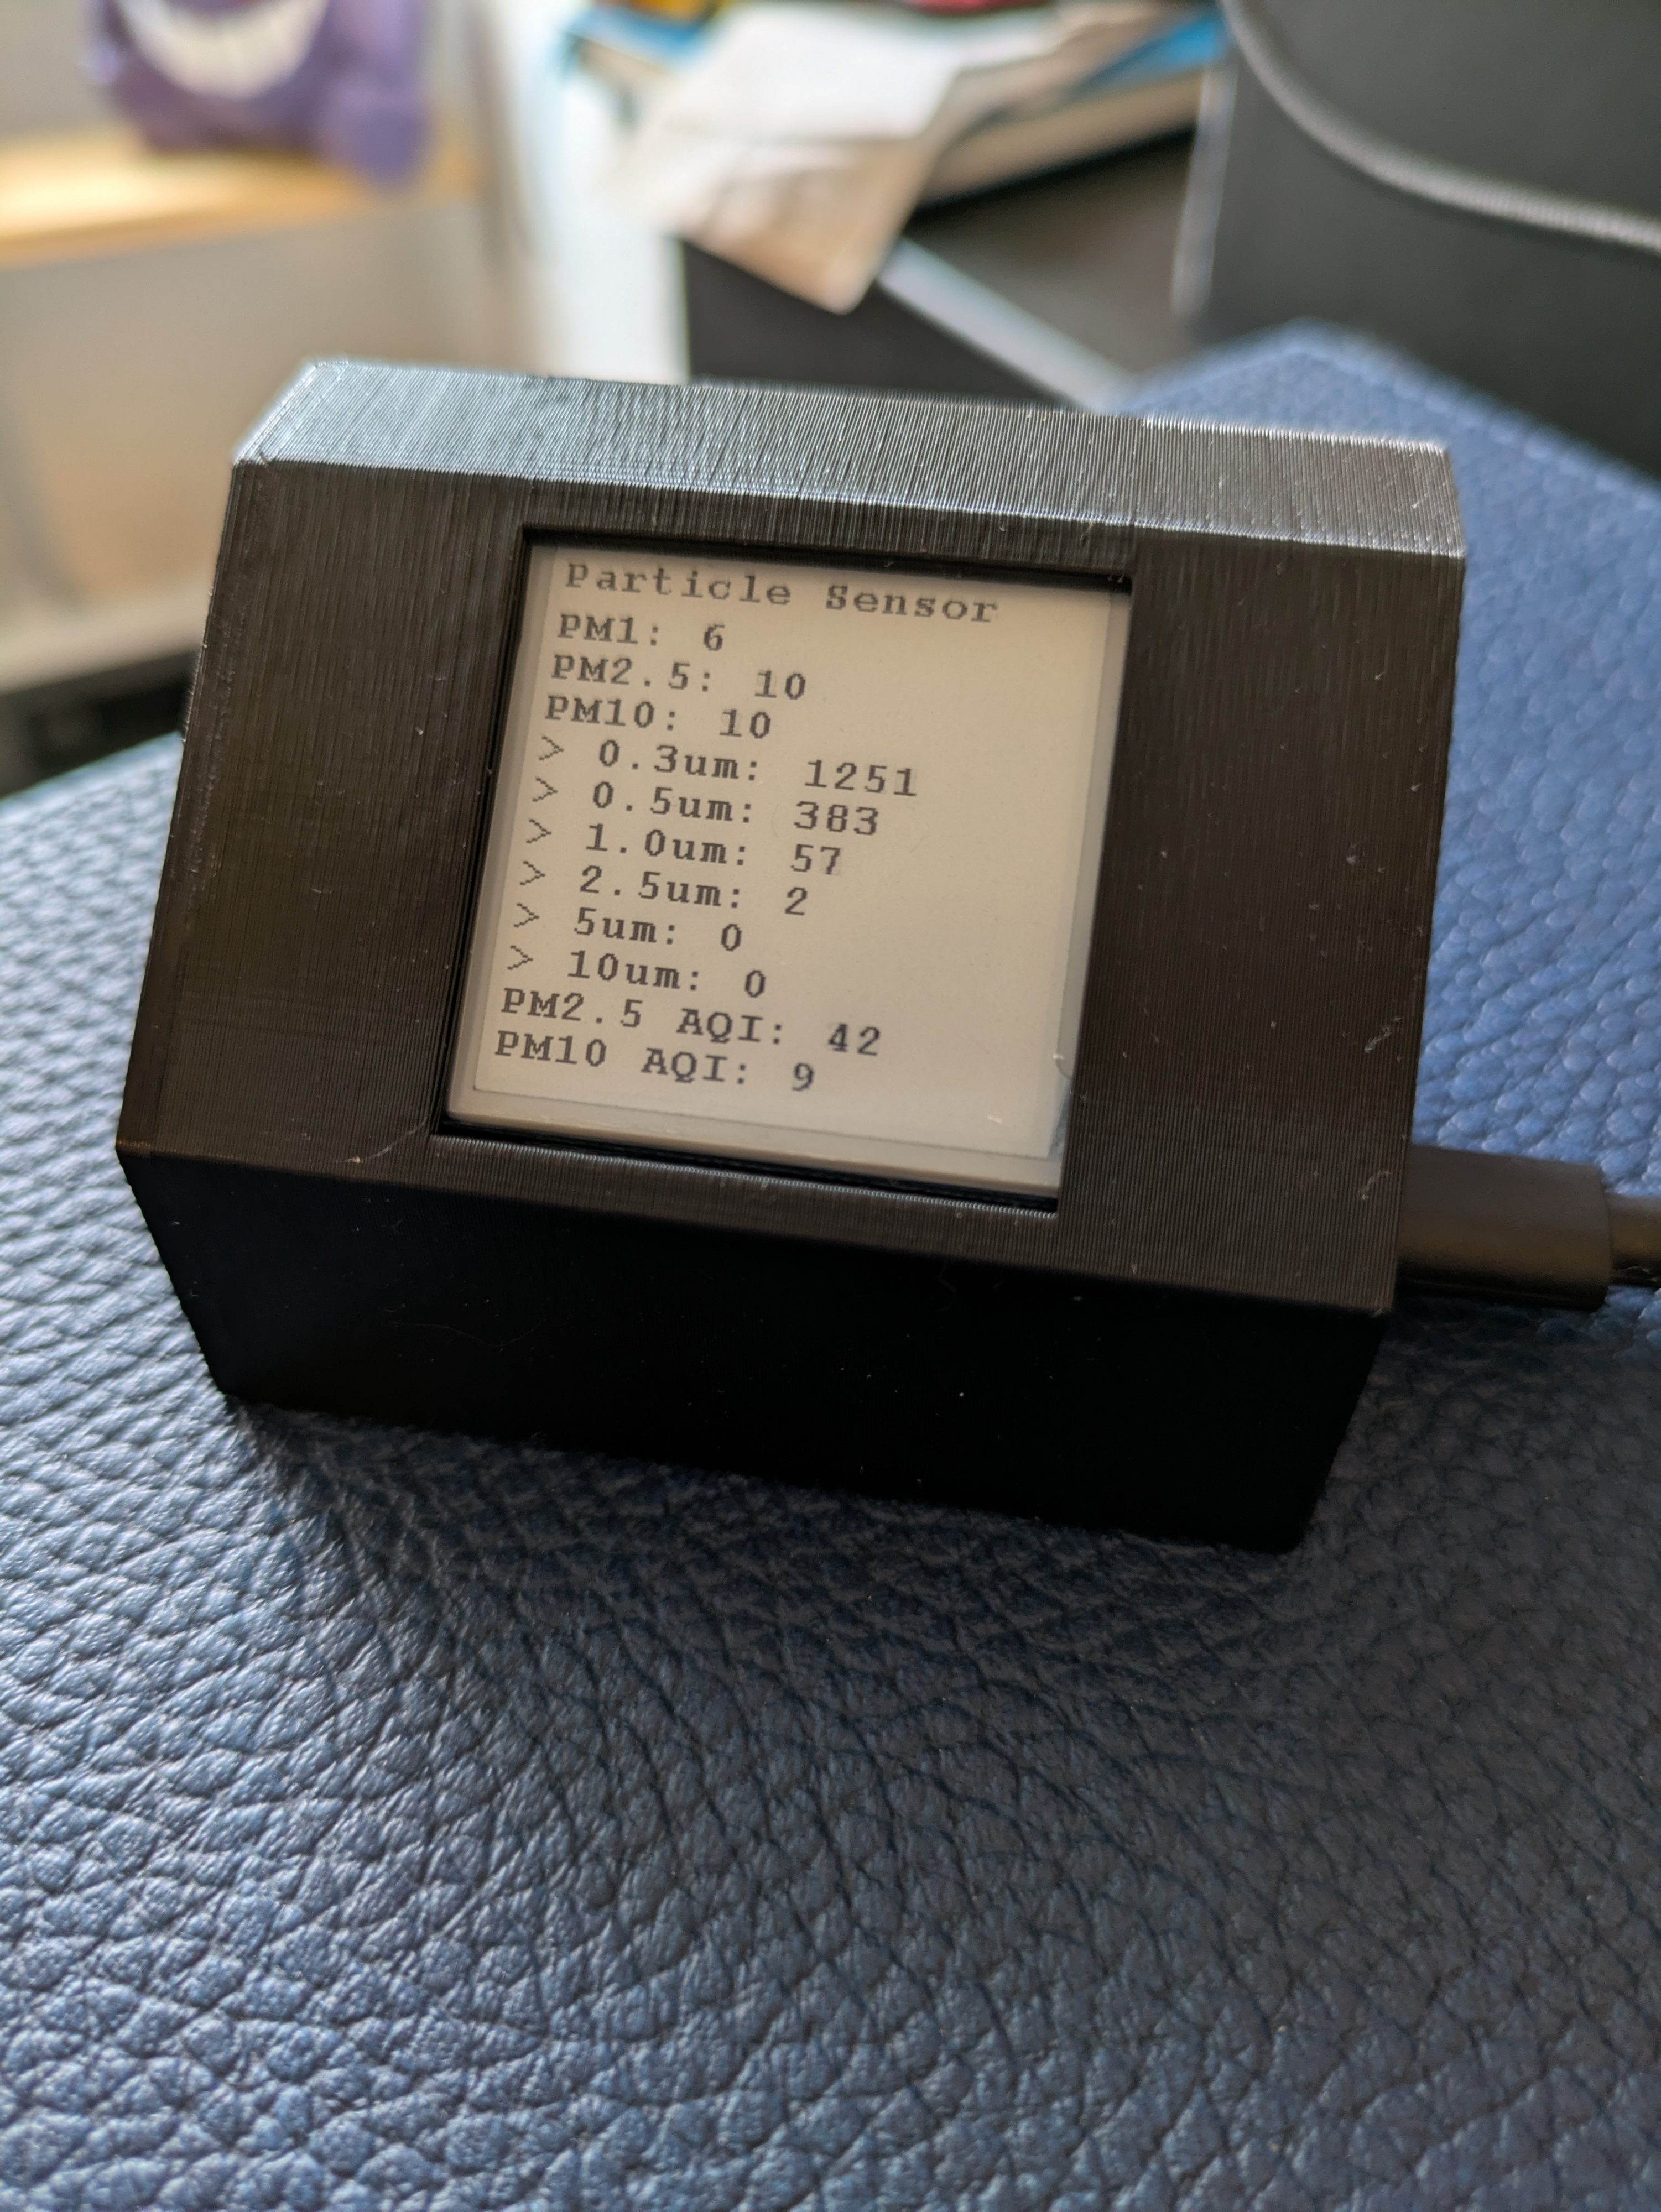
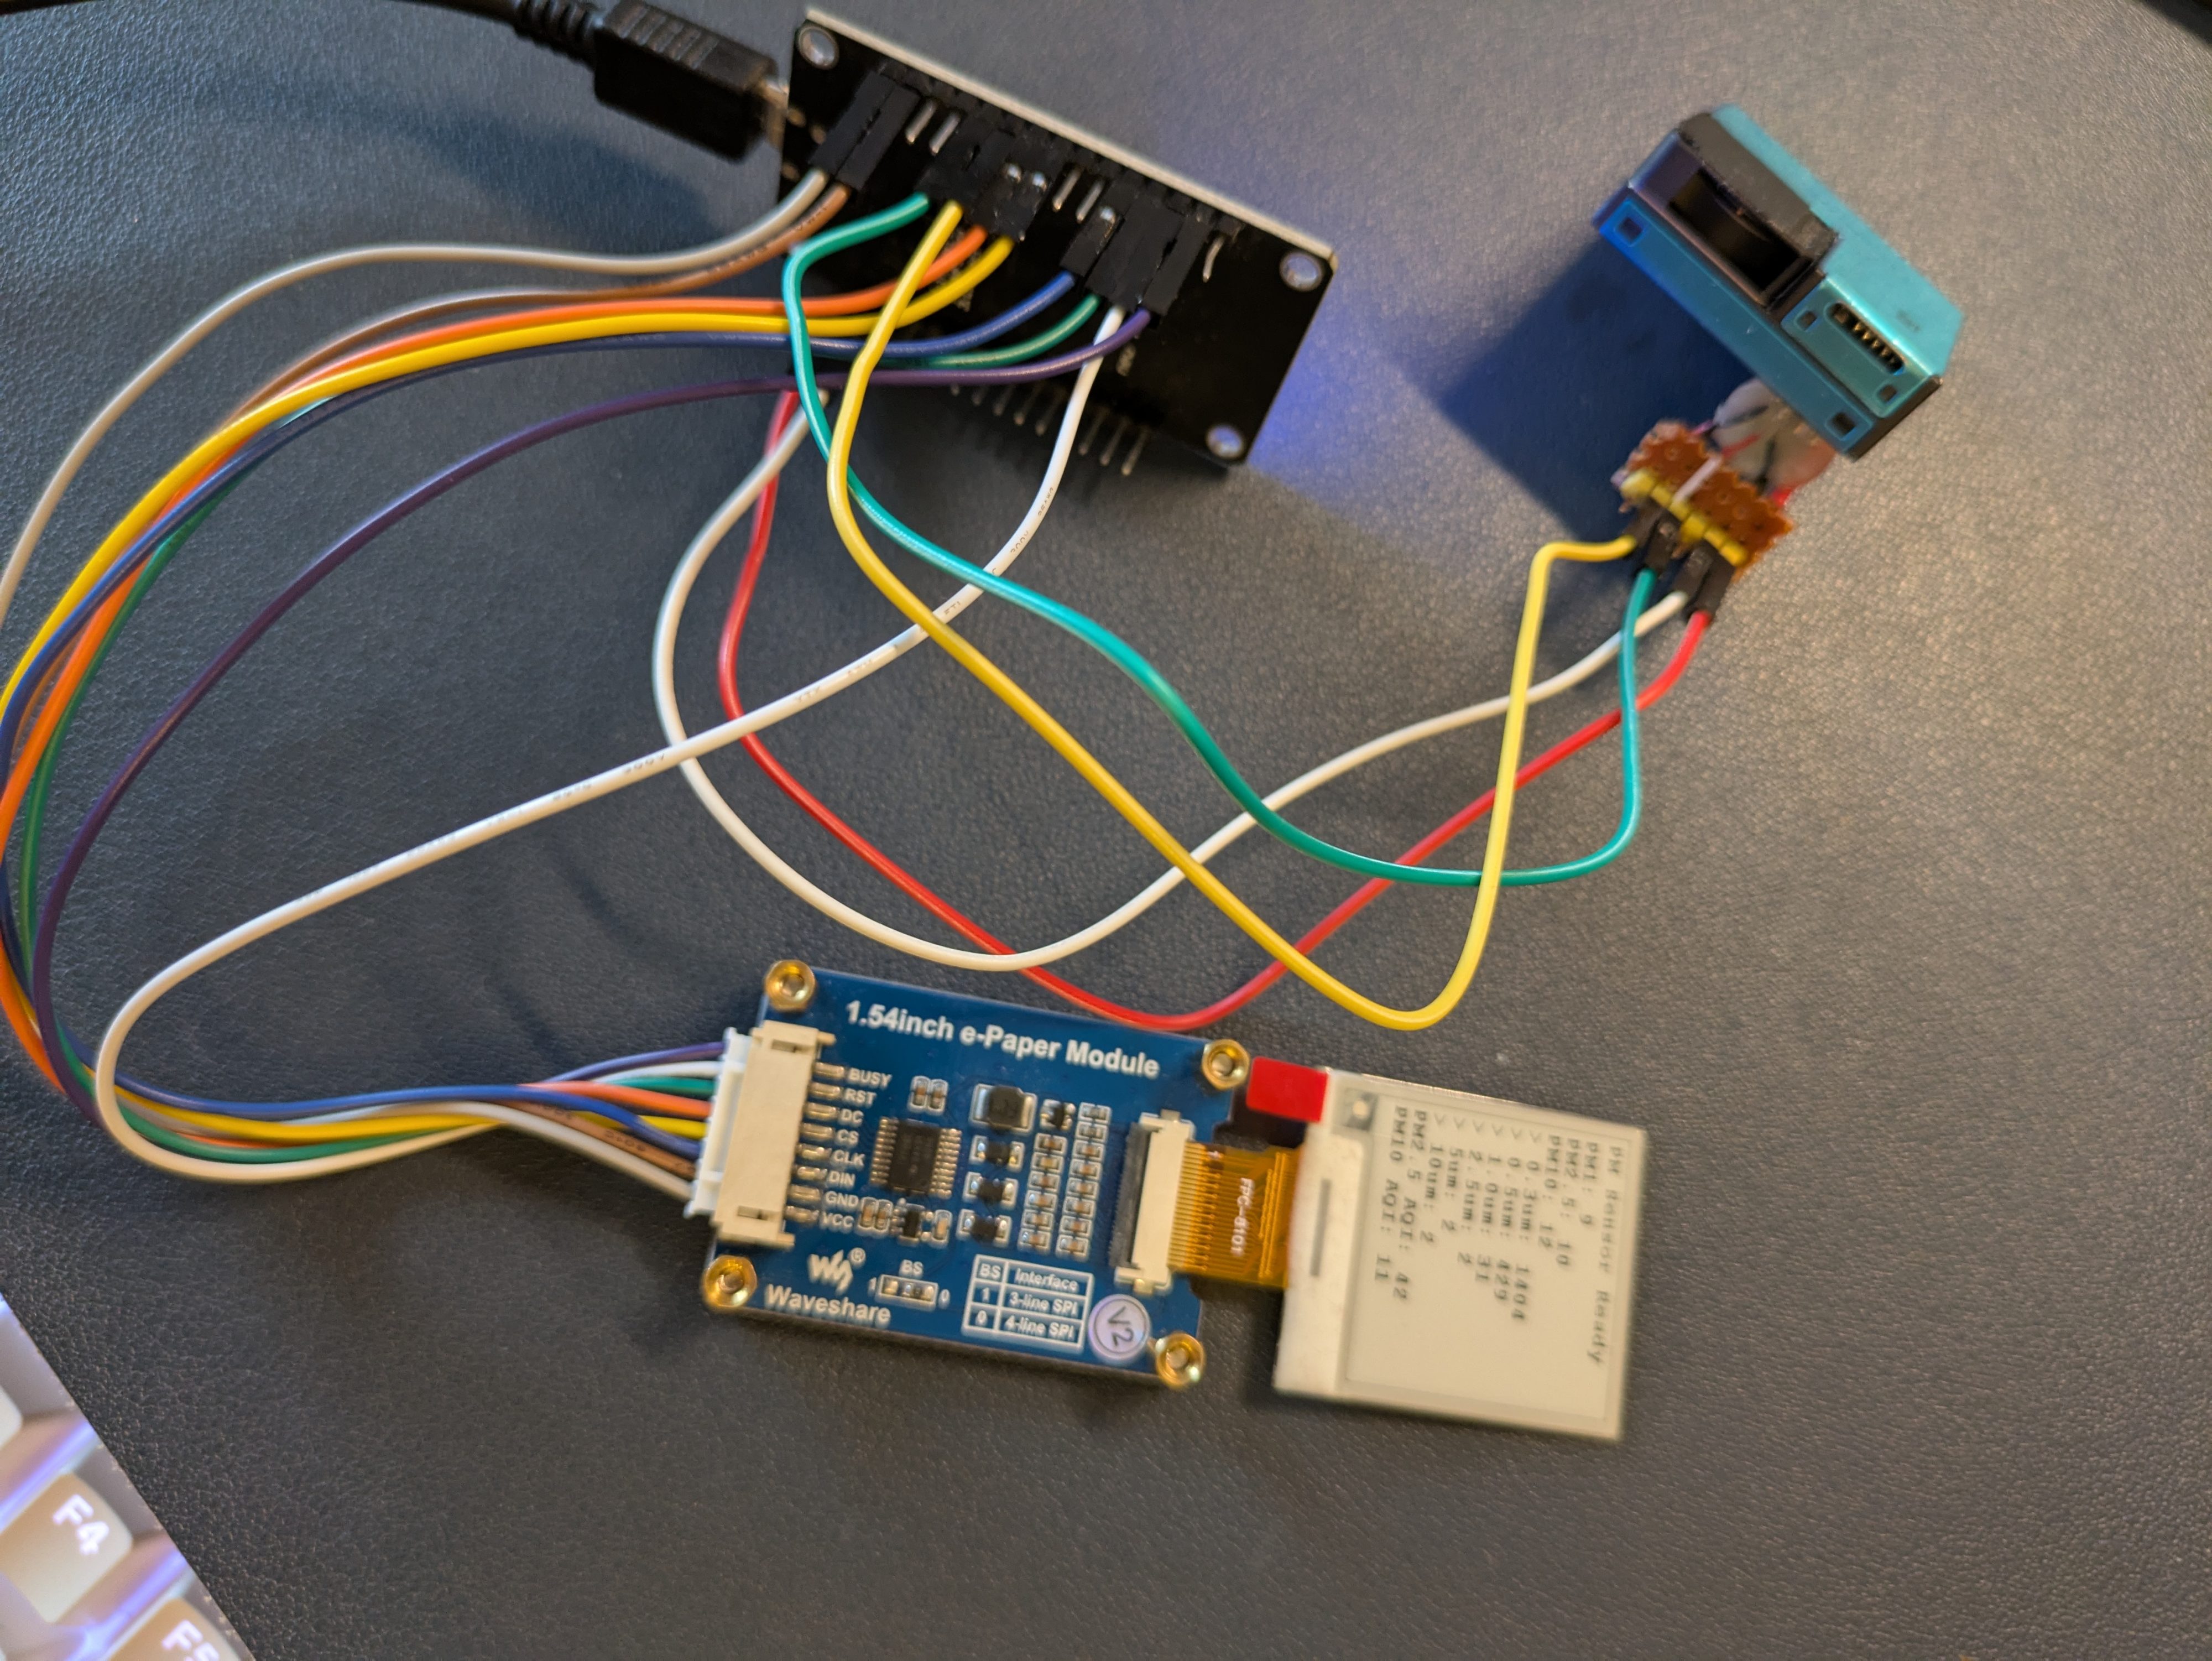
Instead, I went with a more practical approach. I already had pre-assembled modules for the NodeMCU and the e-ink screen. With just a few wires soldered between them and some hot glue to hold everything in place, I was able to build a compact and functional unit. Here’s what it looks like:
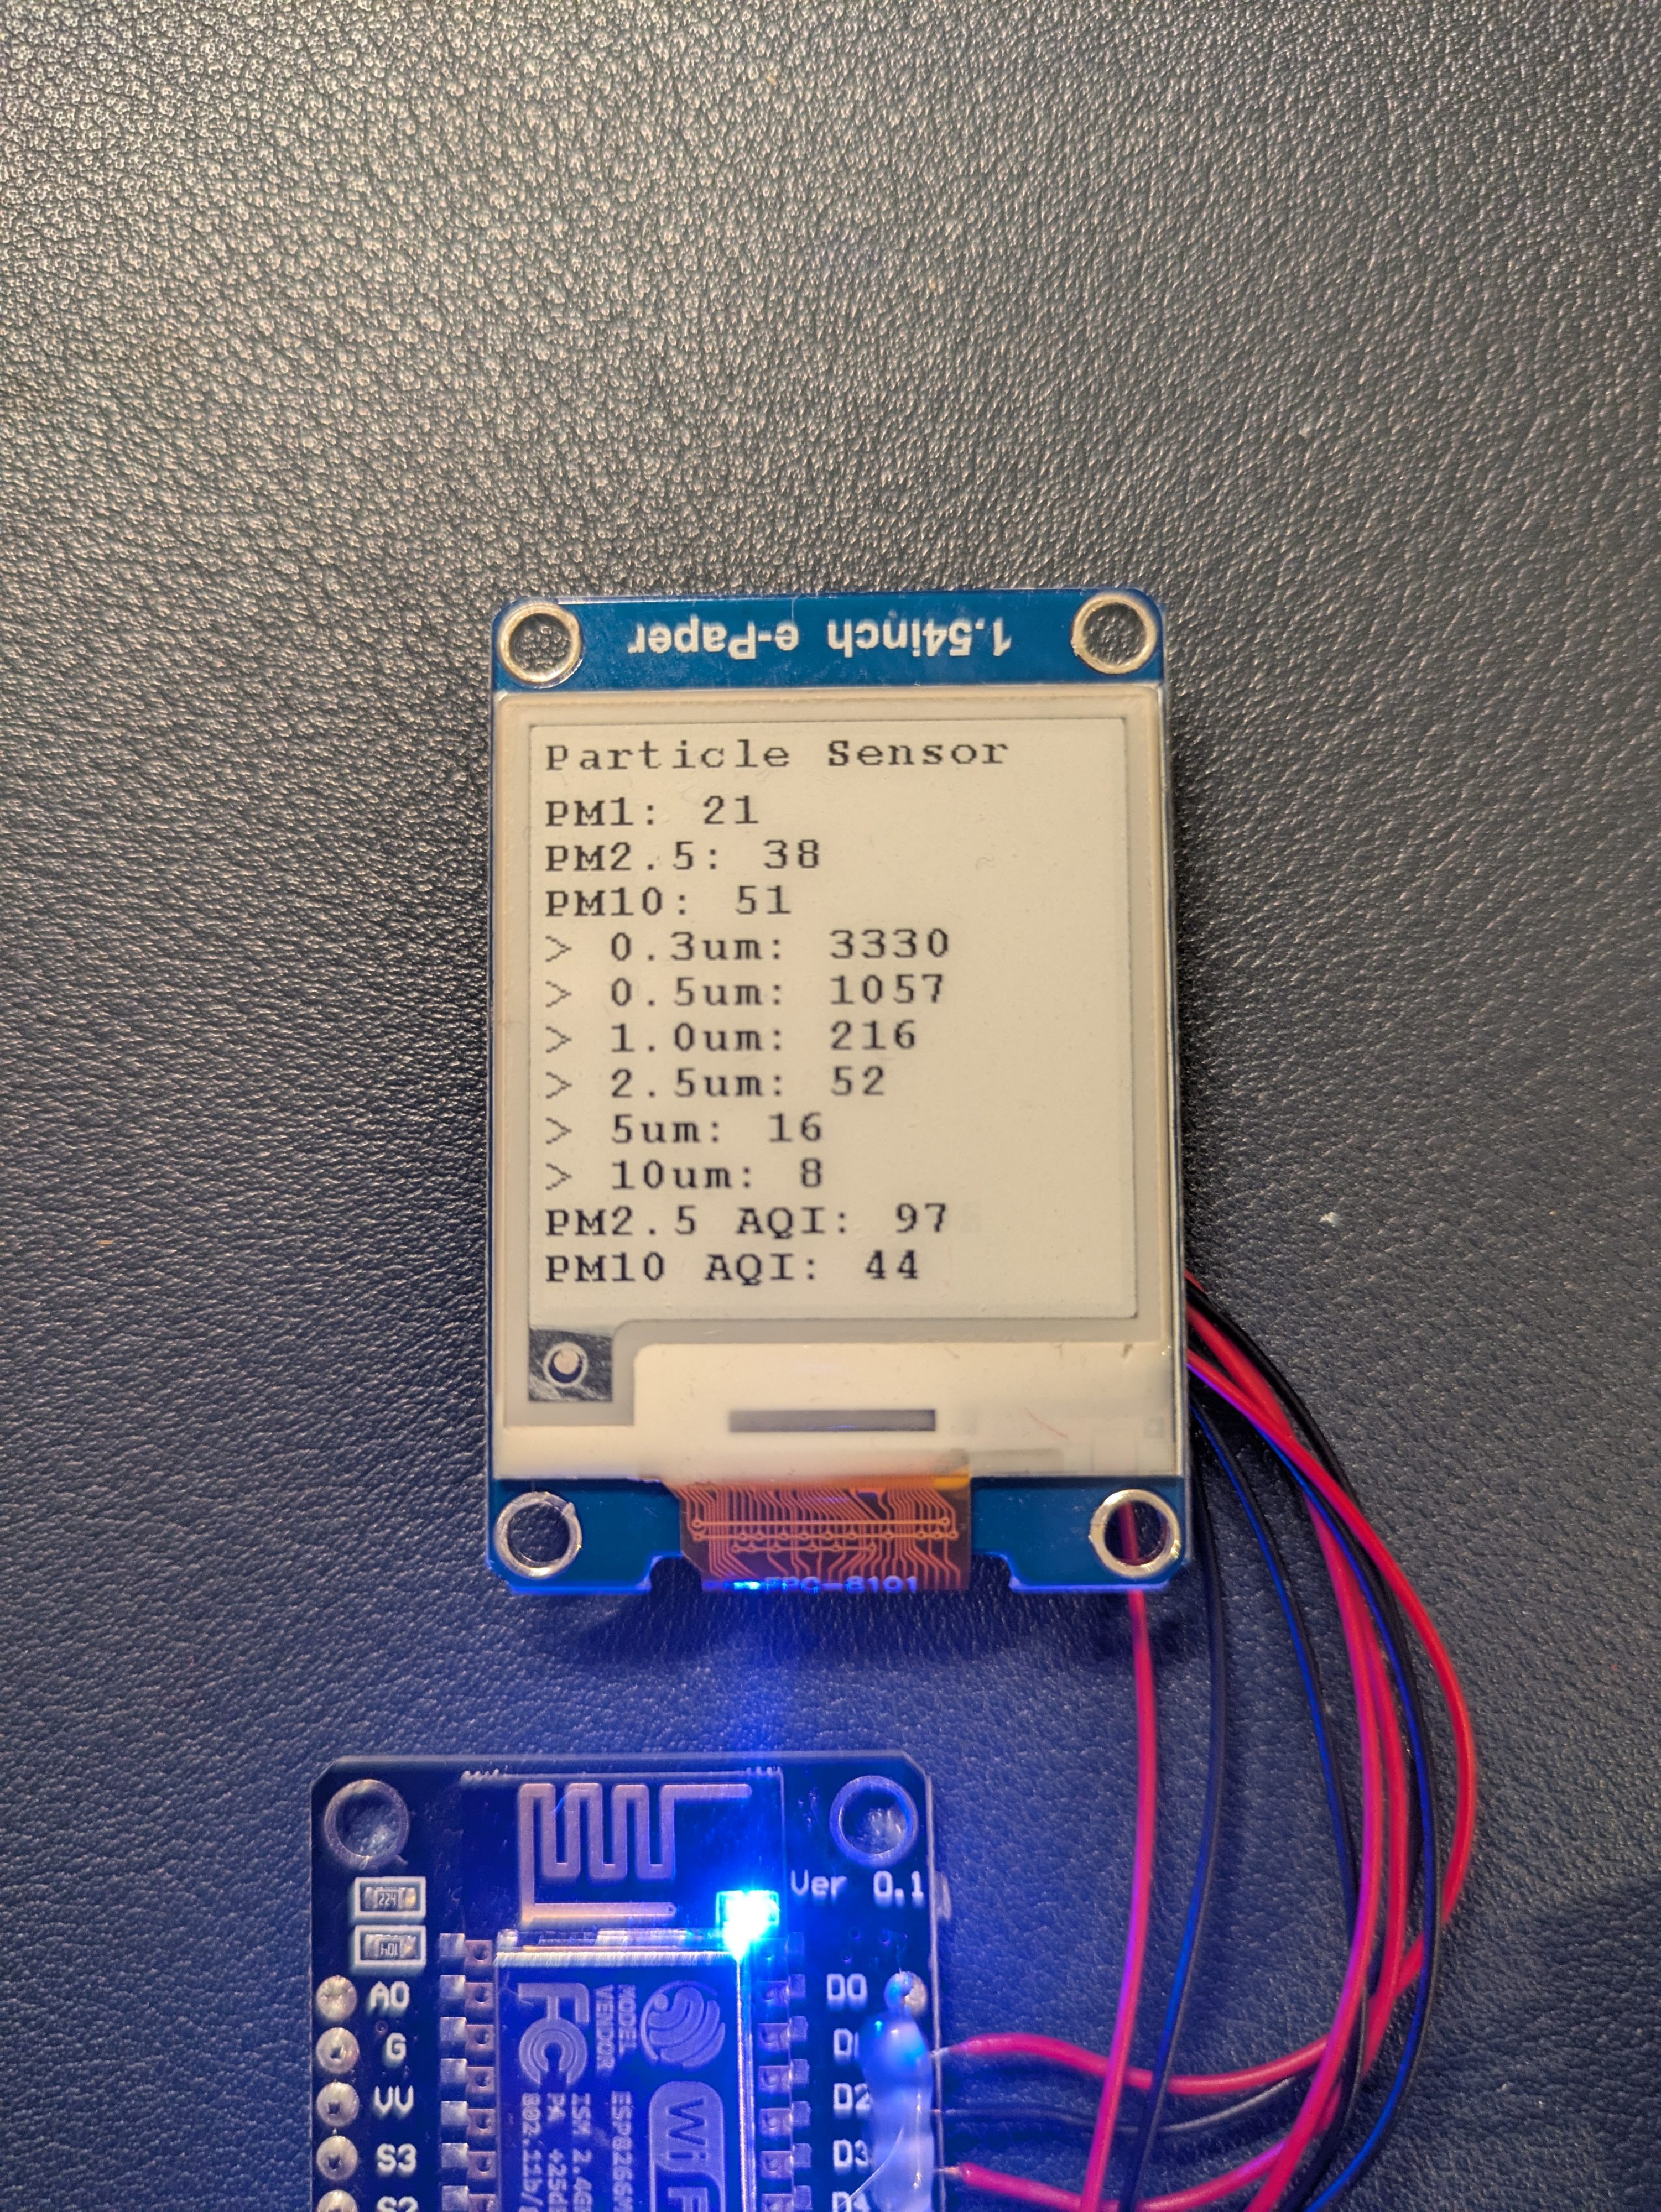
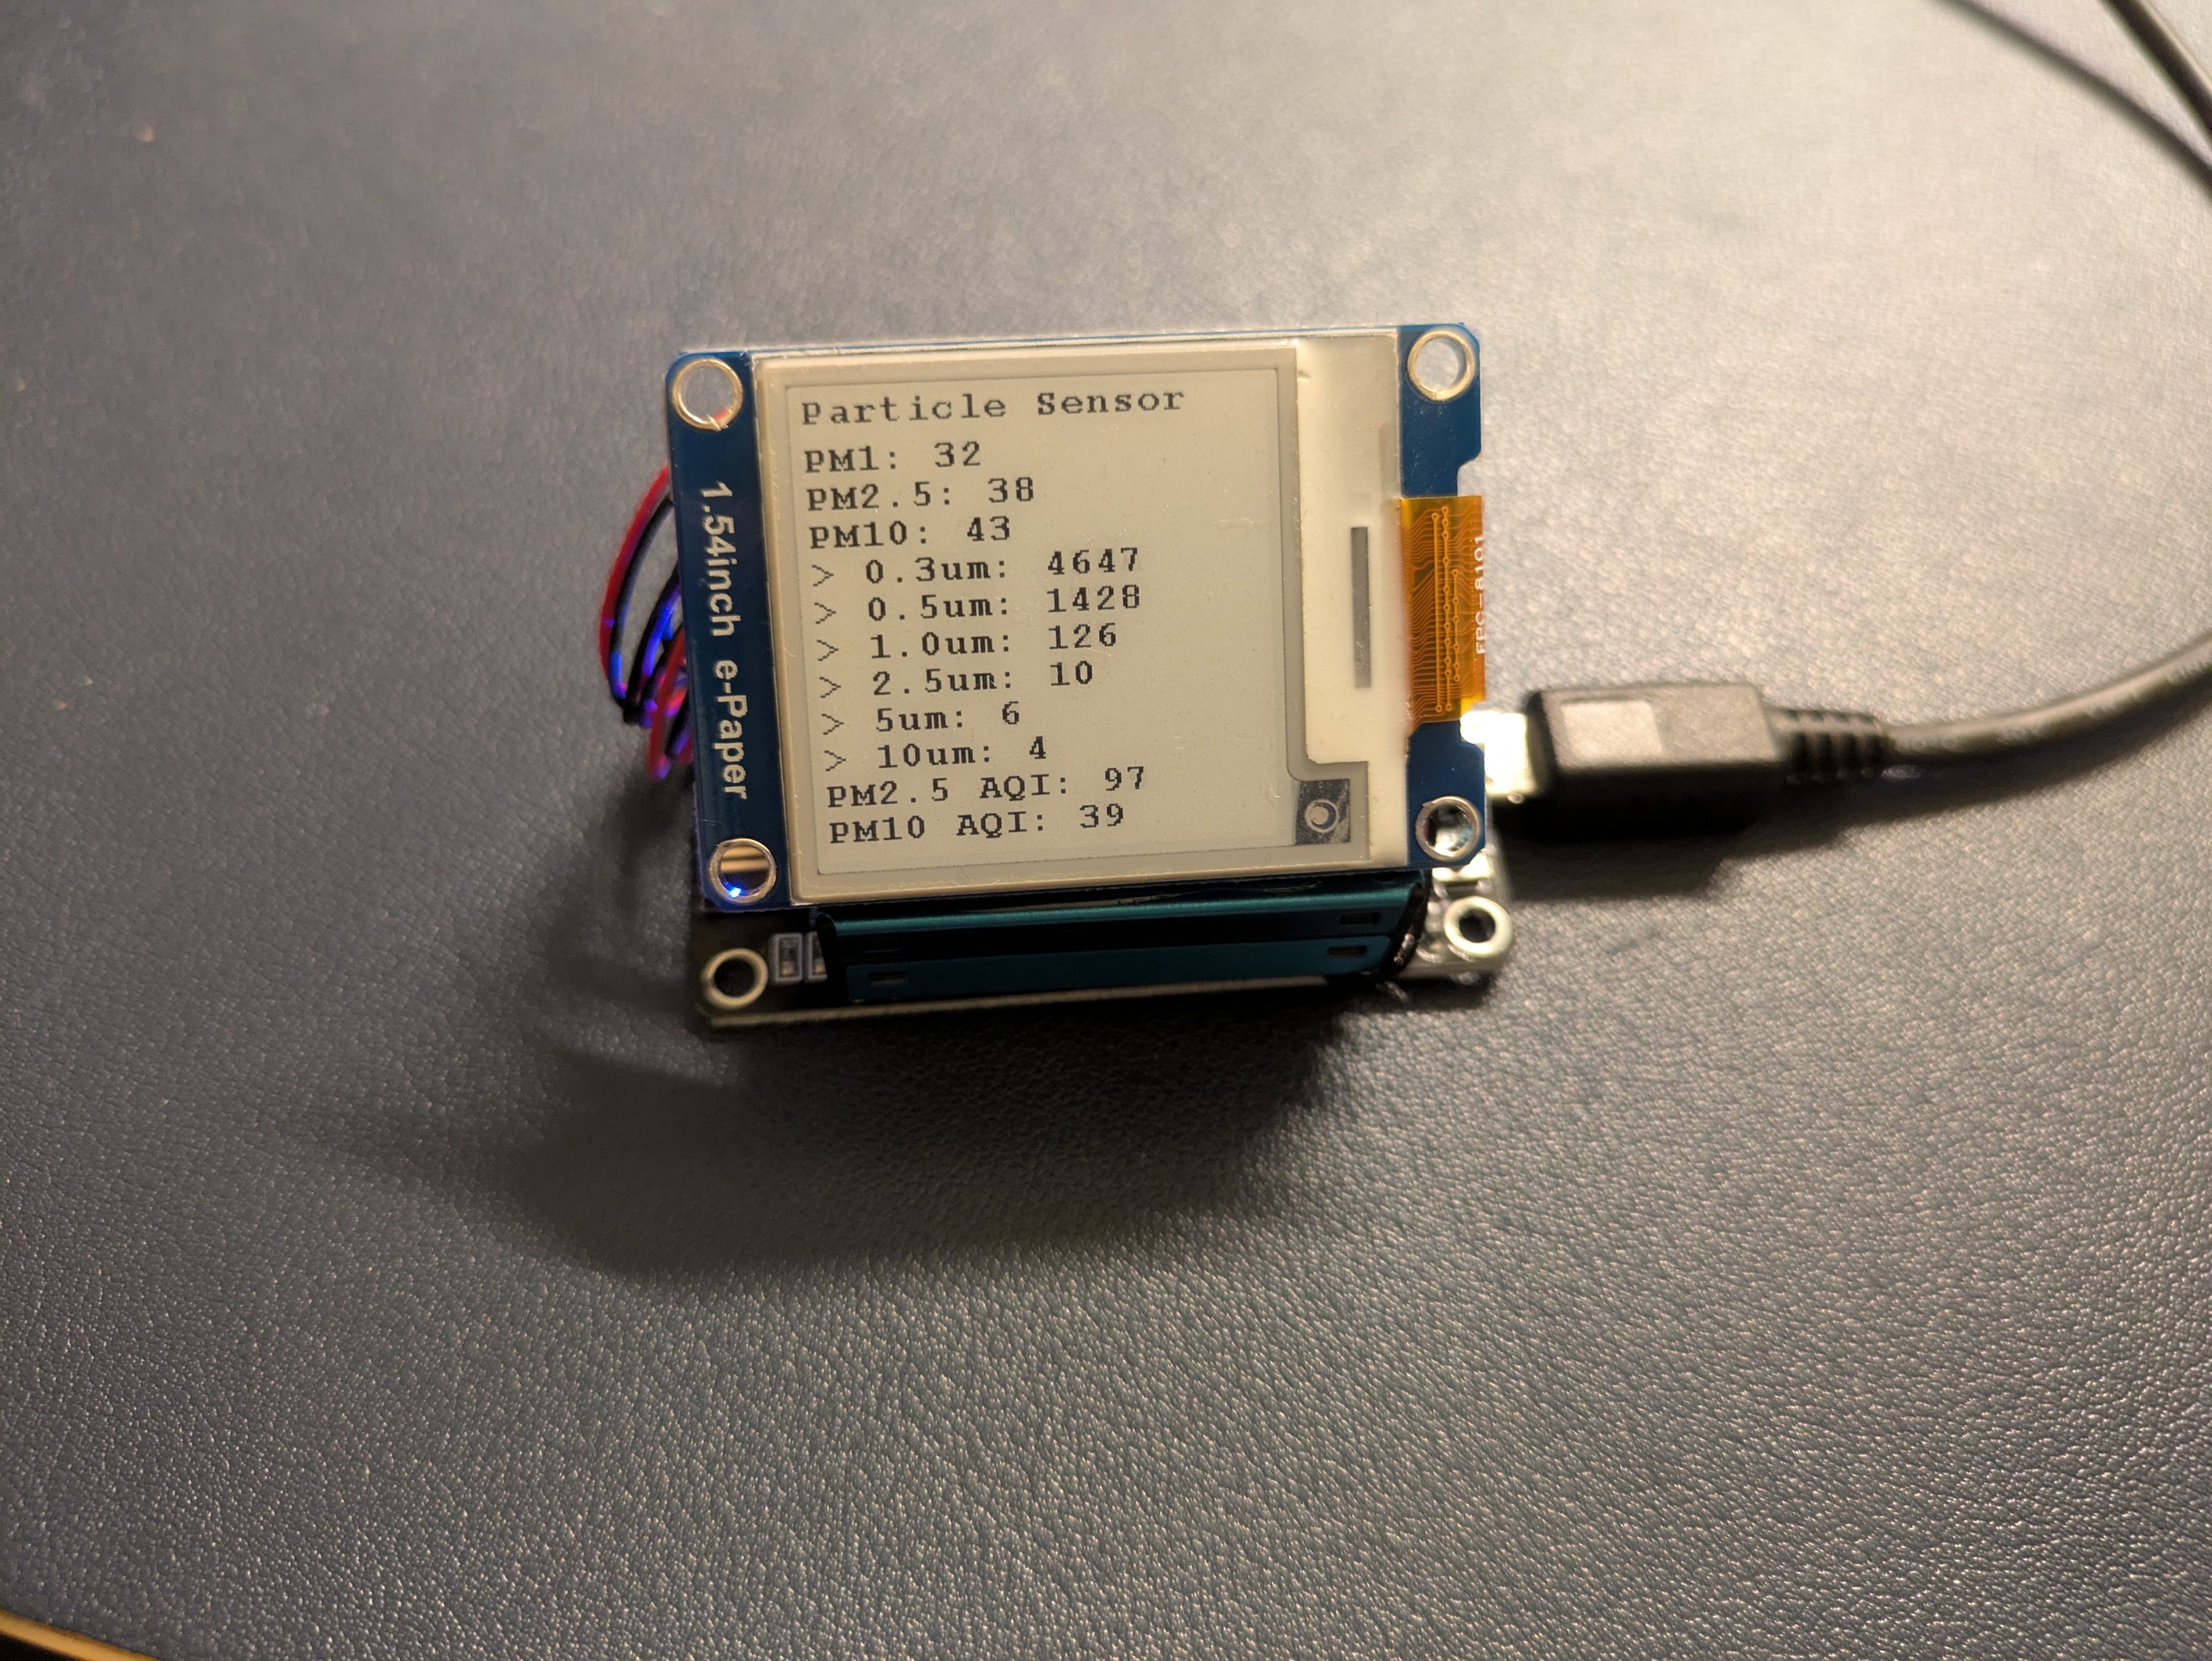
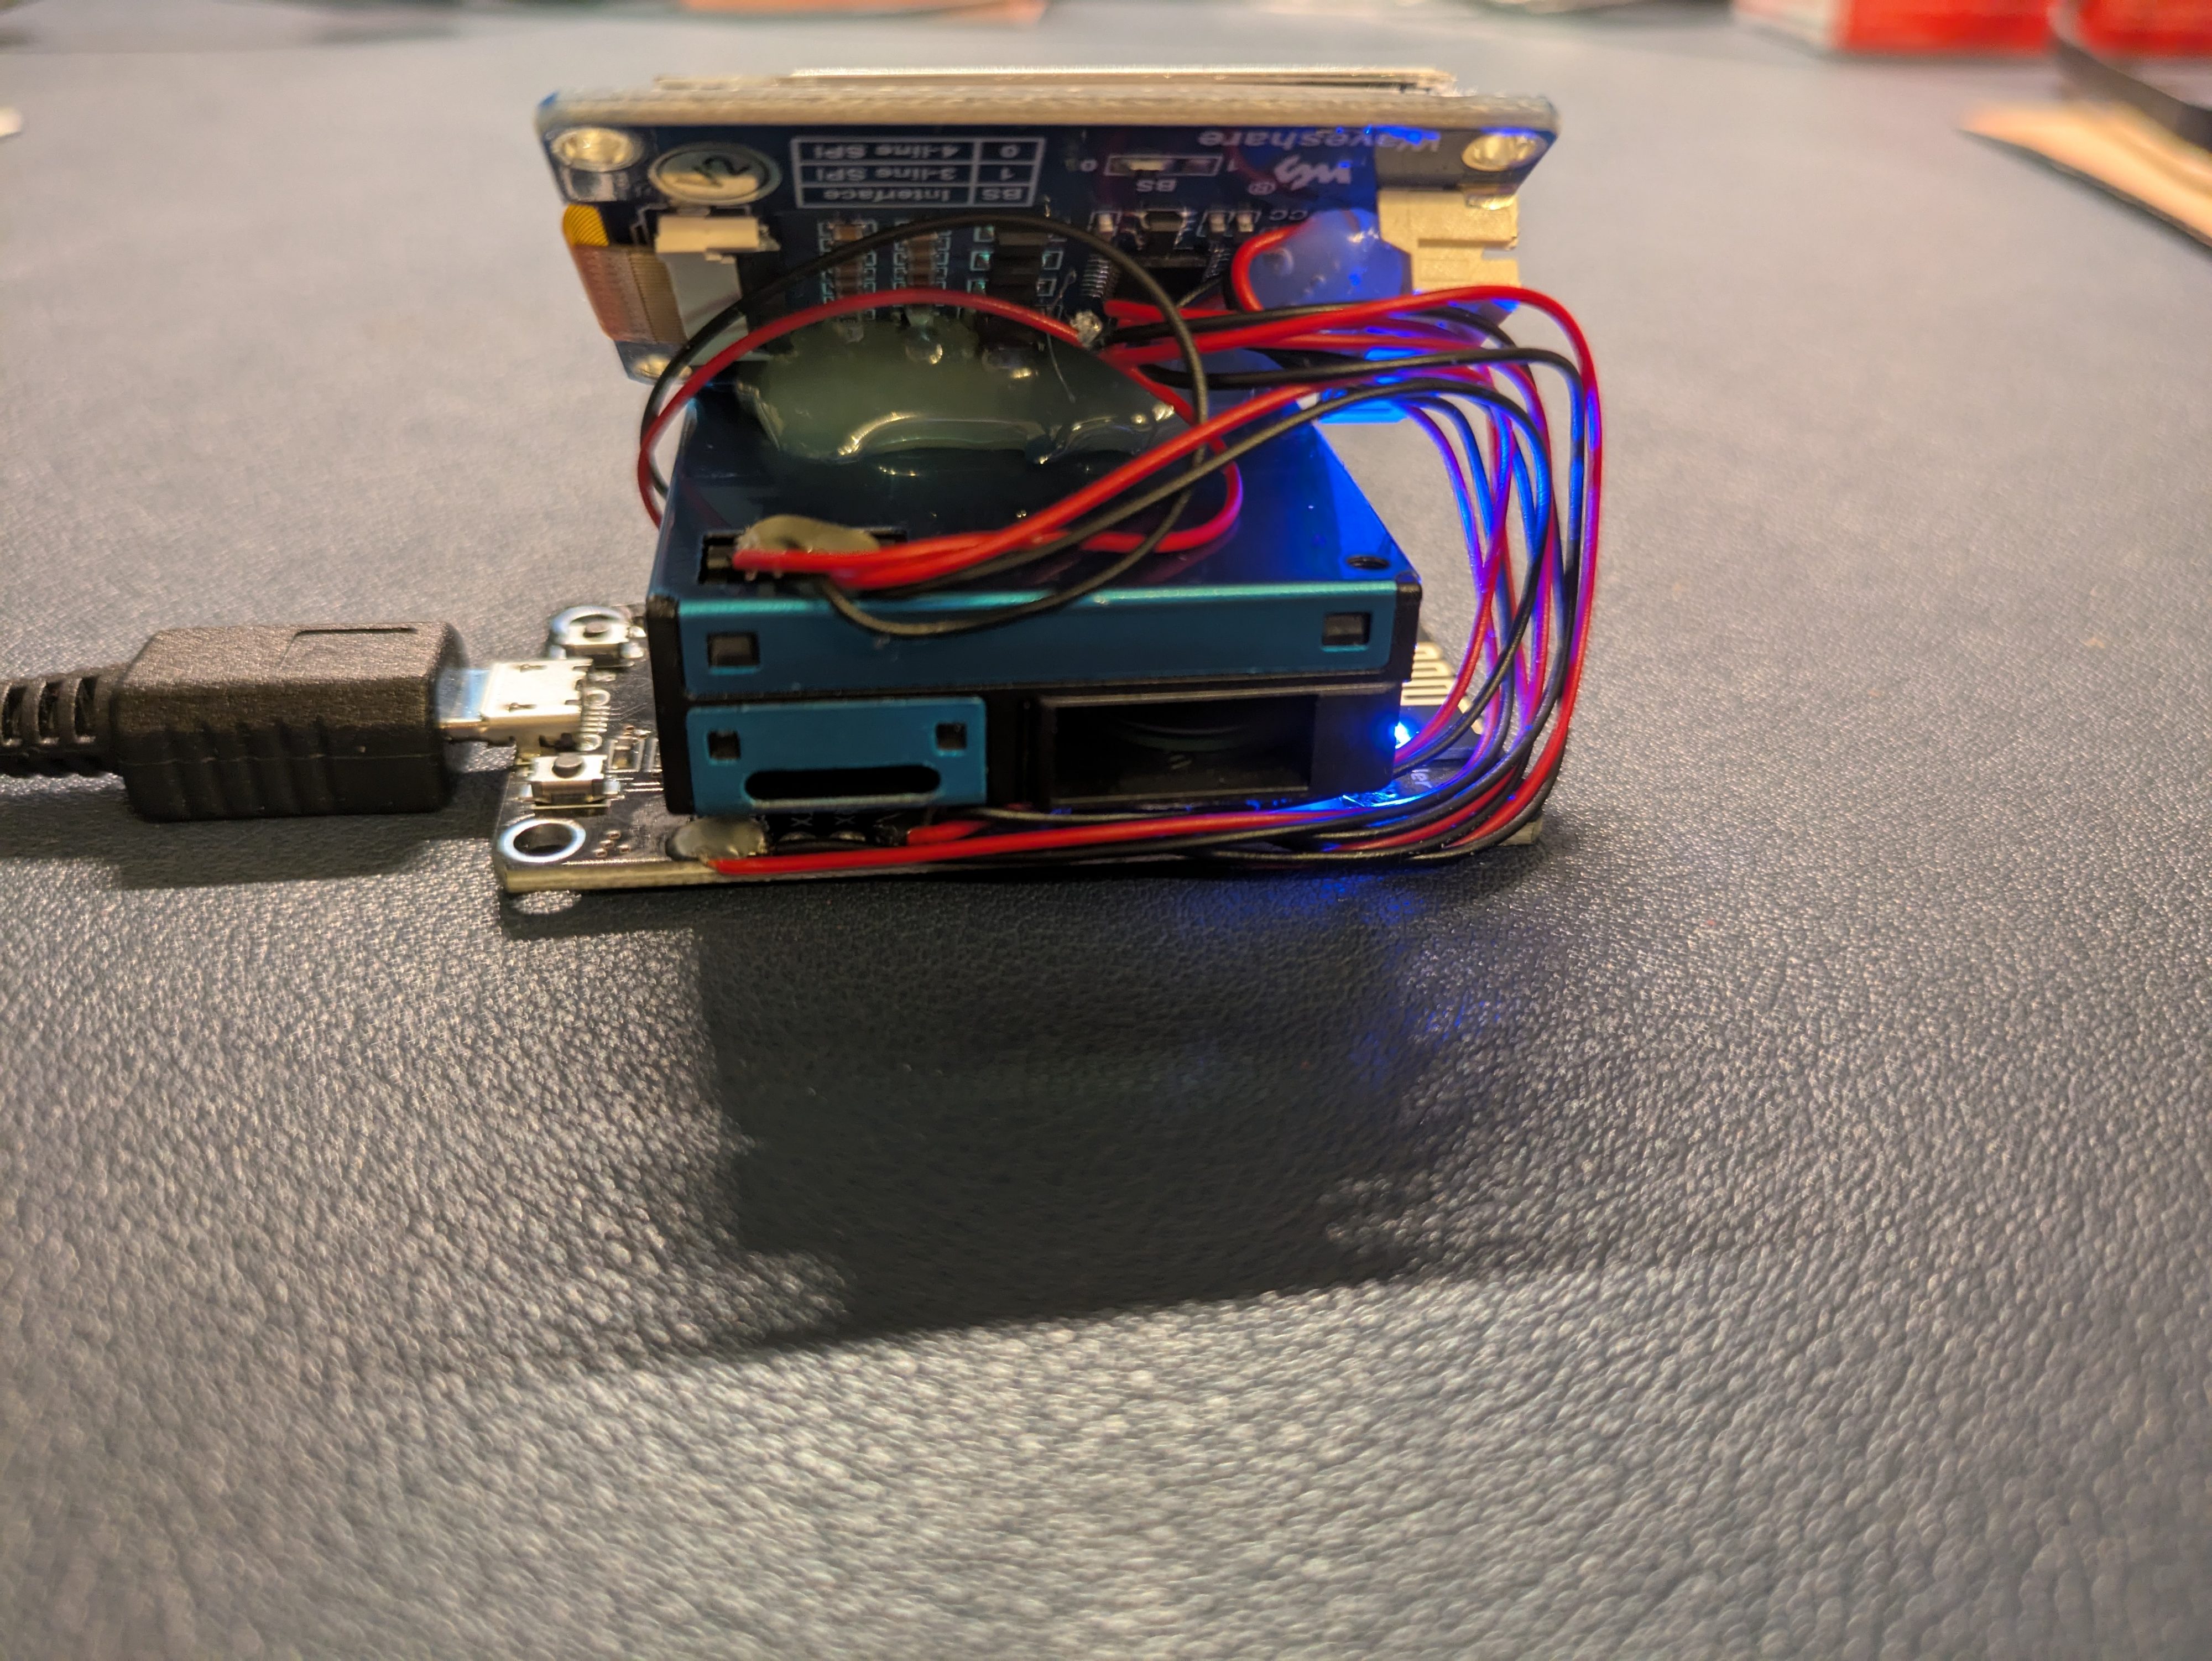
I adjusted the orientation of the screen slightly, tilting it using hot glue so it’s easier to read when sitting on a table—turning it into a handy little desktop gadget. The micro USB port on the side, which is actually the NodeMCU’s port, serves both for charging and for uploading new code.
To wrap it all up, I 3D-printed a custom case. And here it is—the final look of my DIY Particle Sensor!