
Someone asked me to create a Psyduck lamp as a surprise for her husband, and I’ll be documenting the progress of this project here.
She wanted the lamp to be around 25-30cm high. Unfortunately, this exceeded the print volume of my Prusa i3 MK3S+. The first step was to split the design so that it would fit on the printer. In the end, I had to cut off Psyduck’s hair.
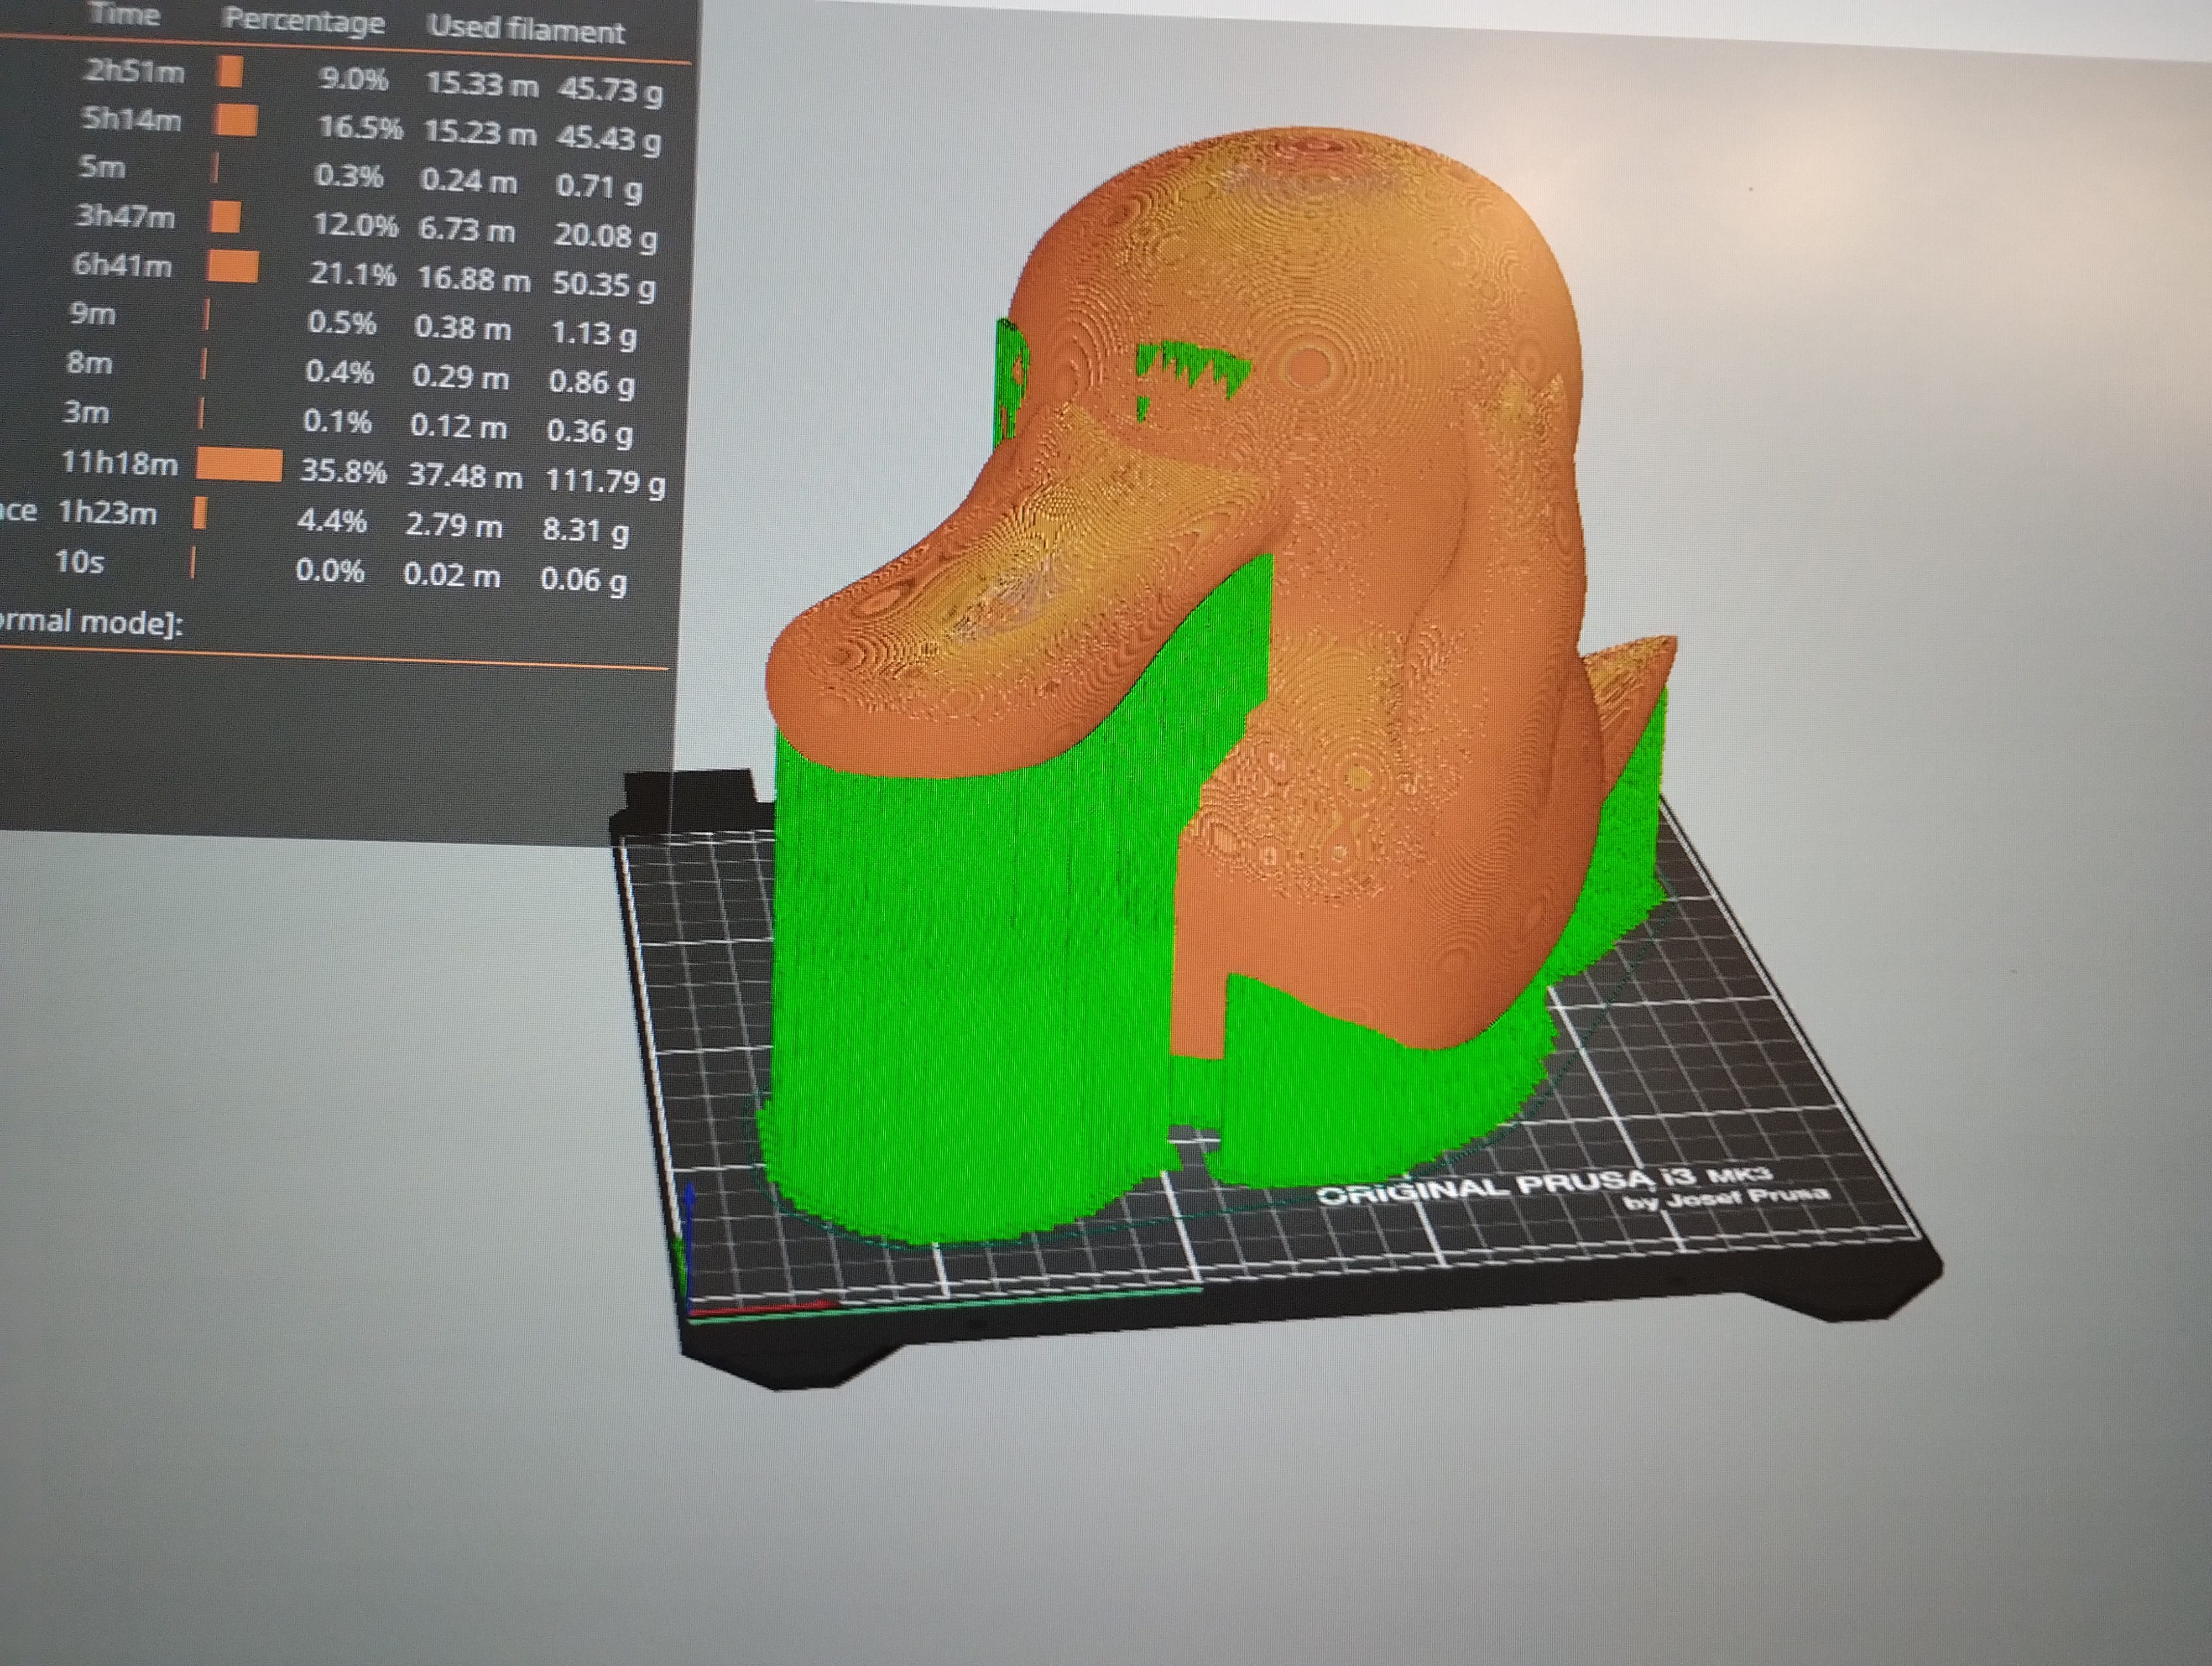
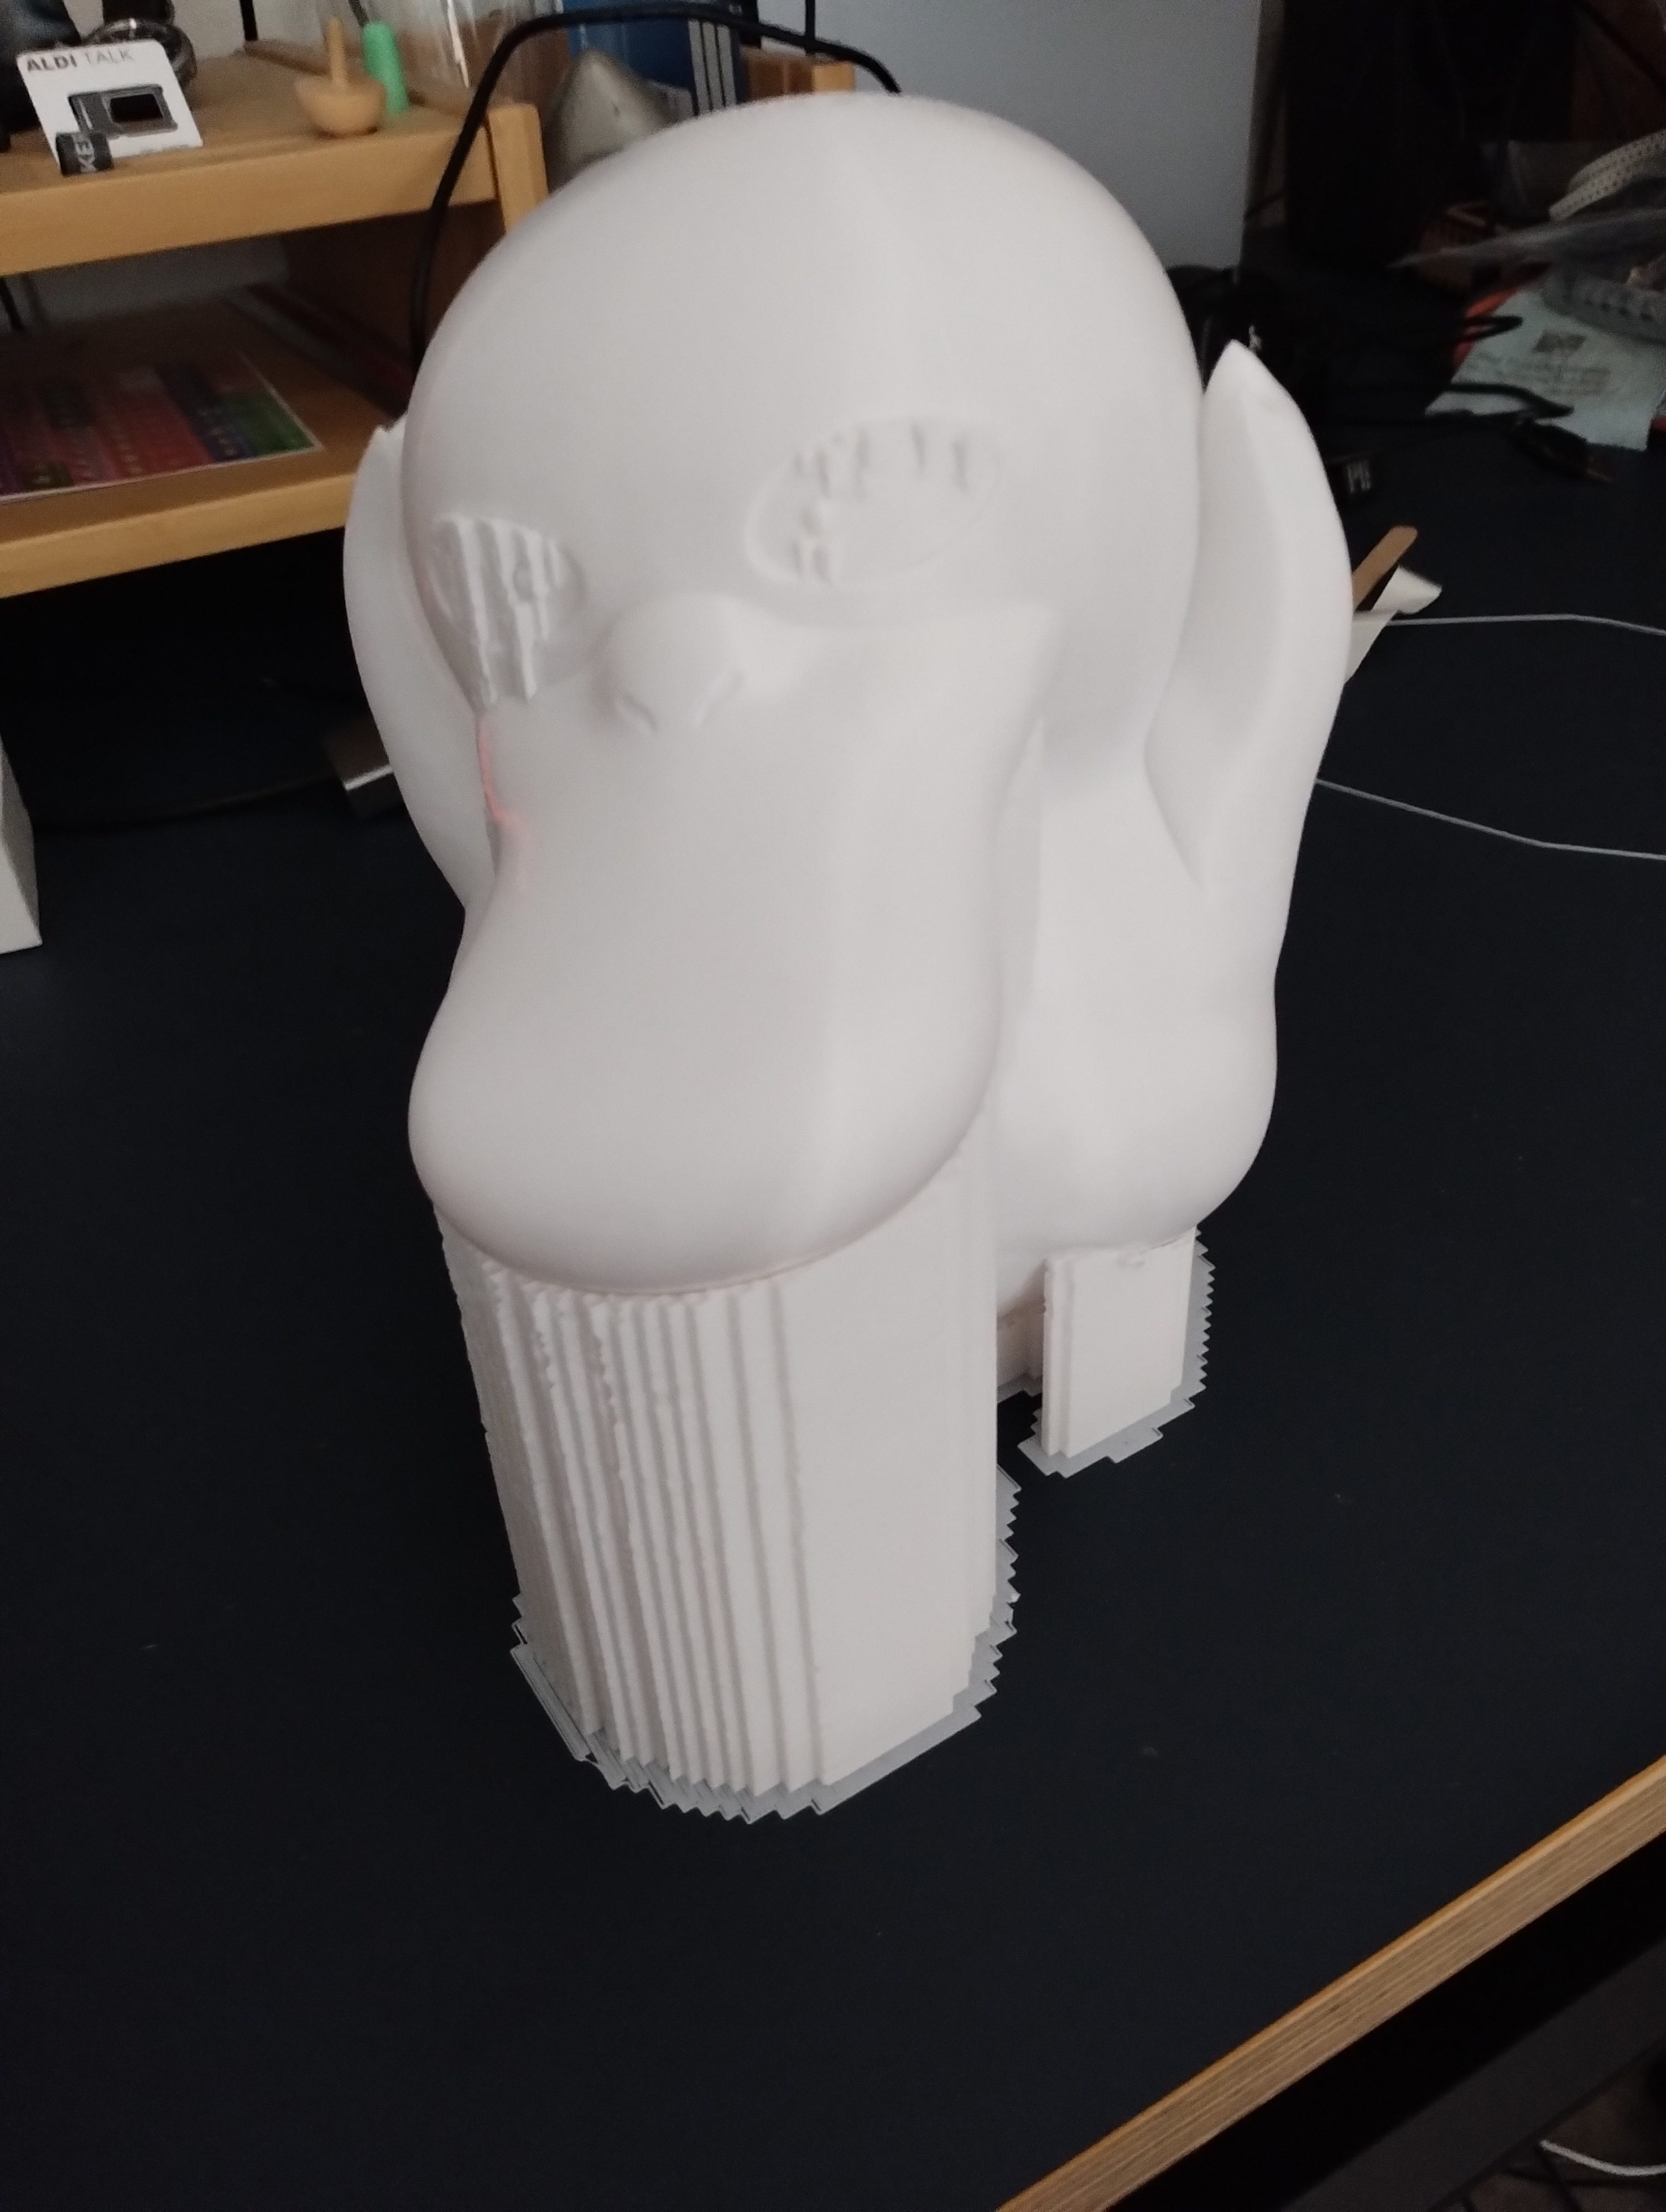
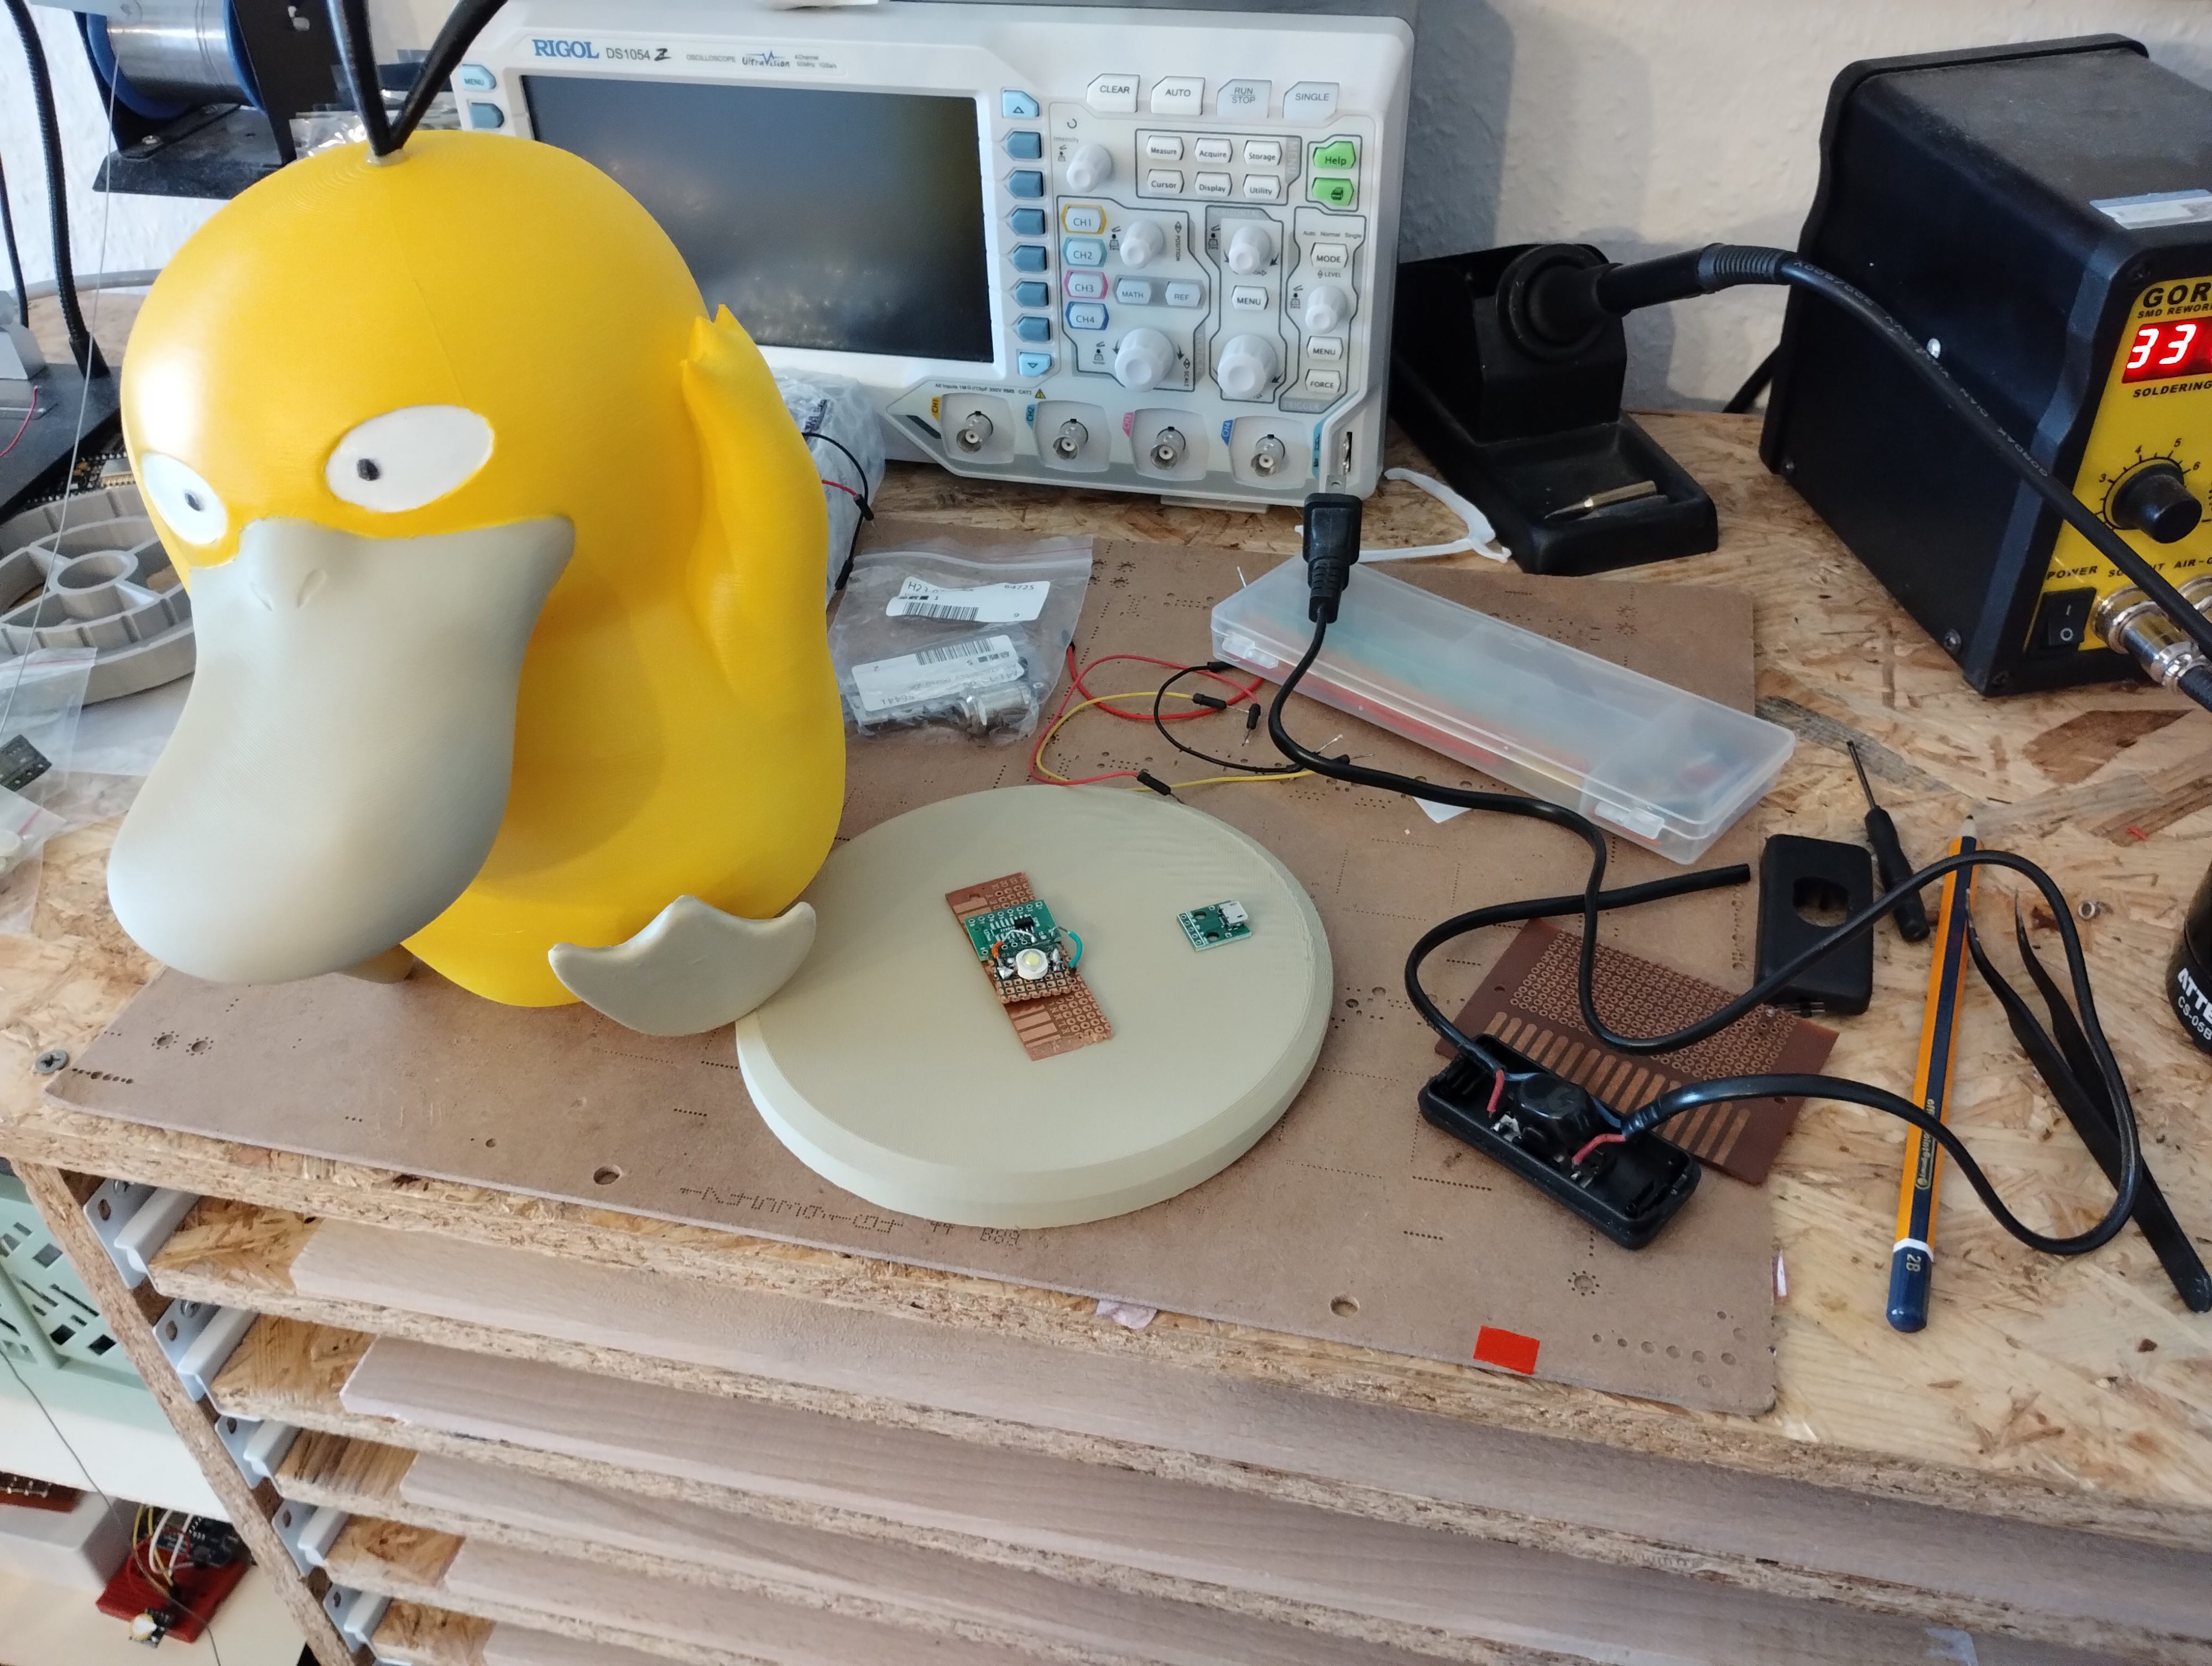
I decided to use Glow in the Dark PLA because I wanted to test its effect (which, in hindsight, might have been a bad decision). I used 5% infill just to ensure it printed correctly. After 33 hours, the body was finished, with the hair and feet printed separately.
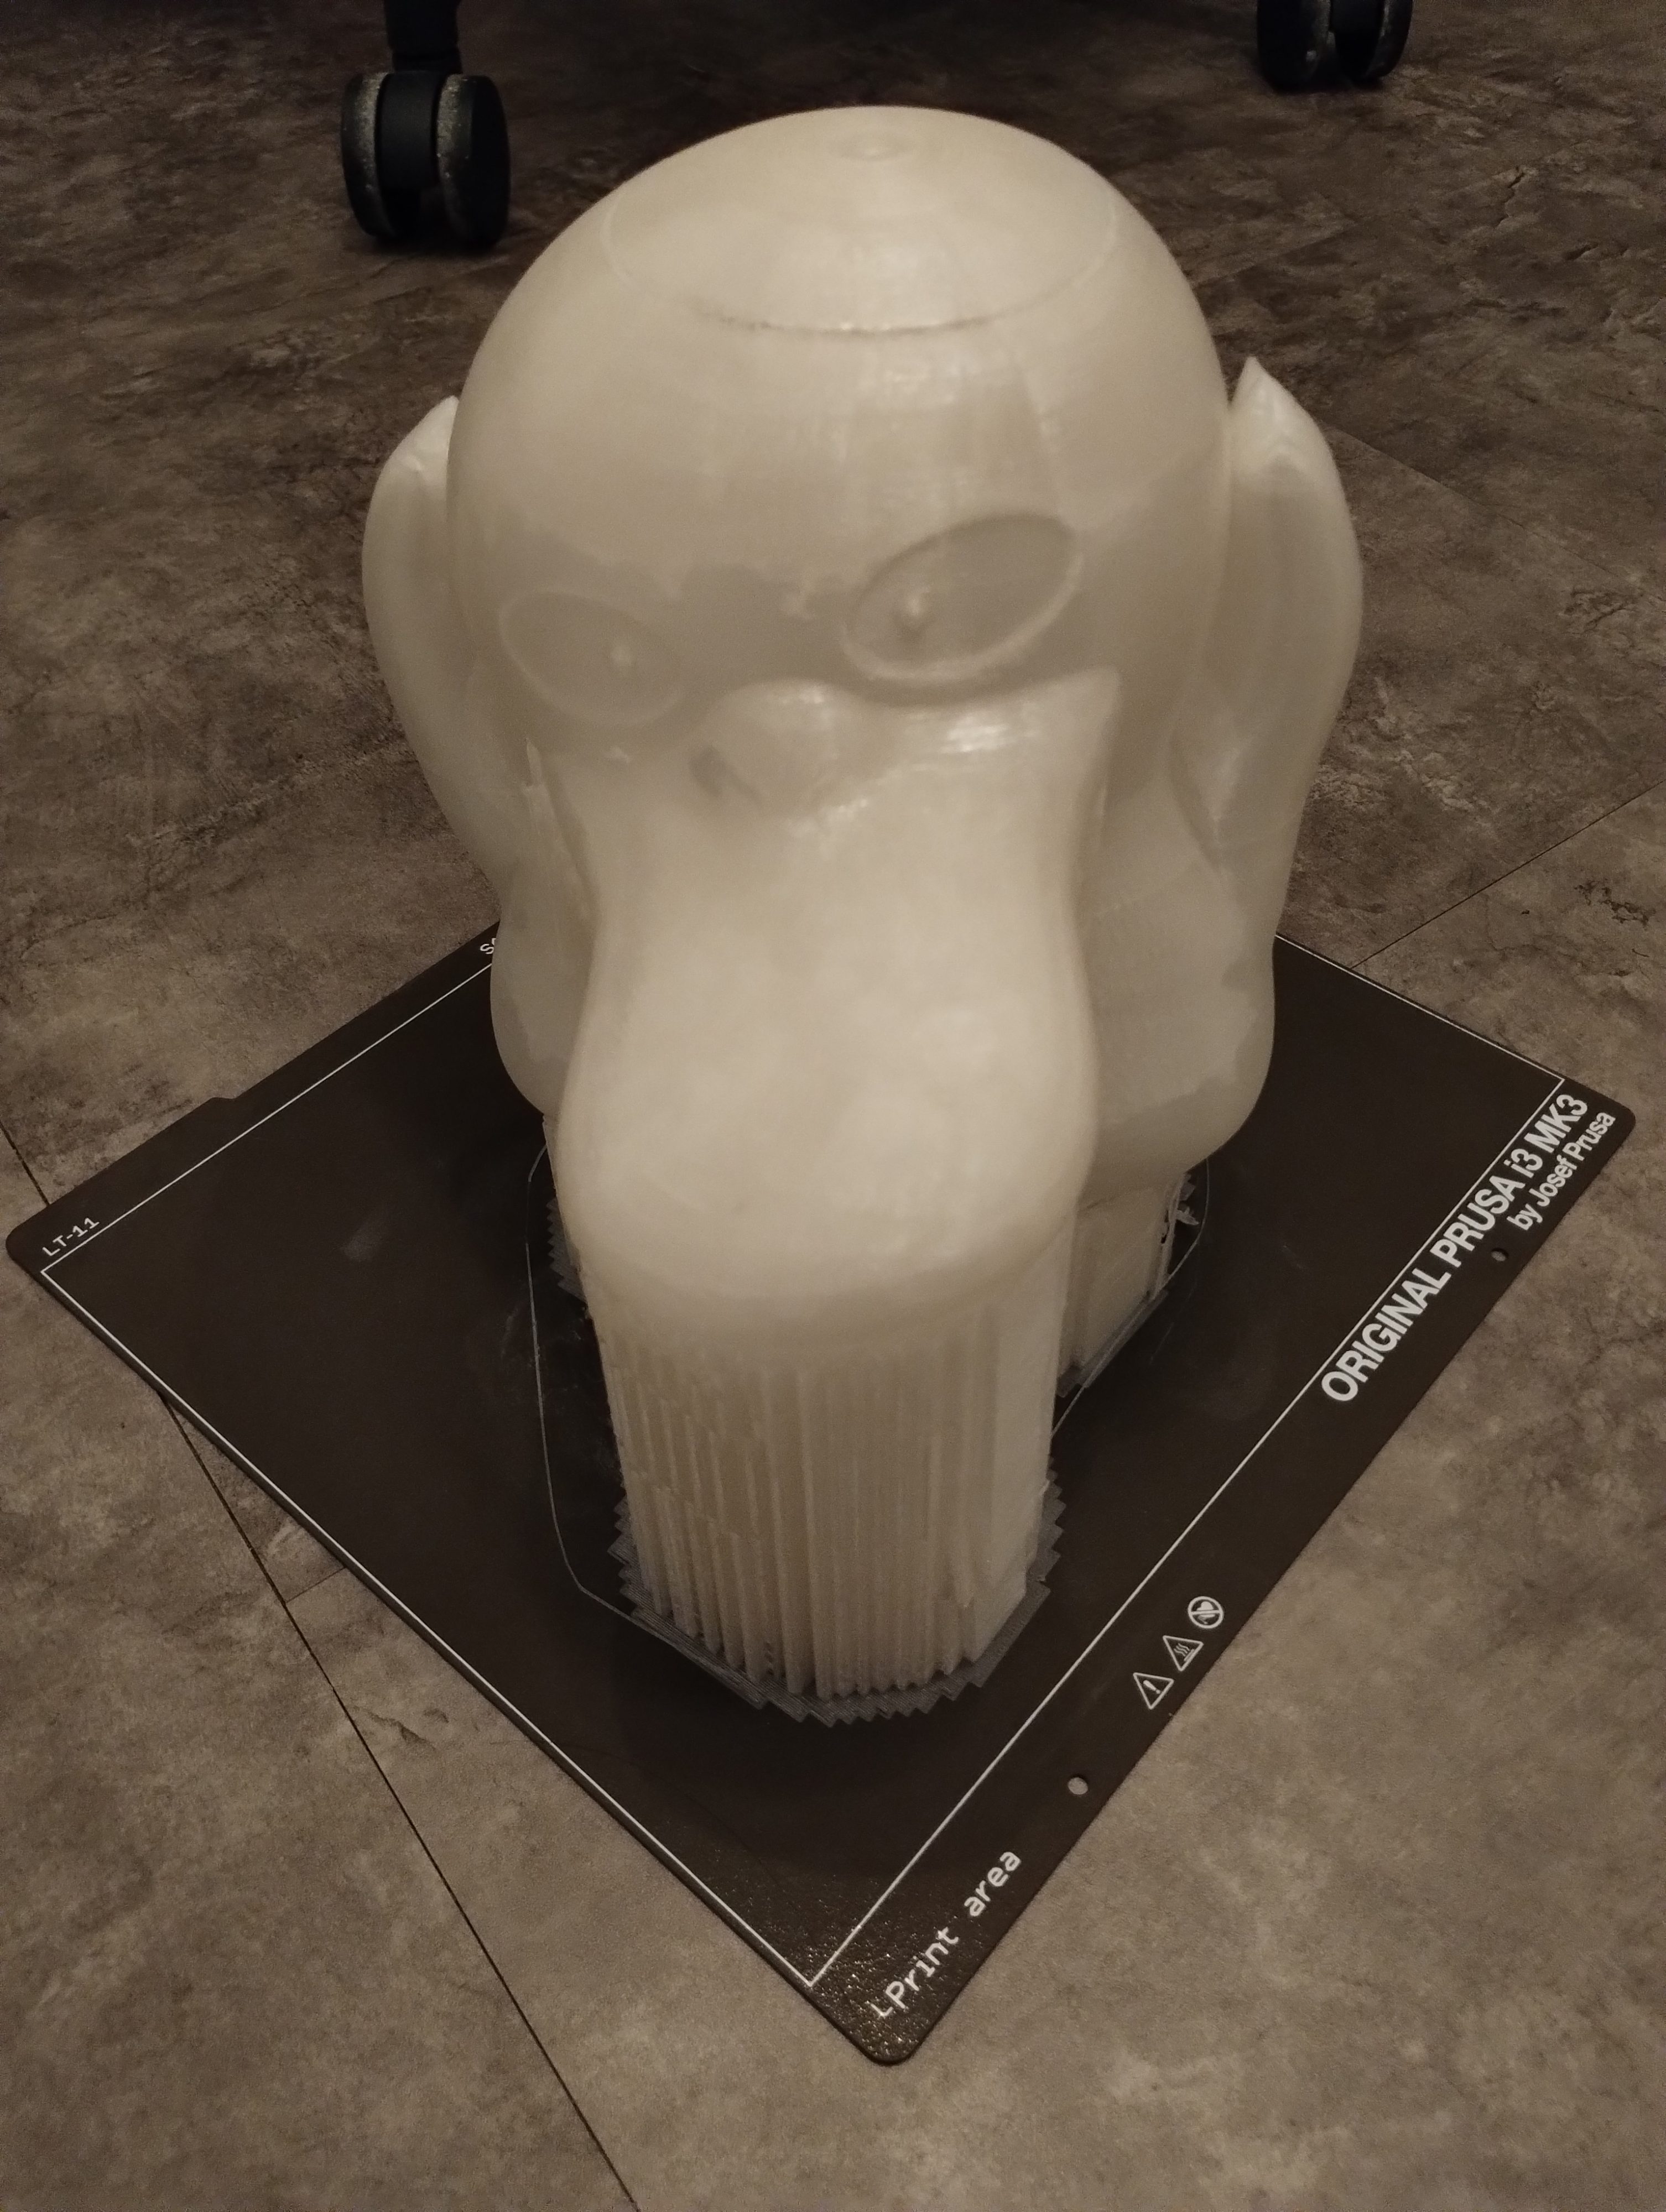
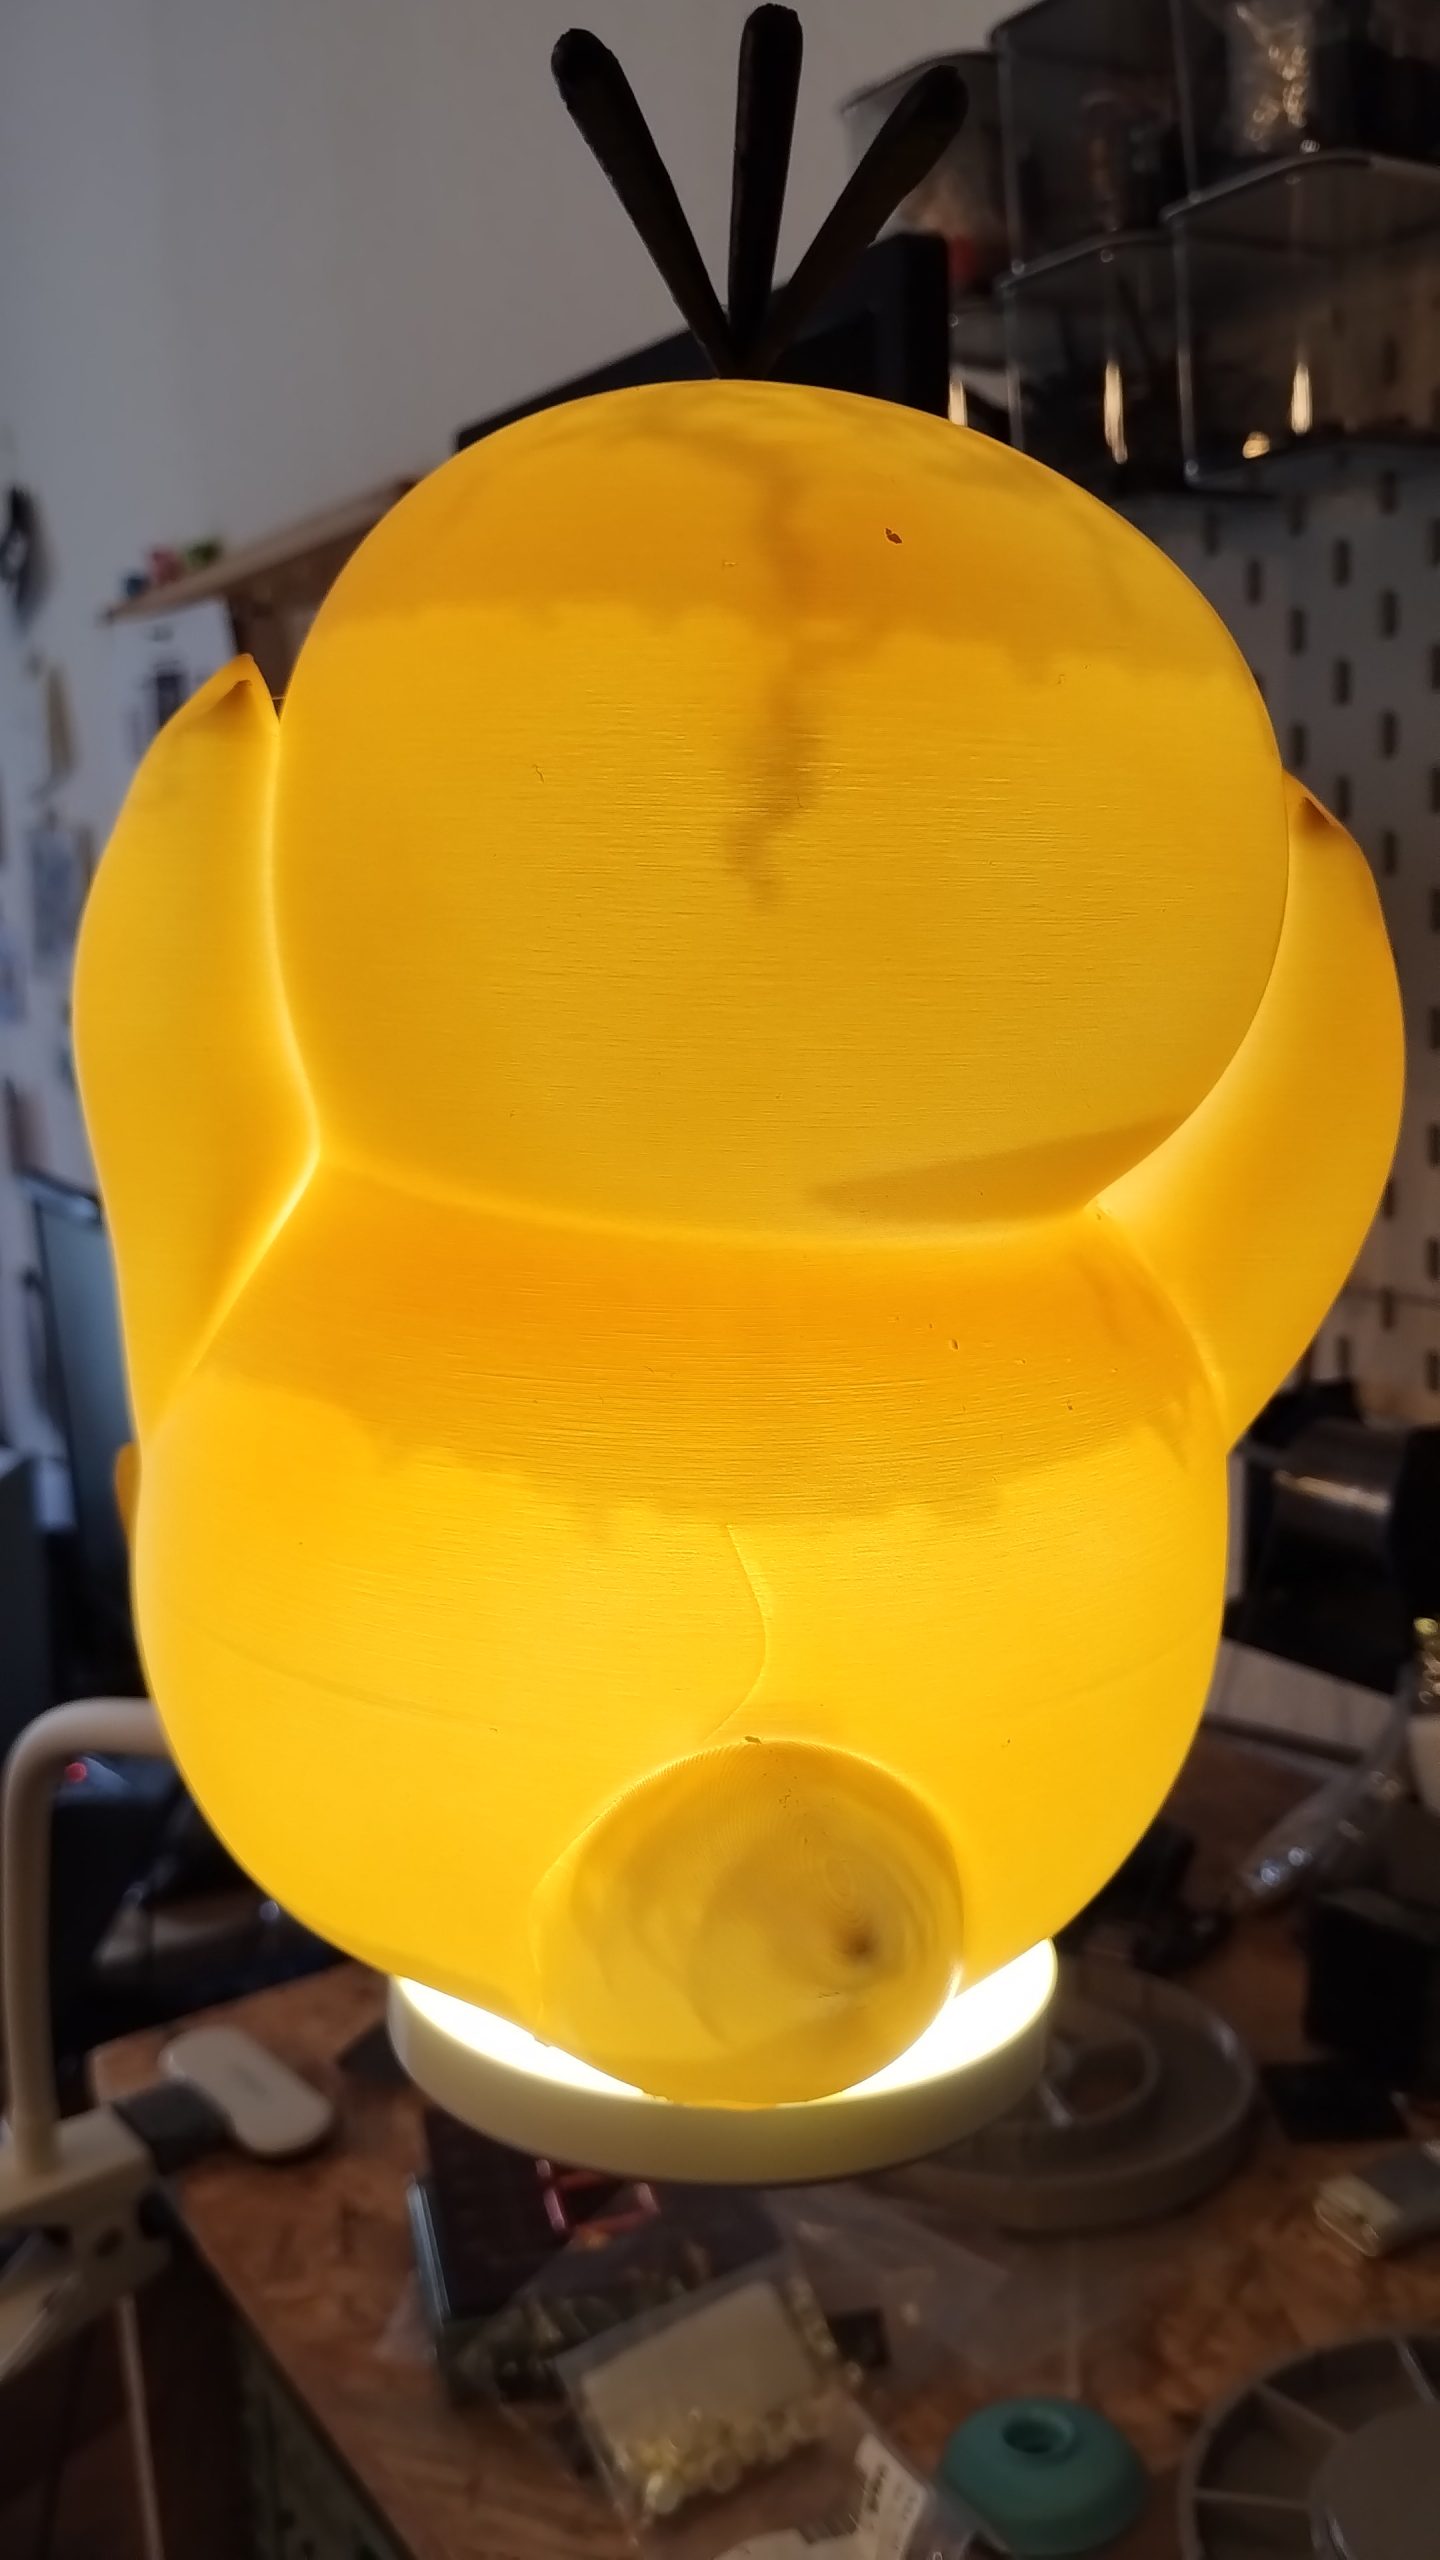
Unfortunately, there was a problem with the body part of the print; the final few layers were under-extruded (see photo above), which would look odd when lit up as a lamp. So, I decided to sand everything smooth and then coated the figure with a thin layer of epoxy to hide the visible layers.
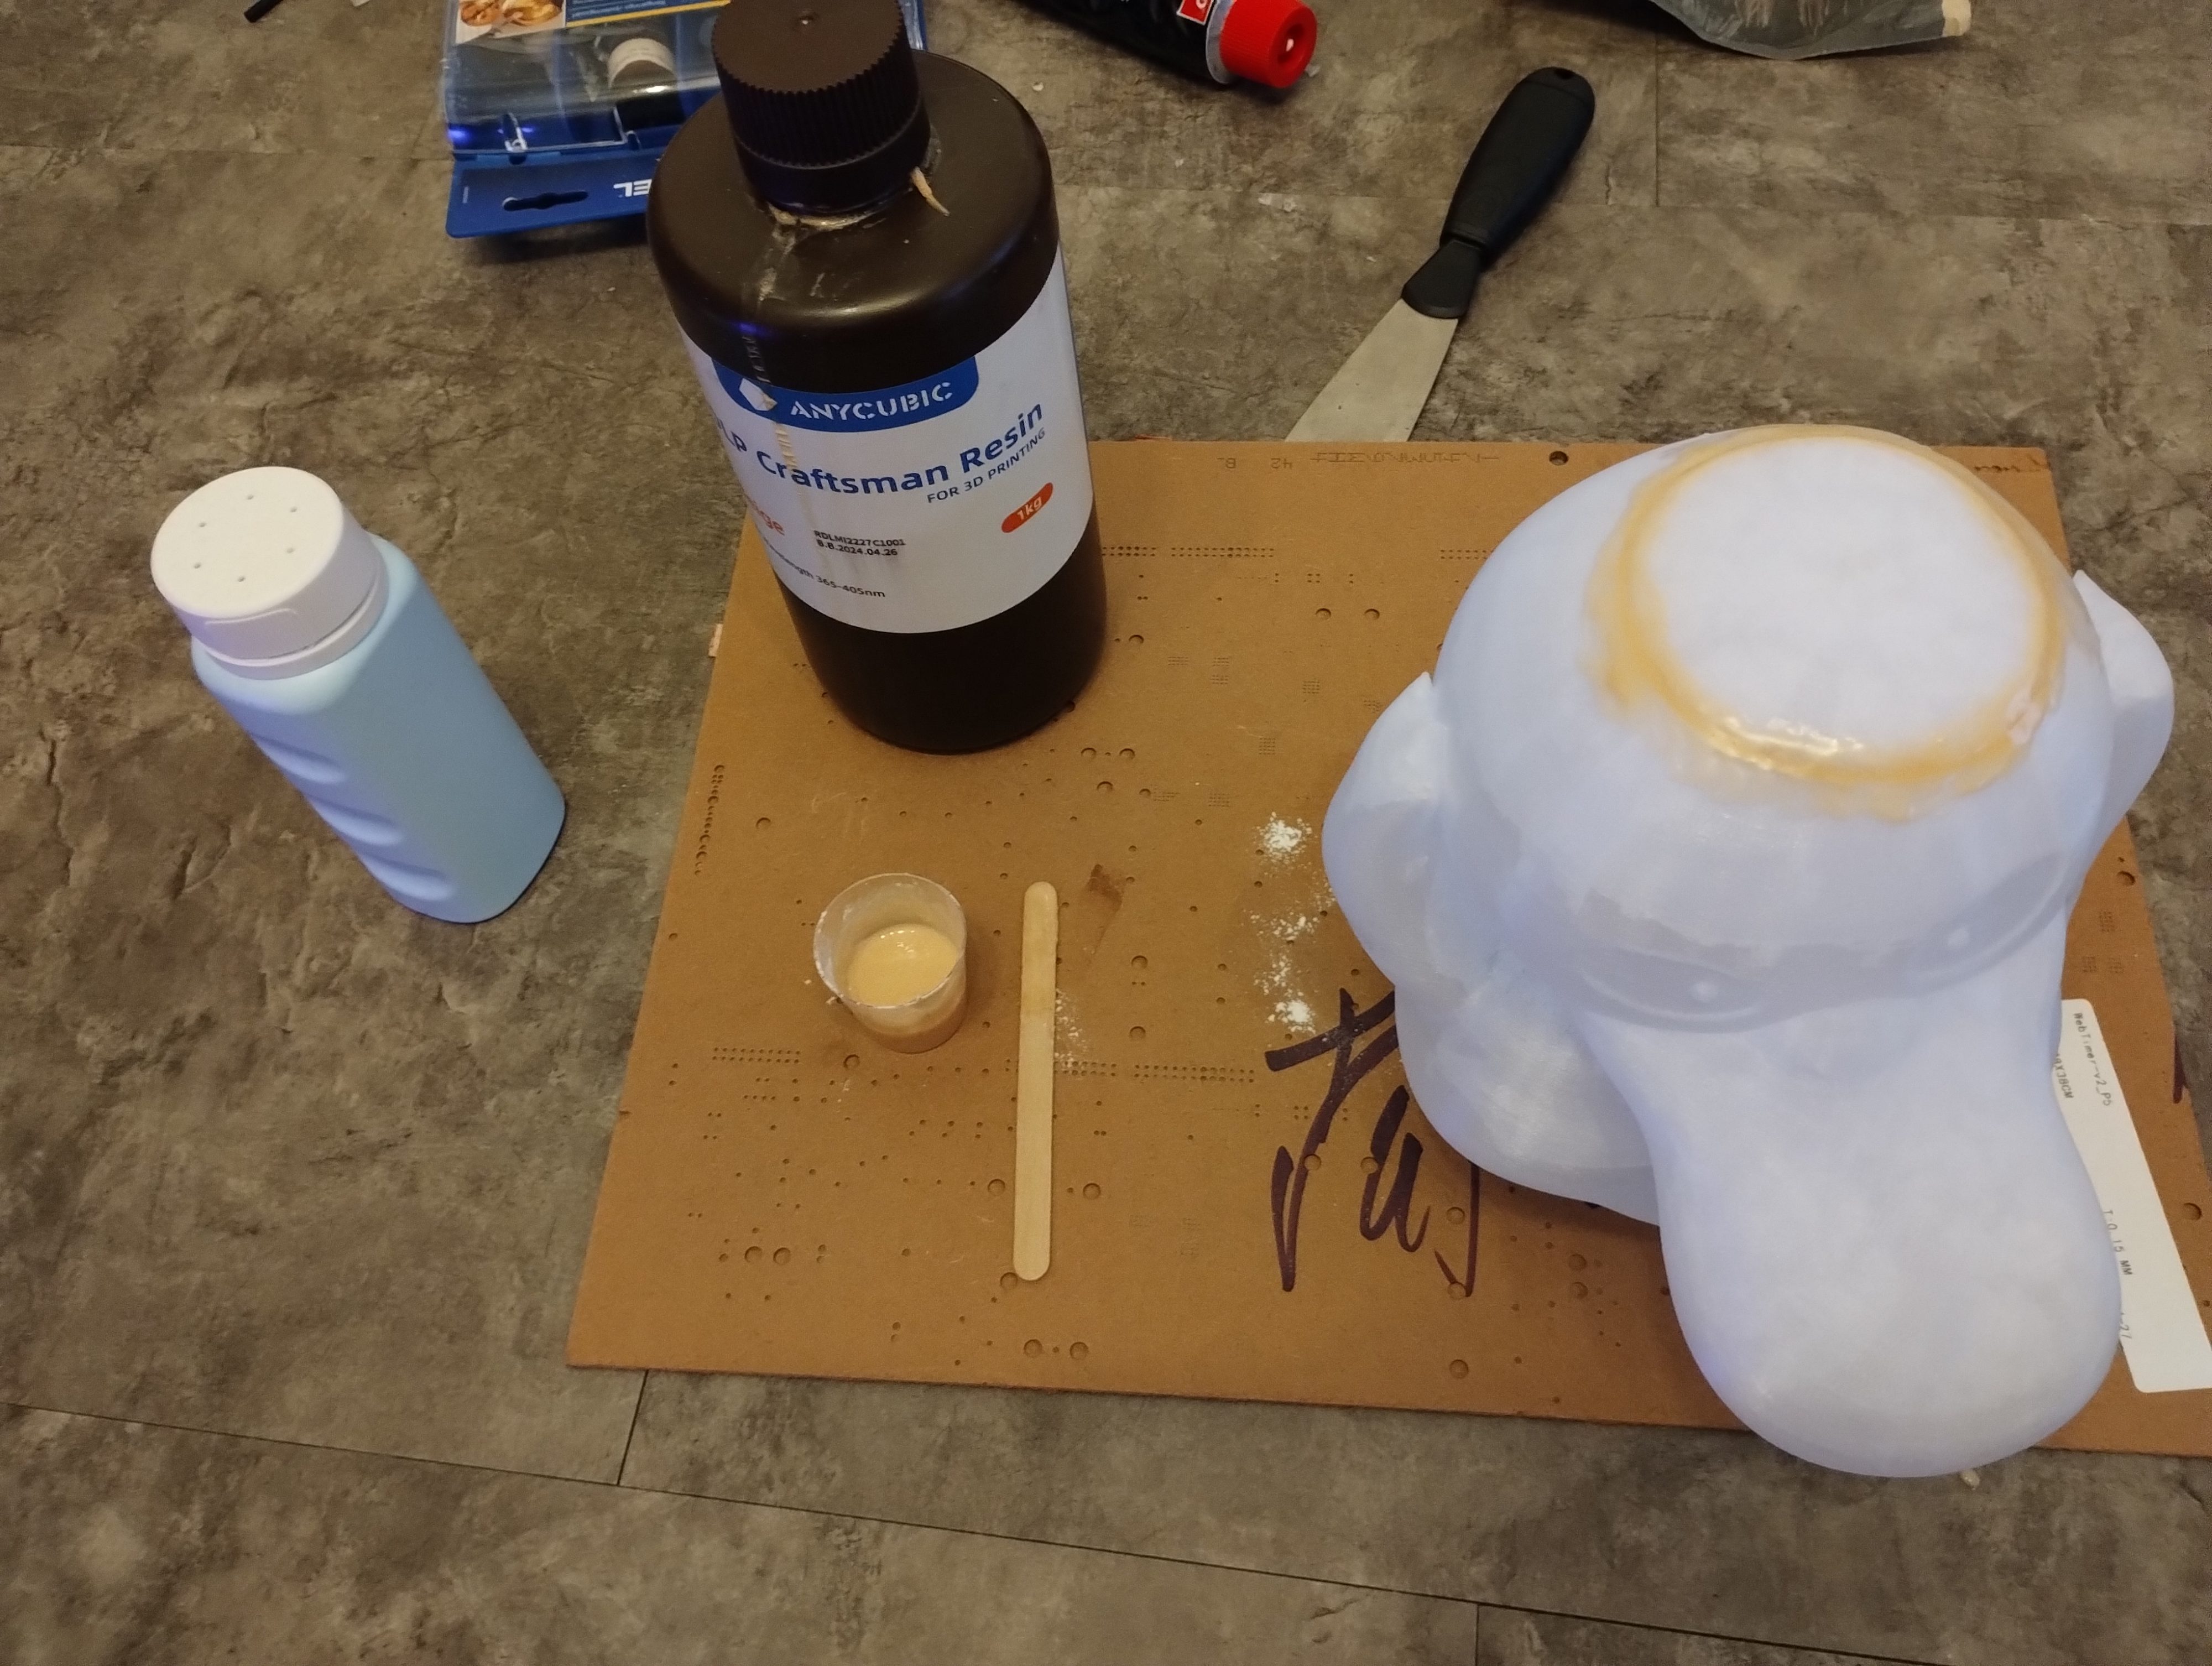
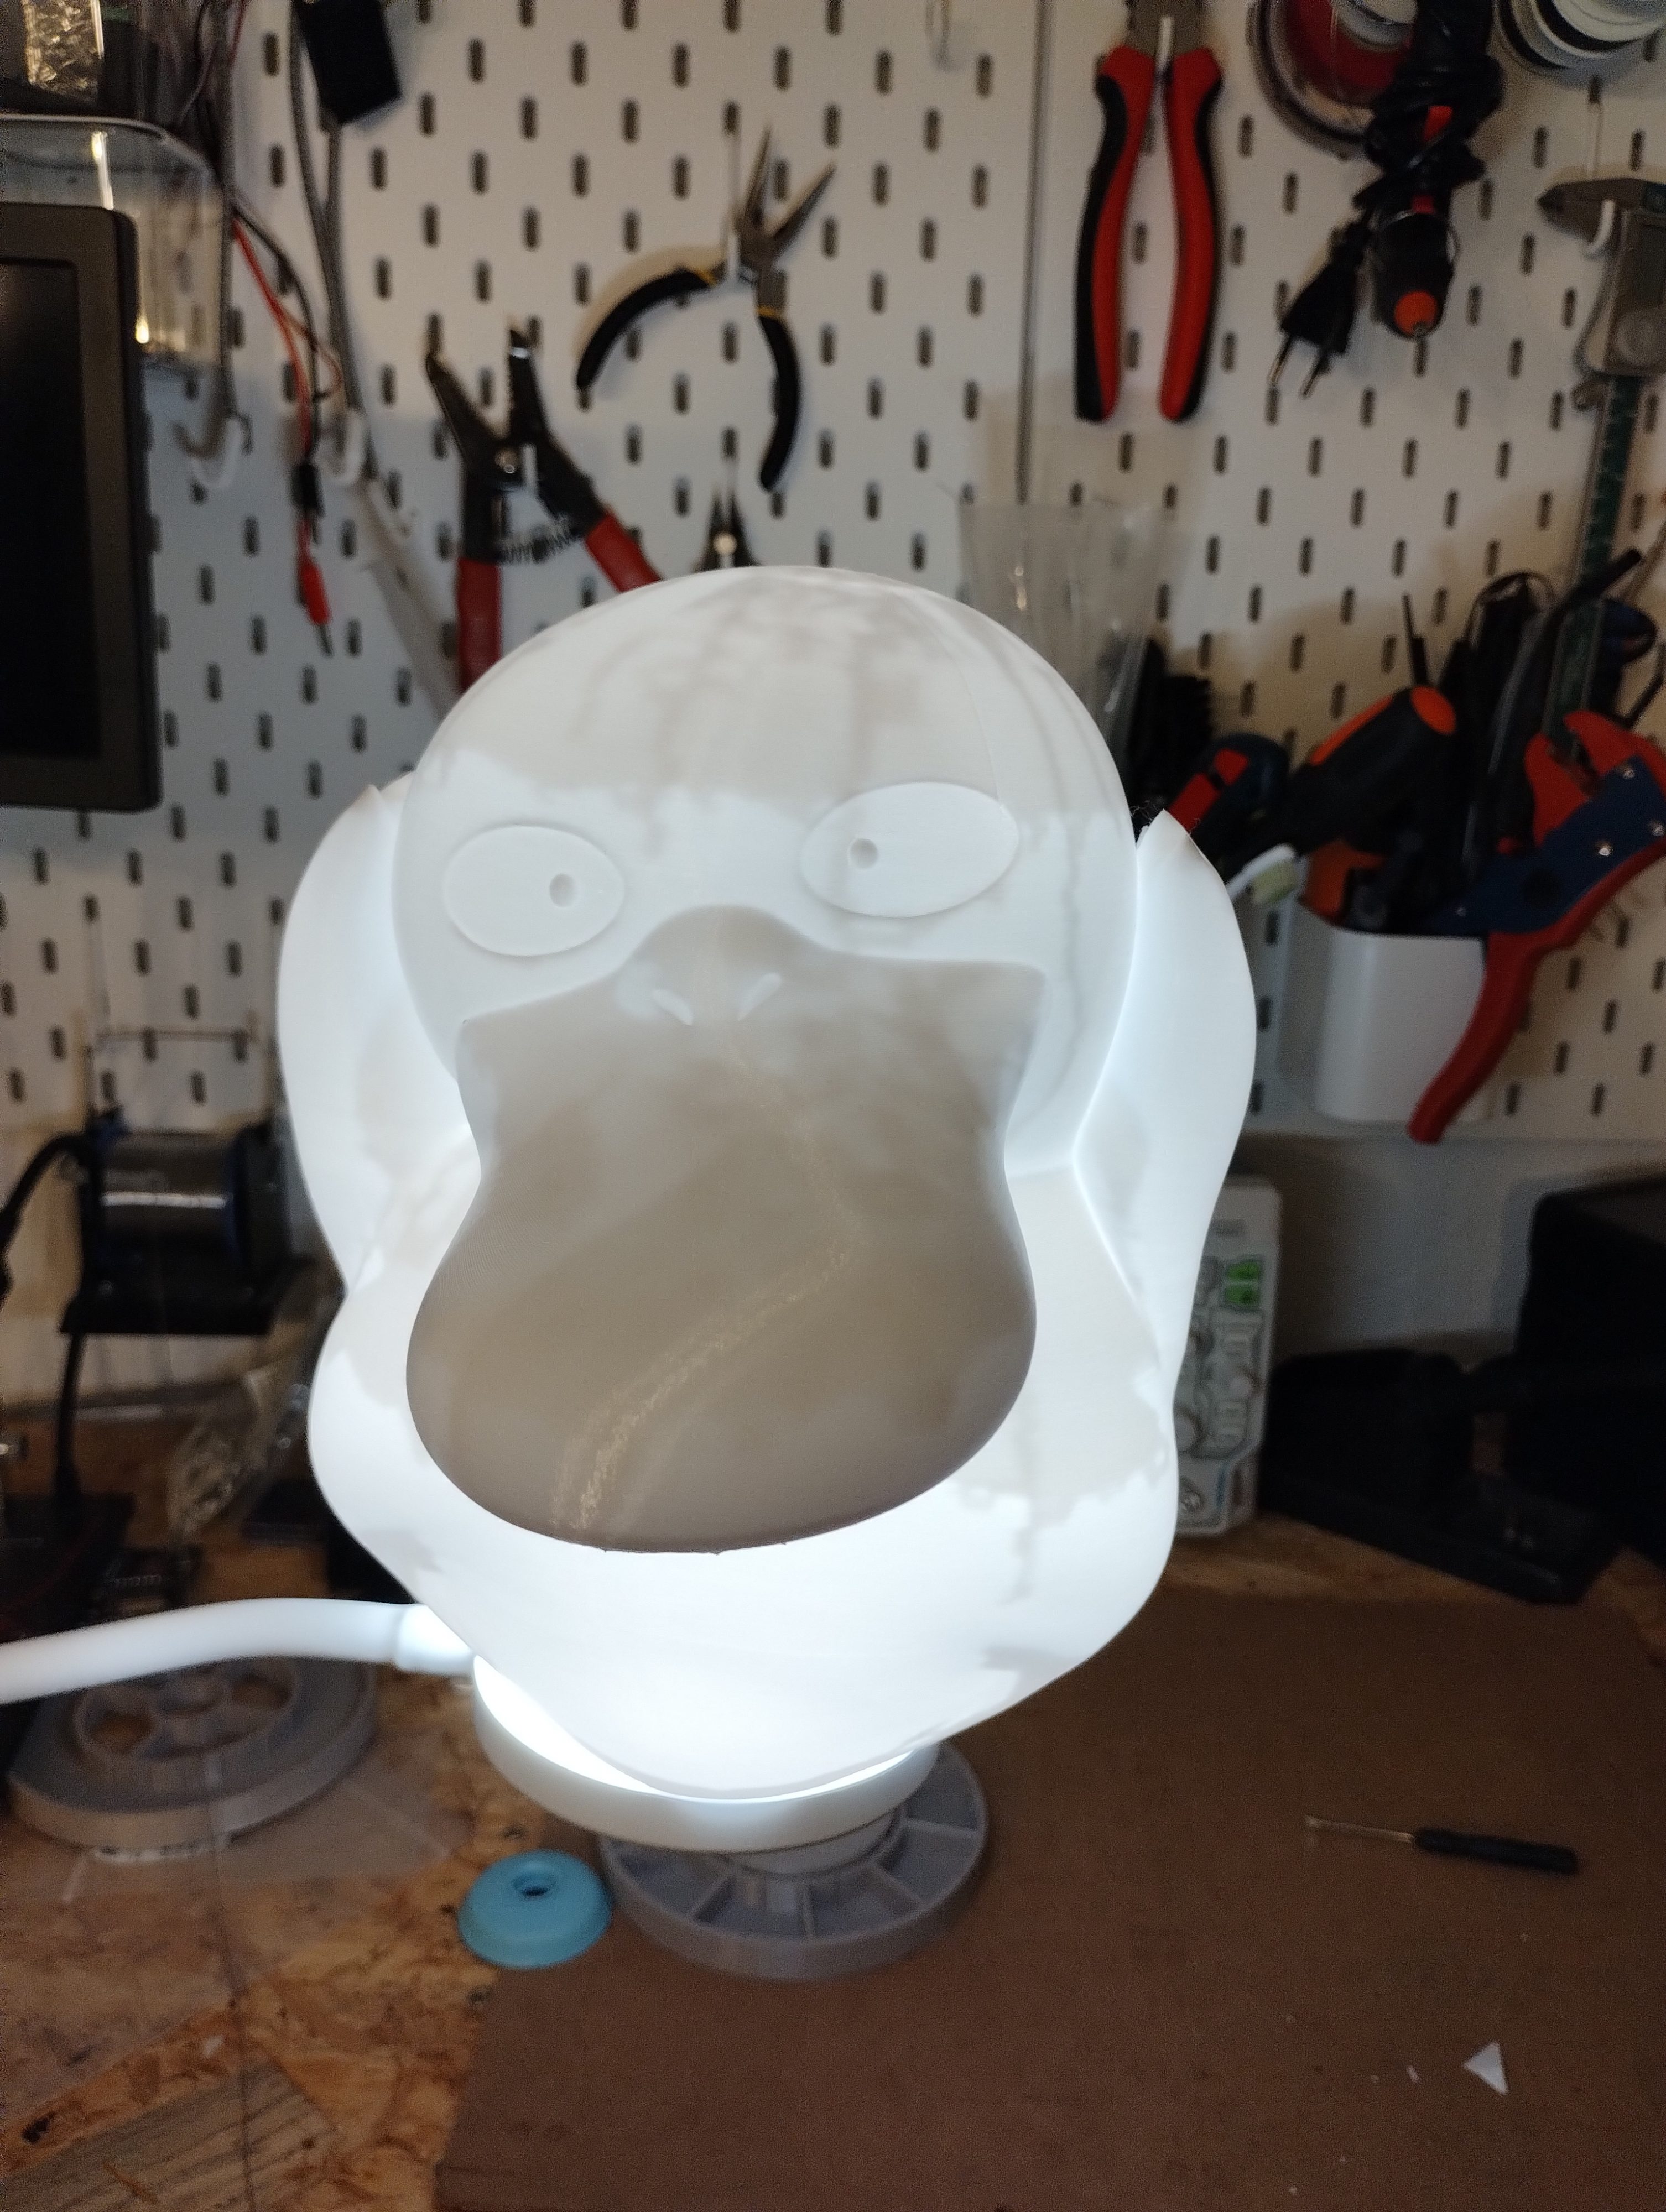
However, as you can see, there’s now a ring on Psyduck’s head, which definitely won’t disappear when illuminated from the inside. So, I decided to print a new one, this time using normal White PLA filament, with 0% infill and lightning support.
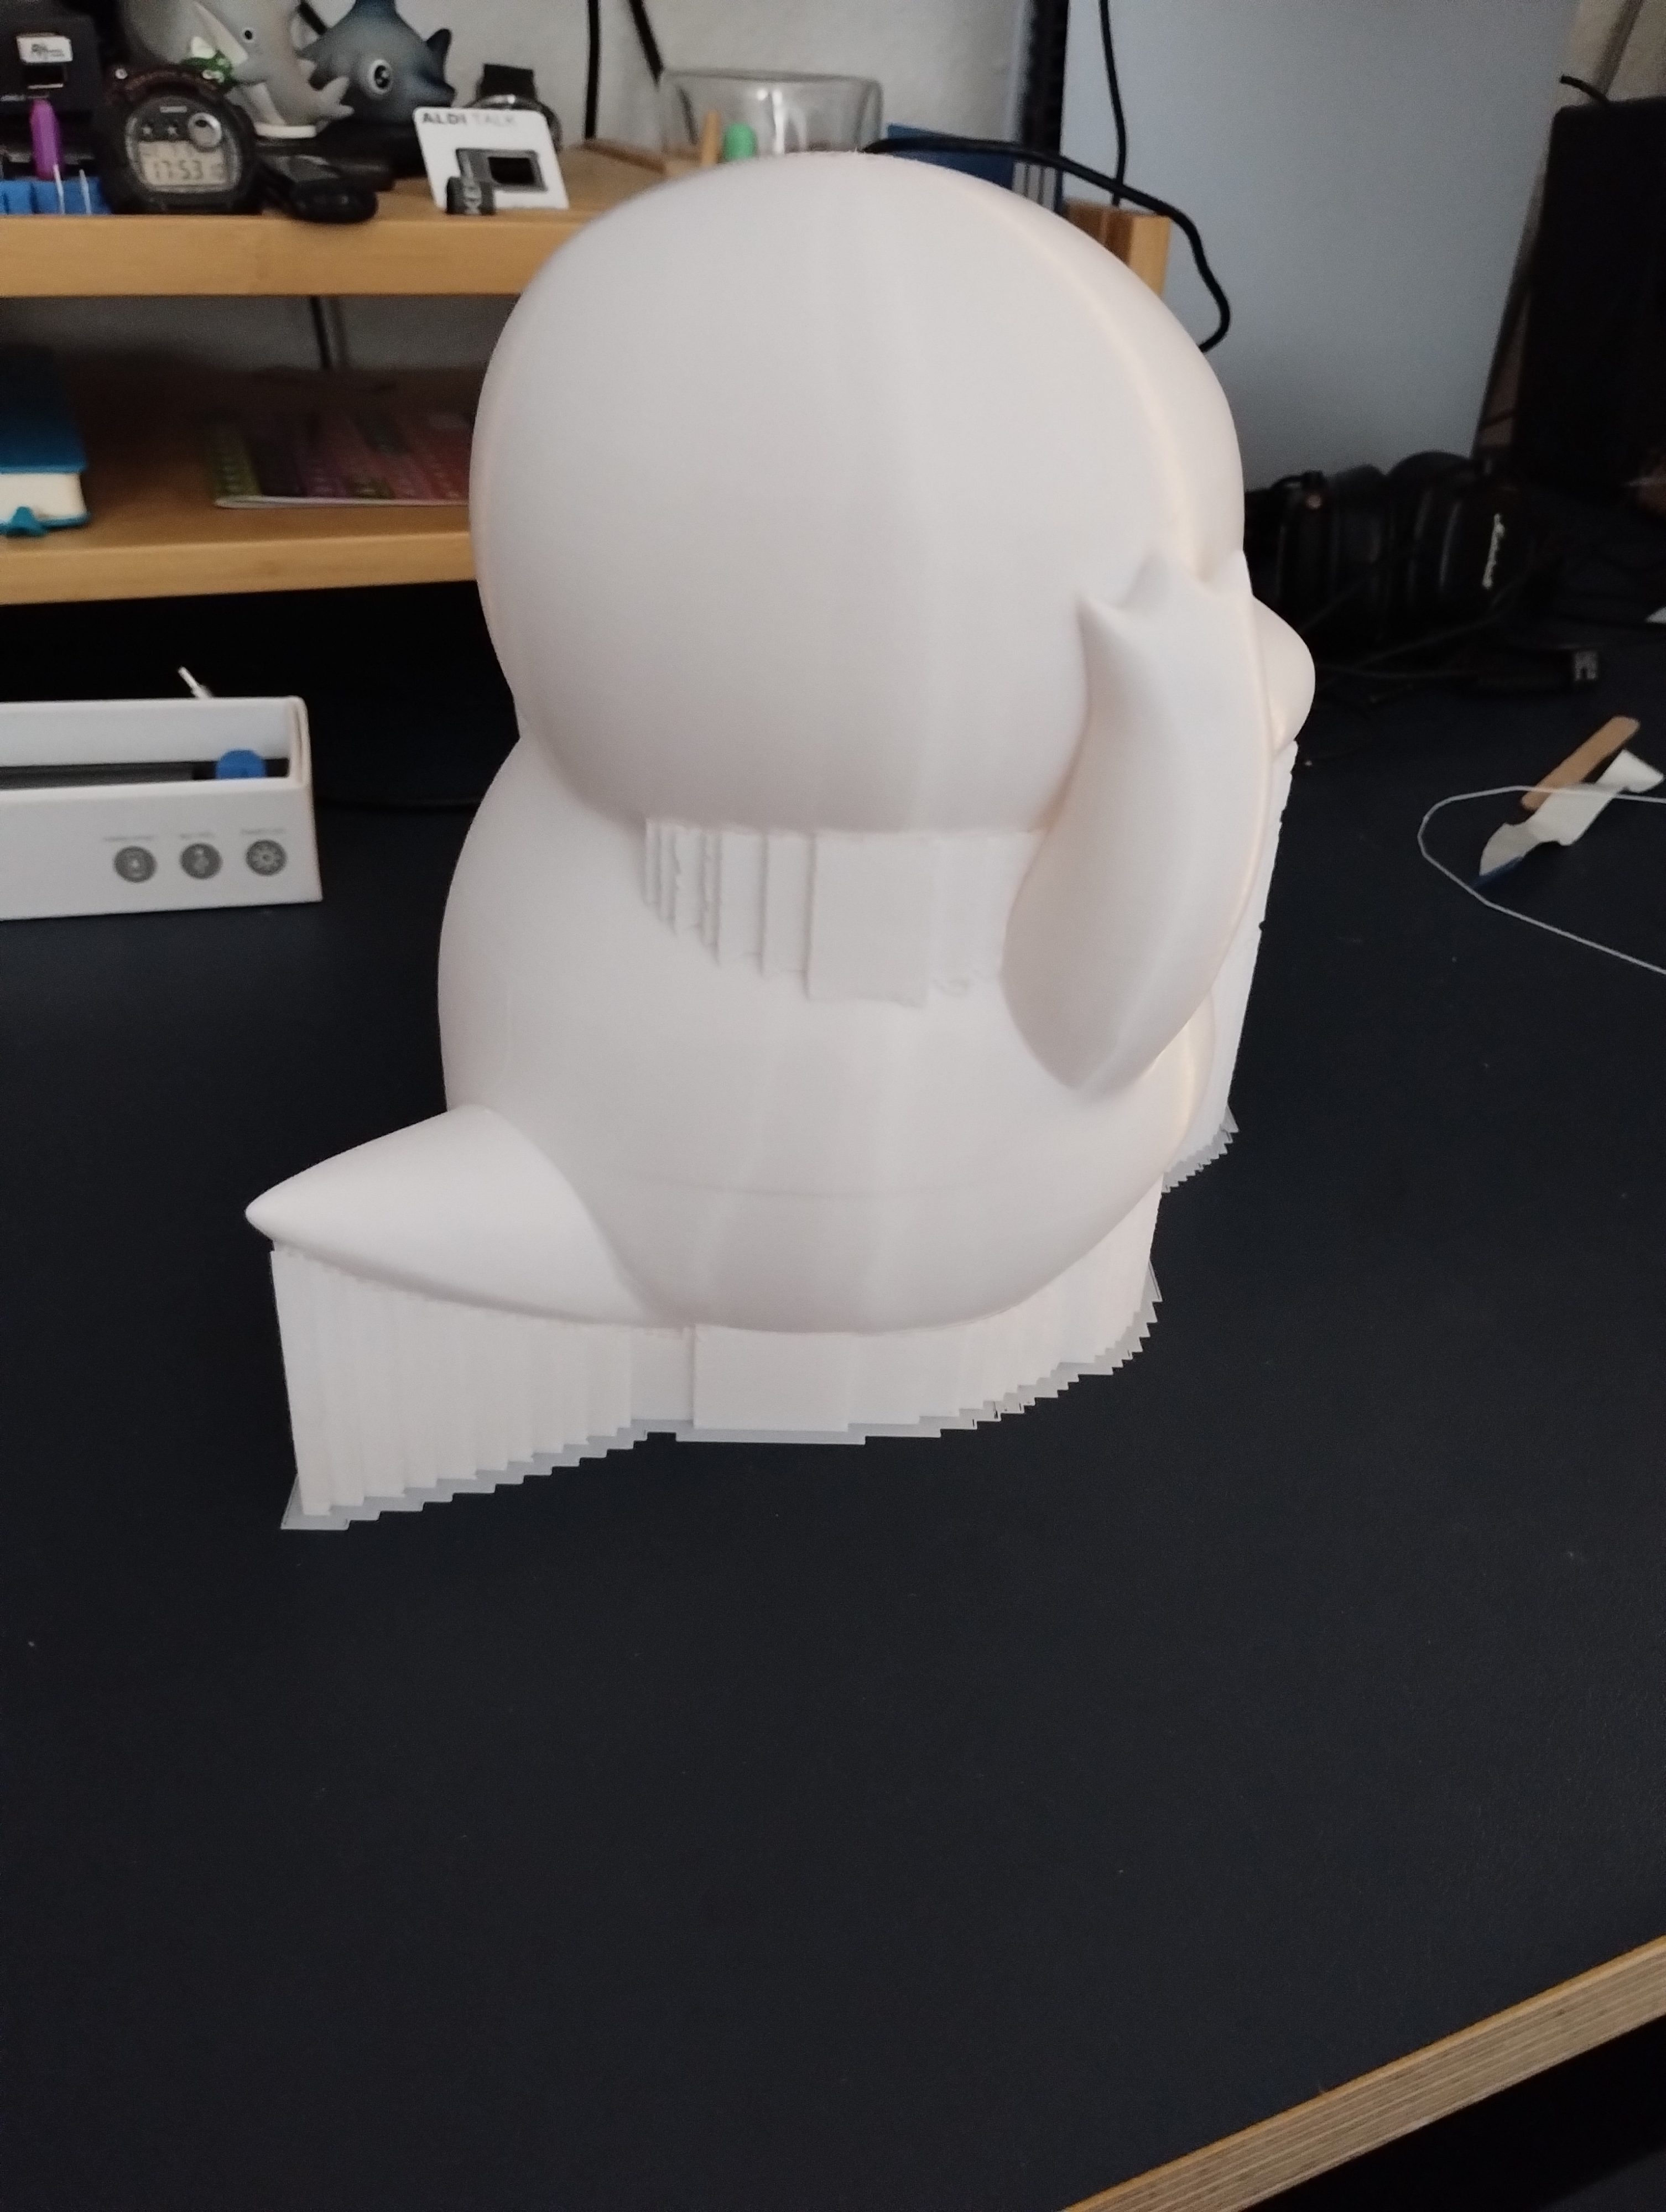
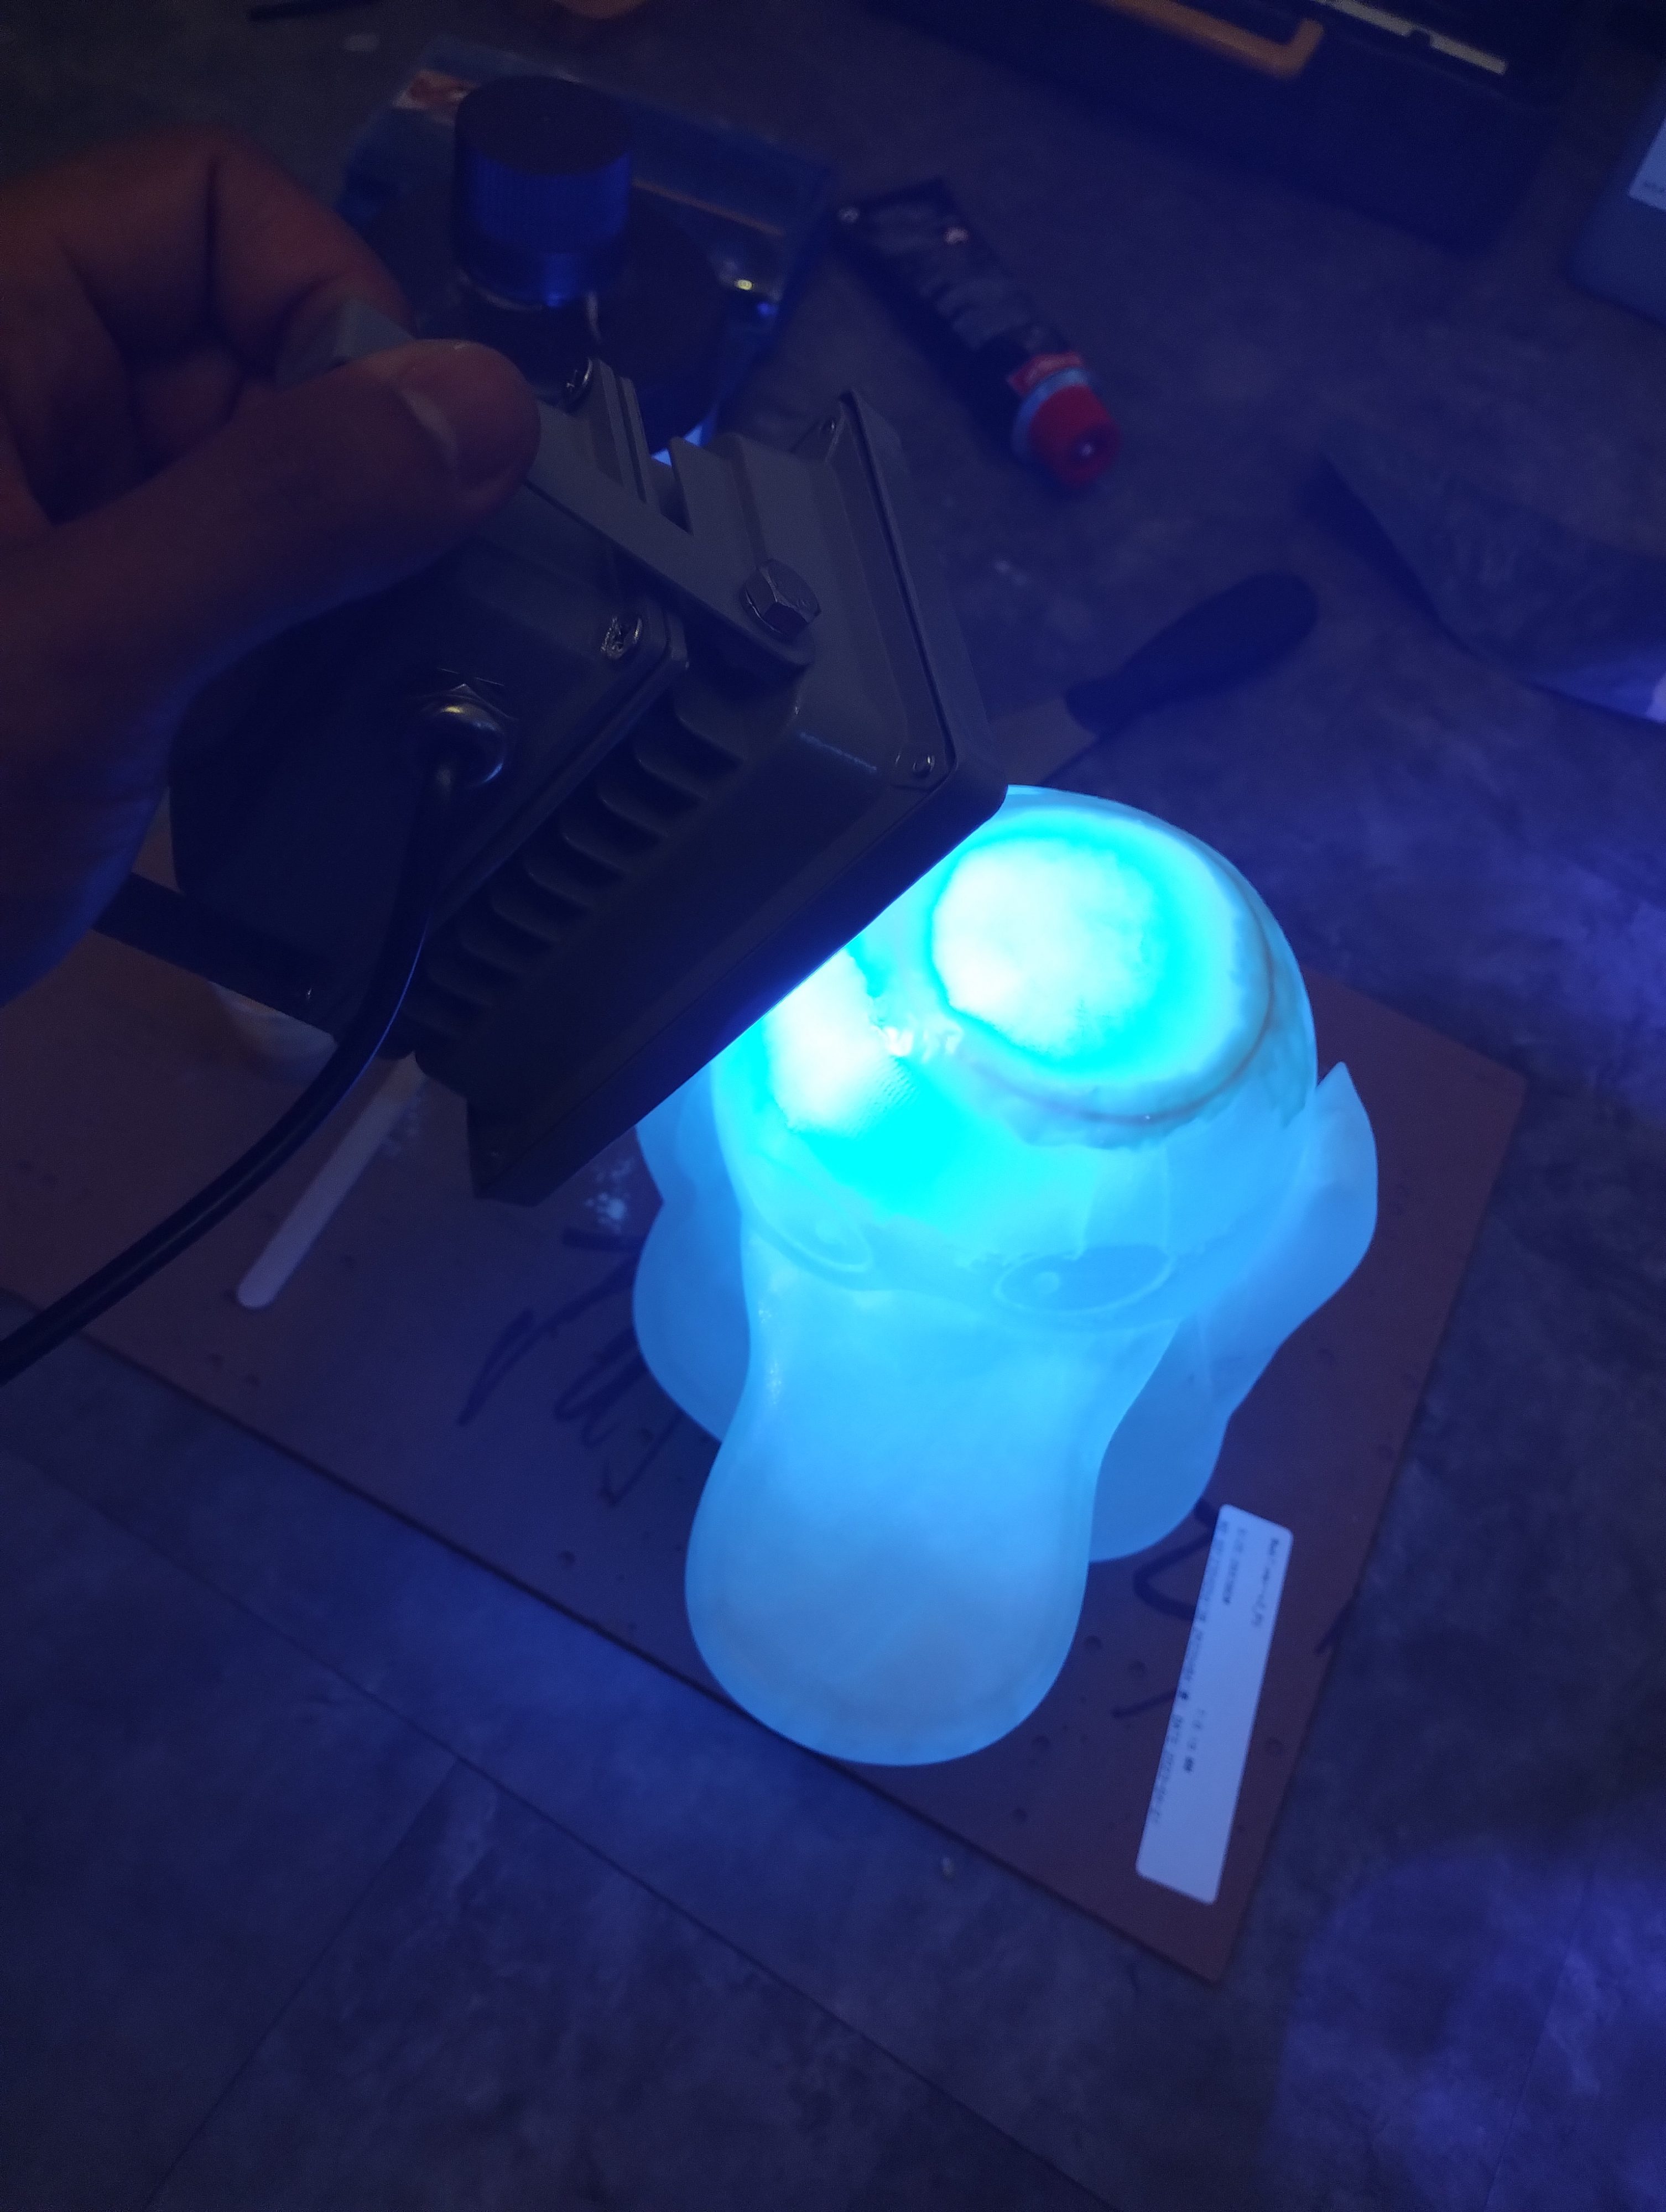
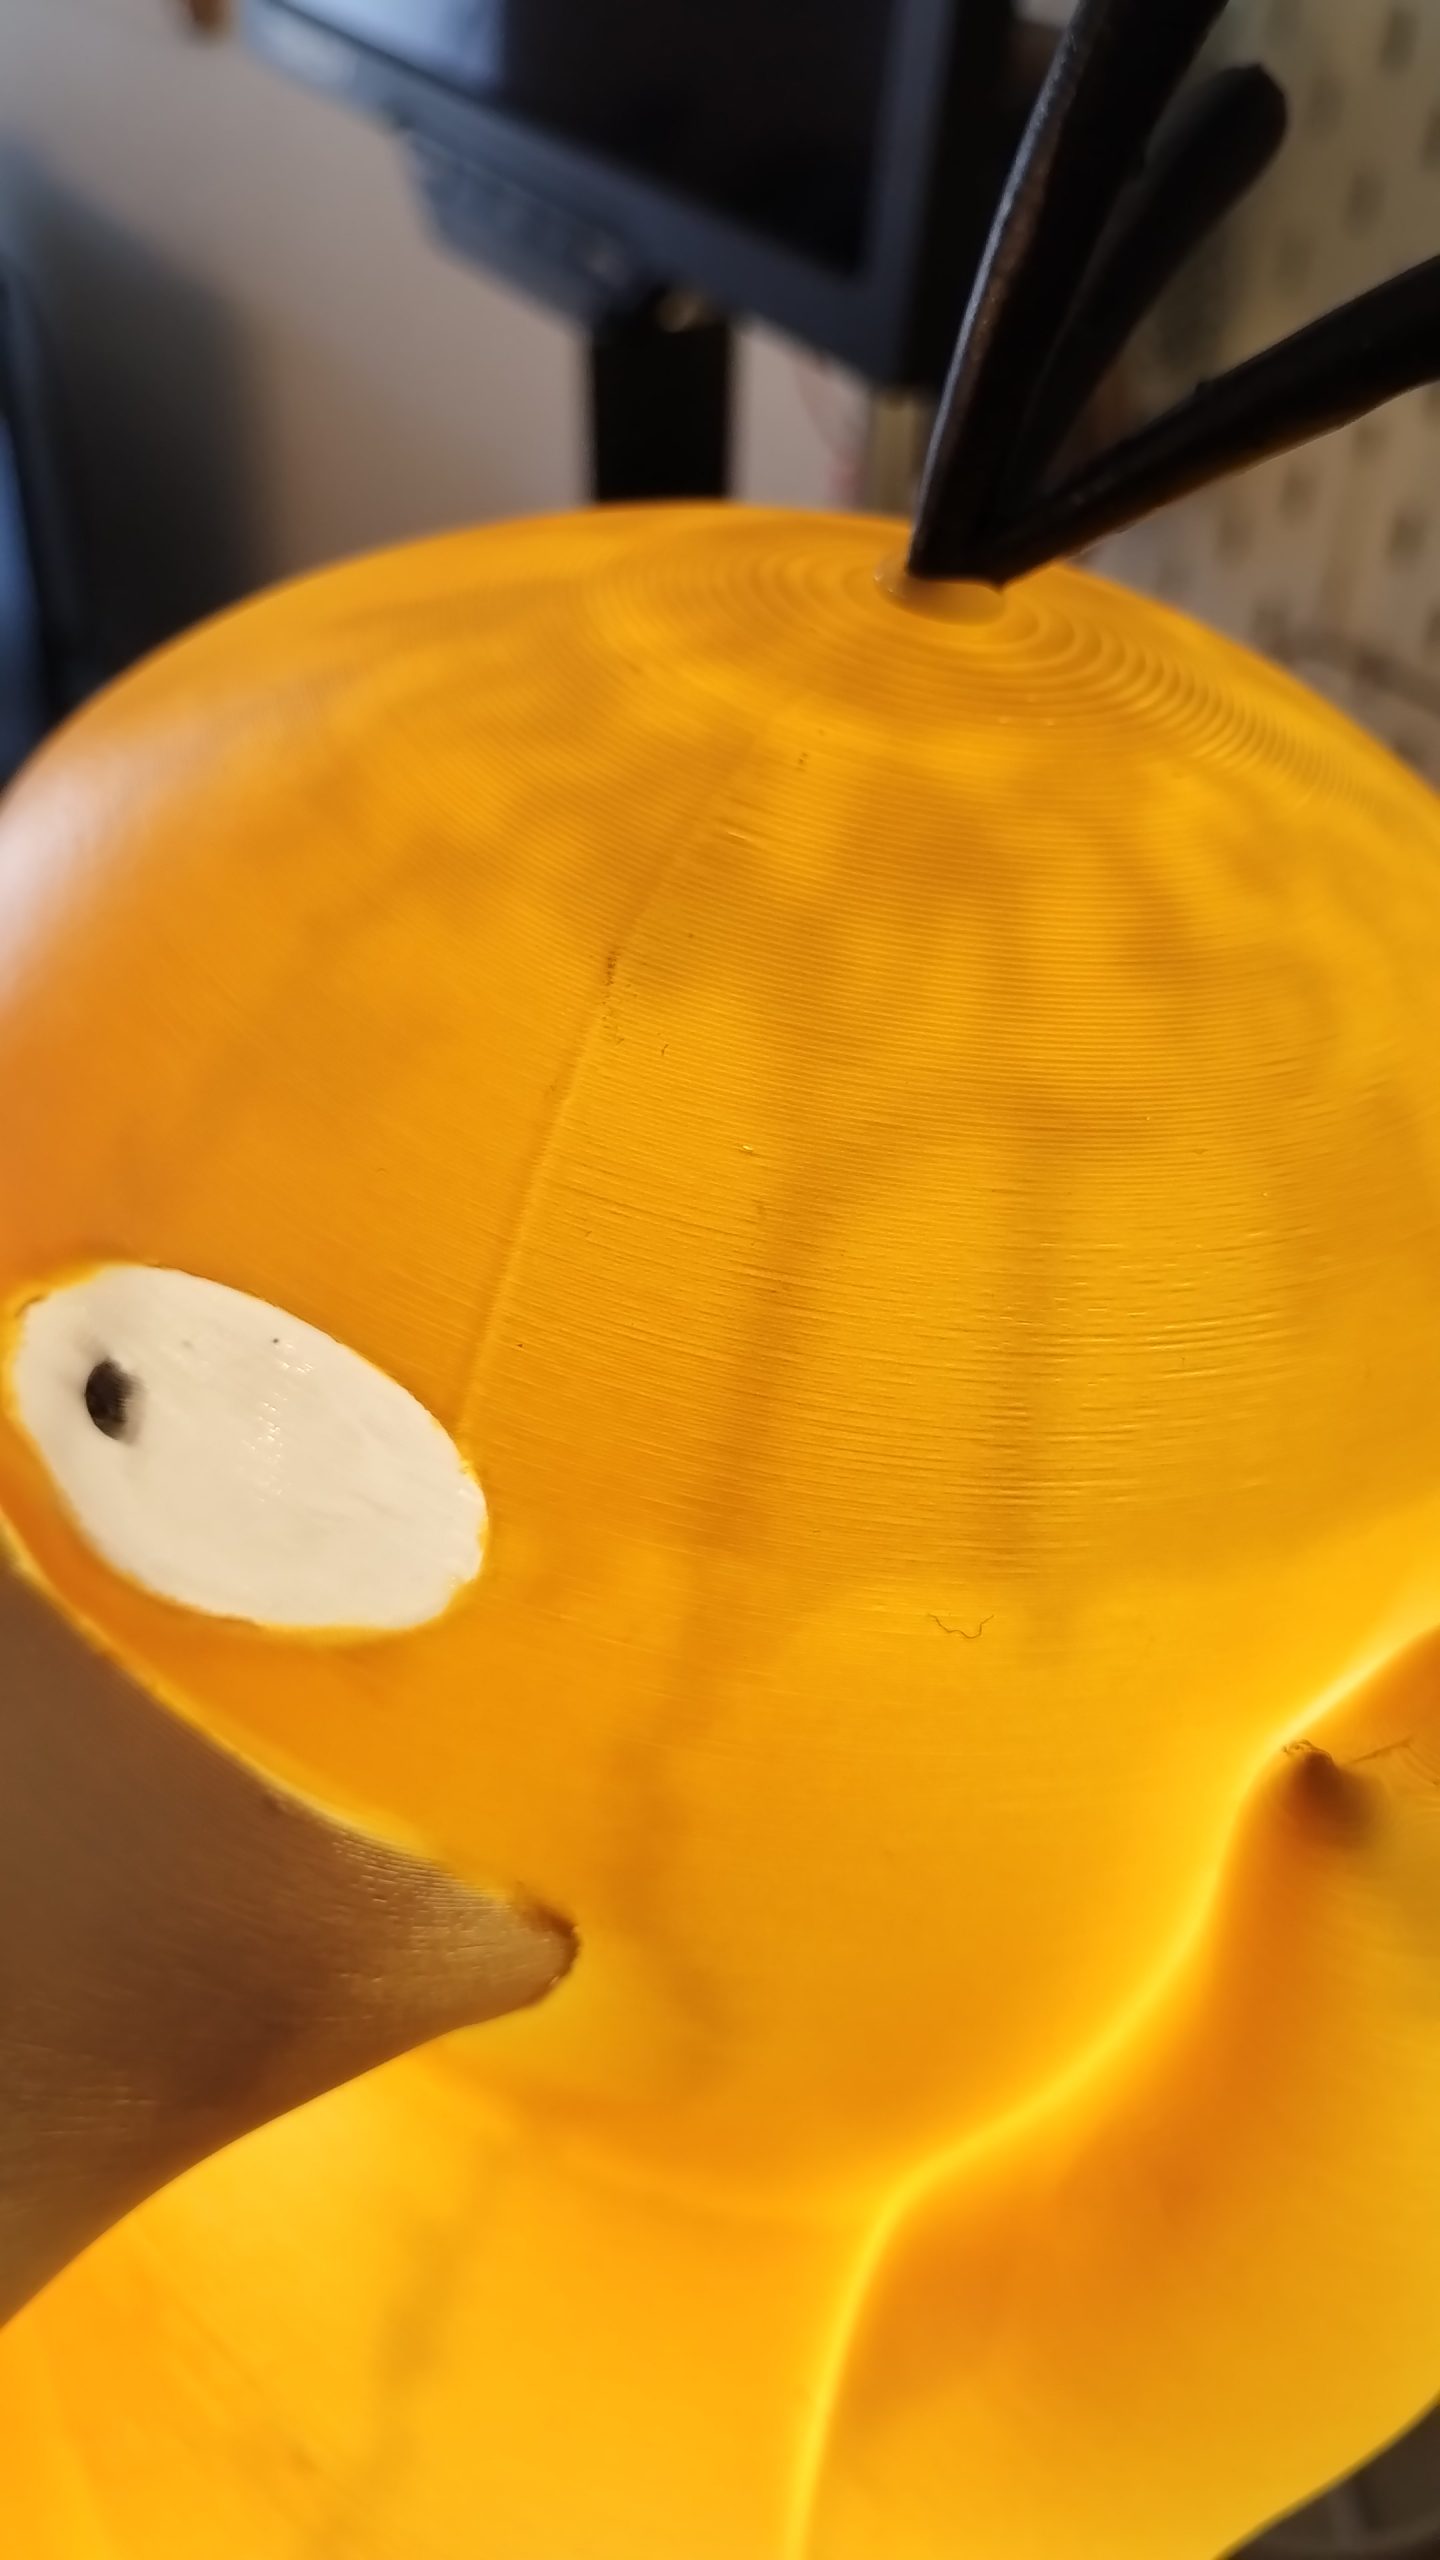
This attempt turned out much better. Also, white PLA is less prone to nozzle clogs compared to Glow in the Dark PLA. Then, I created a hole for the LED at the bottom of Psyduck, but I discovered that the internal lightning support might create a strange effect.
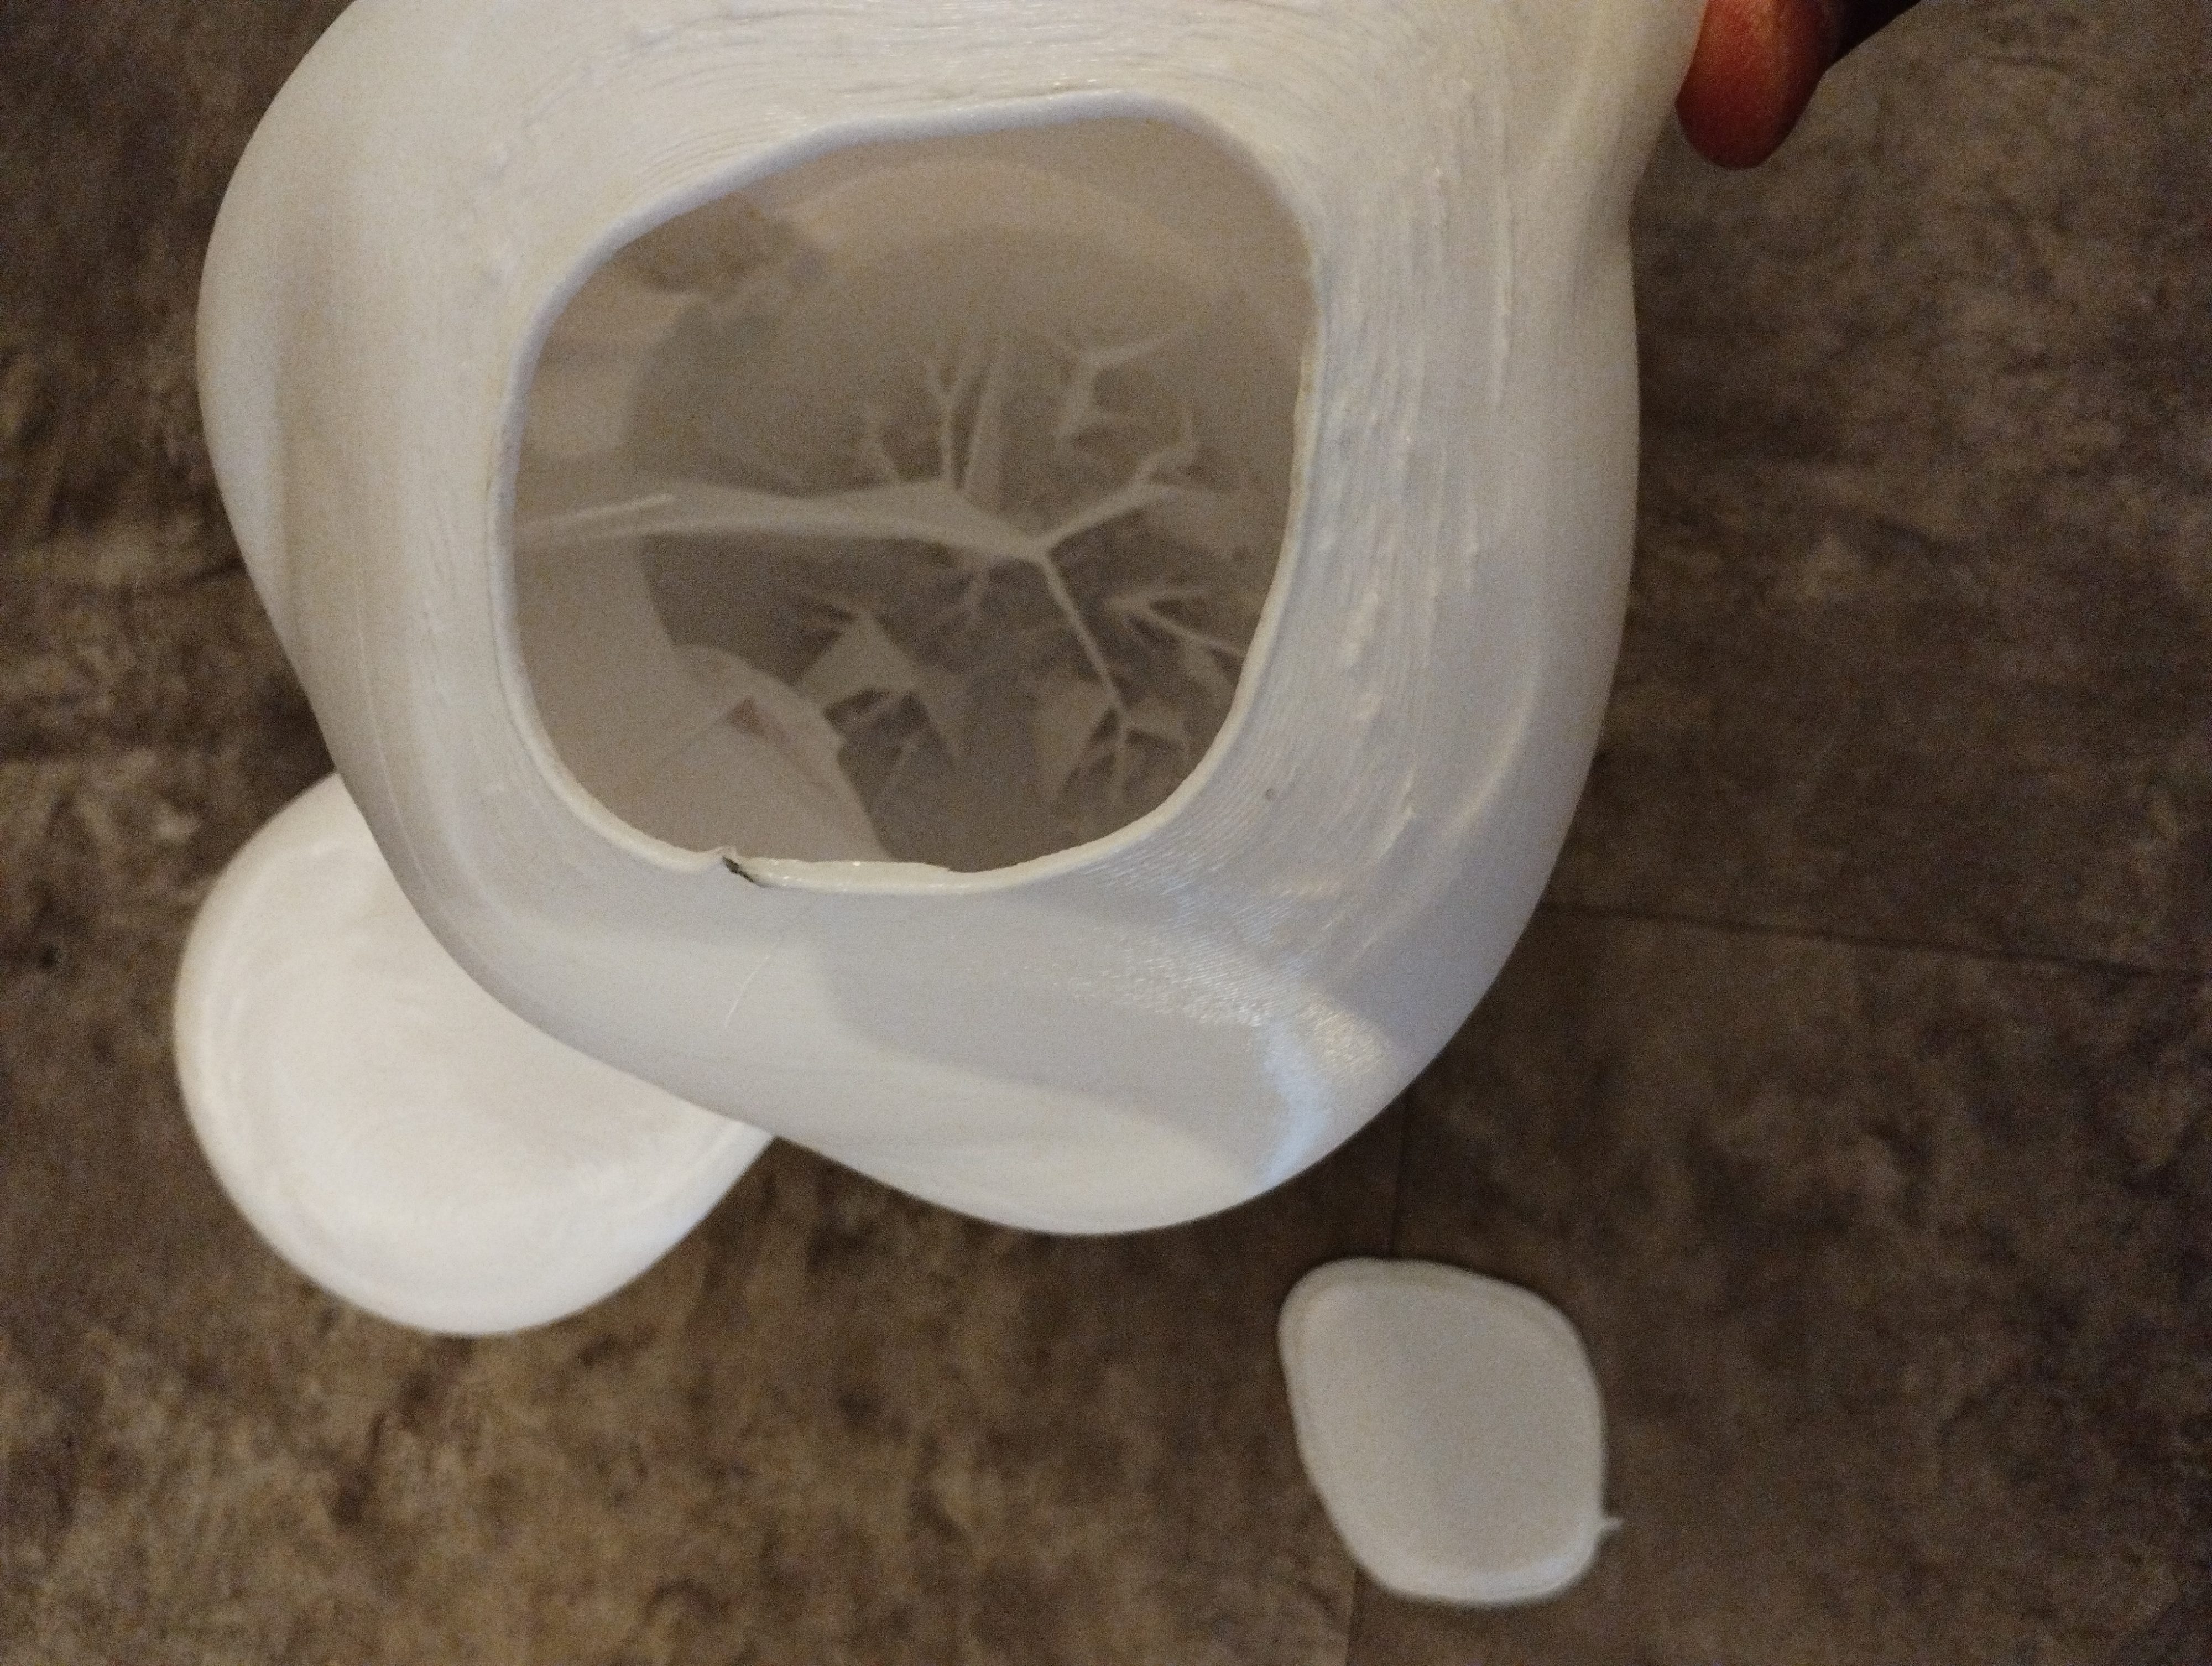
When I tested the lighting effect by placing a Lamp under Psyduck, I noticed that the light was not homogeneous across different body parts. Even though I printed it with 0% infill, the lightning support created a ‘scar effect’ in the print.
But since this project had already taken quite a while, I decided to proceed.
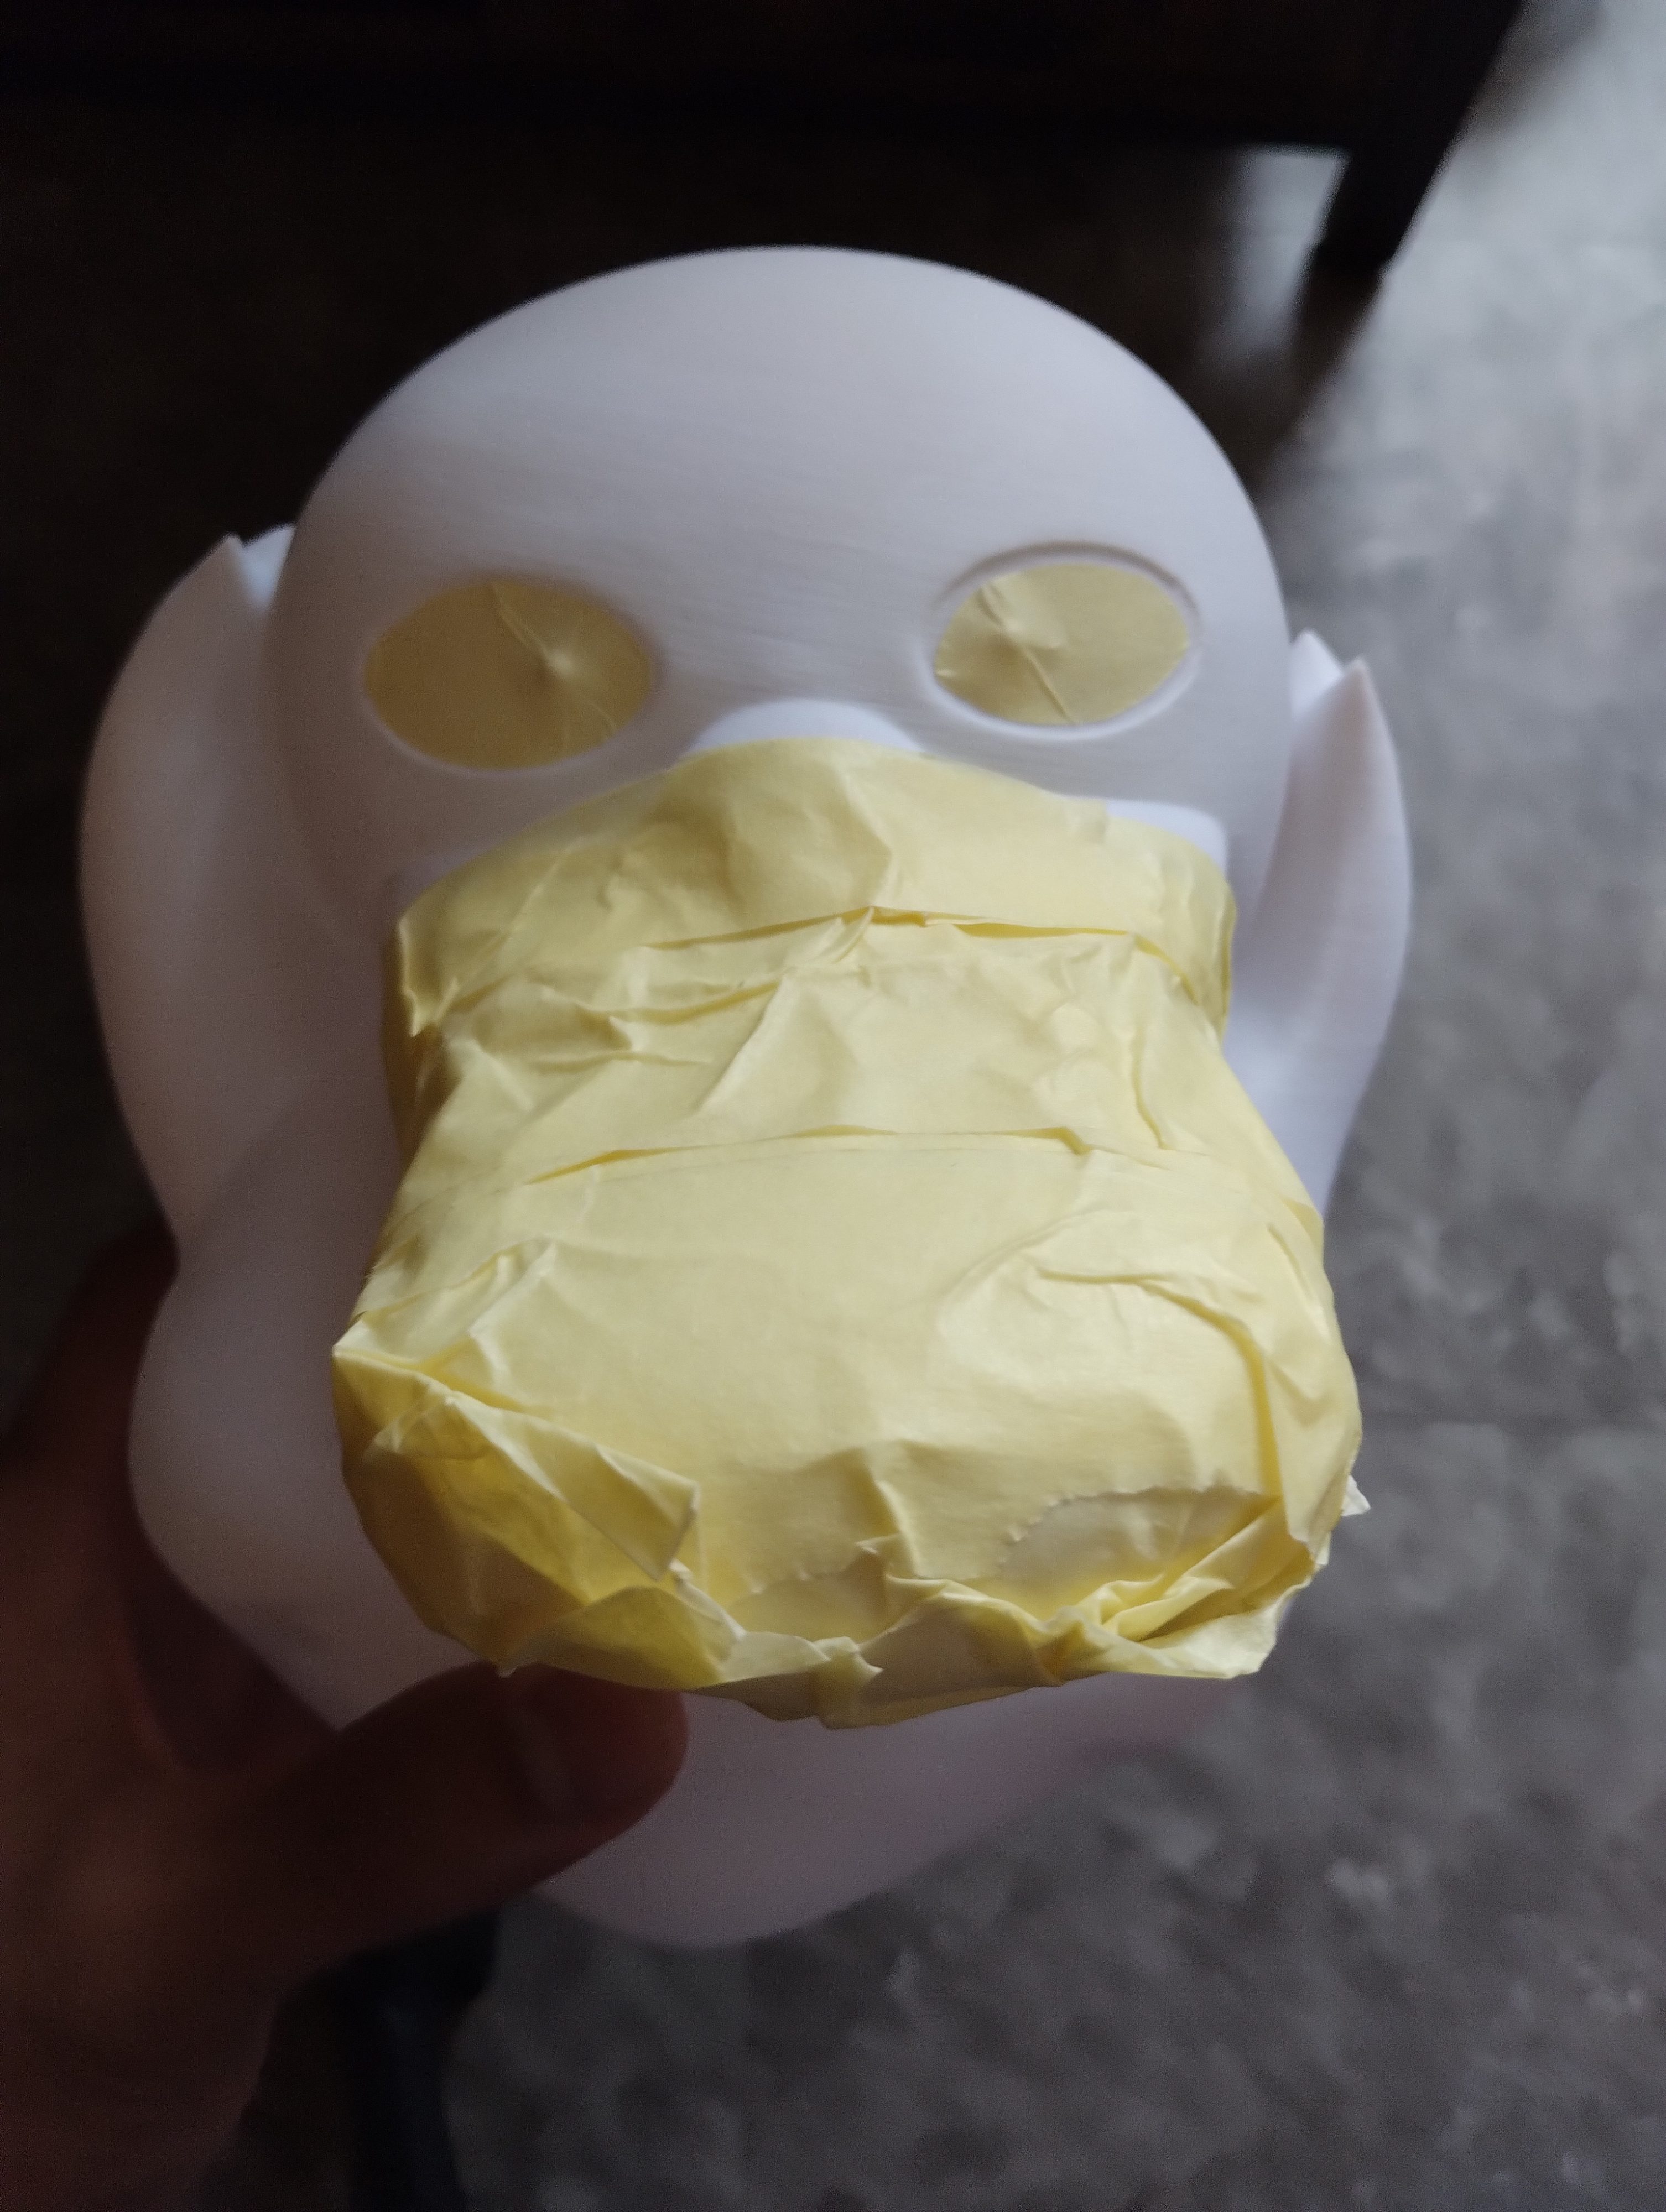
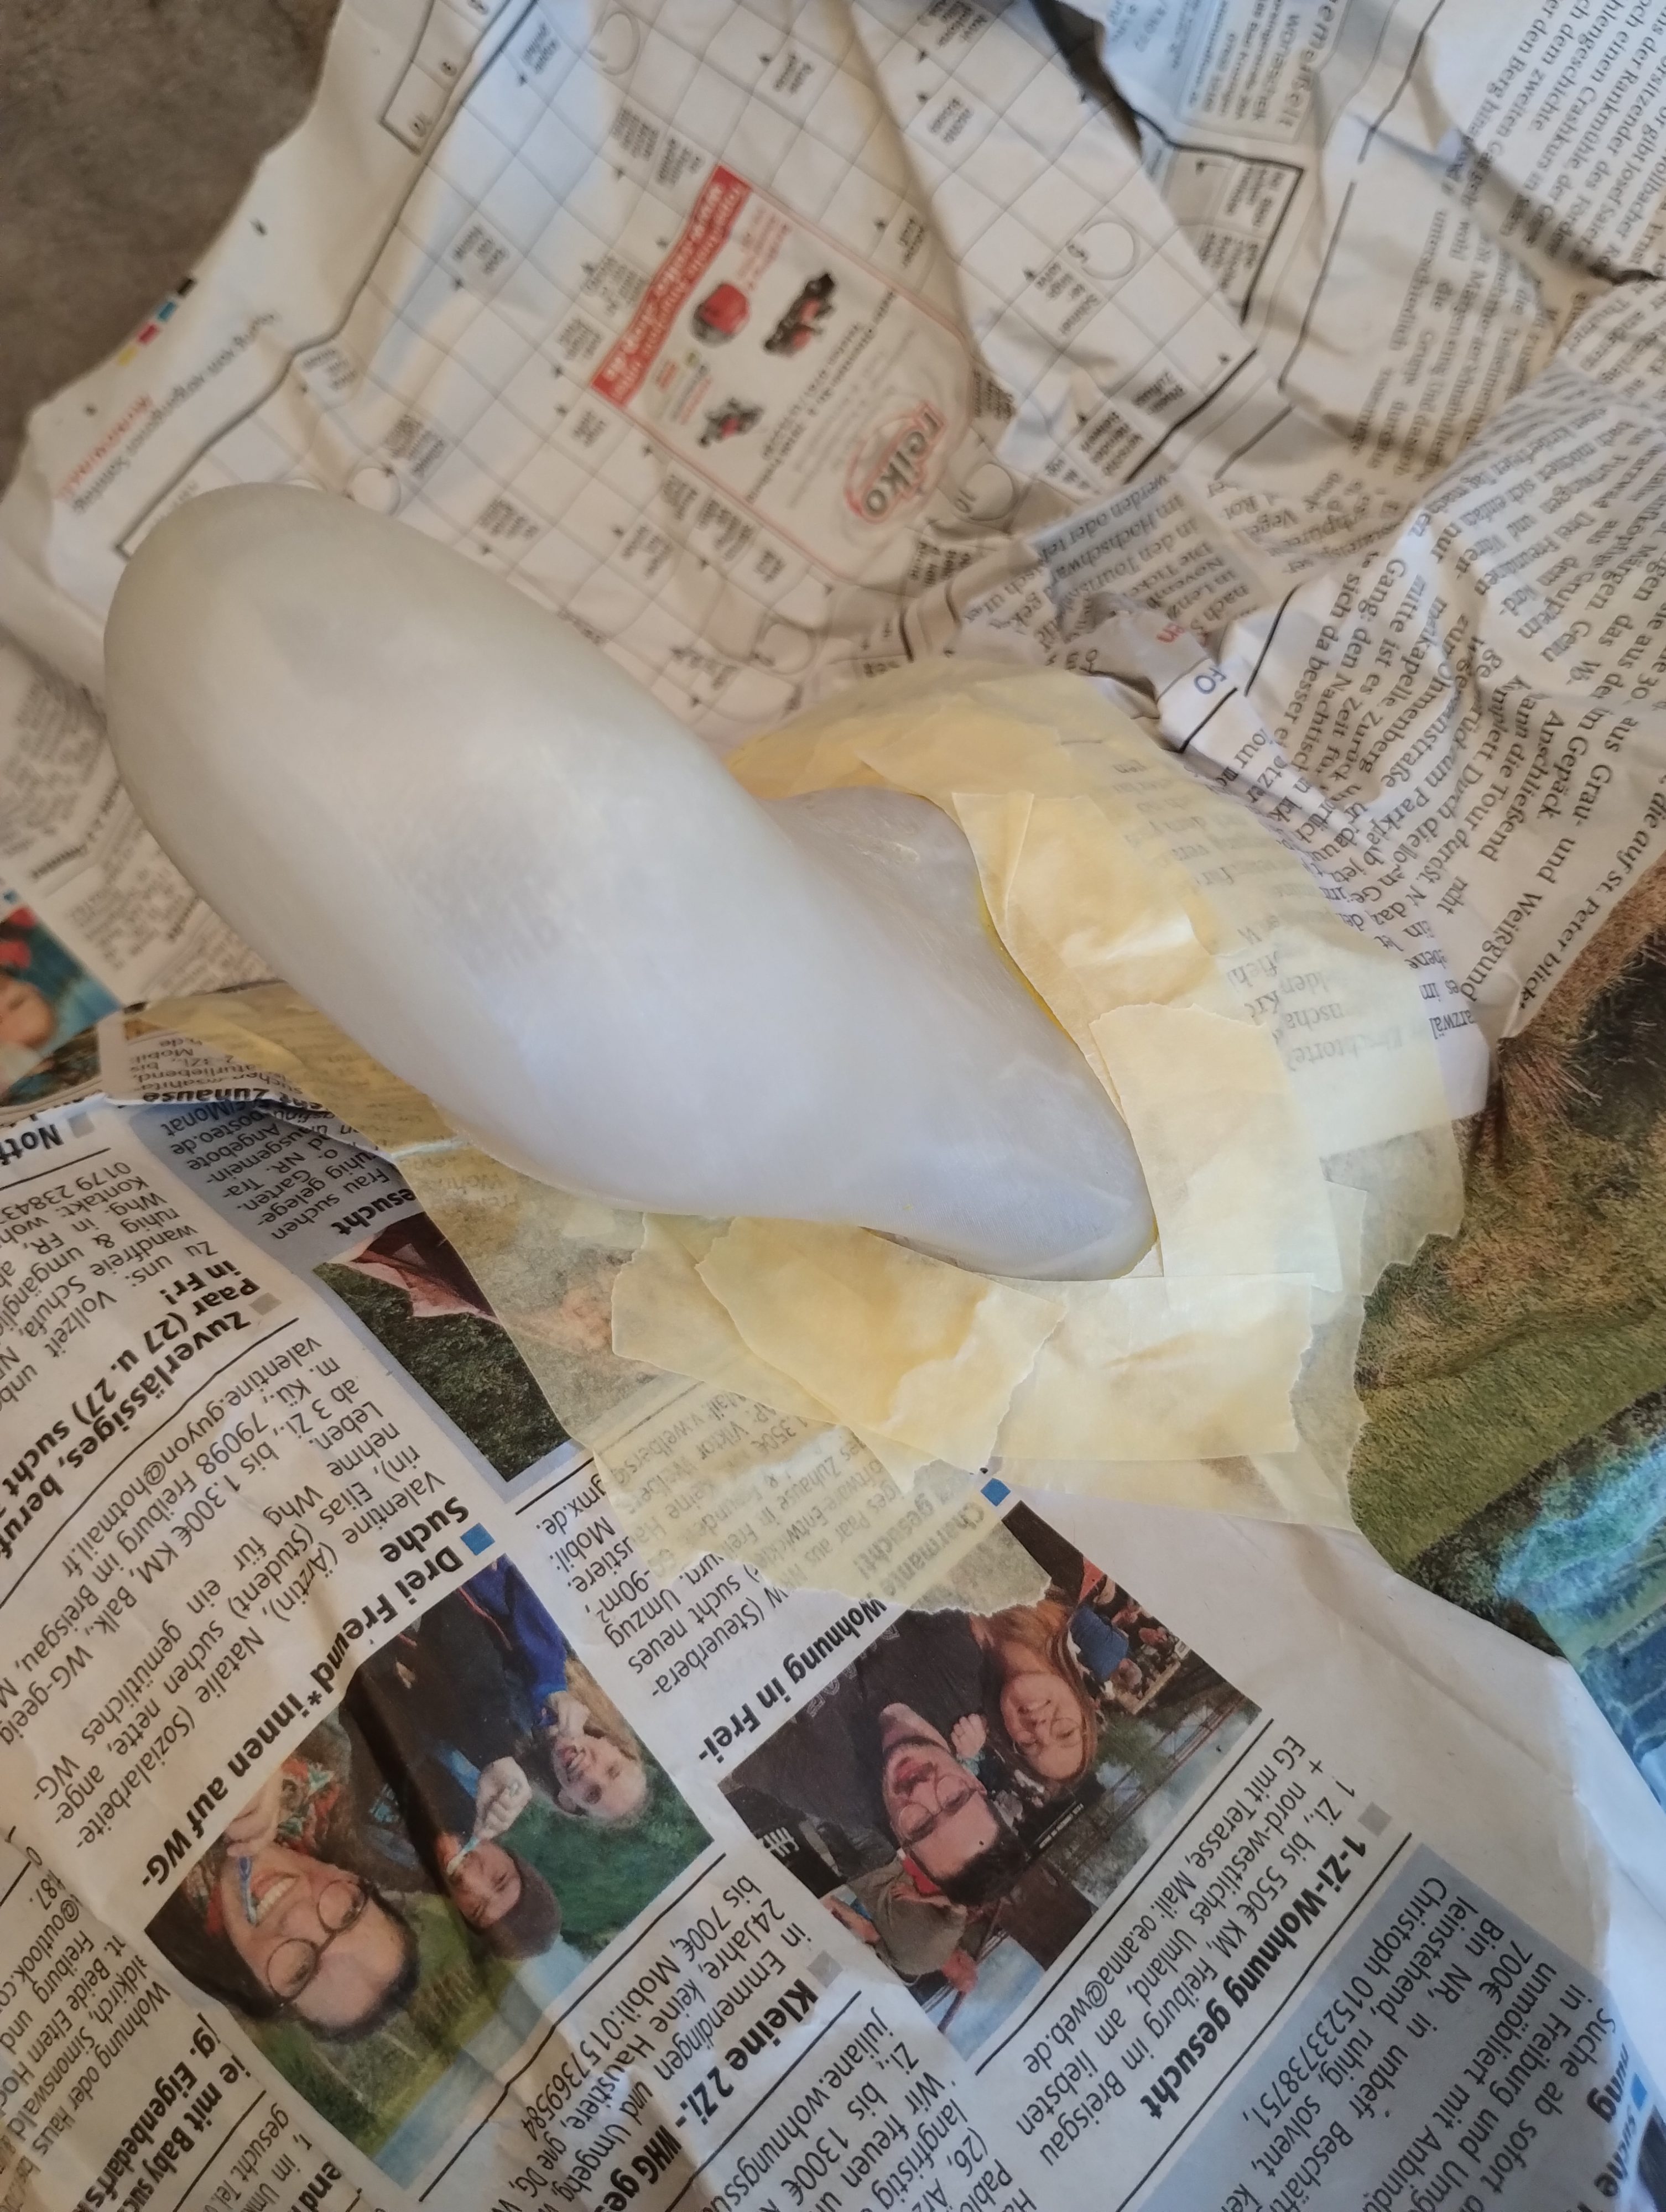
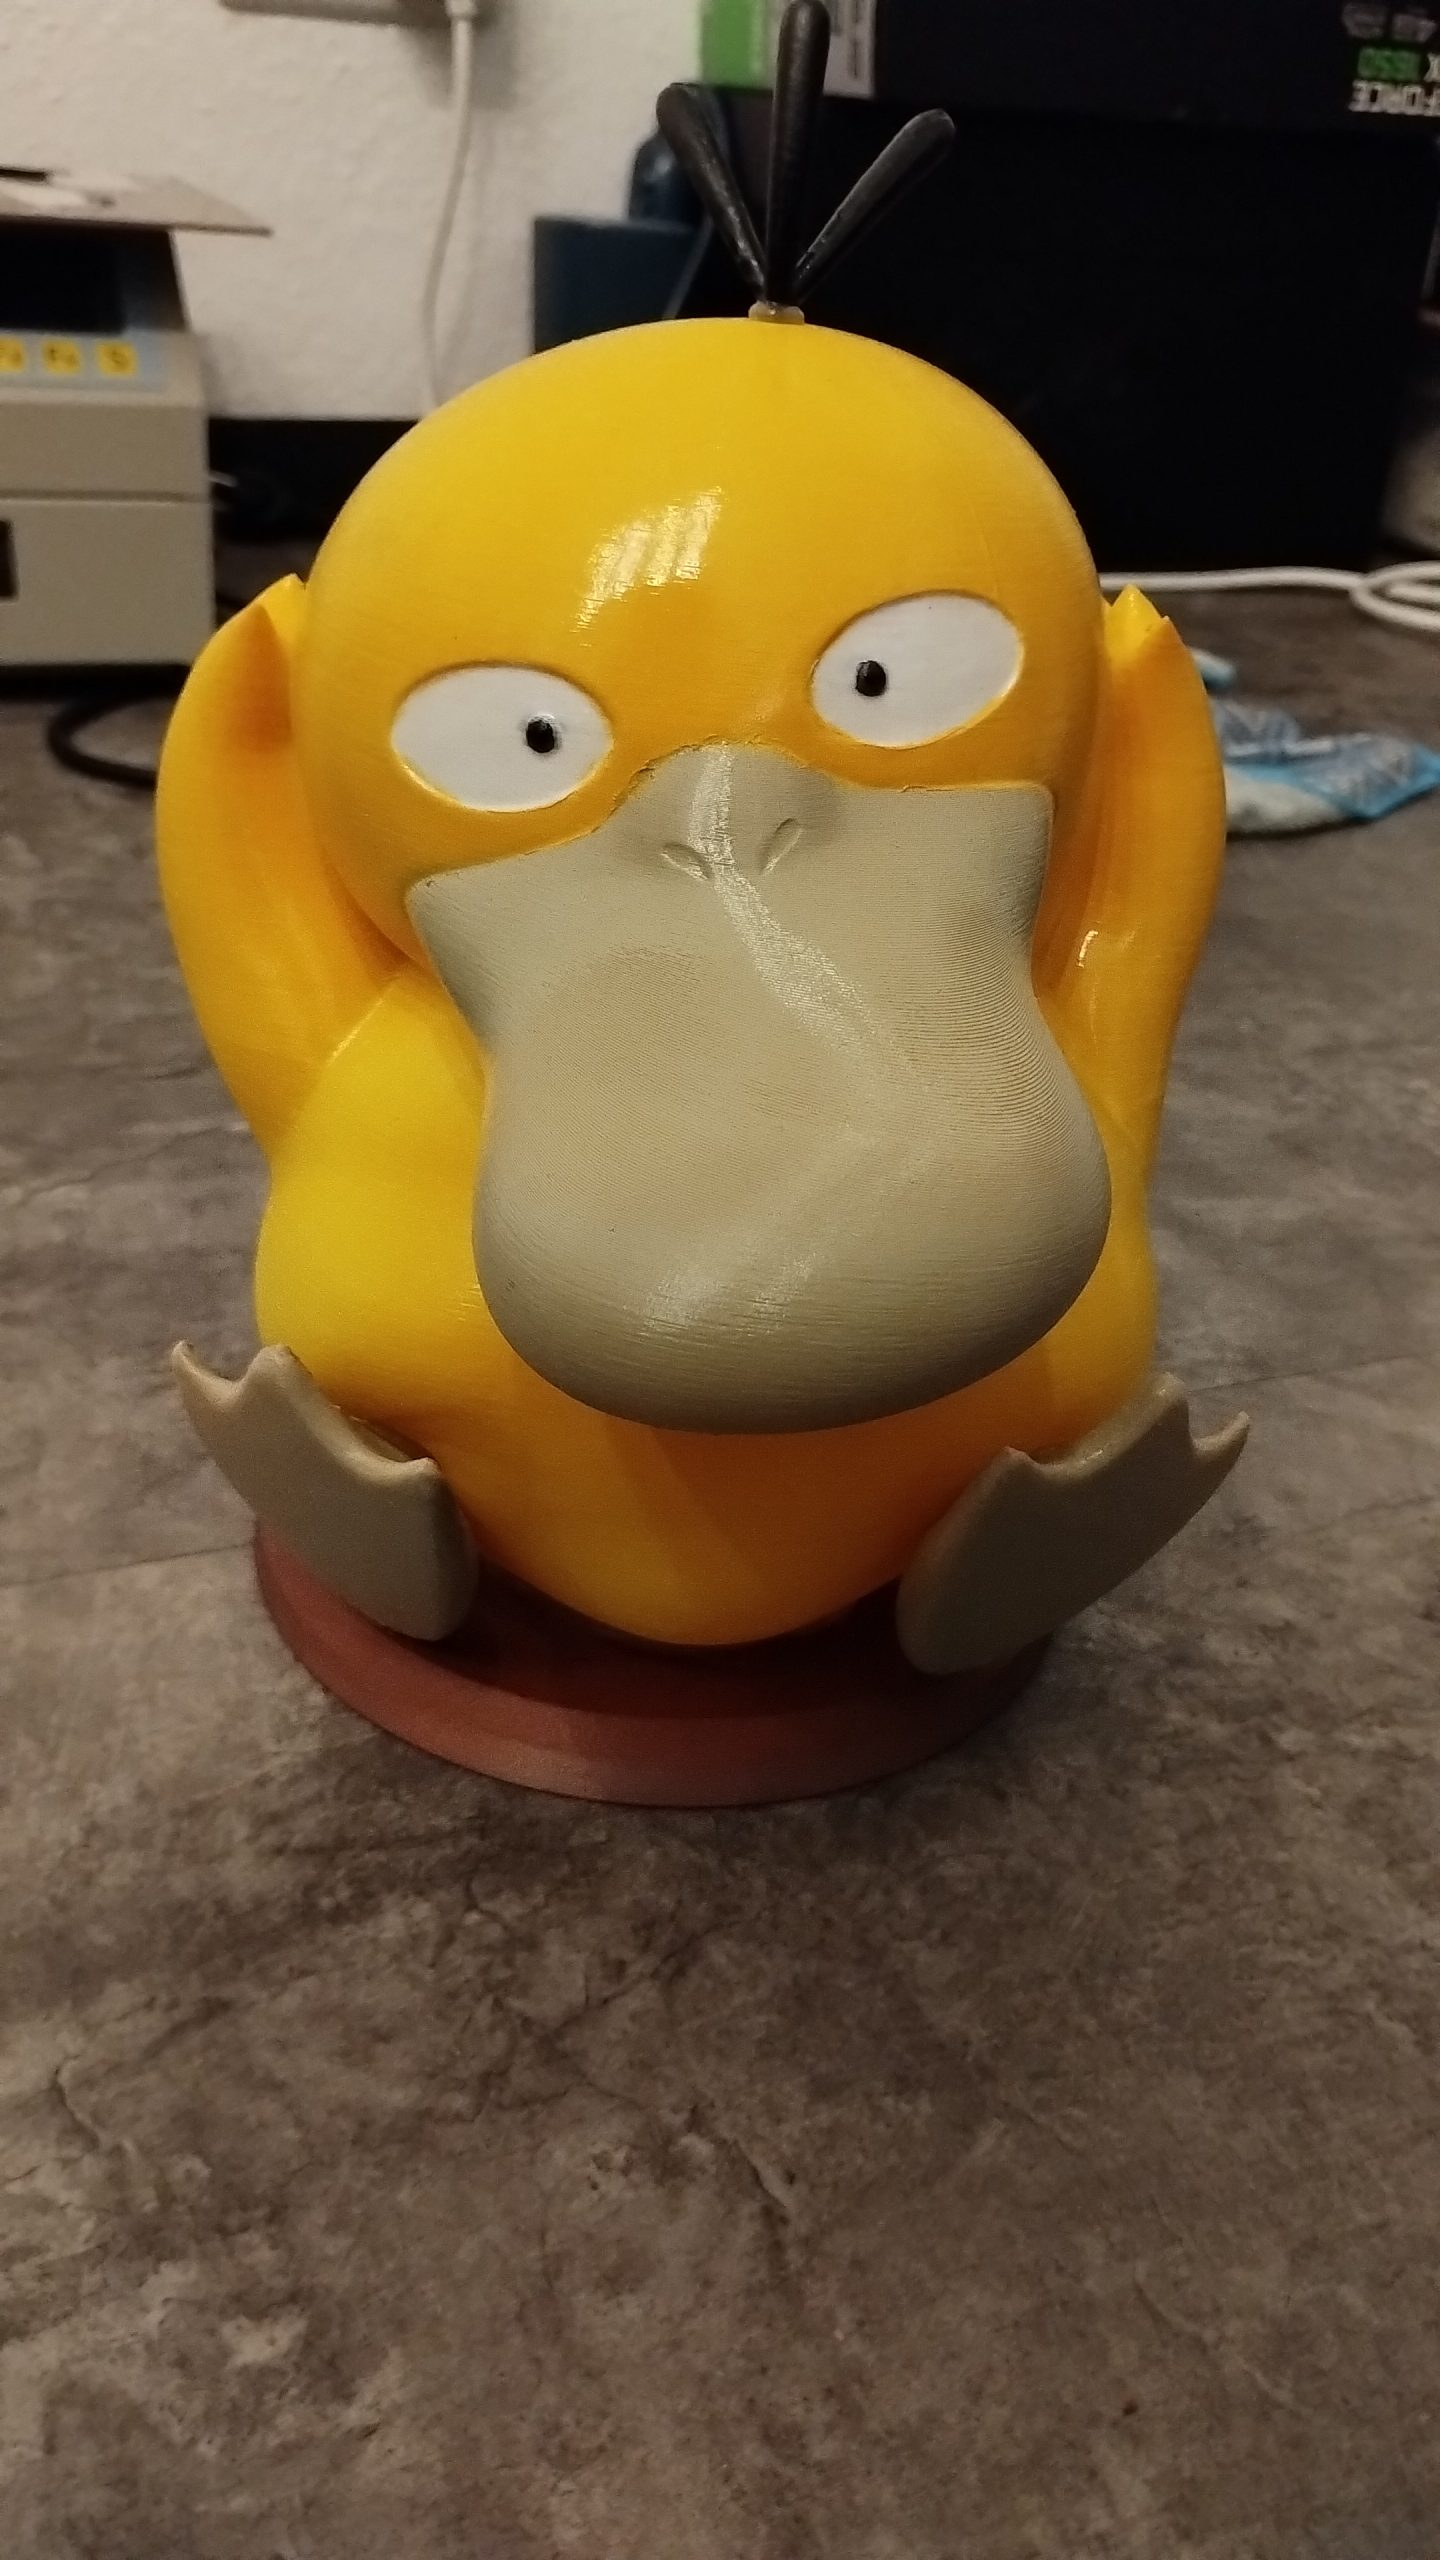
I taped the different parts together with masking tape and spray-painted Psyduck in various colors.
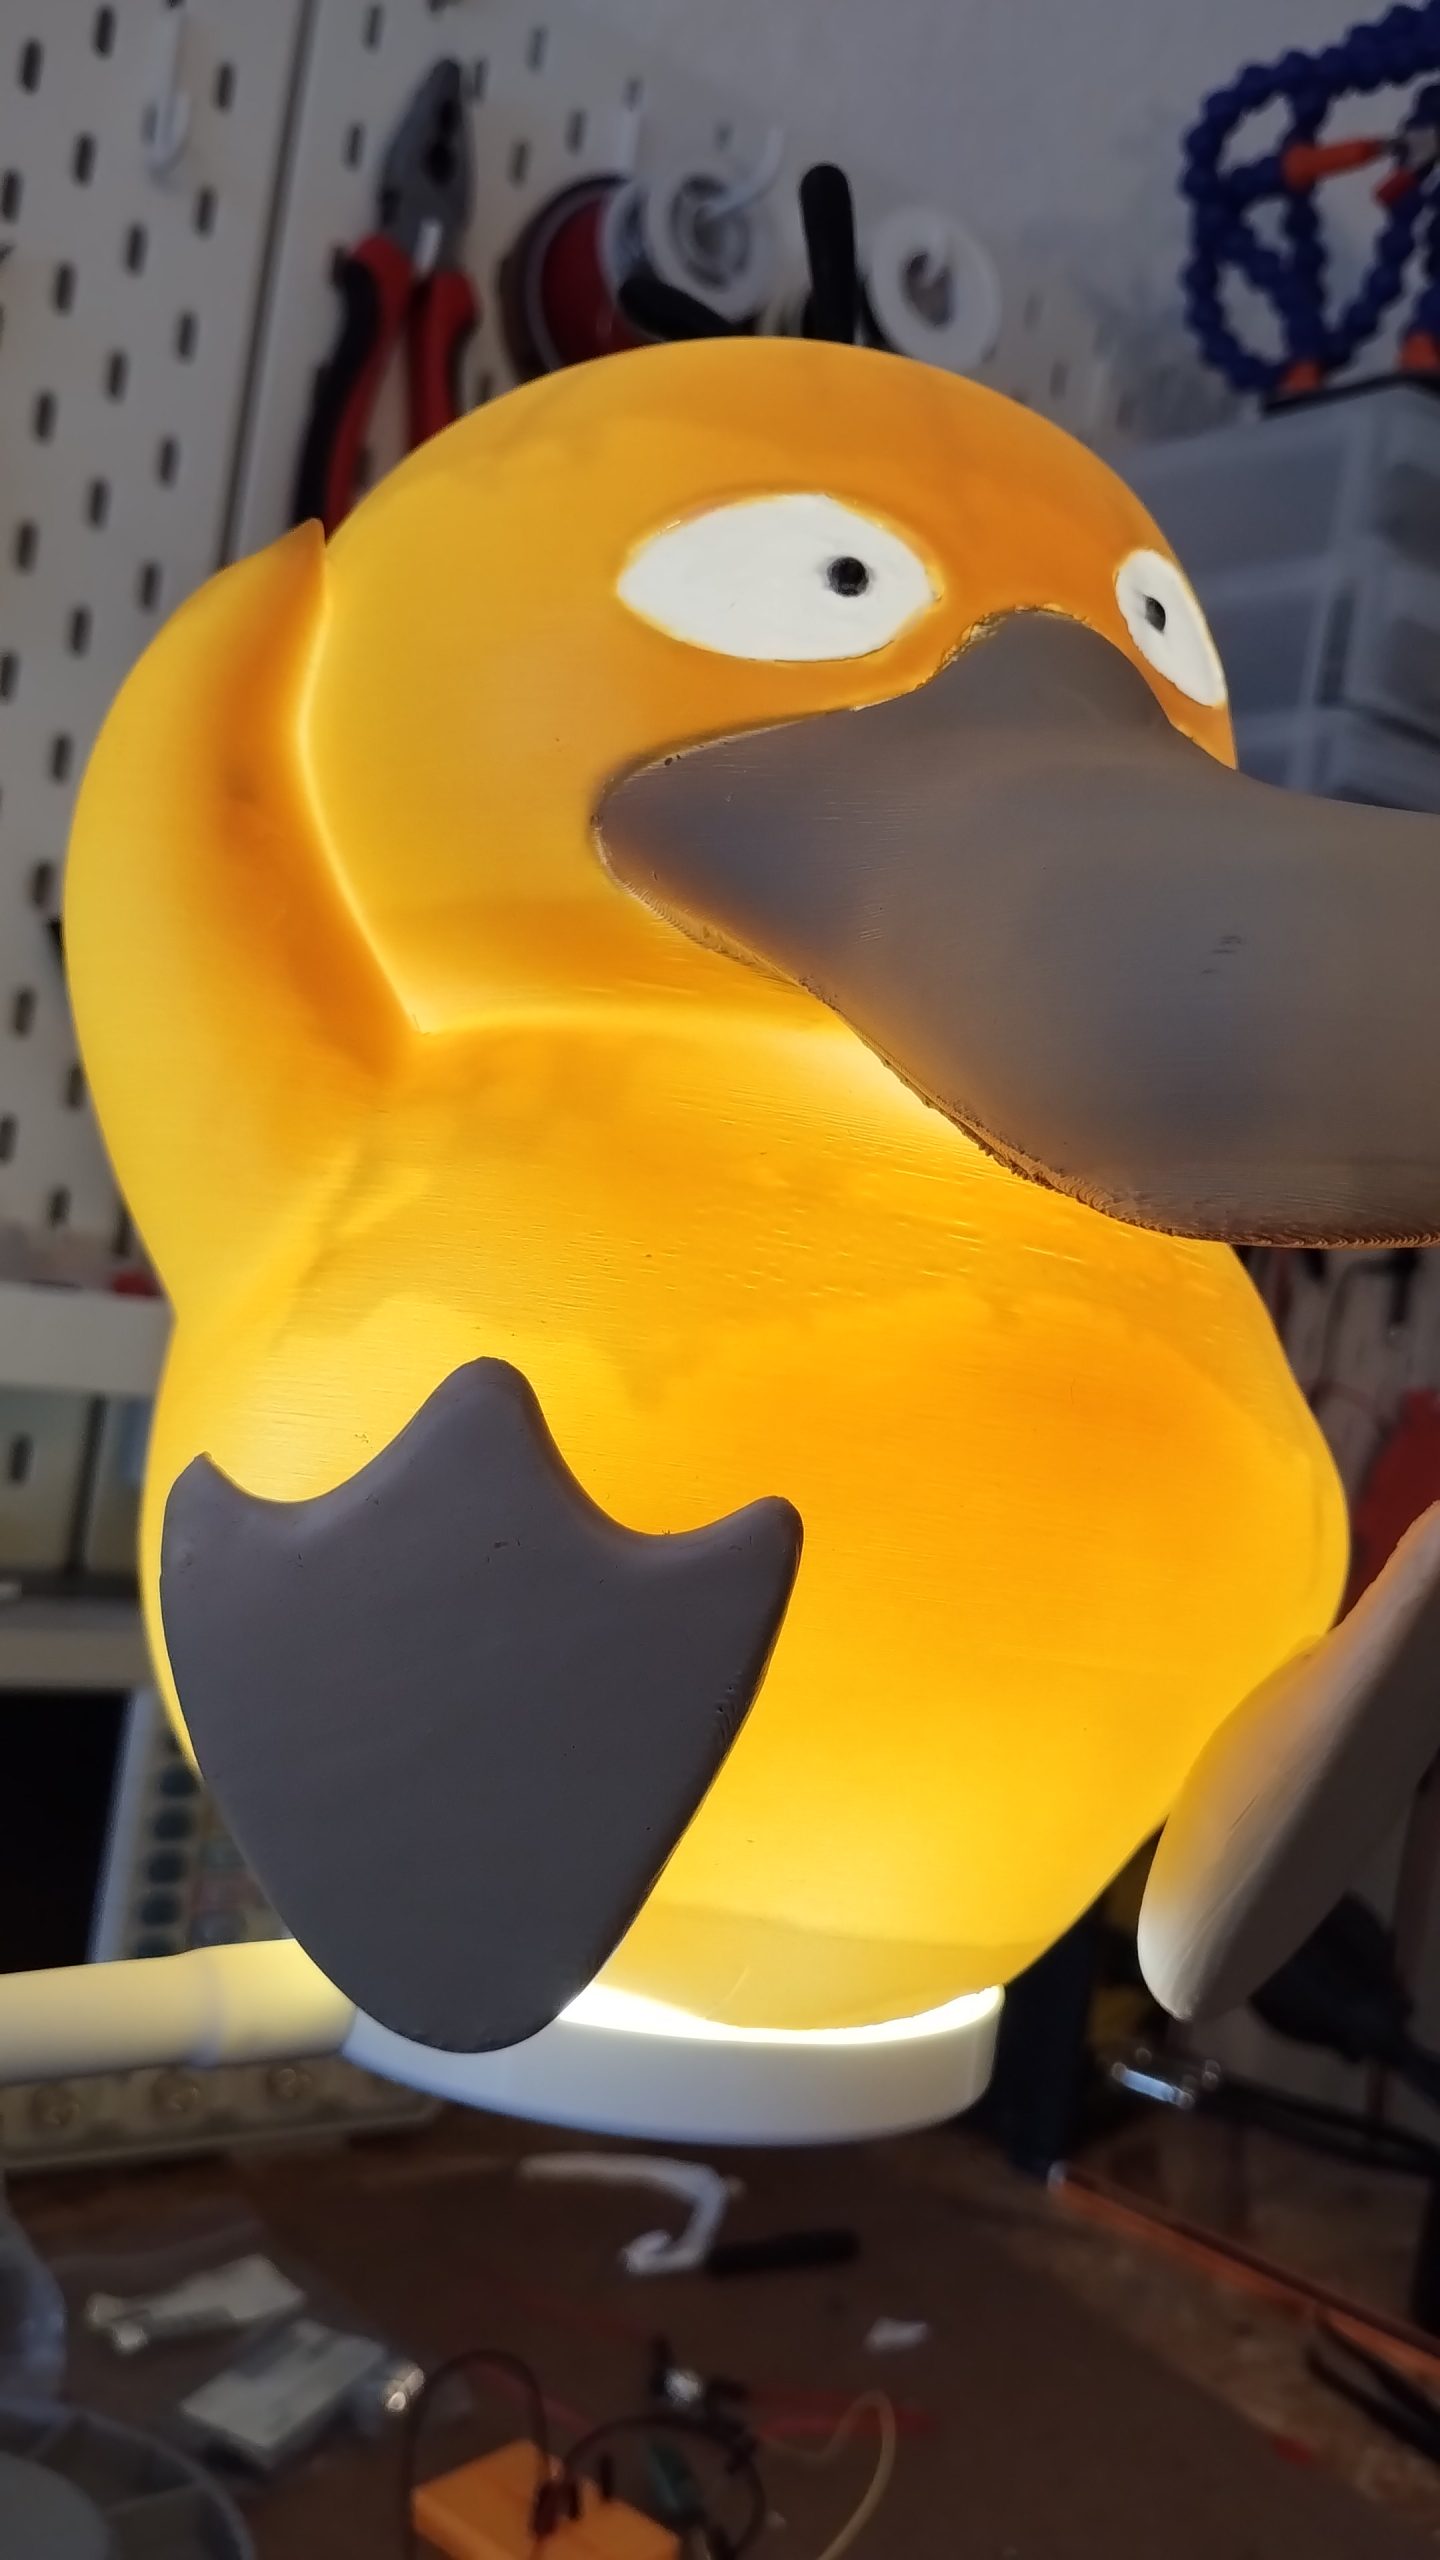
After painting Psyduck and assembling it with the printed hair and feet, it was time to see how it looked.
What do you think?
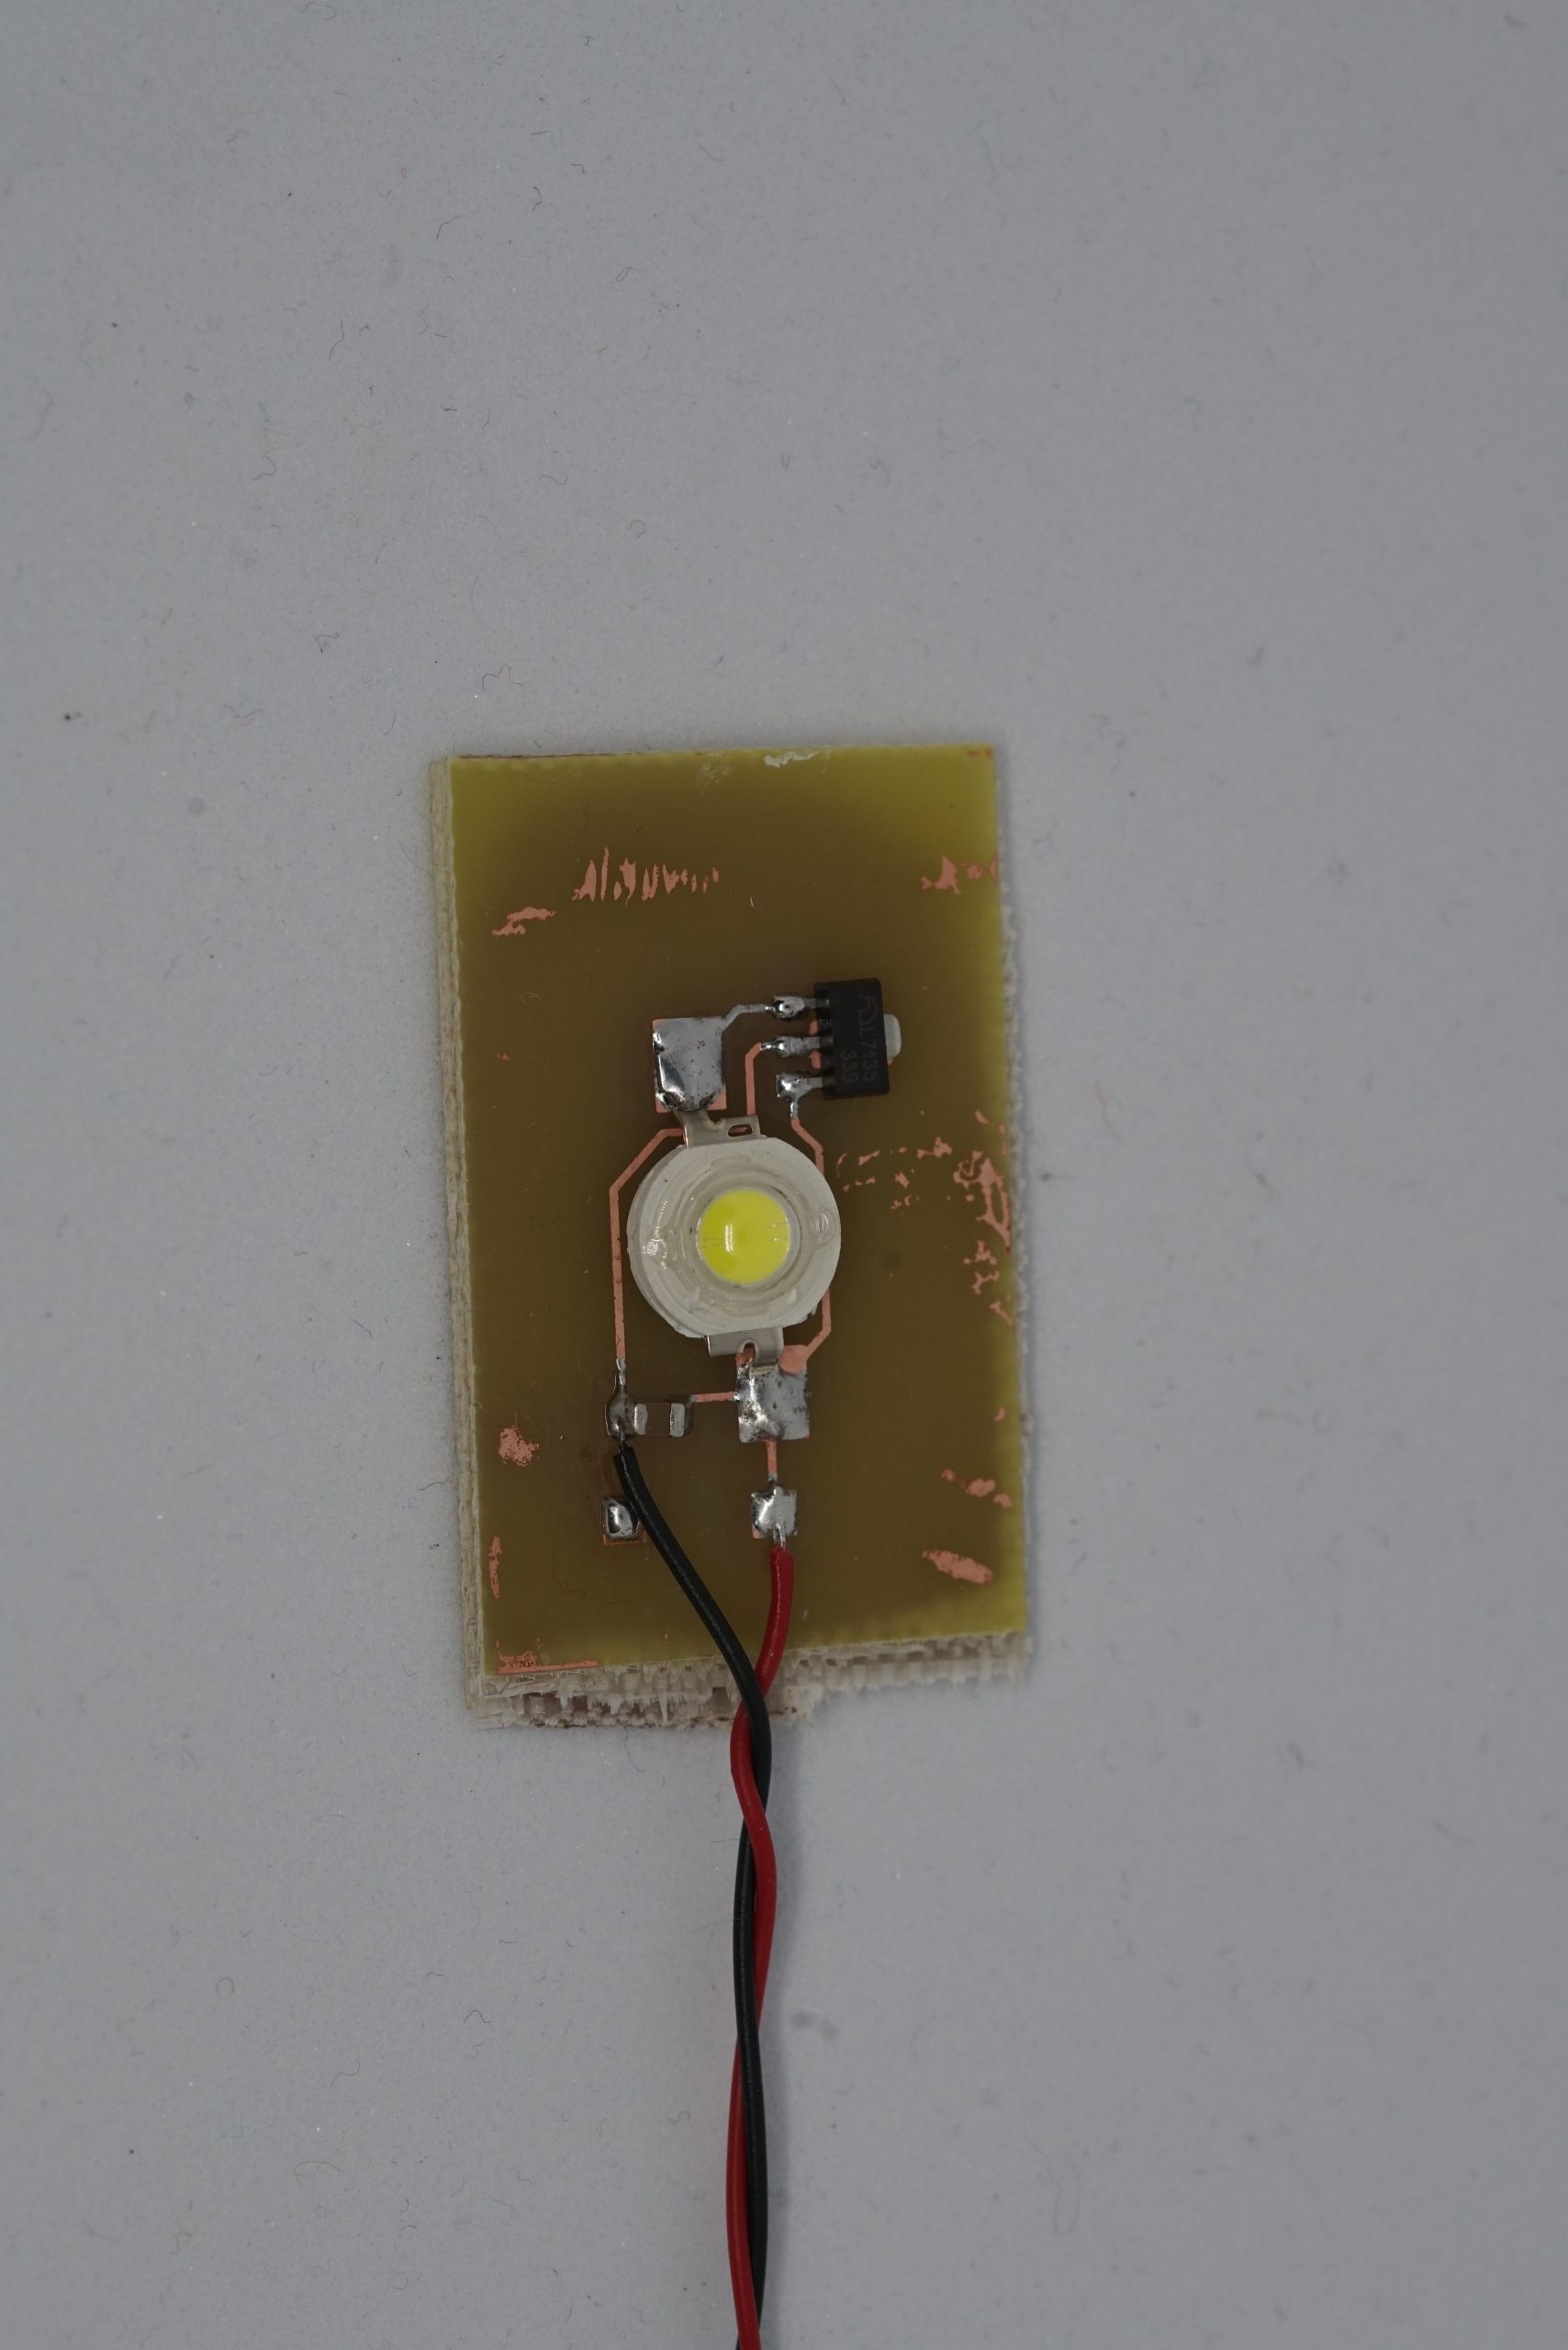
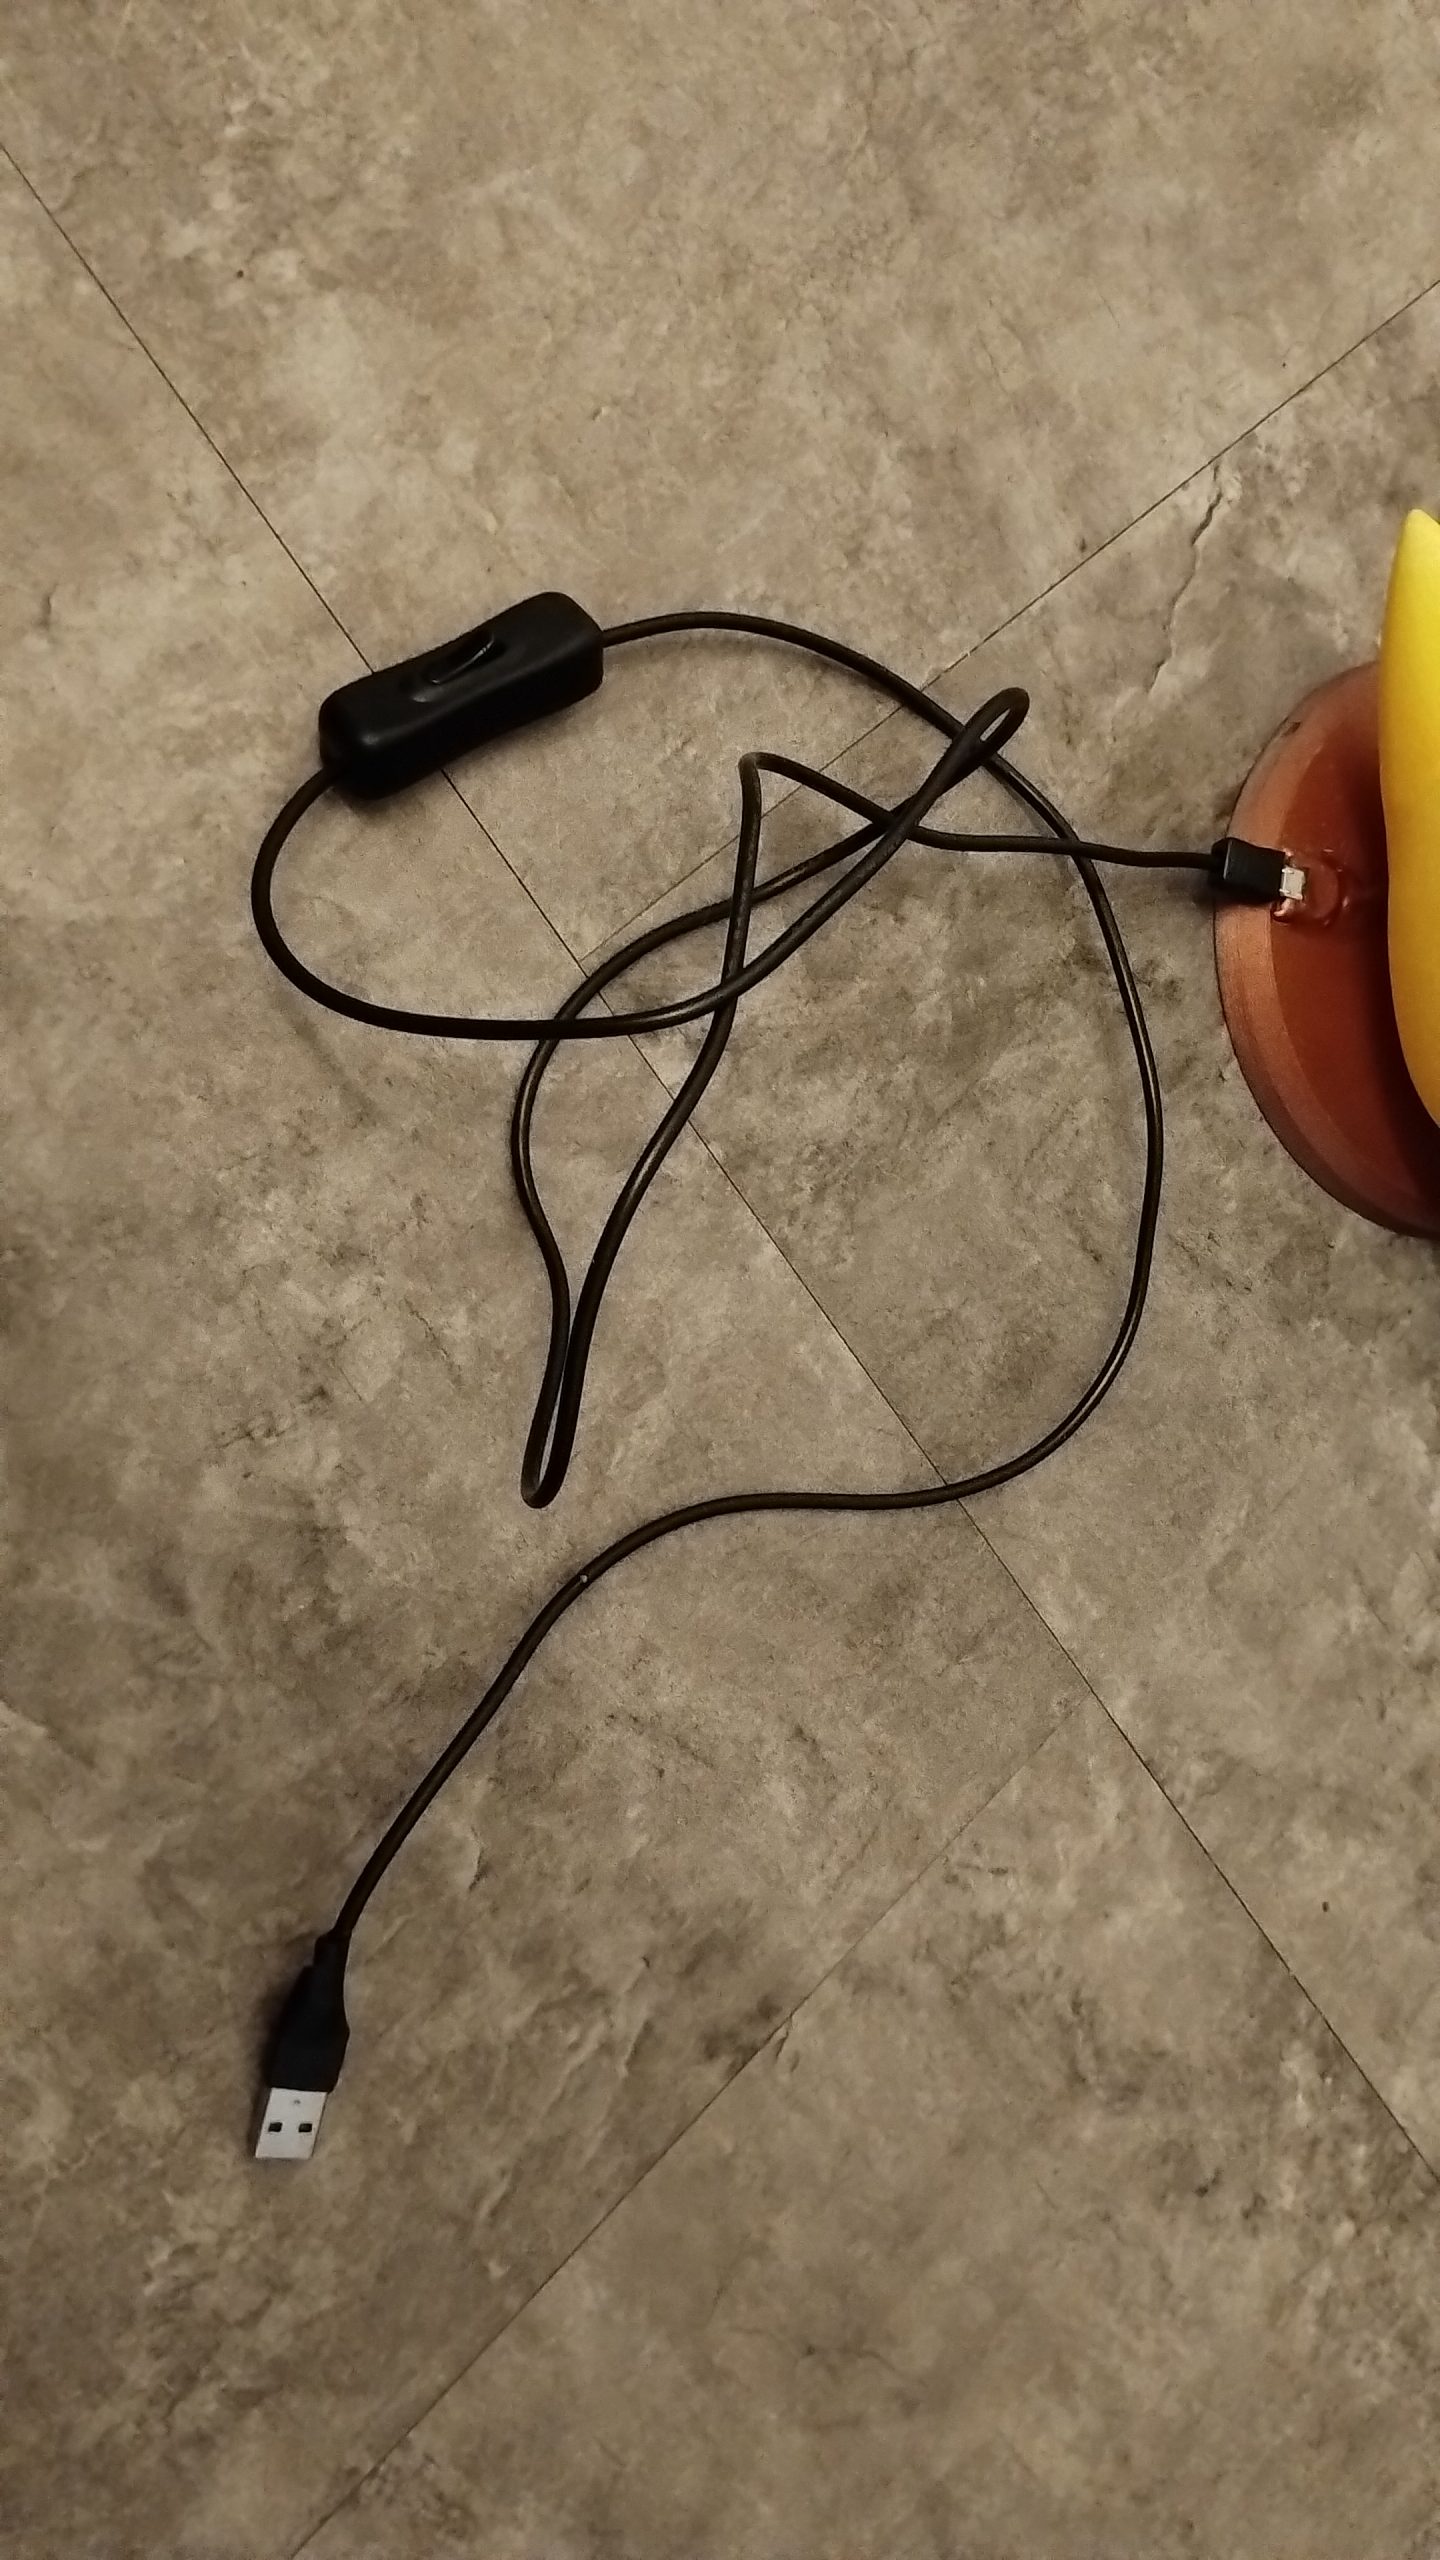
Next, I added the Tiny LED board underneath Psyduck to transform it into a lamp!
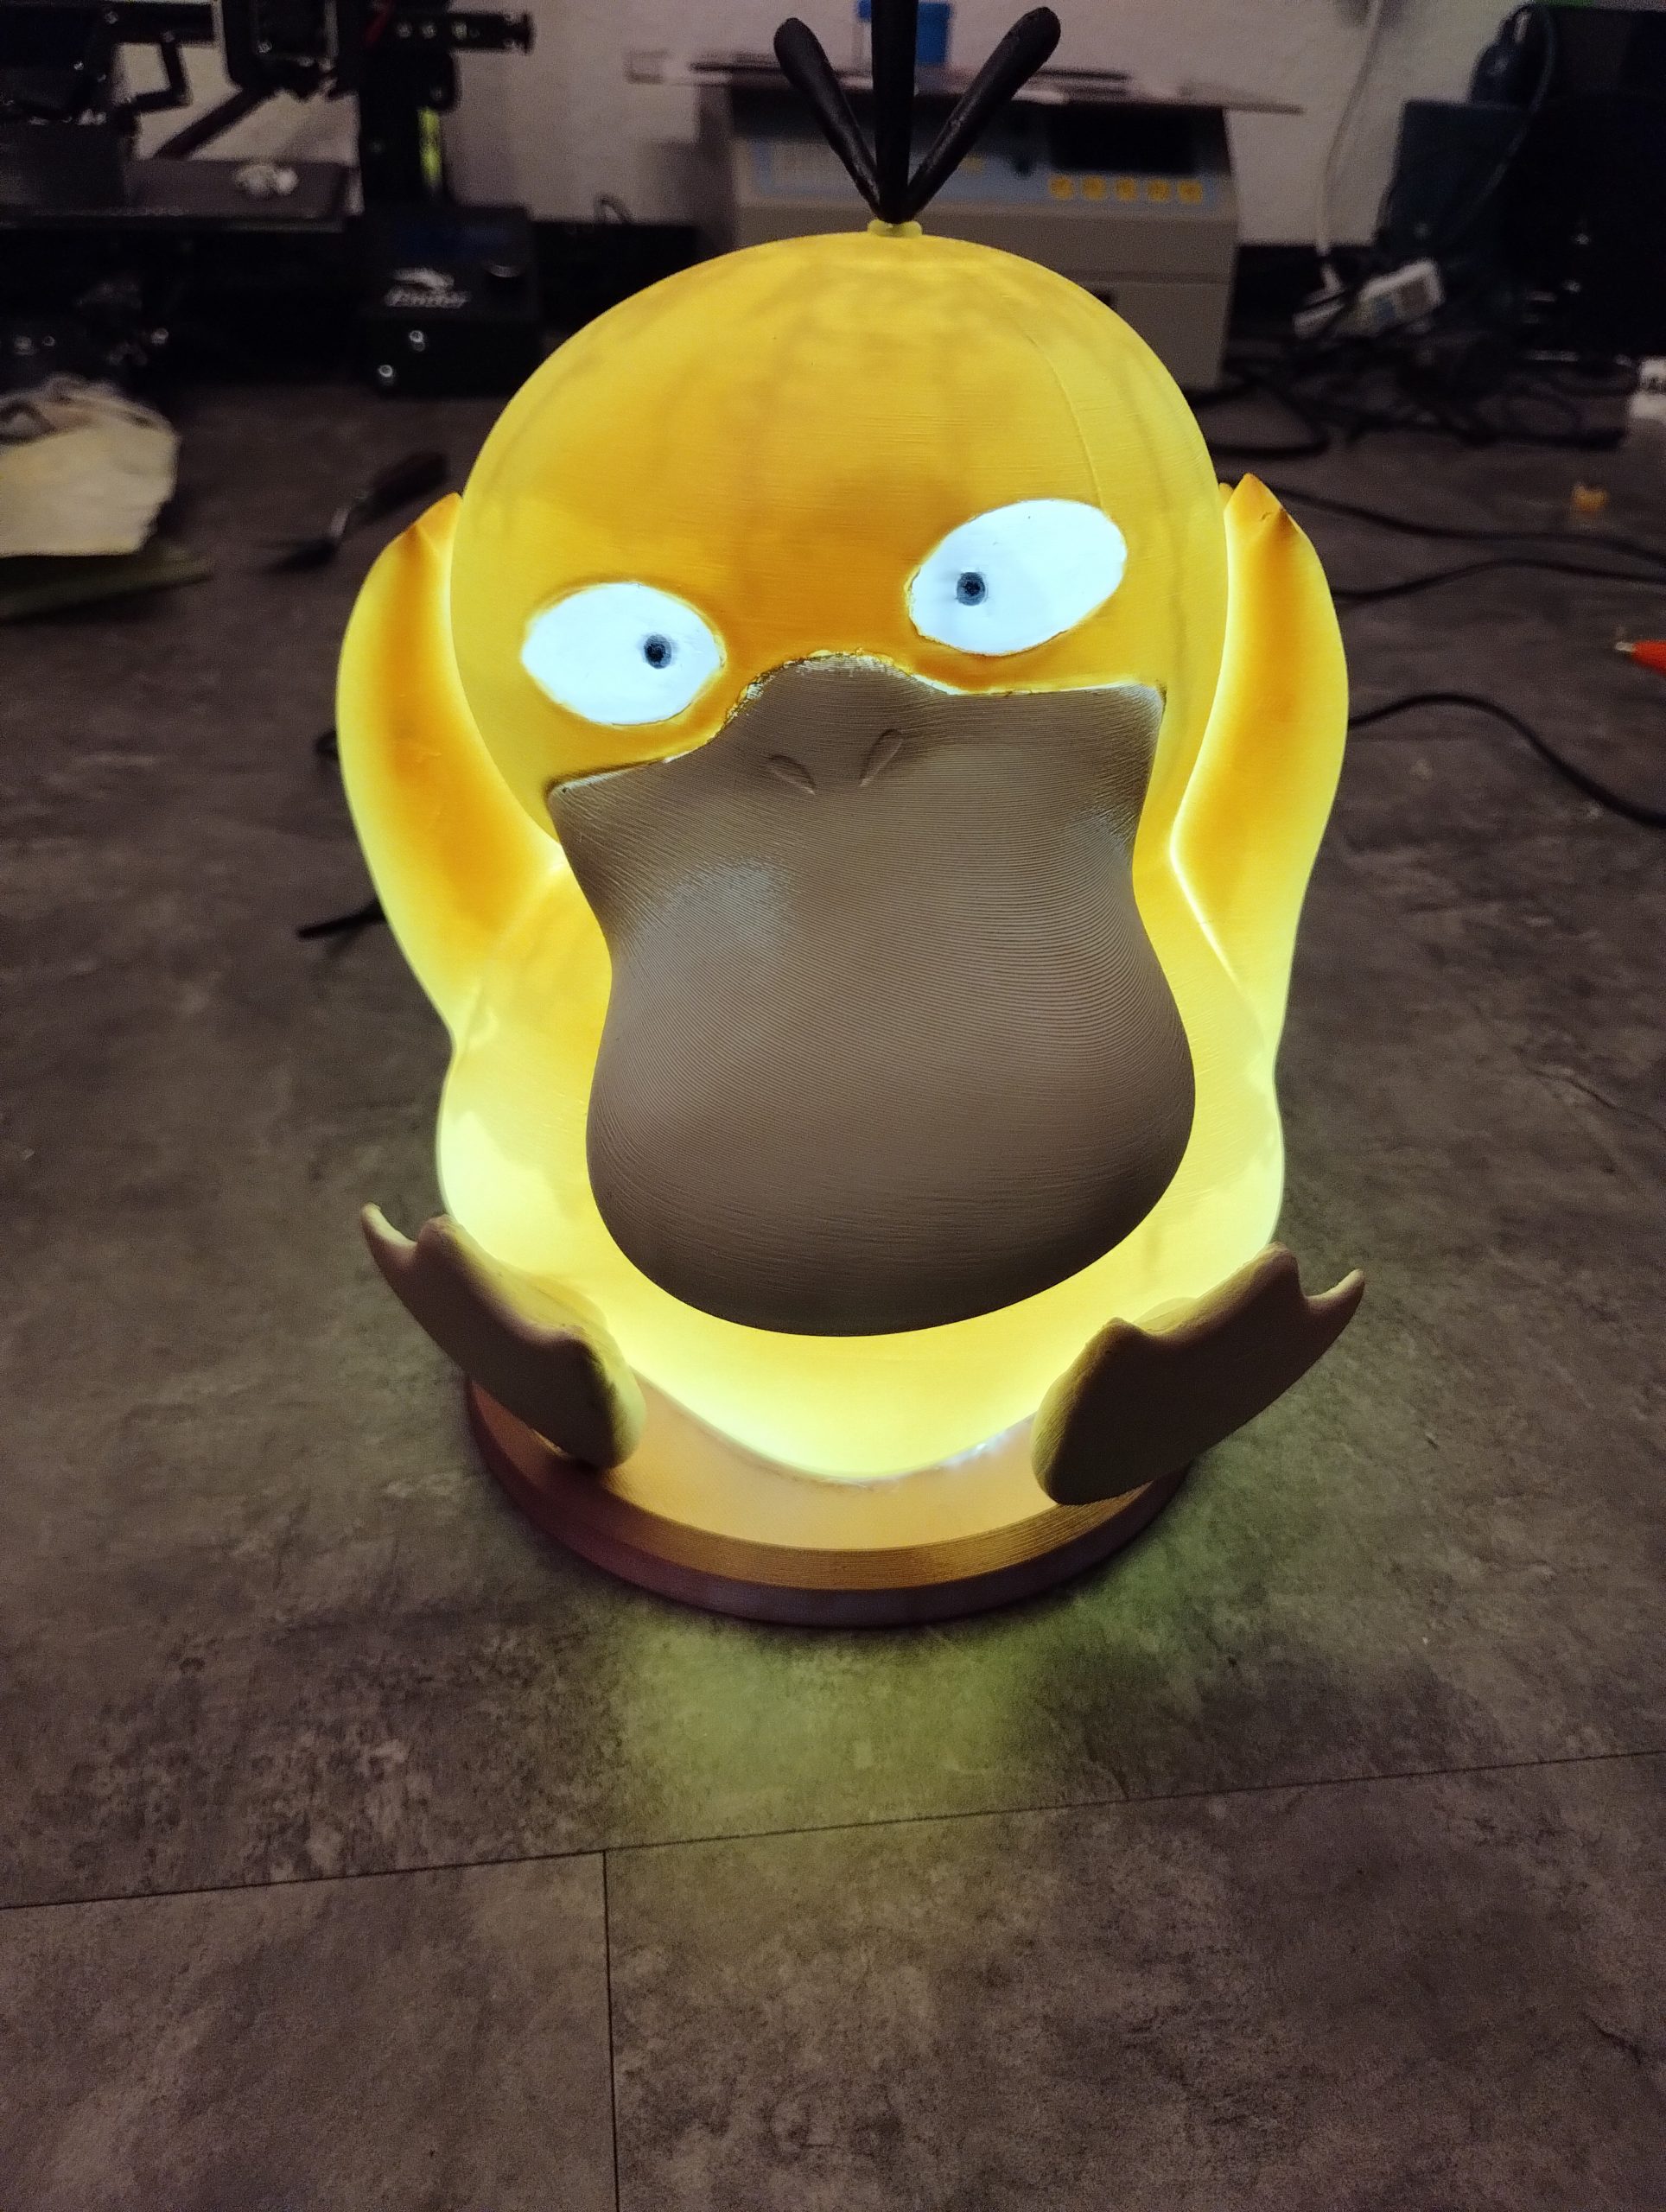
I also decided to add a thin layer of epoxy over the print to give it a shinier appearance.
And finally, the Psyduck looks great and ready!
I hope you enjoyed this journey with me, creating the Psyduck lamp. Thank you very much! 🙂