
A few months ago, I found myself examining my broken shark pendant and thought, “Hmm, how could I repair you?” It was a wooden thresher shark sculpture I had bought in the Philippines, and at some point, one of the fins broke. I was quite fond of that necklace, so I explored different methods to fix or reproduce it. Here, I will share the entire journey with you, up until recently, when I became very satisfied with the result.
Initially, I considered simply gluing the fin back on and then painting that area a wooden color. I tried mixing superglue with baking powder to create a milky blob in the fin area, and after sanding it down, I painted it. However, it looked odd in wooden color, prompting me to think about coating the whole shark in metal so the body would be uniformly colored and possibly quite shiny. Thus, I sprayed it with graphite and placed it into the tank for electrolysis. In the end, as you can see here,
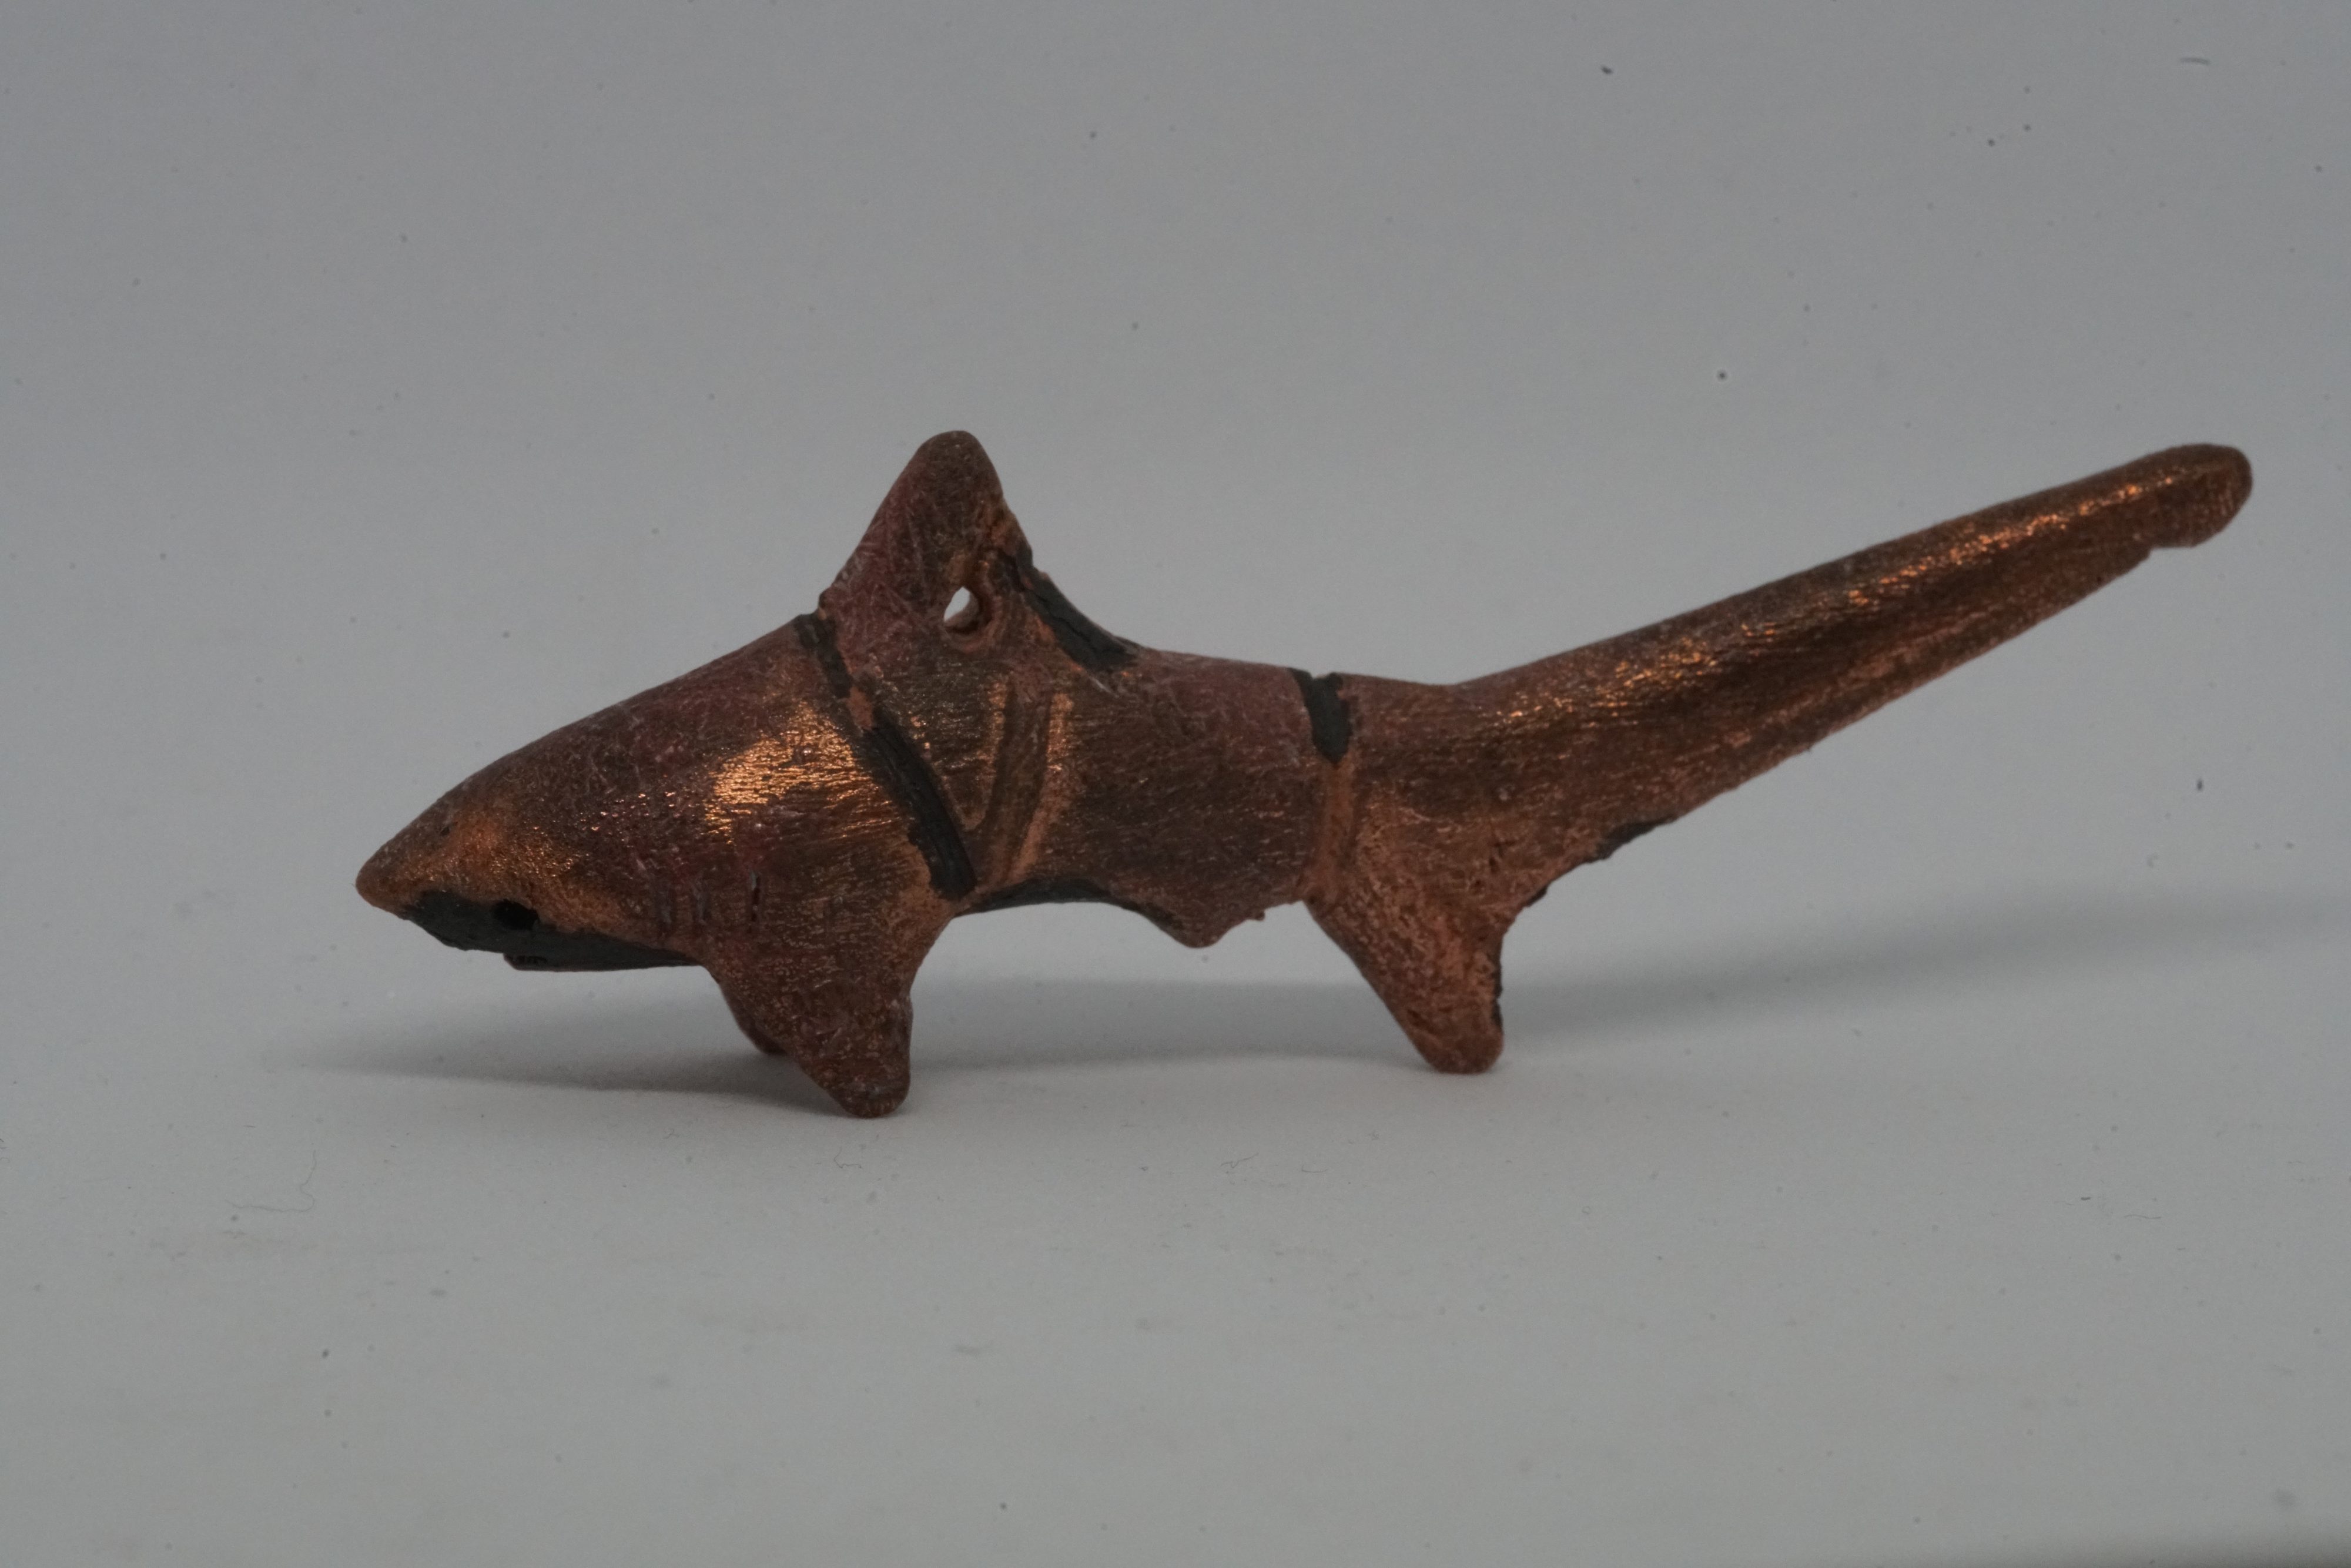
the shark was coated in copper but didn’t look perfect. The wood didn’t conduct electricity well, so the shark wasn’t fully coated in copper, even after several hours in the electrolysis tank. The copper coating was quite thick, but it didn’t help; there were even some wire marks, and I had no idea how to fix them without risking damage. I was stuck and didn’t follow up on this for a while.
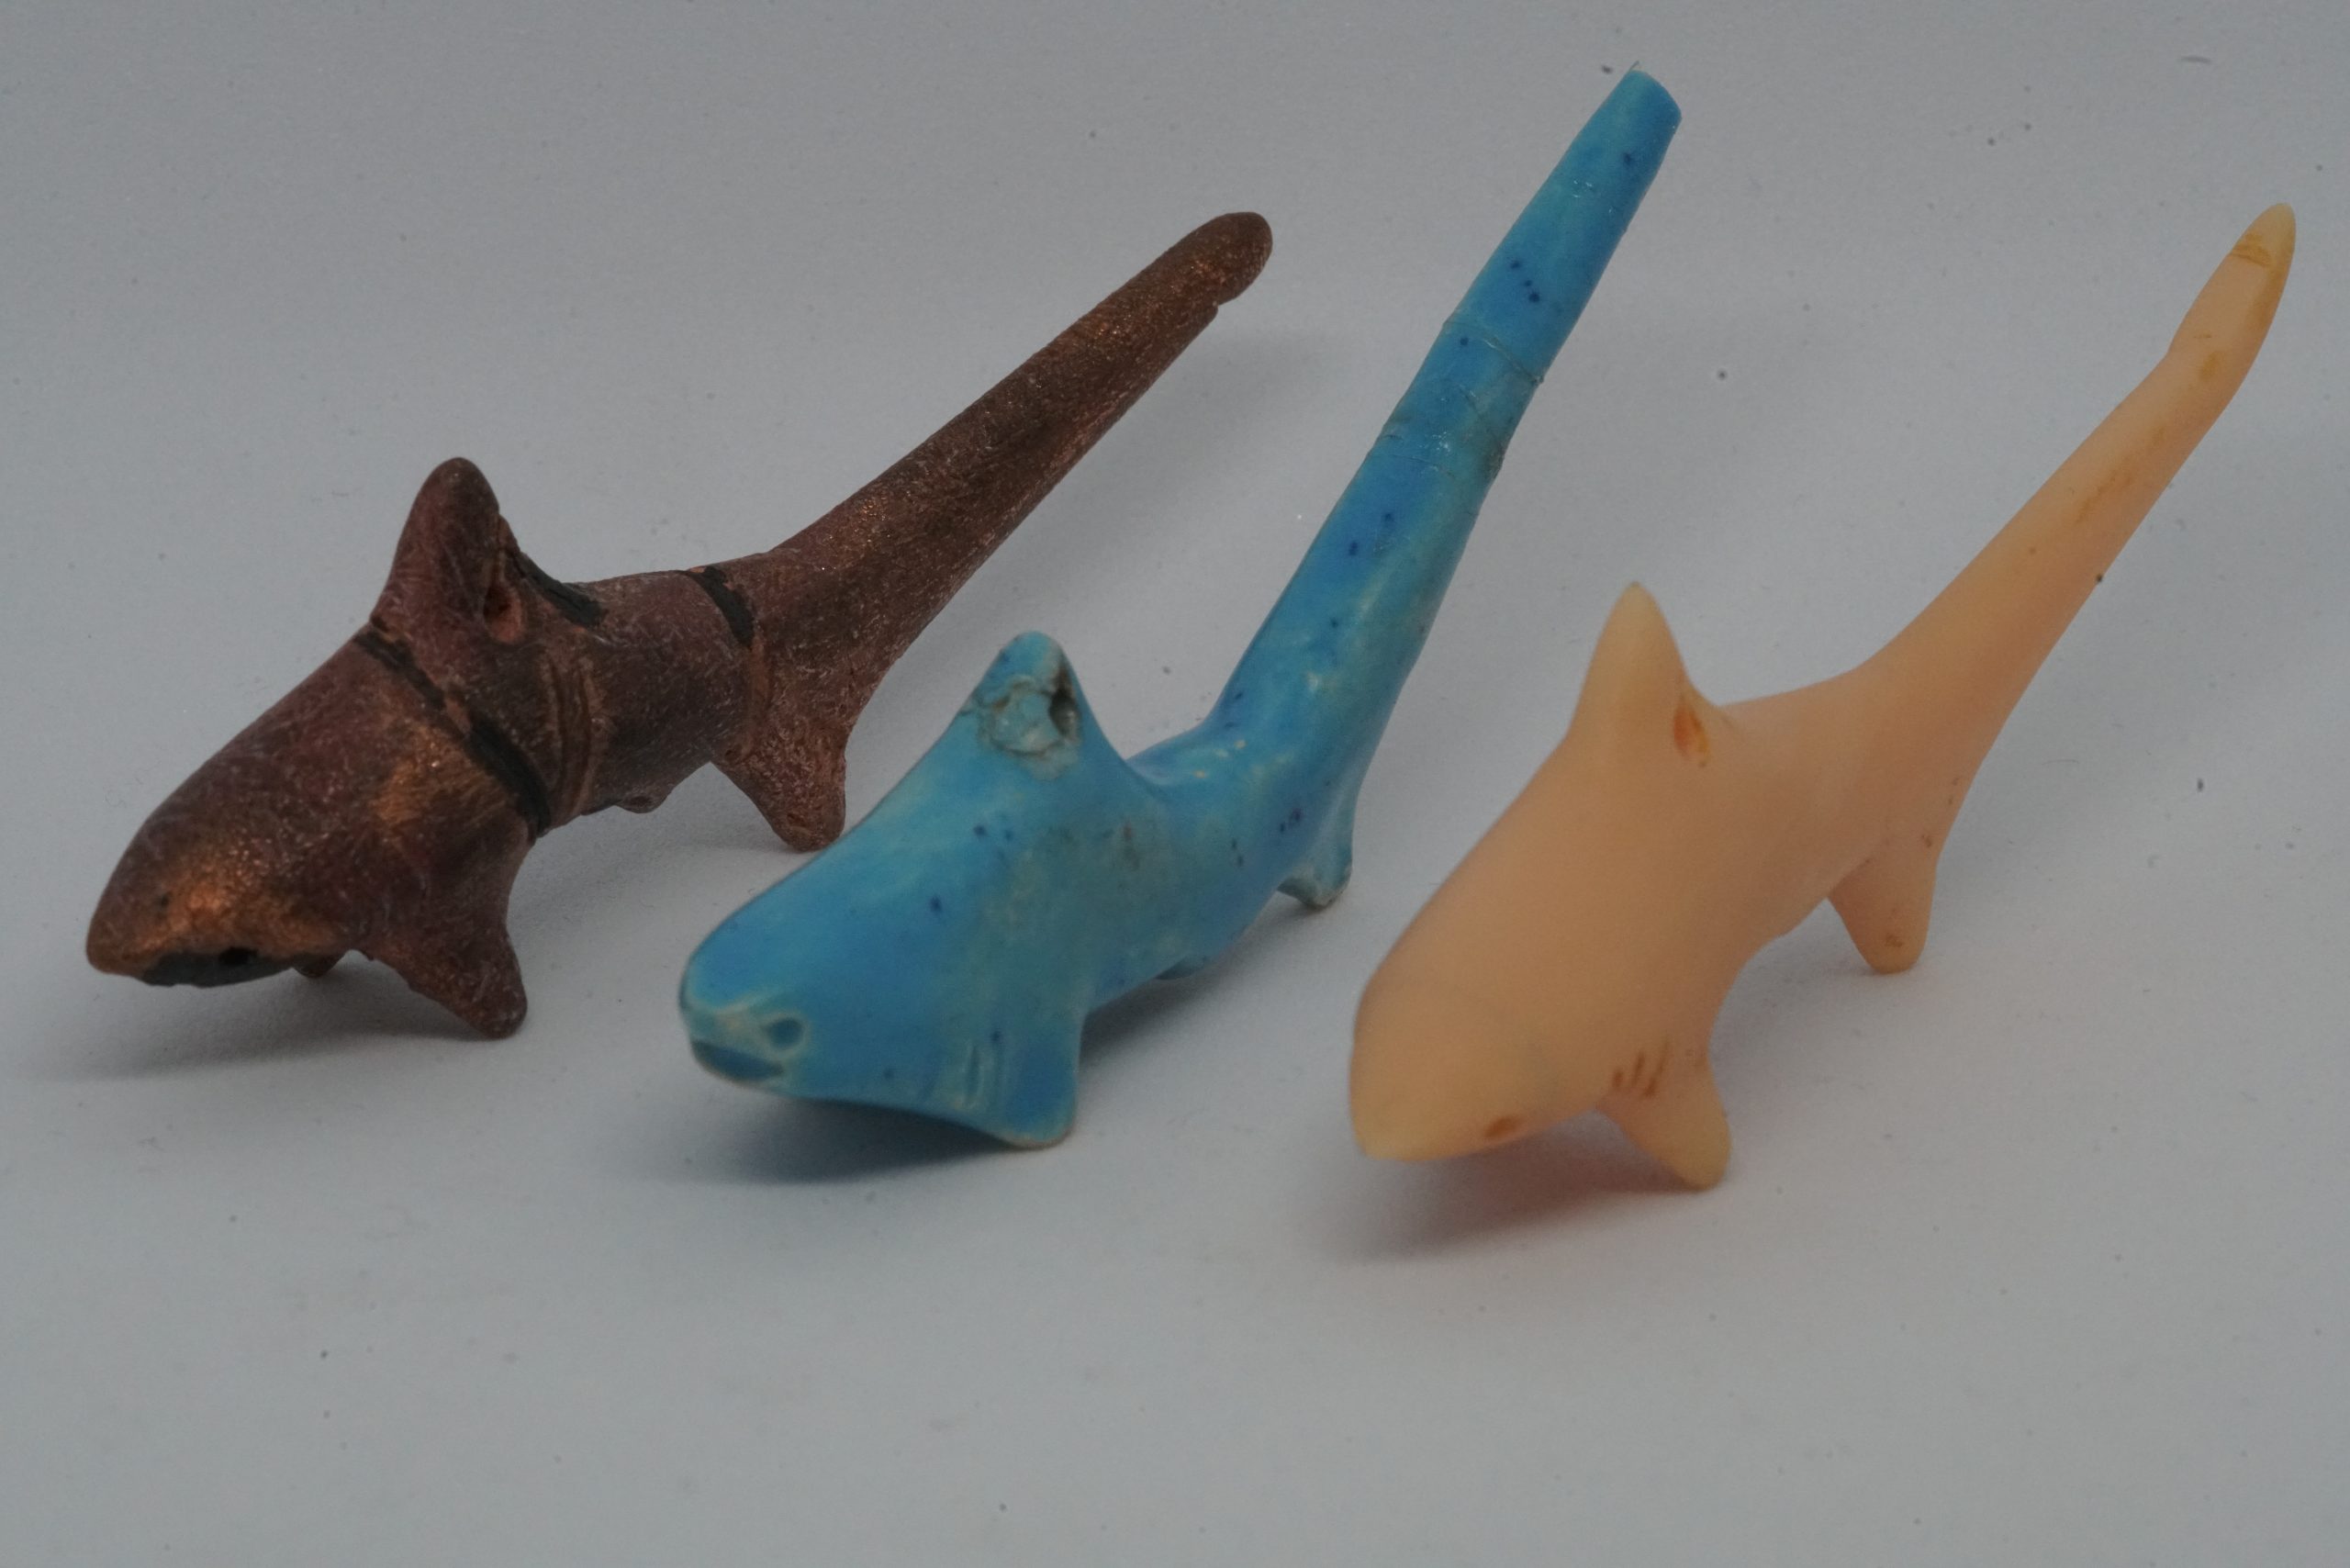
In the meantime, I coincidentally attended a ceramic class. Remembering the shark pendant, I attempted to replicate it, glazing it in sky blue and hoping it wouldn’t break in the kiln. After a few weeks, I was quite happy with the result, which was not bad, I must say.

But after using it for some time, I discovered another issue: ceramic was too brittle and broke easily. This one, I had already glued with superglue 4-5 times.
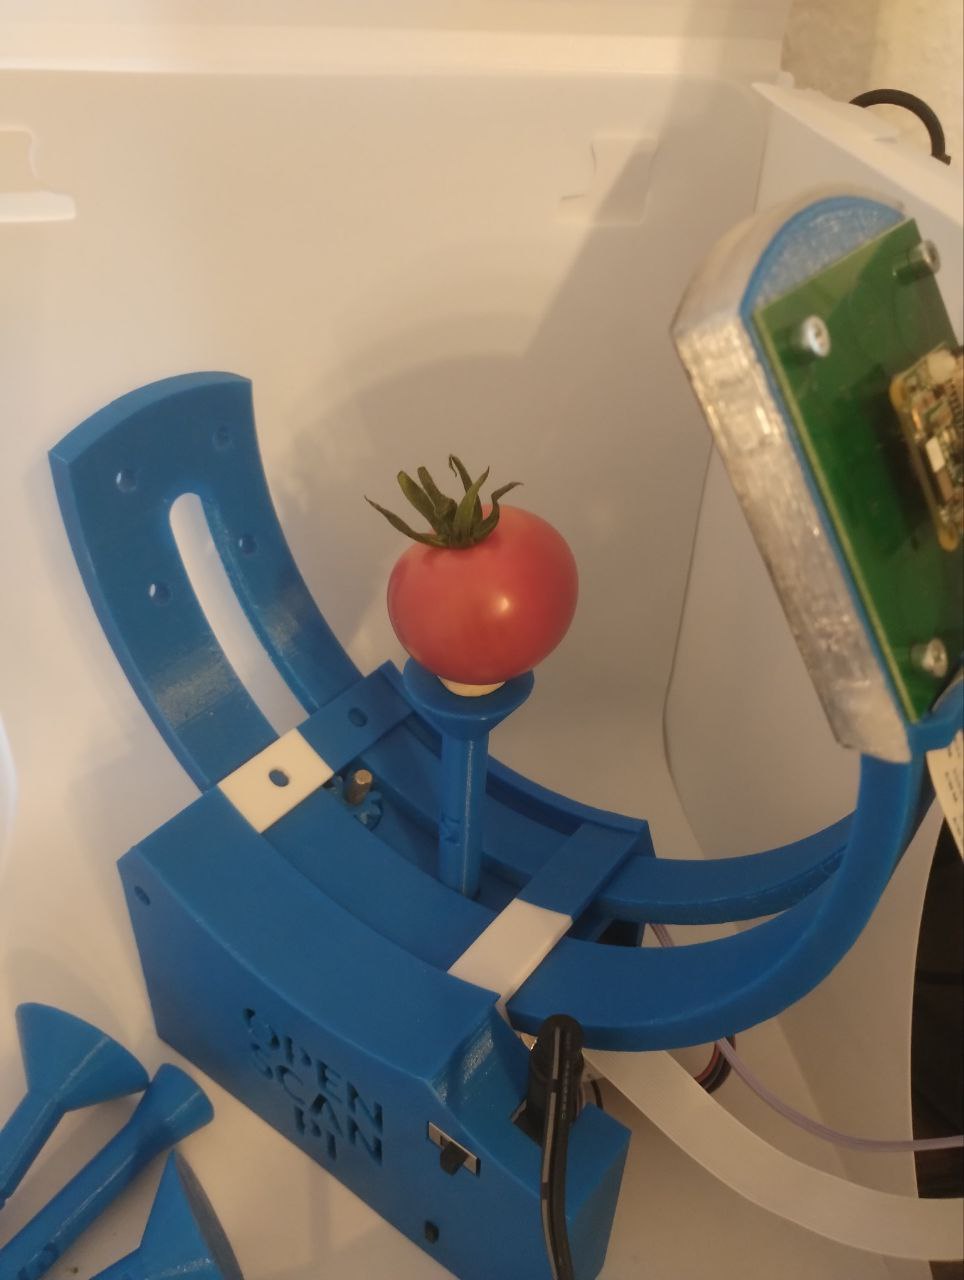
I couldn’t find any similar pendant anywhere, but I really liked this one. Until recently, I acquired an OpenScan Mini 3D scanner from OpenScan, which is relatively inexpensive and seemed capable of scanning small objects, suiting my needs. The project is also open-source, using Photogrammetry to create the model. After assembling the scanner, reading the tutorials, upgrading the camera from an RPI camera 1.3 to an Arducam (16MP), and understanding more about Photogrammetry, I realized the importance of paying more attention to the reflected light during scanning. Finally, I got my scanner working.
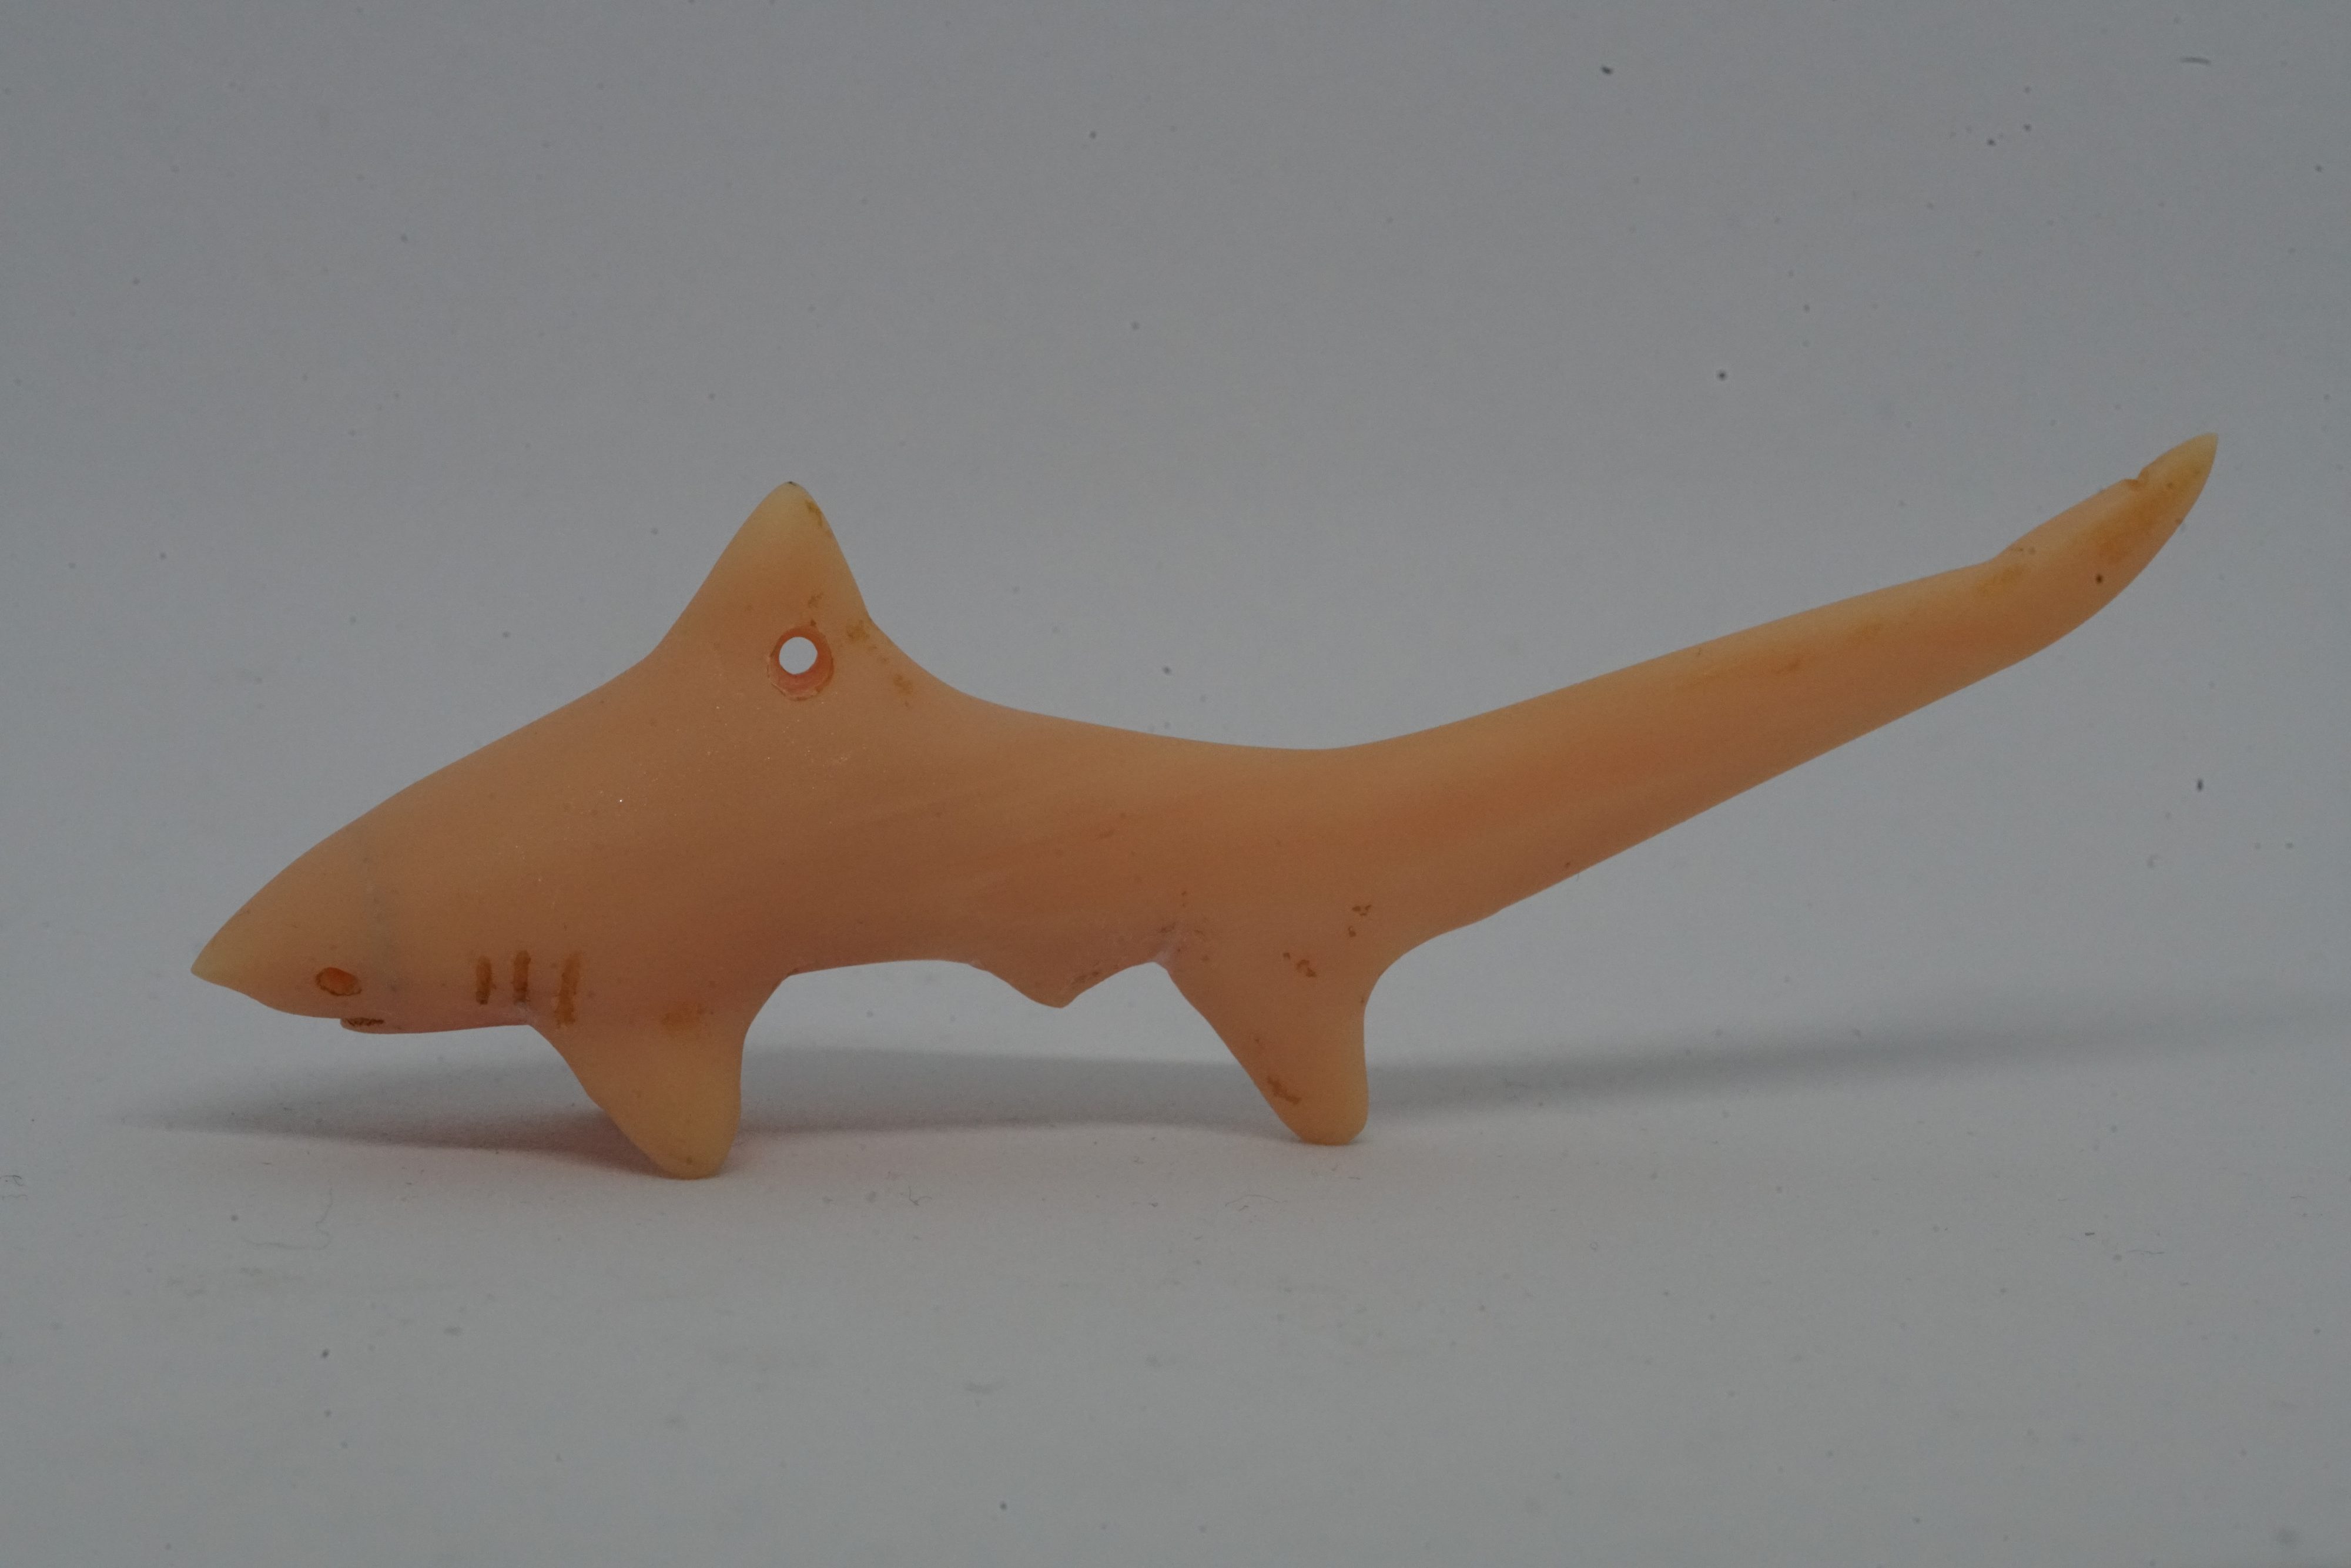
Motivated to scan this shark pendant, here is the result from my copper-coated shark.
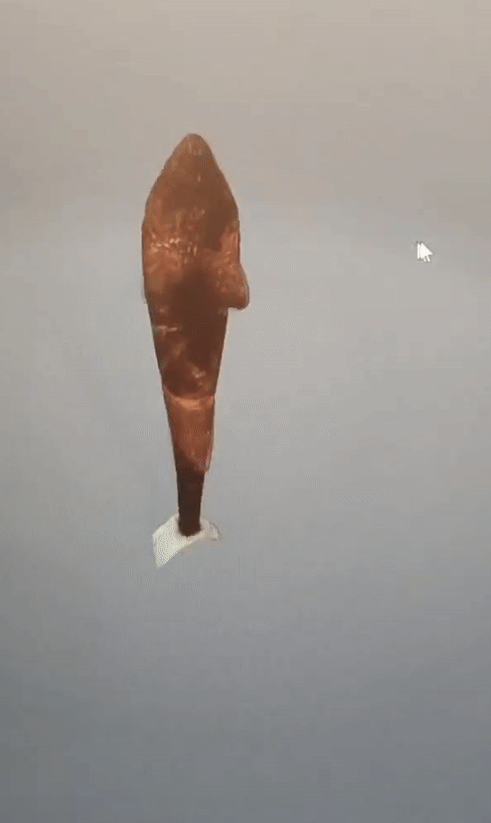
Because of the copper wire I had wrapped around it during electrolysis, there were some wire marks. After printing it using my SLA printer, Anycubic Photon Ultra, this is the result.
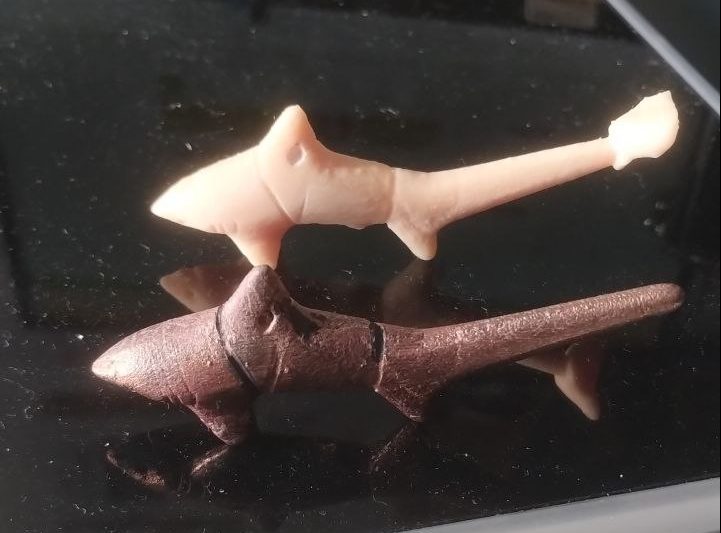
I sanded down the marks, and here is my final result:
I was very happy about it; now, I can have my thresher shark pendant again. 🙂
Out of curiosity, I scanned a few more objects:
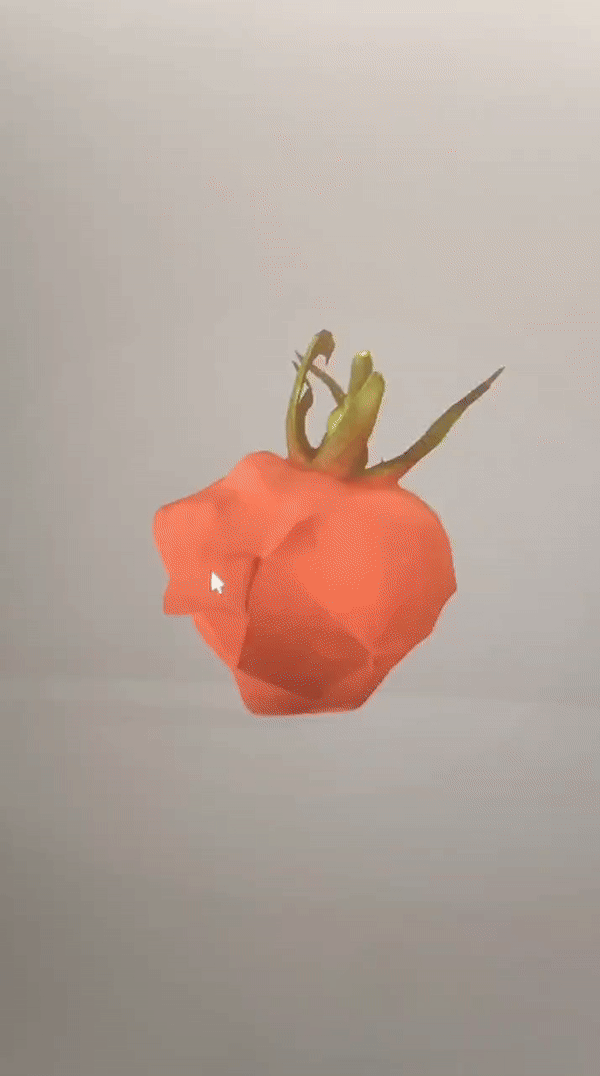
A tomato, which didn’t go well because of the reflected light. It seems I could potentially scan it by applying some cornflour on it or using 3D scanning spray recommended by some YouTubers, but I didn’t want to make my scanner too messy, so I tried something else.
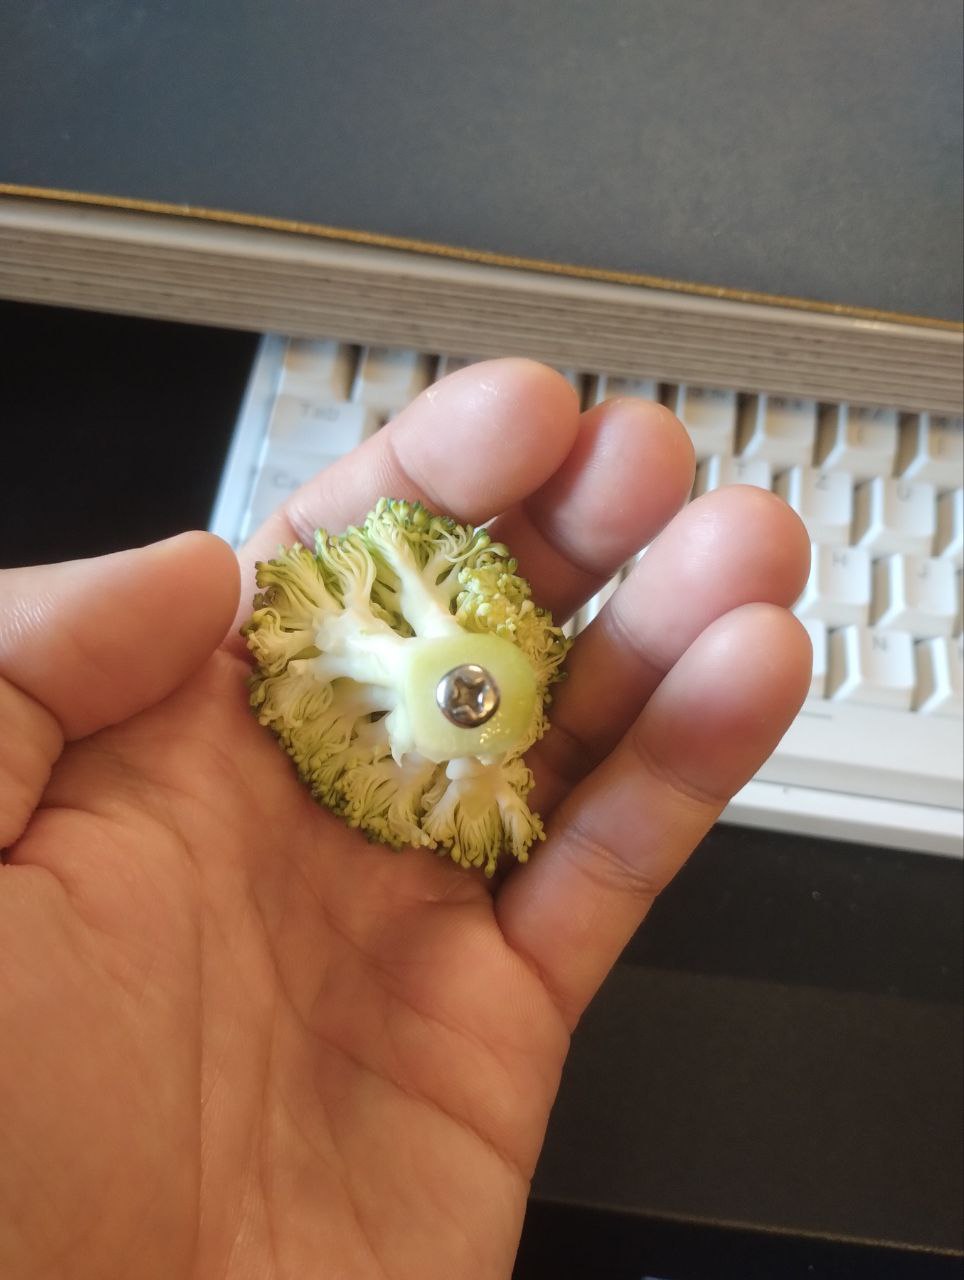
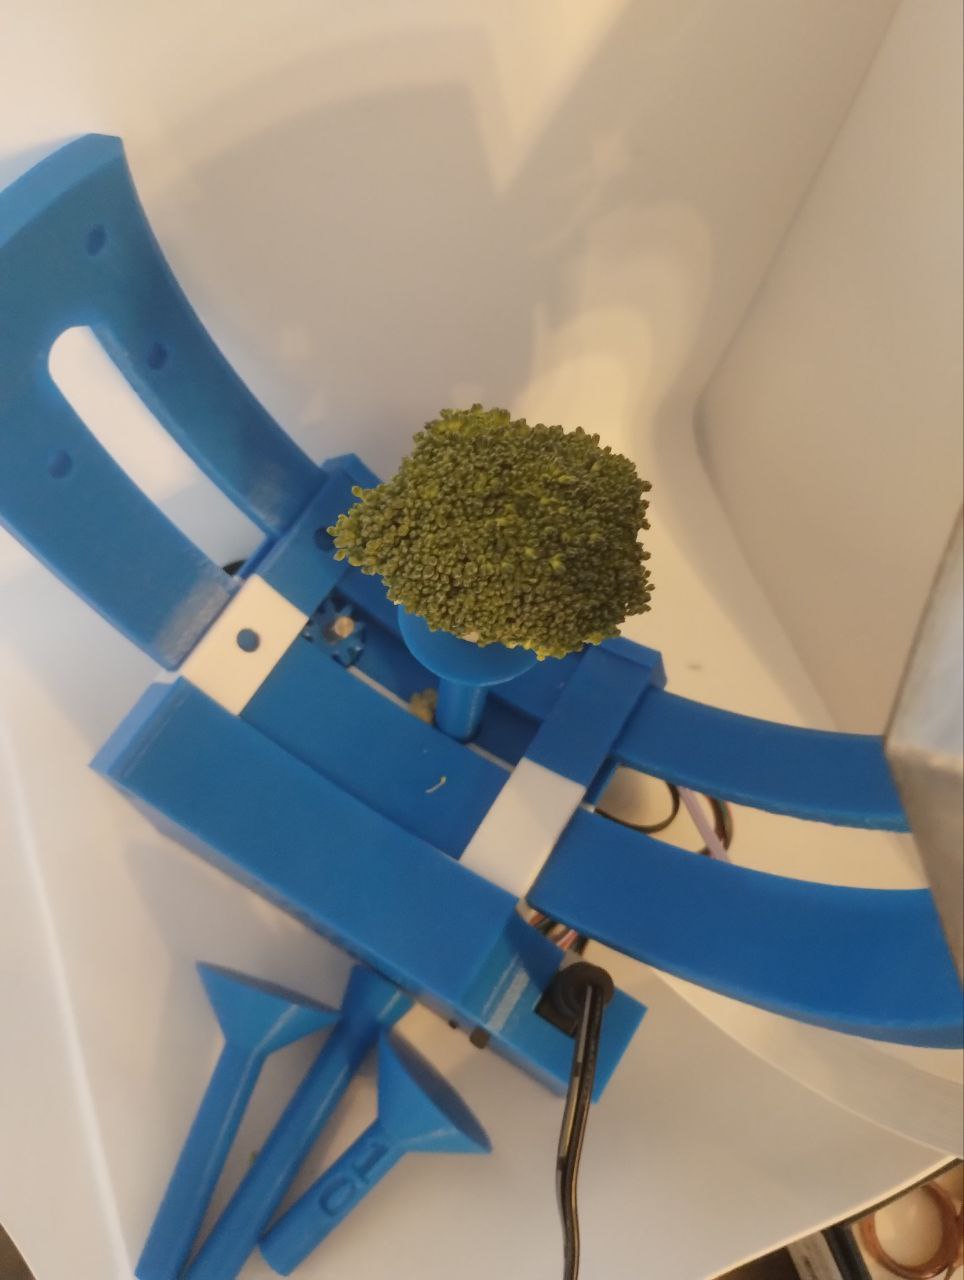
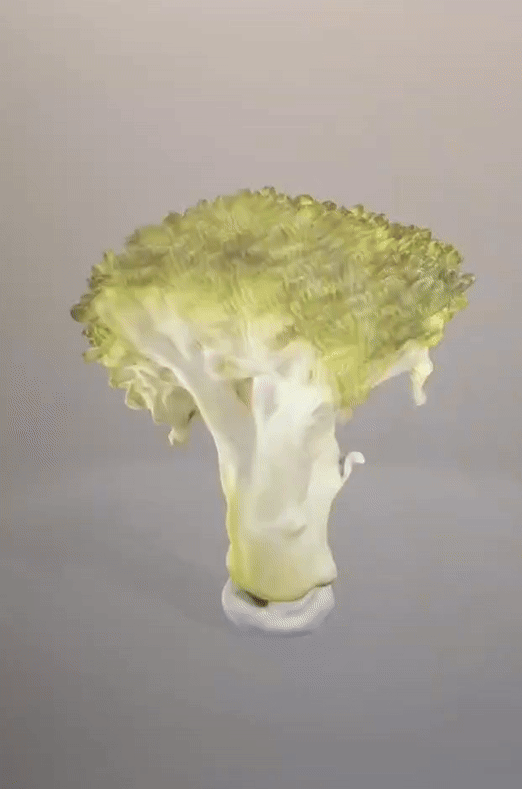
A broccoli 😂. I thought its distinctive texture would be the best way to test the quality of the open scanner. It turned out very well. 🥦🥦🥦
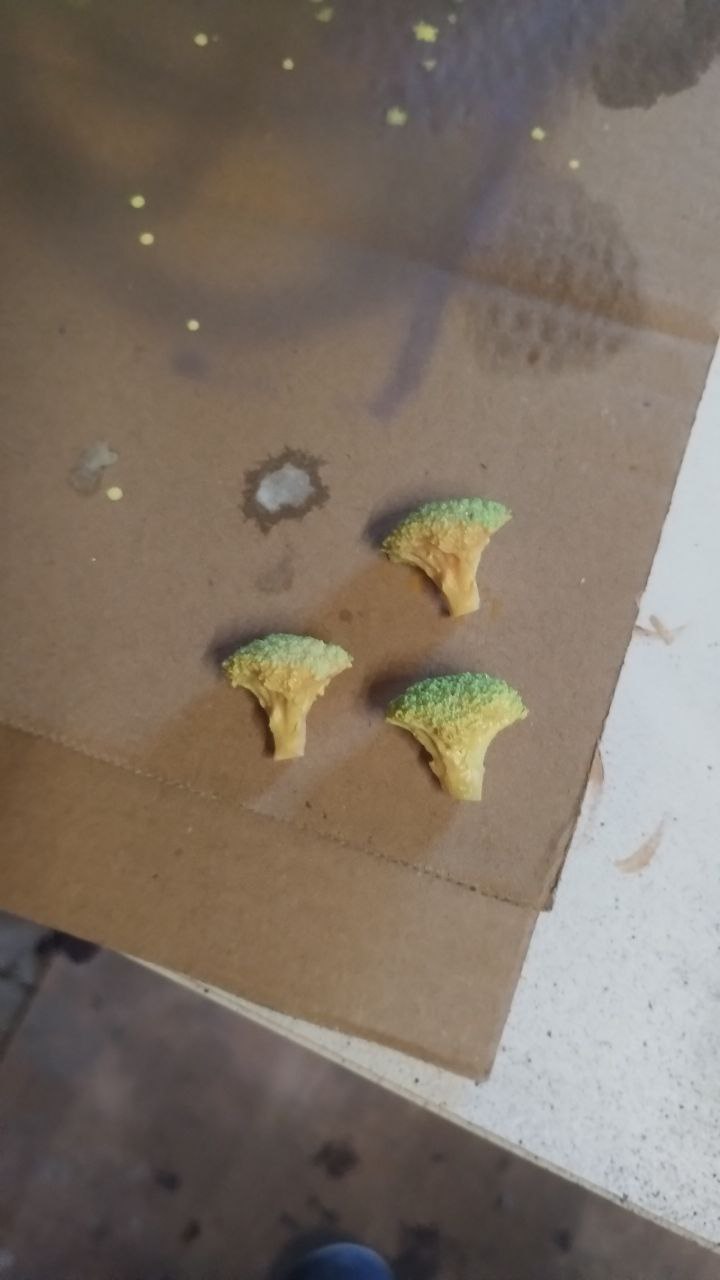
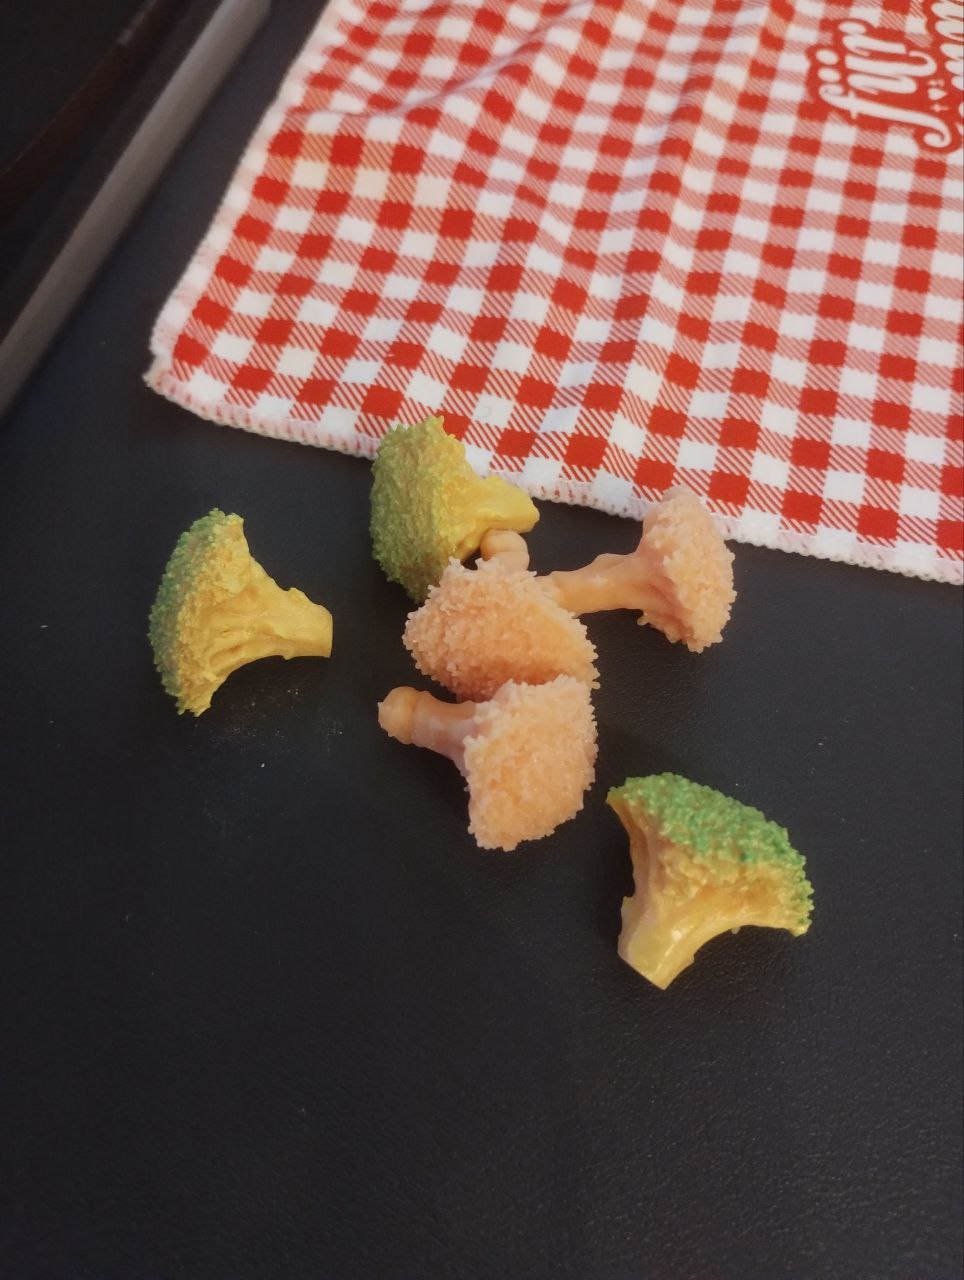
Then, I printed a few of them with my resin printer and colored them using an airbrush. Now, I think they could make great earrings. 😀
That was my experience with OpenScan. What do you think? Do you recommend any other 3D scanners?
Leave me a comment!